JoshuaaT
Well-Known Member
- Thread starter
- #1
I haven't really seen any mention of the Vector JL Cage Packs on here, so I figured I would give my .02.
First, the customer service is great! Their website for the Cage Packs listed the pair (driver and passenger), however, I only wanted the passenger side due to a fire extinguisher on the driver-side roll bar. I emailed them at 8:36am on a Monday and Travis from @Vector Offroad sent me a reply at 8:39am telling me I could order just the passenger side. I placed my order a few minutes later.
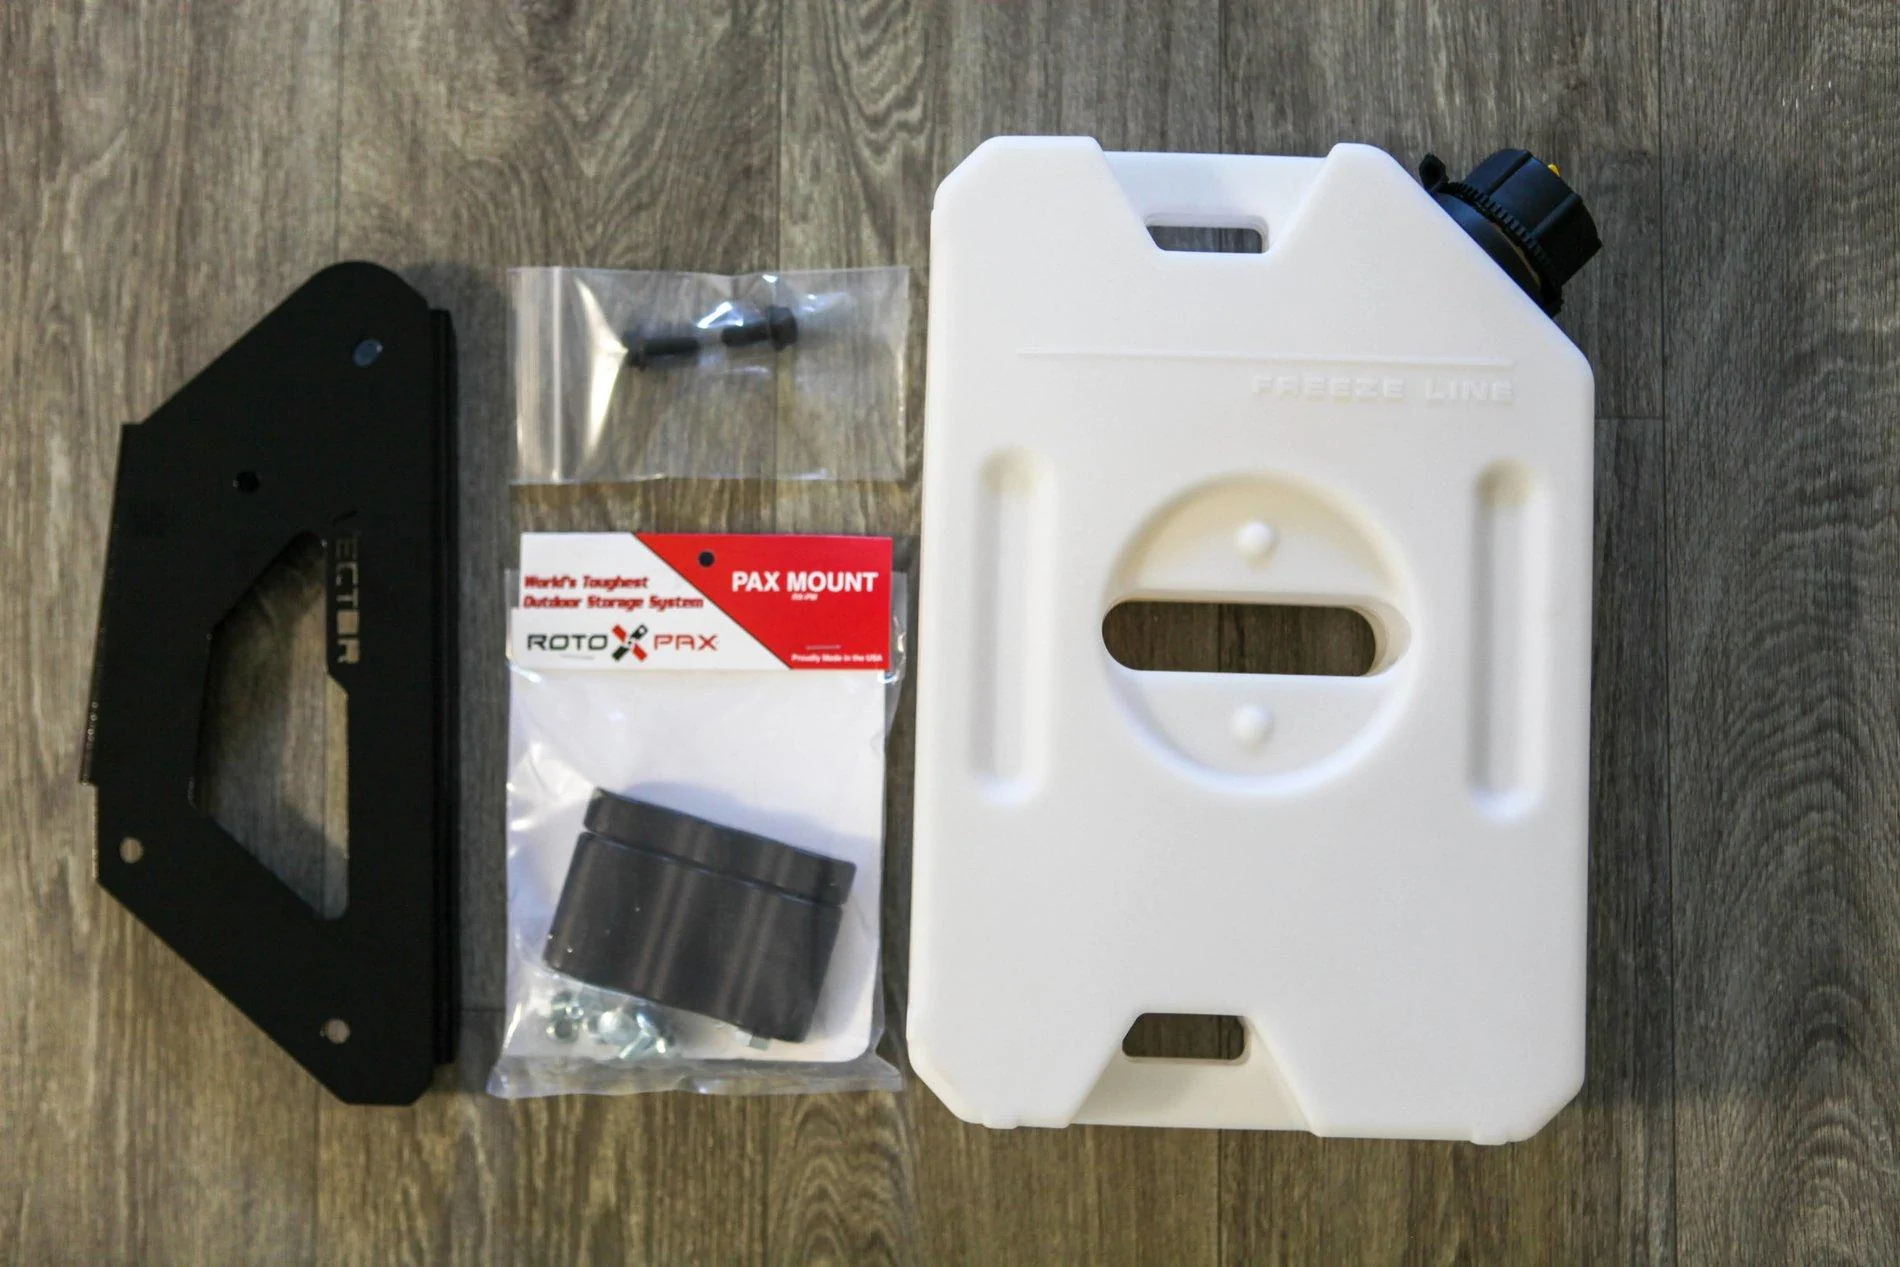
$87.50 for the Vector Offroad mount and a 1 gallon Rotopax
$12.54 for shipping
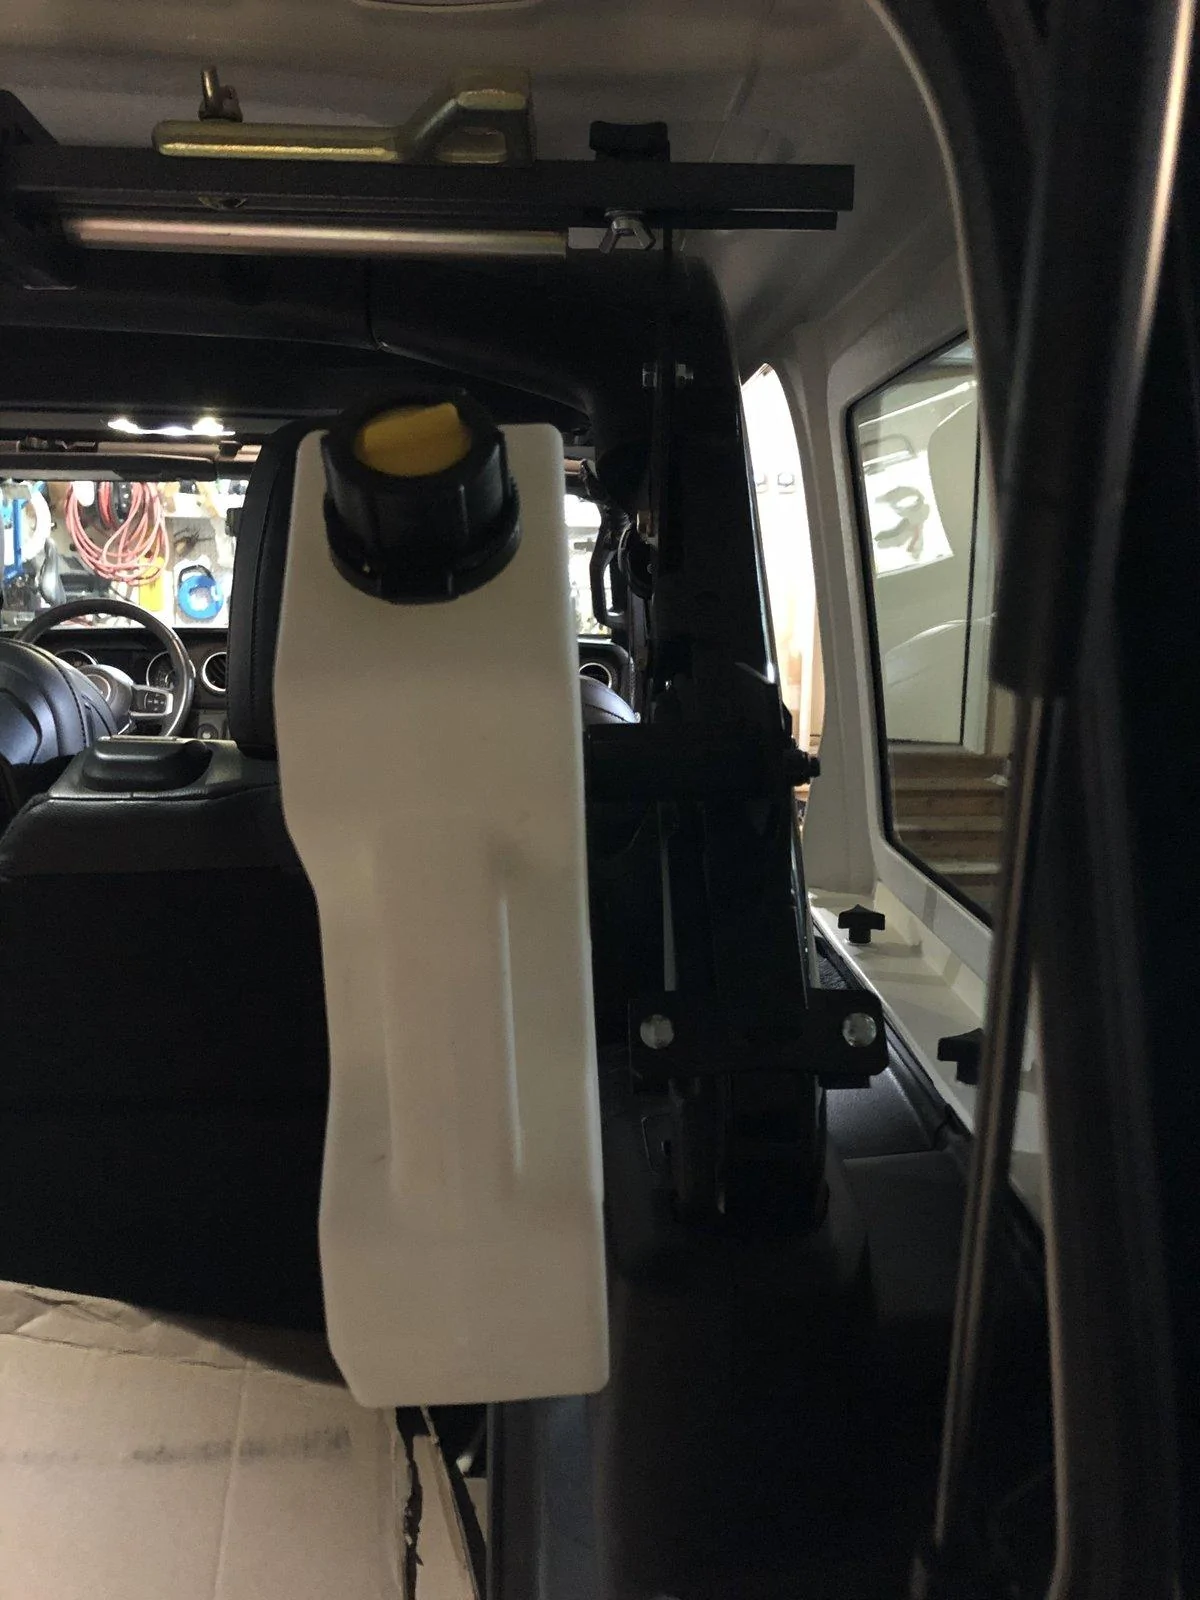
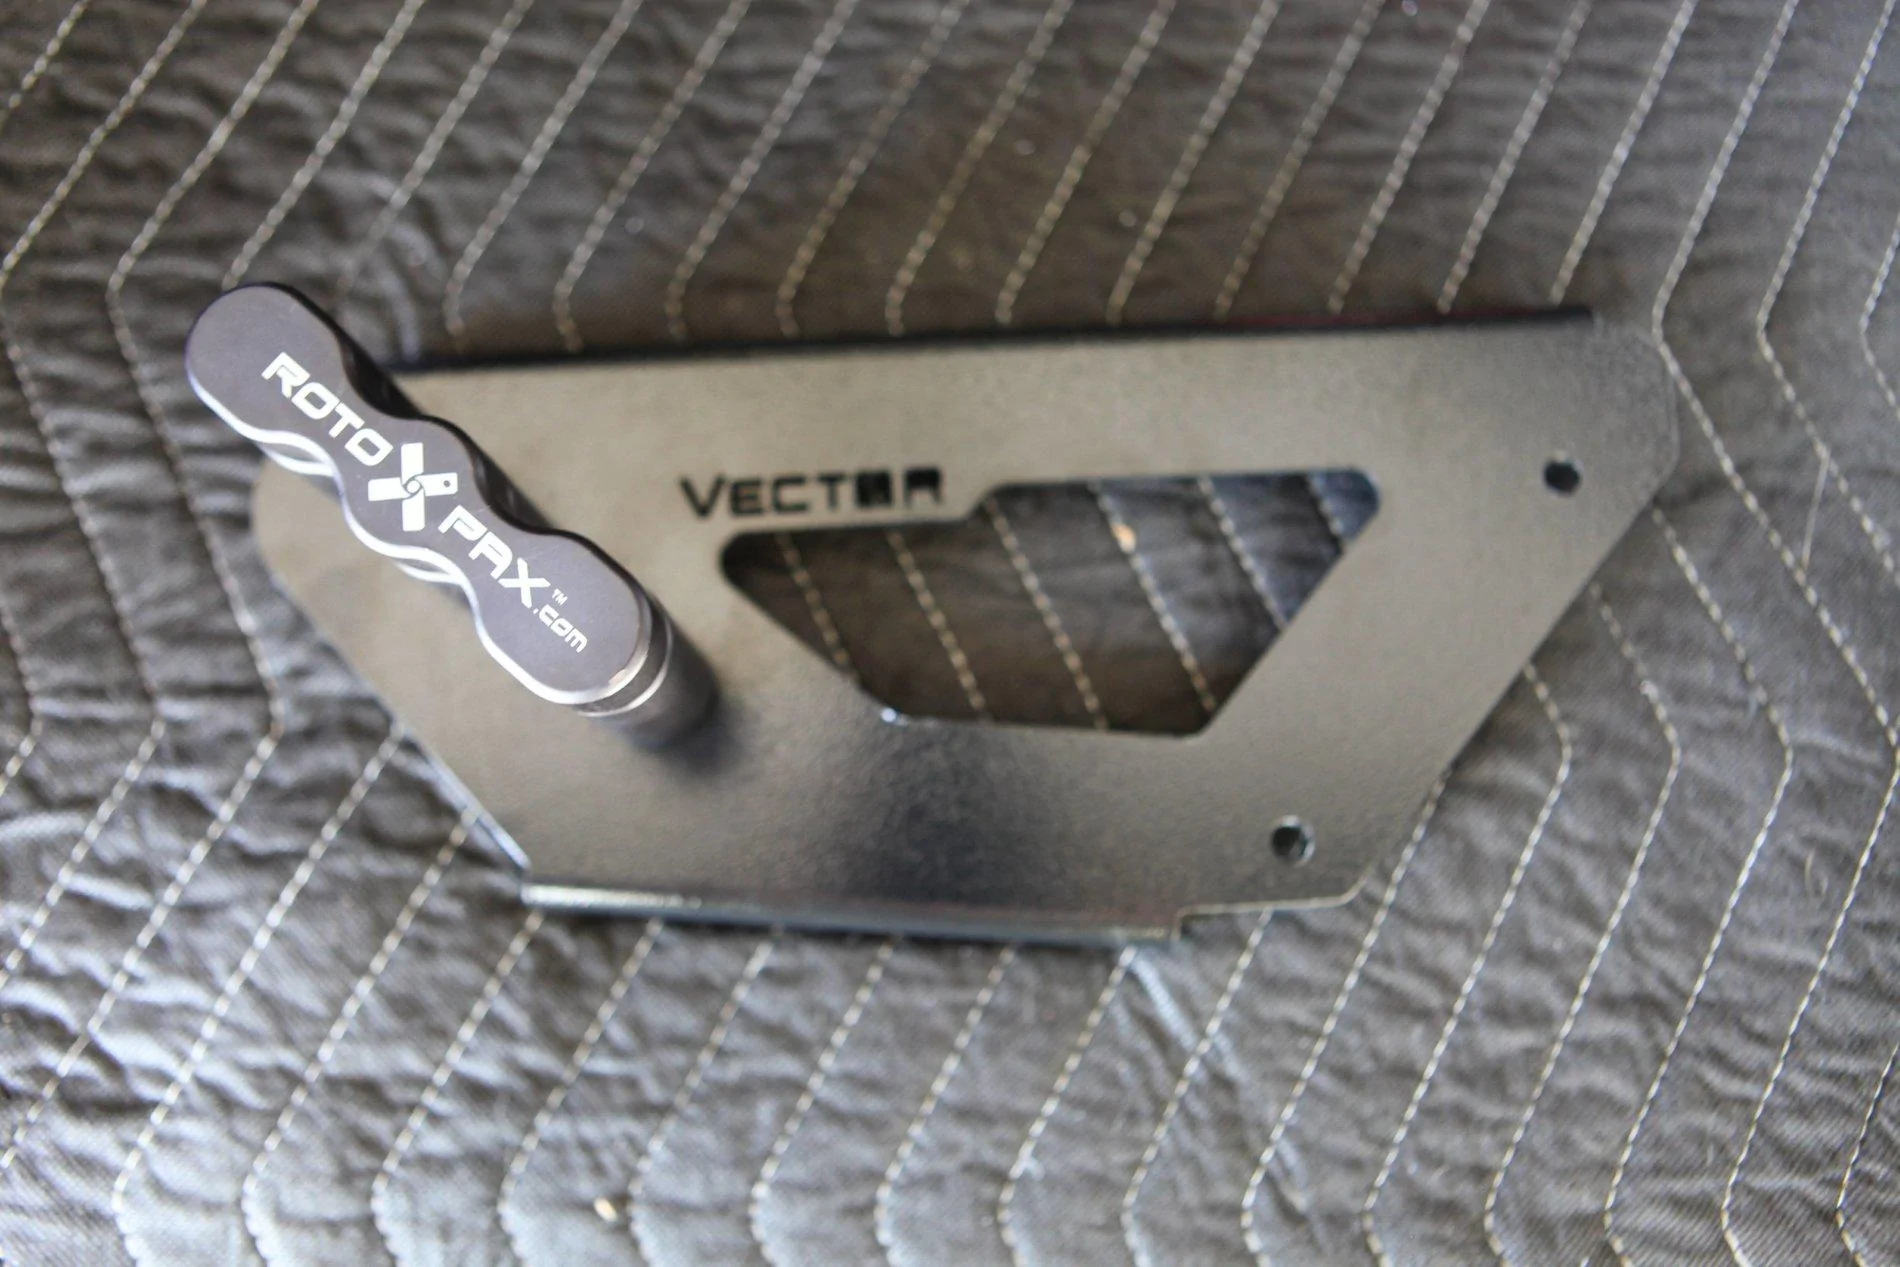
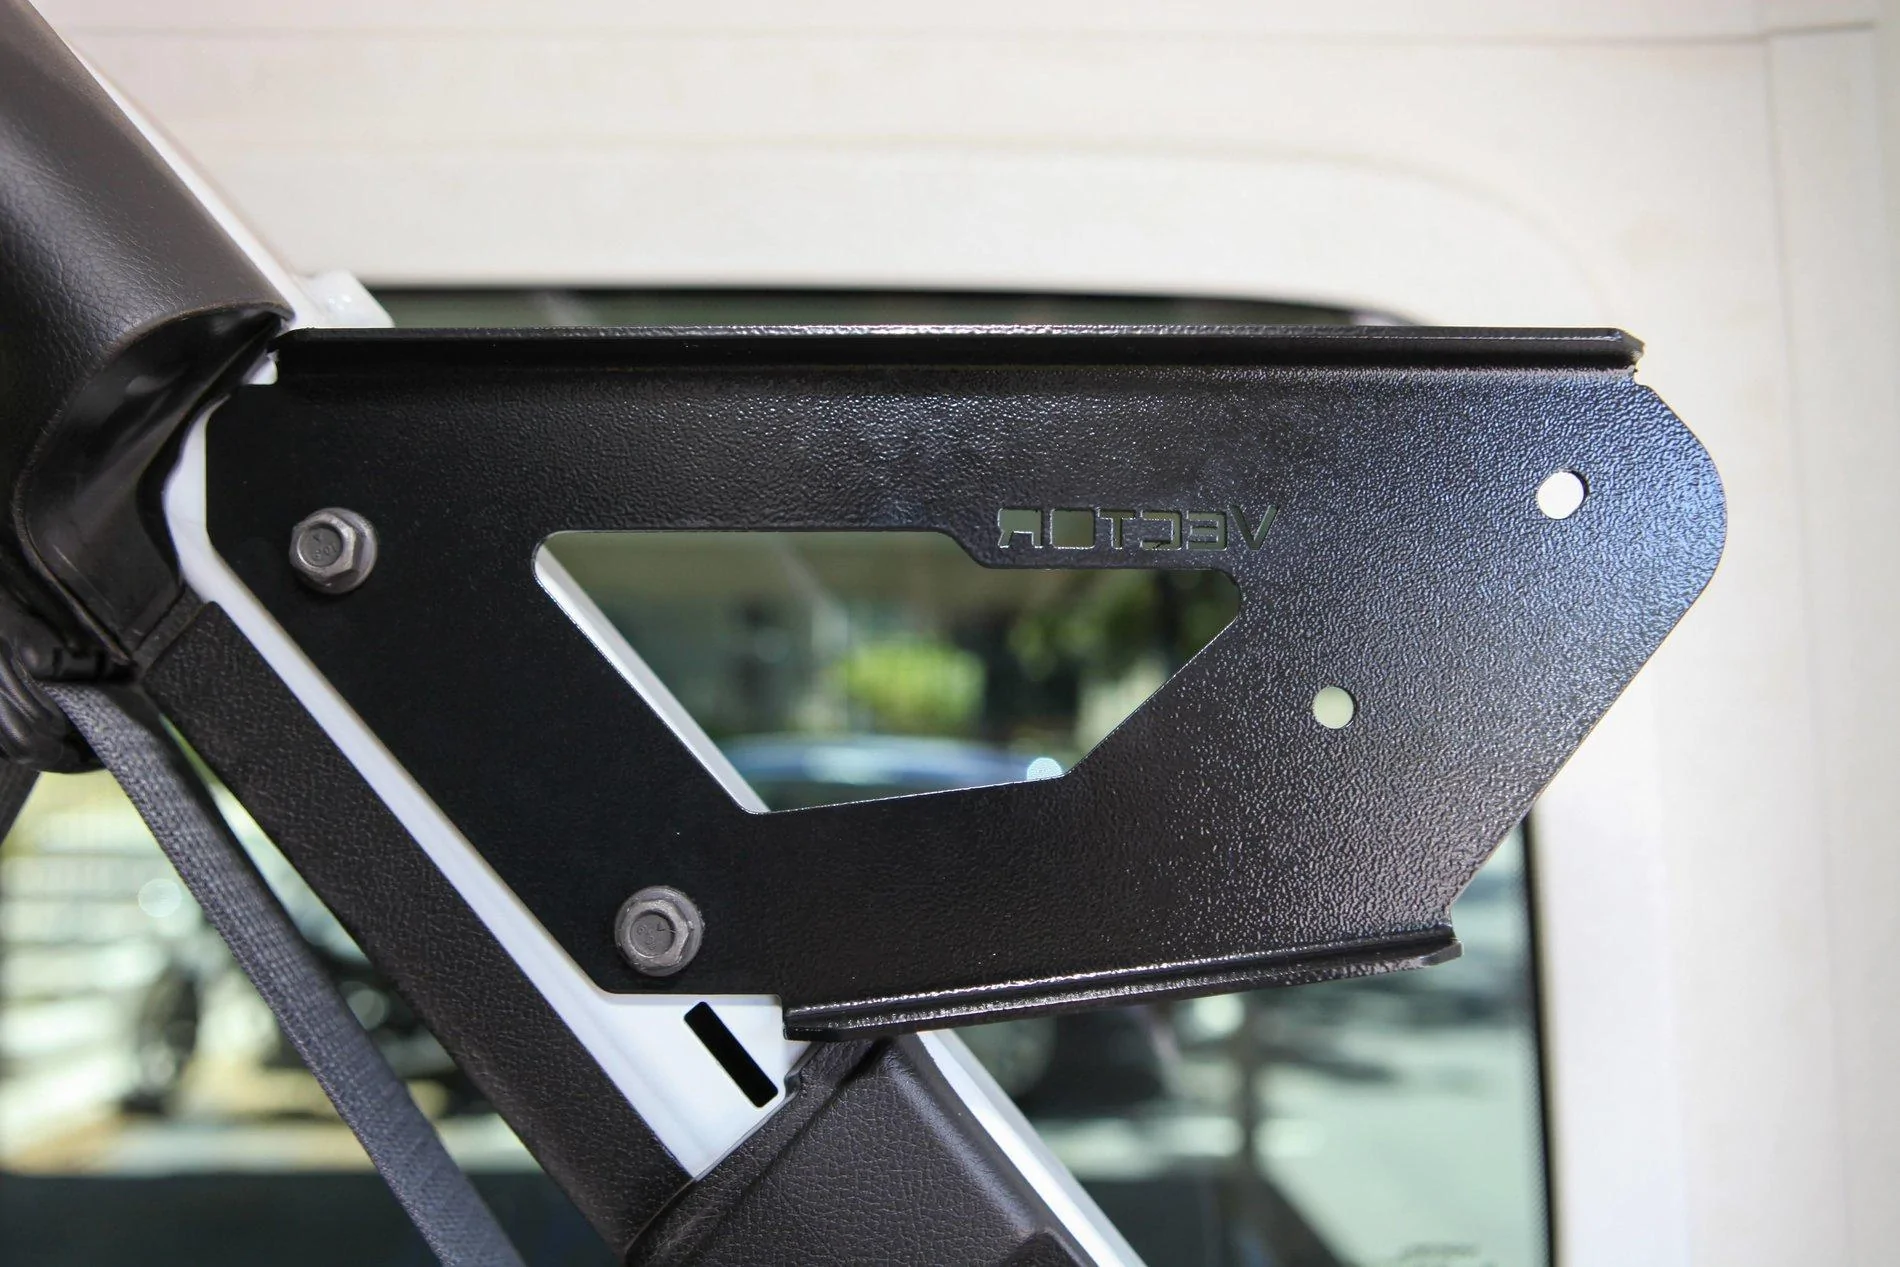
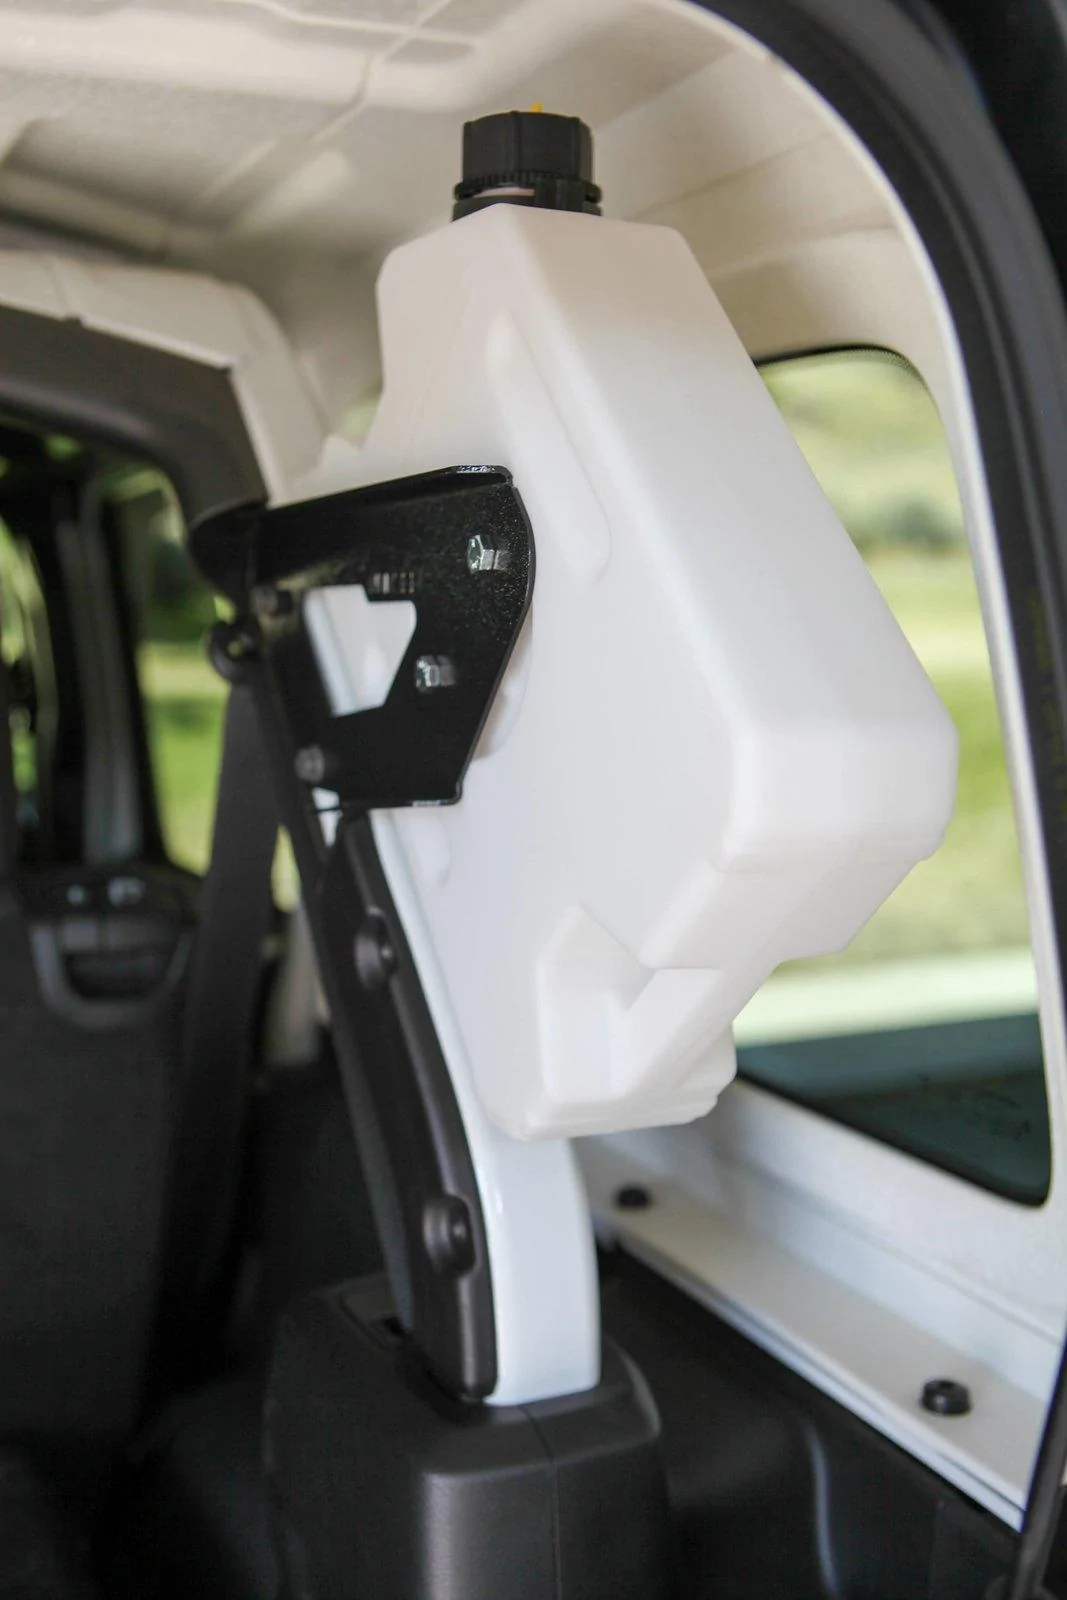
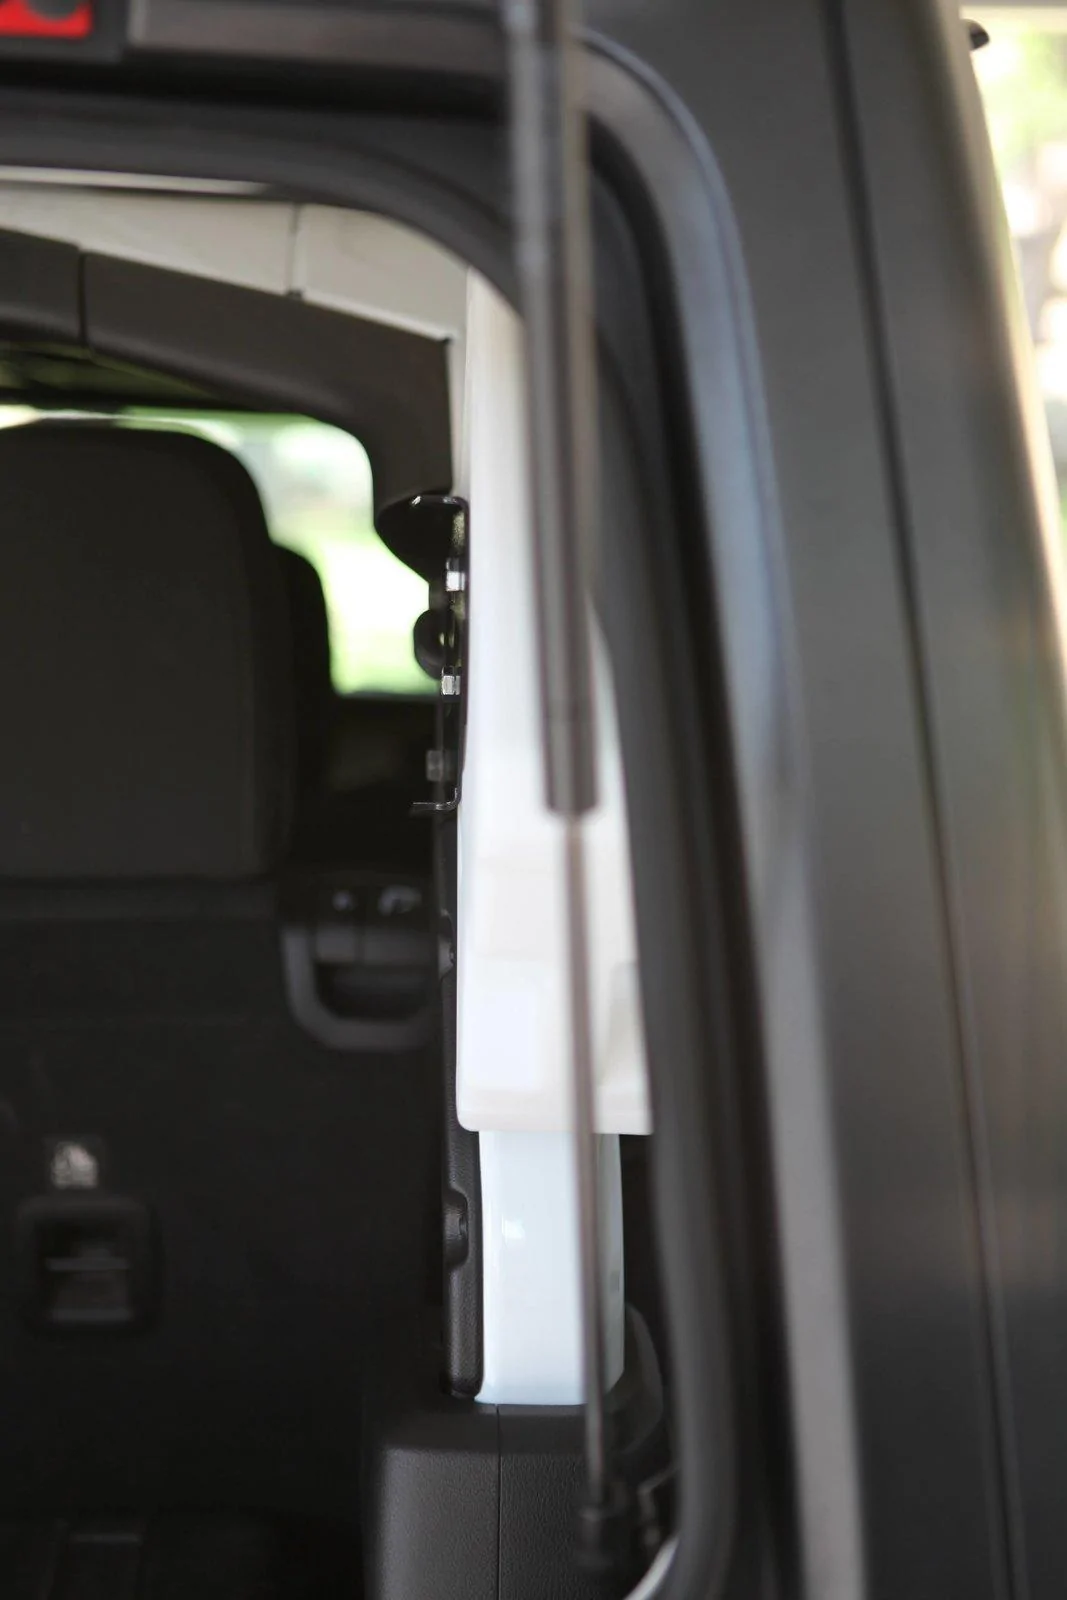
Everything arrived about two weeks after ordering. The instructions are available online, but it was very easy to install without them. I am happy with the fitment and finish. Nothing will get hung up on it since the entire assembly is flush with the roll bar on the interior side. Here is what you will receive if you order one side only (double it if you order the standard pair).

Tools Needed

Time: 20 minutes
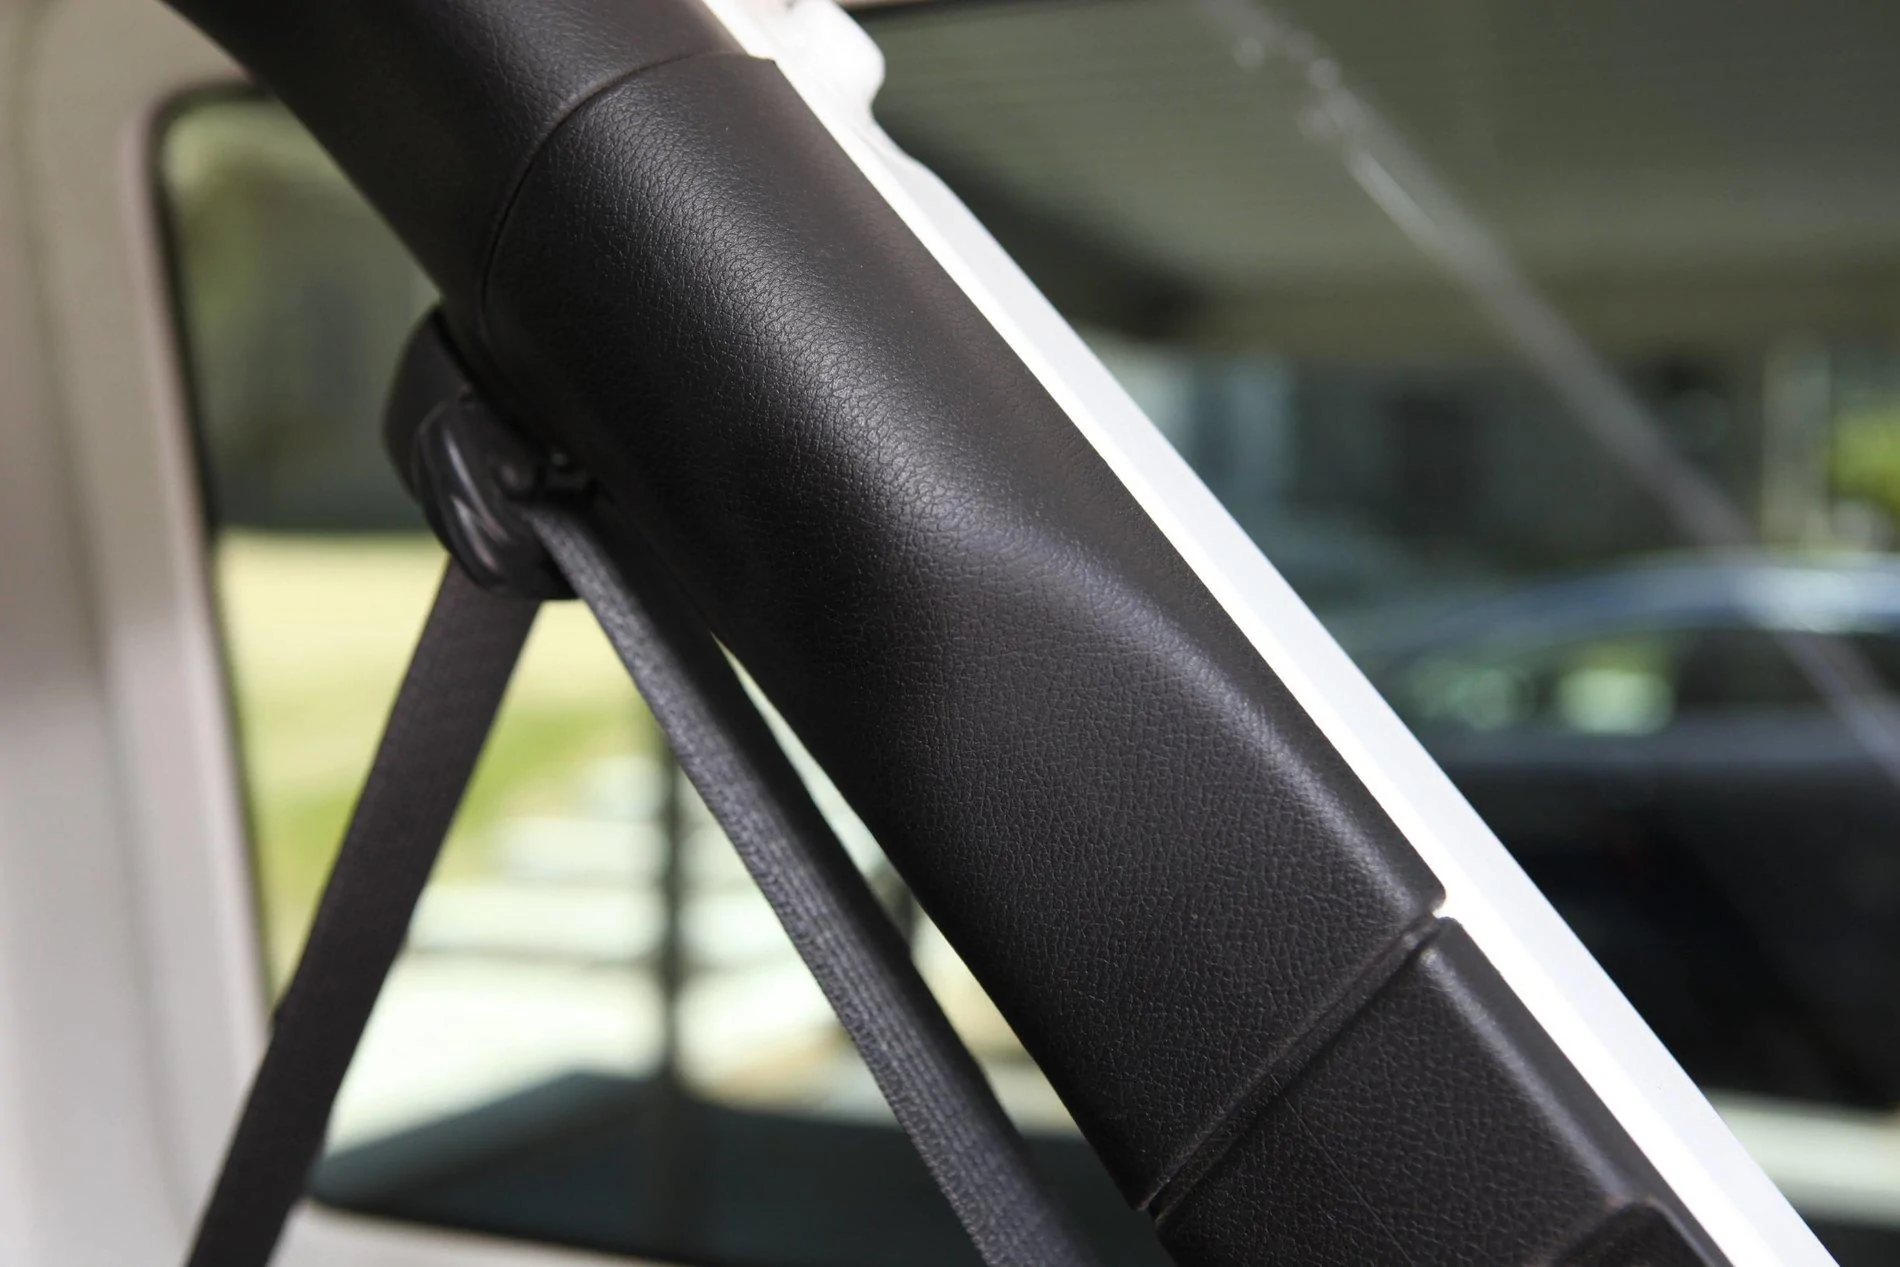
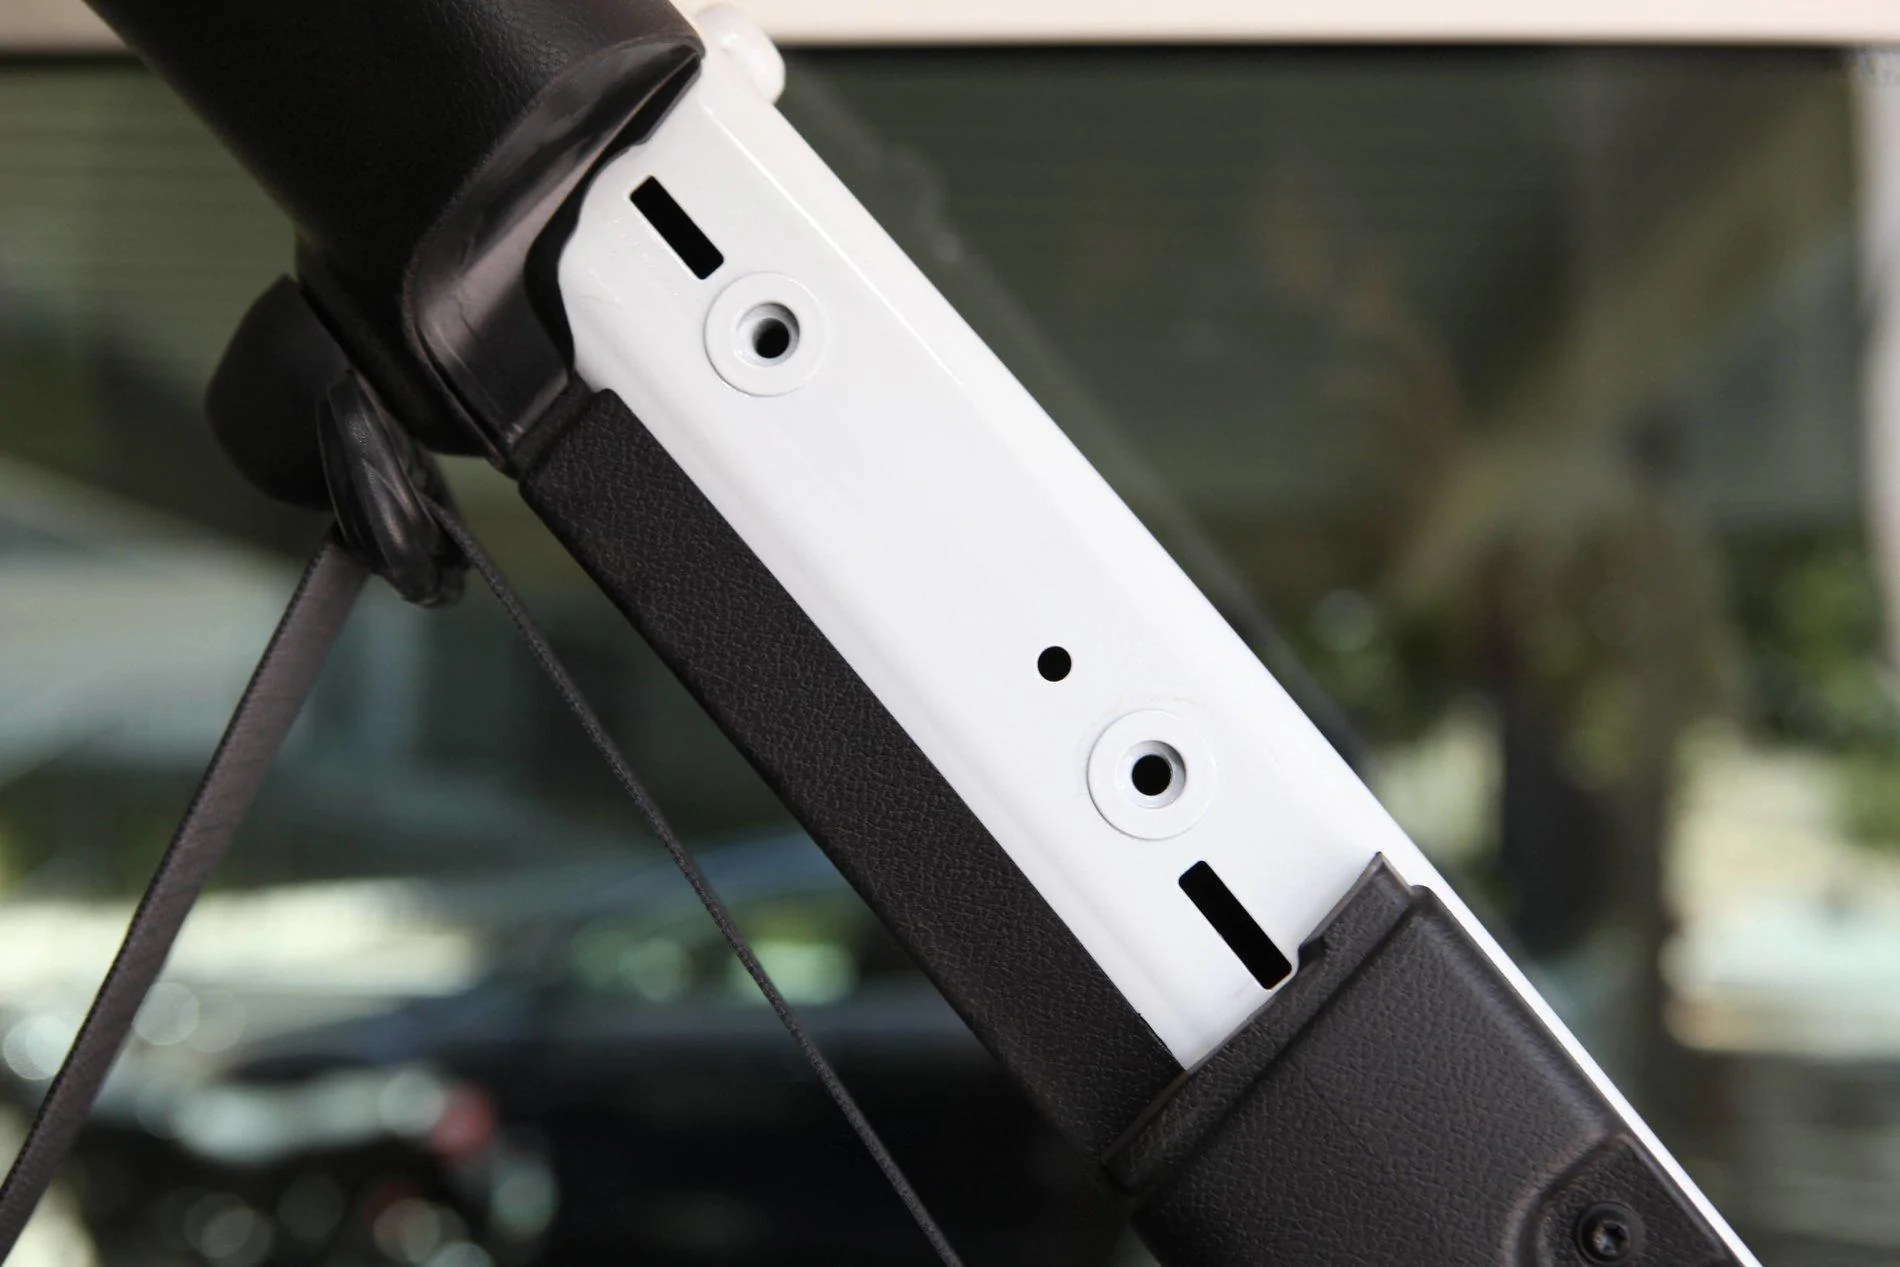
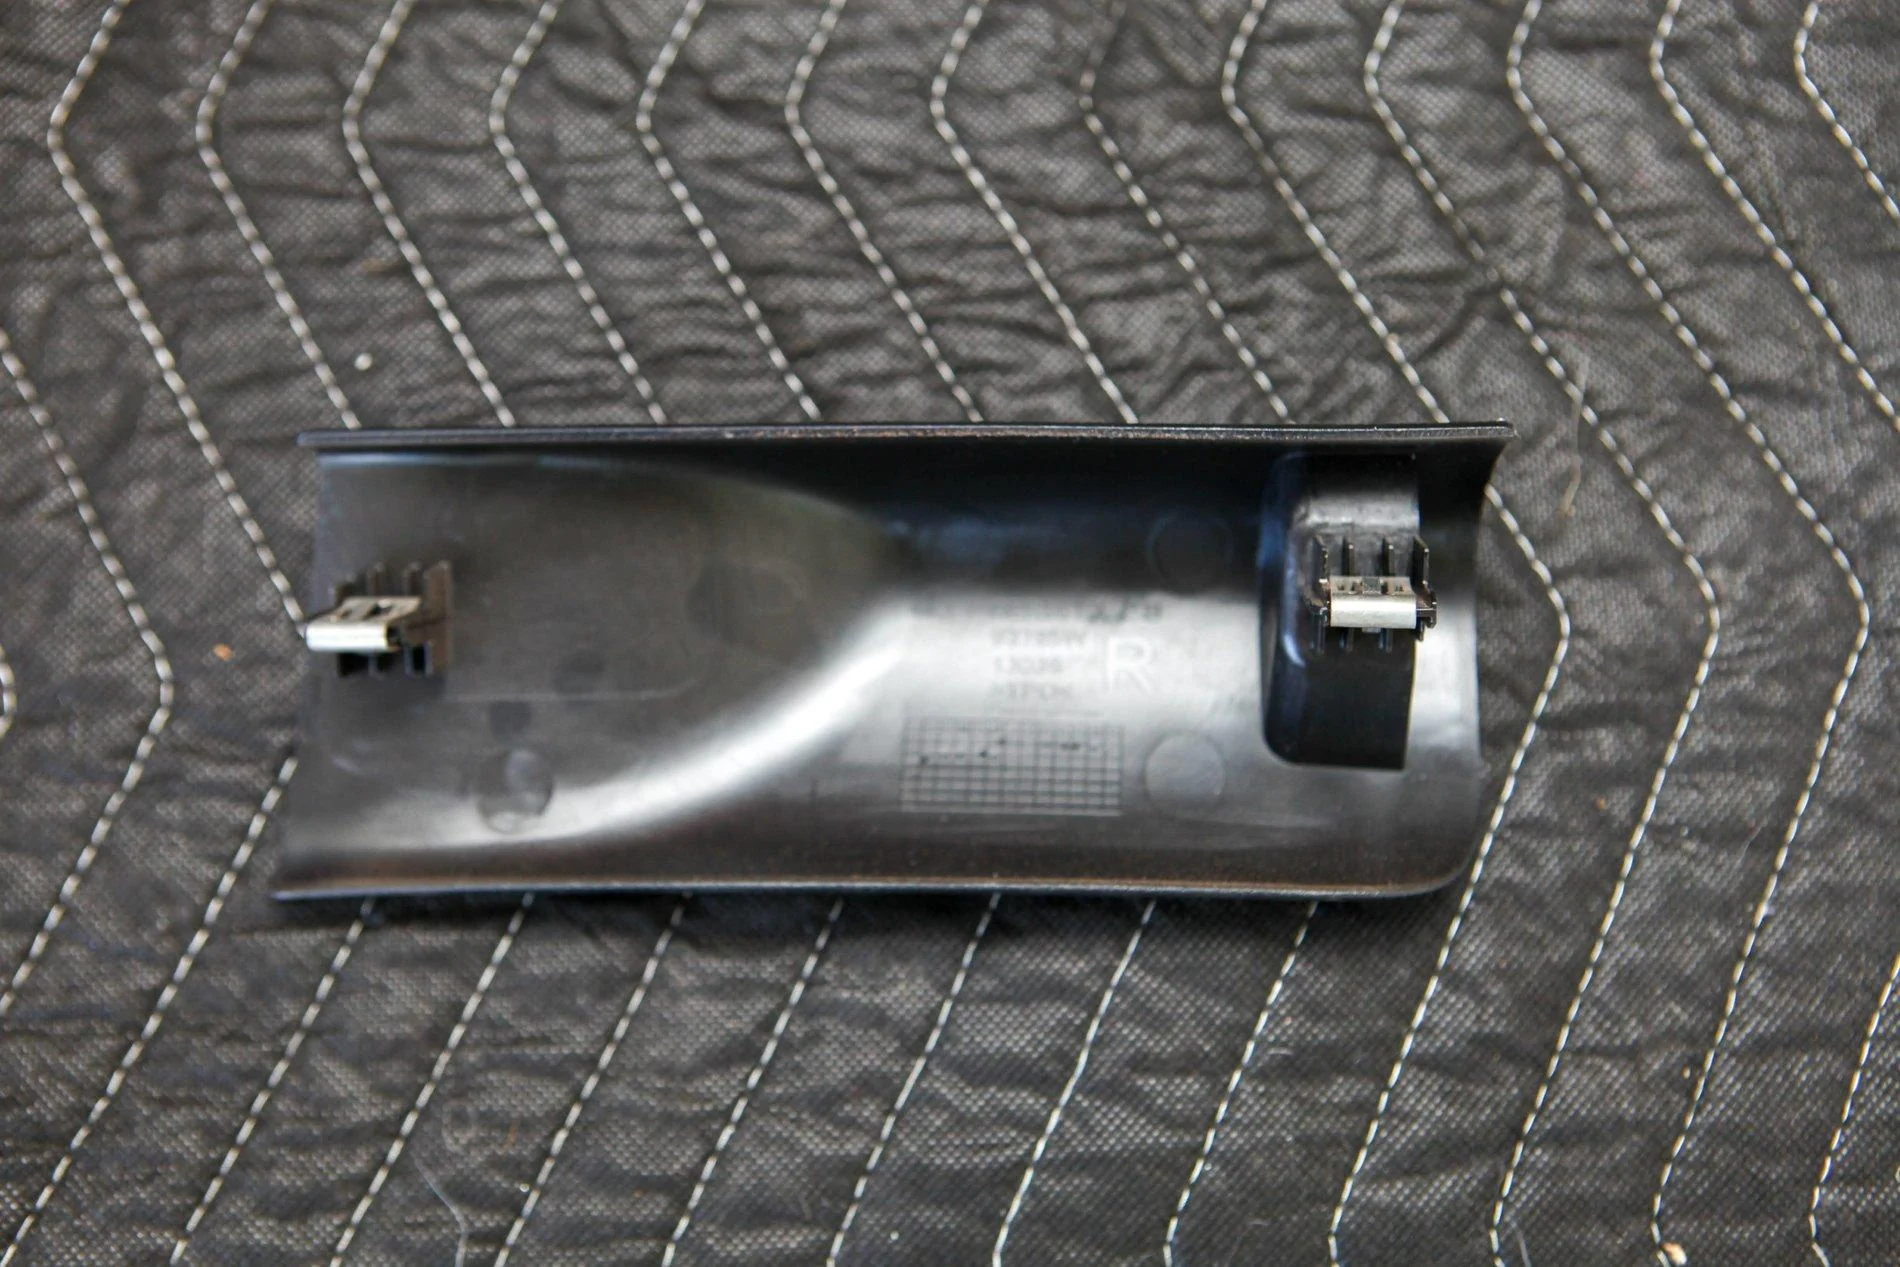
Step 1: Remove the roll bar plastic trim. You can use a trim tool or pull straight away from the roll bar with your fingers. There are two tabs as seen below. This exposes the two M8 threaded holes.
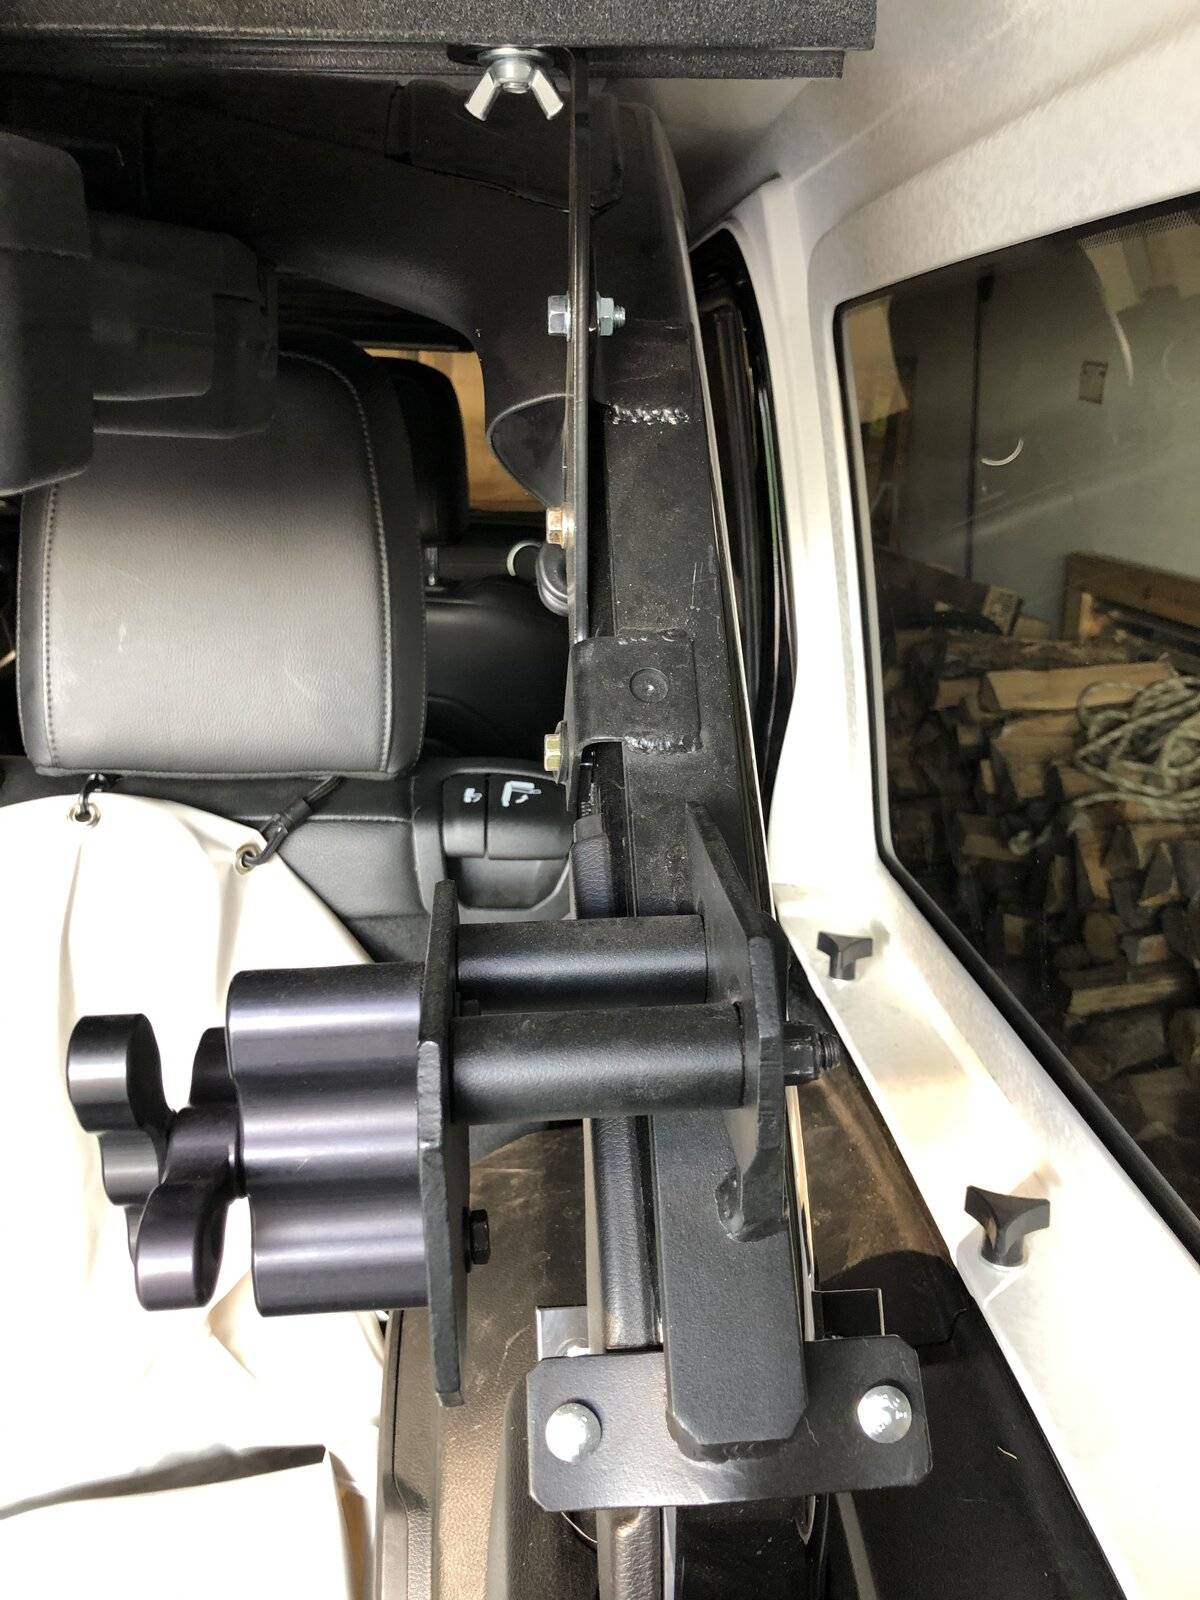
Step 2: Attach the Rotopax mount to the Vector Offroad bracket. The Rotopax mount will have two hex bolts already threaded into the body; these are the only bolts we will use. The other included hardware from Rotopax is not needed.
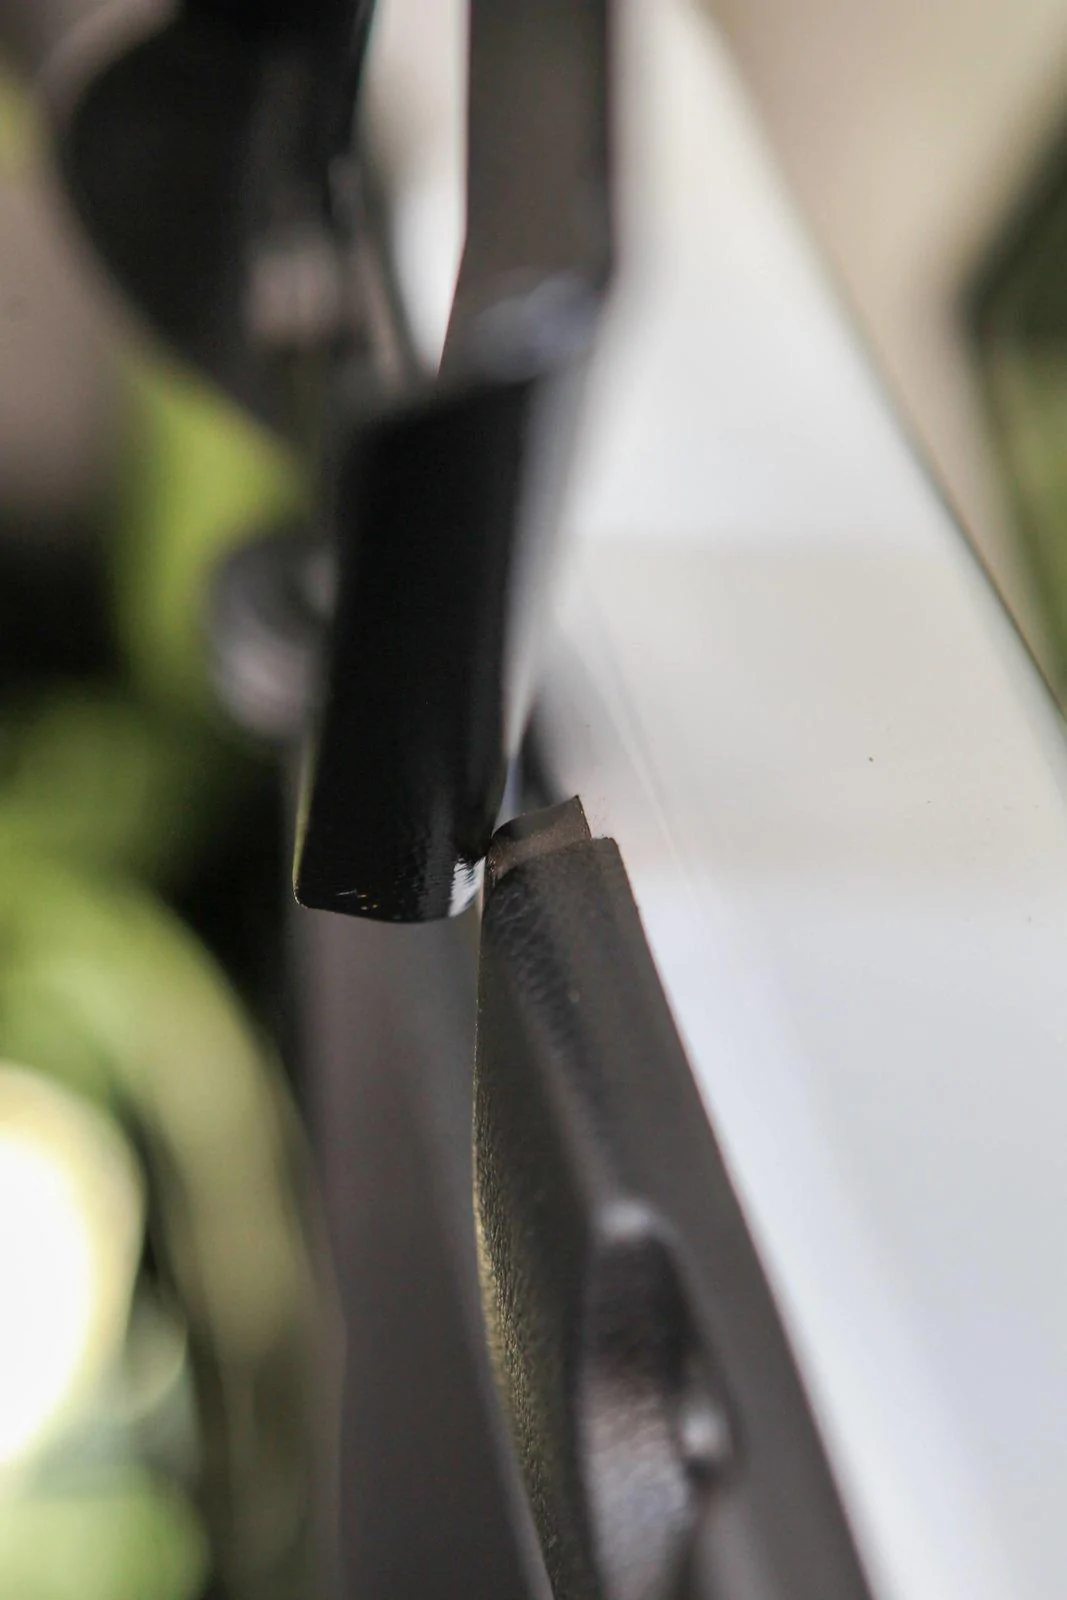
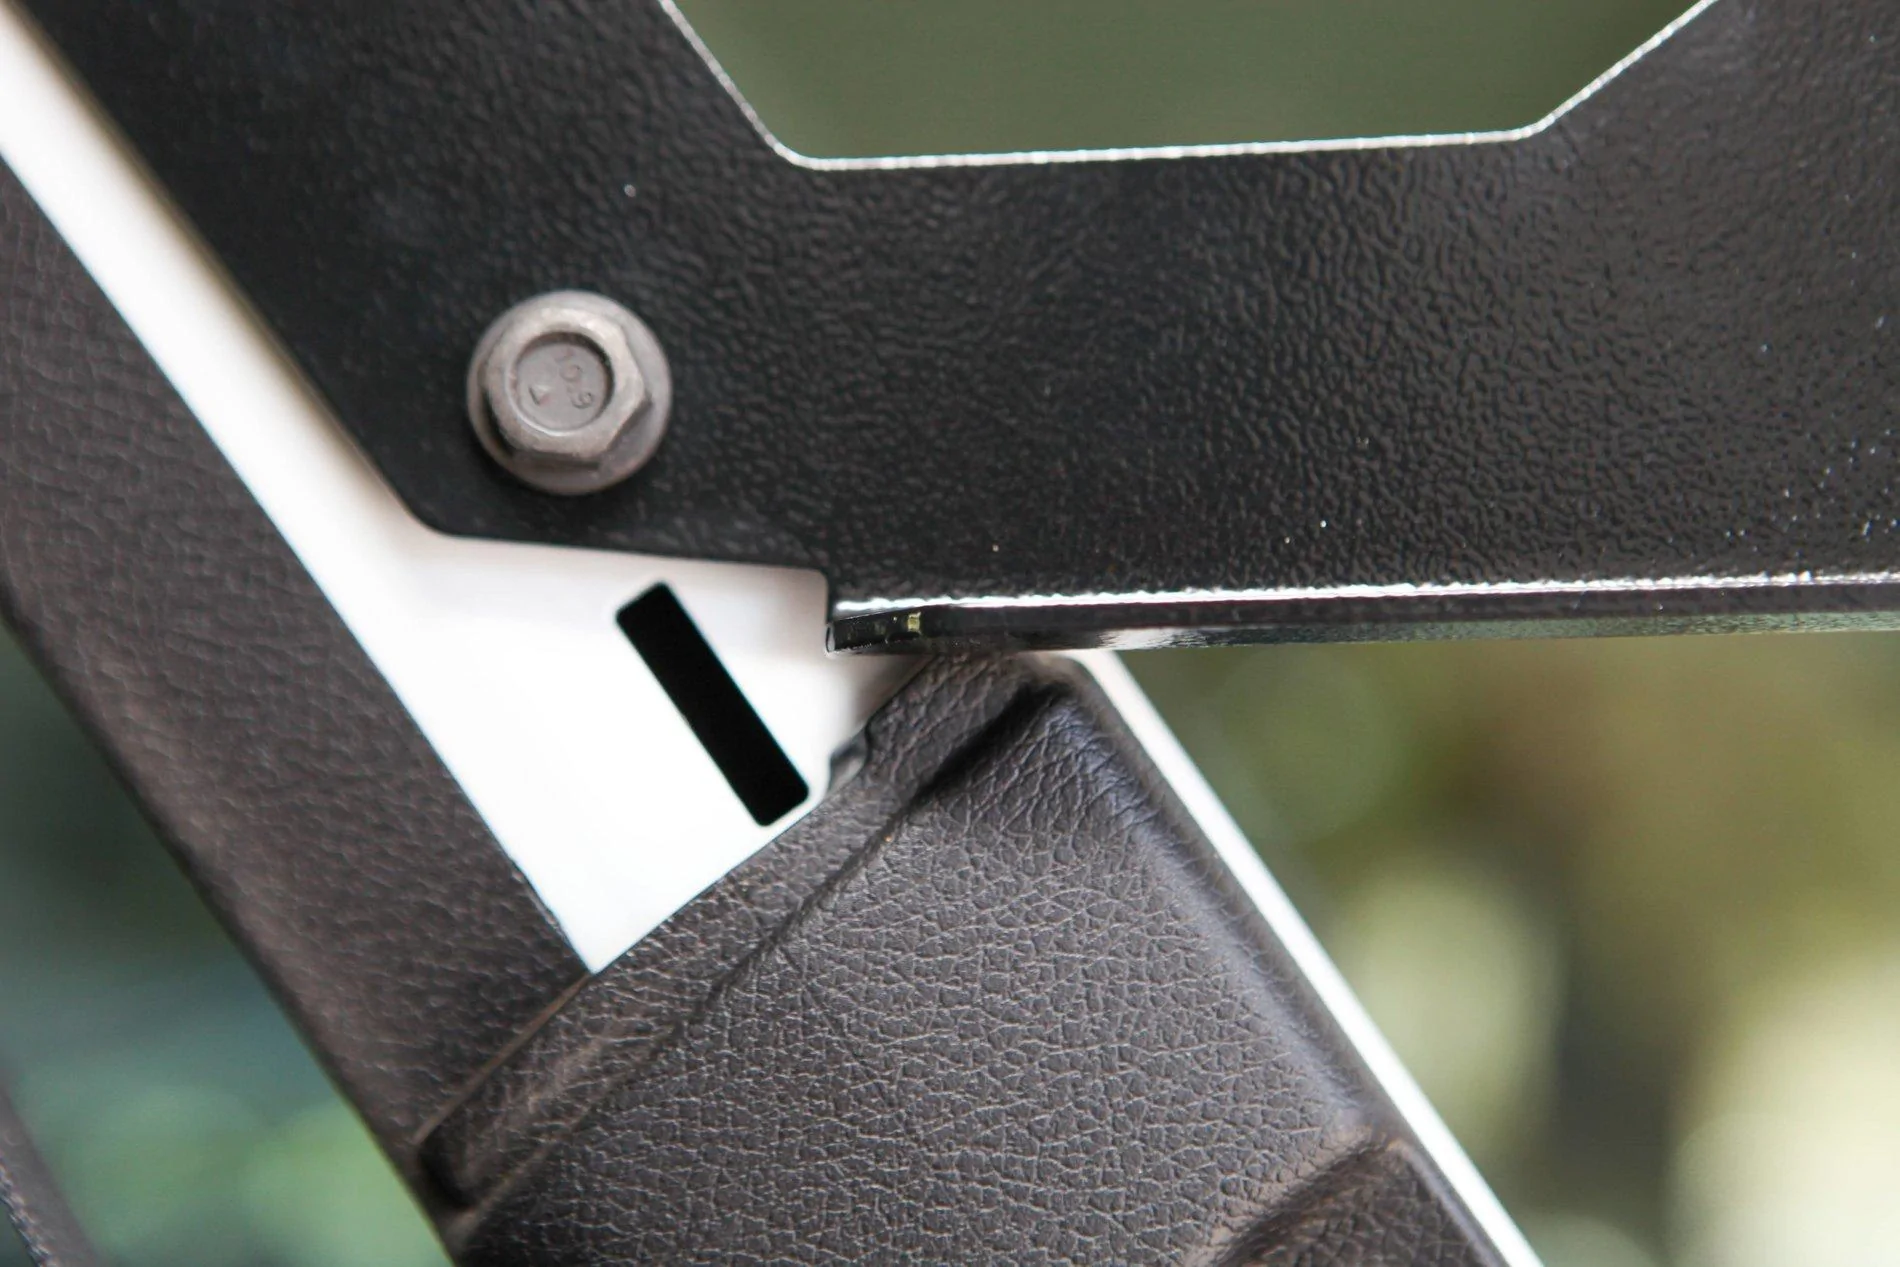
Step 3: Mount the bracket to the roll bar. Insert the two M8 bolts and tighten. The bottom of the bracket hit the roll bar trim piece slightly (1/8"). You can trim this if you like. I opted to just tighten the bracket down and let it self clearance (i.e. squish the trim slightly). I am not sure if this will happen for everyone or if this is just due to varying trim fitment. Not a big deal either way.
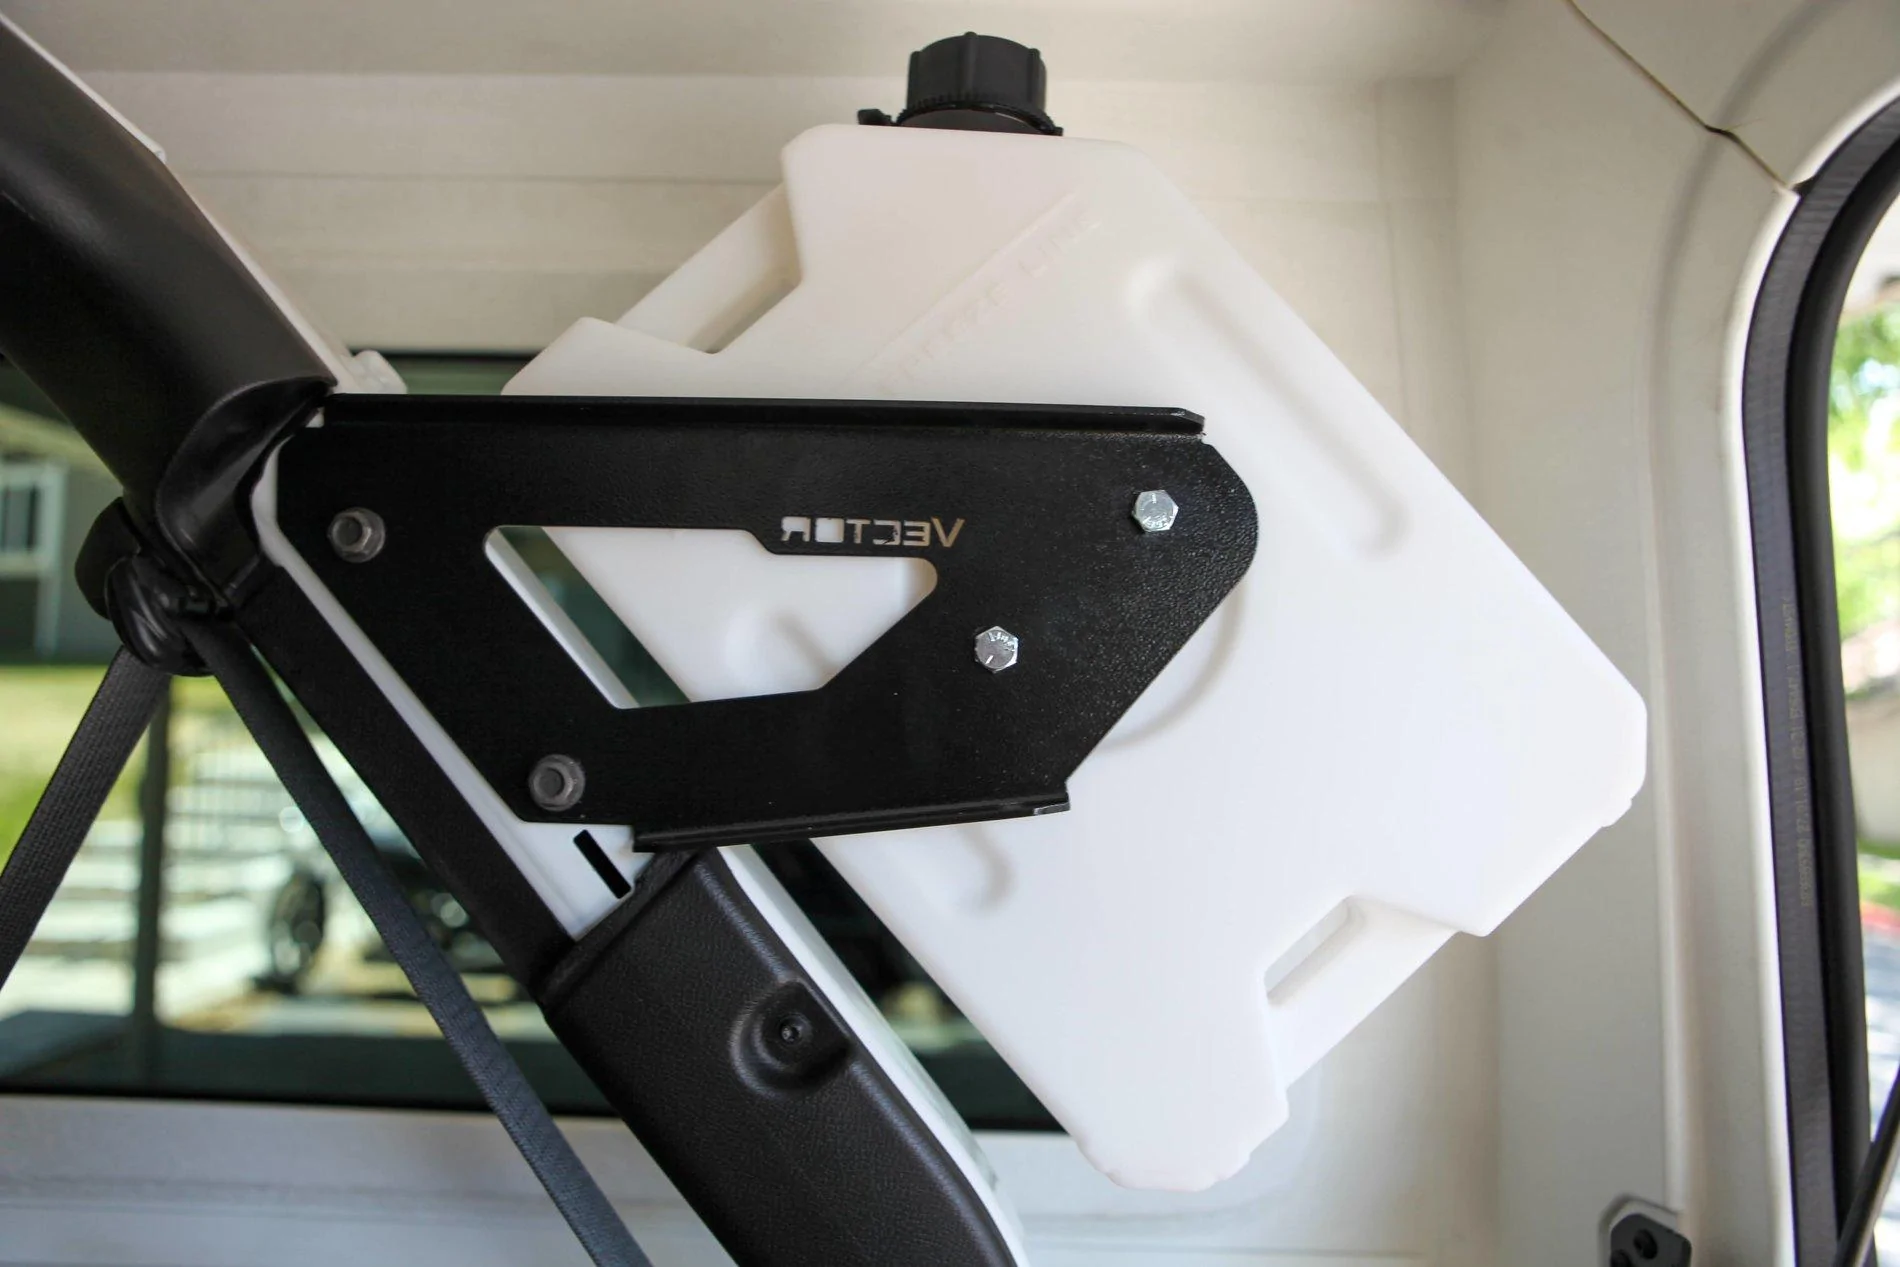
Step 4: Attach the Rotopax container to the bracket. All done.
First, the customer service is great! Their website for the Cage Packs listed the pair (driver and passenger), however, I only wanted the passenger side due to a fire extinguisher on the driver-side roll bar. I emailed them at 8:36am on a Monday and Travis from @Vector Offroad sent me a reply at 8:39am telling me I could order just the passenger side. I placed my order a few minutes later.
$87.50 for the Vector Offroad mount and a 1 gallon Rotopax
$12.54 for shipping
Everything arrived about two weeks after ordering. The instructions are available online, but it was very easy to install without them. I am happy with the fitment and finish. Nothing will get hung up on it since the entire assembly is flush with the roll bar on the interior side. Here is what you will receive if you order one side only (double it if you order the standard pair).
Tools Needed
- Ratchet
- 13mm socket
- Trim tool (optional)

Time: 20 minutes
Step 1: Remove the roll bar plastic trim. You can use a trim tool or pull straight away from the roll bar with your fingers. There are two tabs as seen below. This exposes the two M8 threaded holes.
Step 2: Attach the Rotopax mount to the Vector Offroad bracket. The Rotopax mount will have two hex bolts already threaded into the body; these are the only bolts we will use. The other included hardware from Rotopax is not needed.
Step 3: Mount the bracket to the roll bar. Insert the two M8 bolts and tighten. The bottom of the bracket hit the roll bar trim piece slightly (1/8"). You can trim this if you like. I opted to just tighten the bracket down and let it self clearance (i.e. squish the trim slightly). I am not sure if this will happen for everyone or if this is just due to varying trim fitment. Not a big deal either way.
Step 4: Attach the Rotopax container to the bracket. All done.
Sponsored