Mifsuud
Well-Known Member
- Joined
- Dec 30, 2022
- Threads
- 4
- Messages
- 374
- Reaction score
- 638
- Location
- Phoenix AZ
- Vehicle(s)
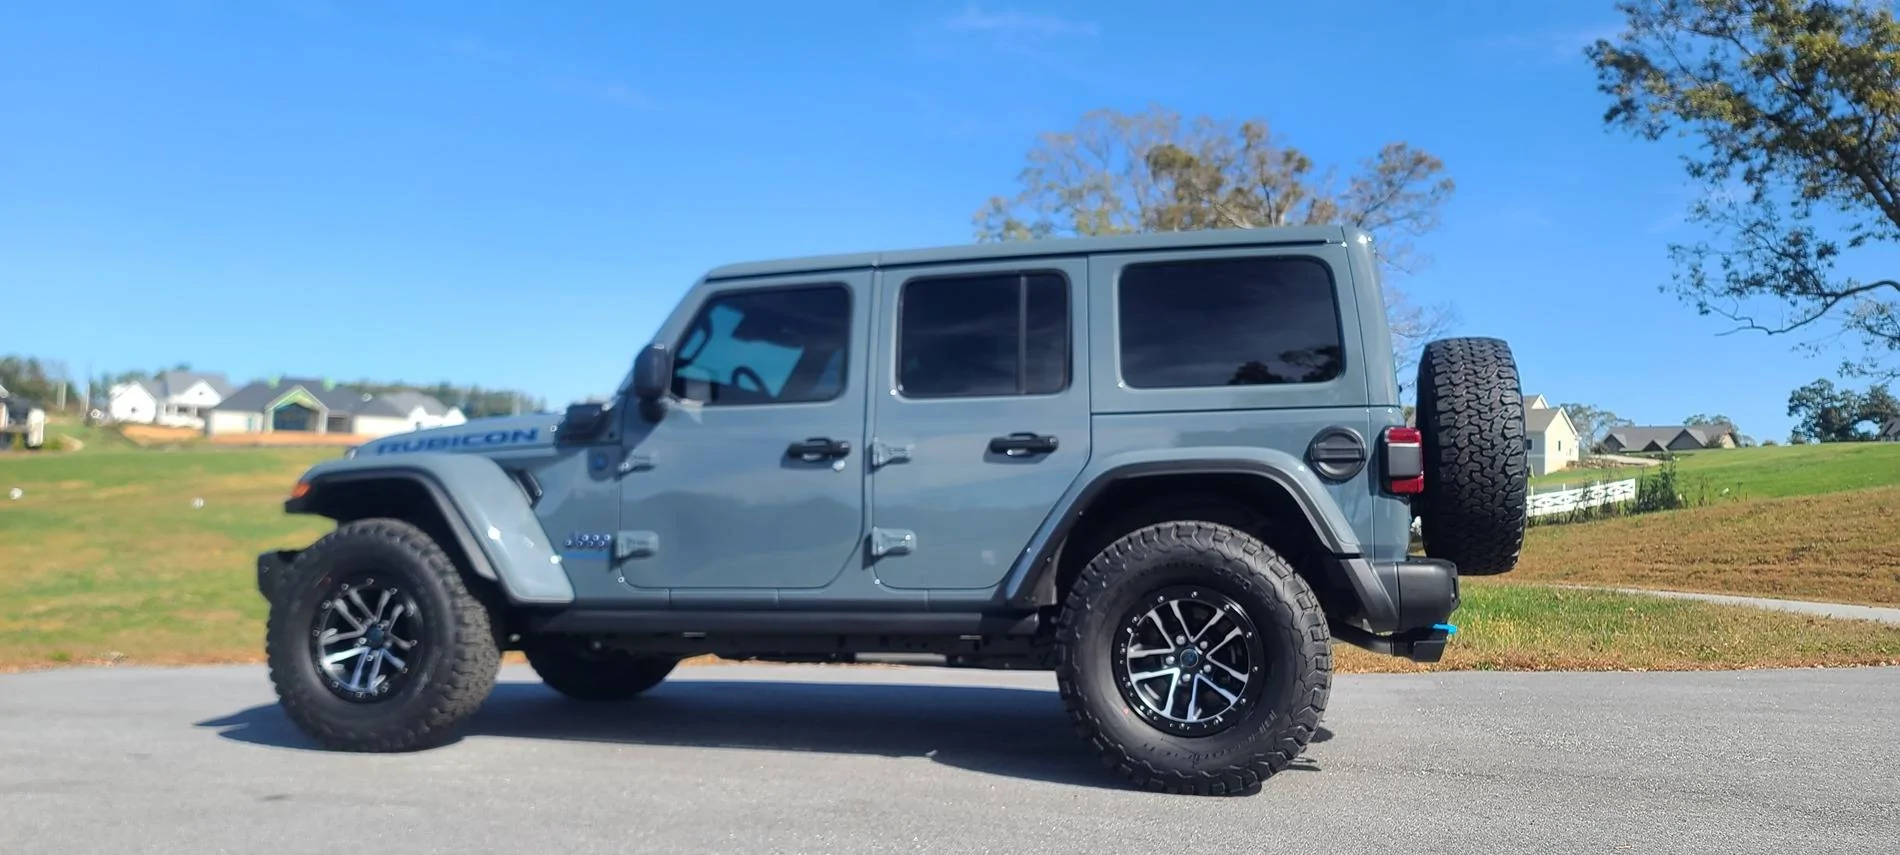
- 21 Wrangler Rubicon 4xe
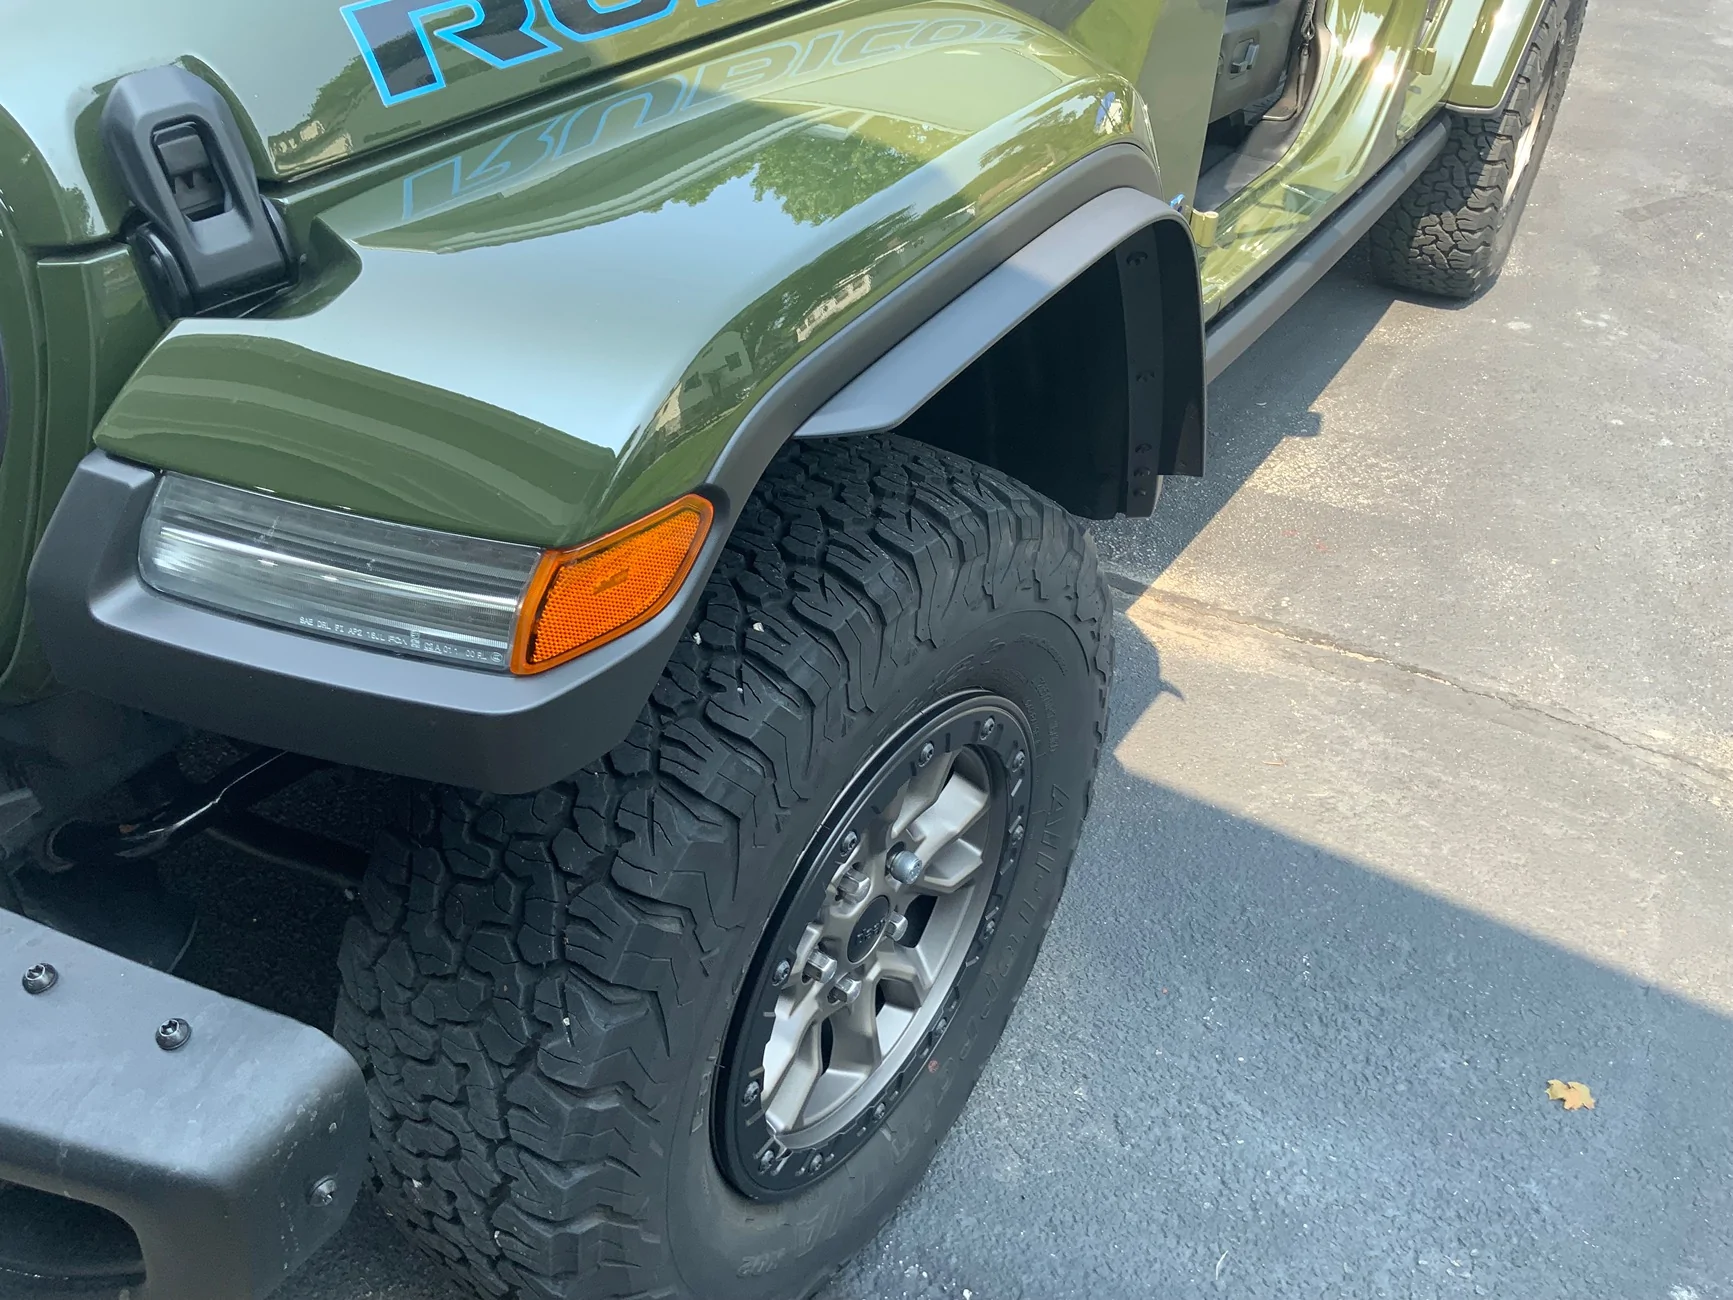
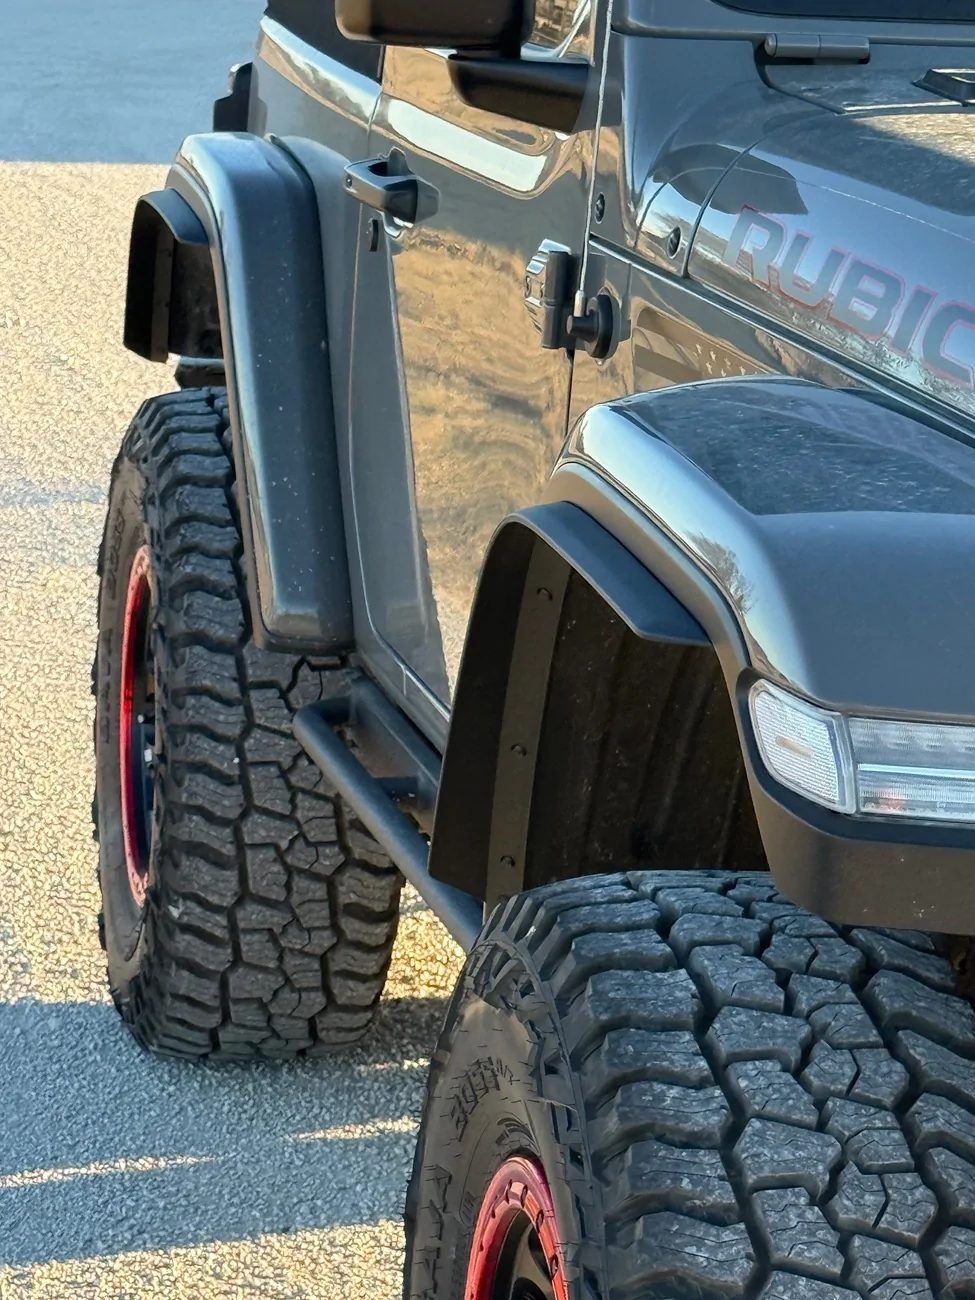
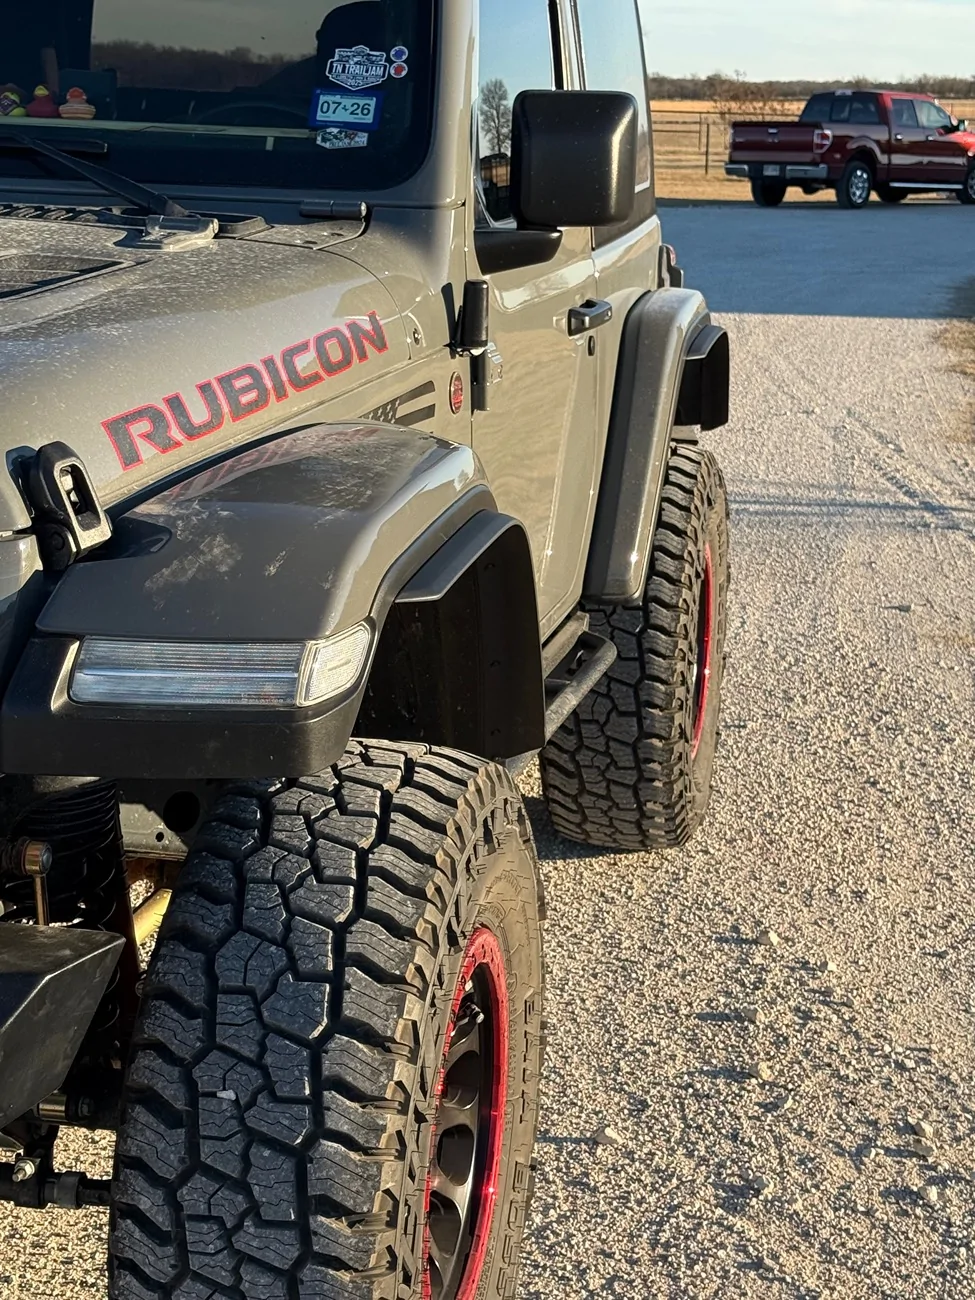
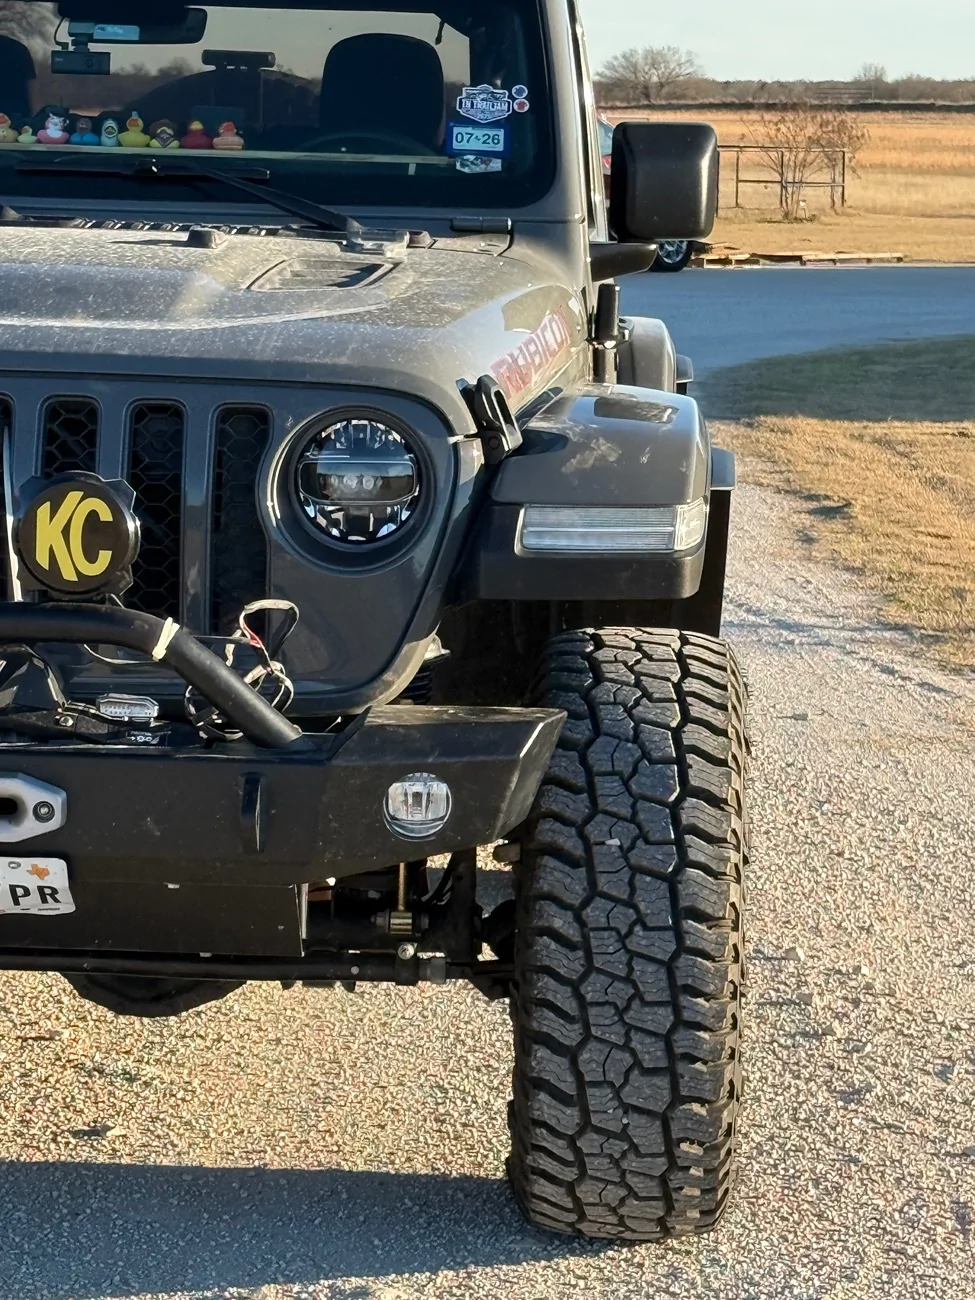
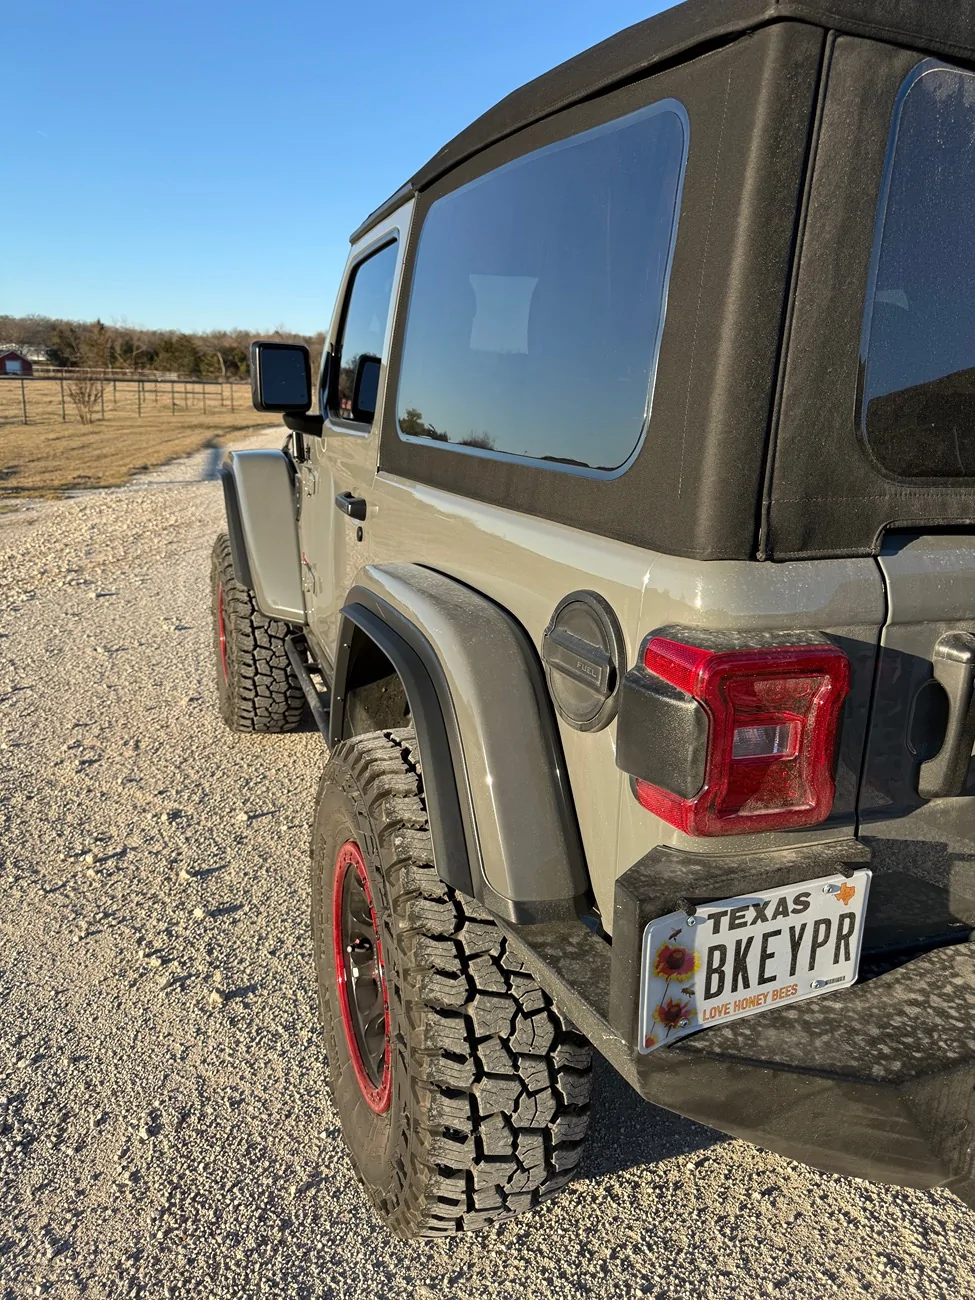
Helps a bit with splash control. More with overzealous leo who think every mm of tire should be completely under the vehicle.
Sponsored