DesertsJL
Well-Known Member
- Thread starter
- #1
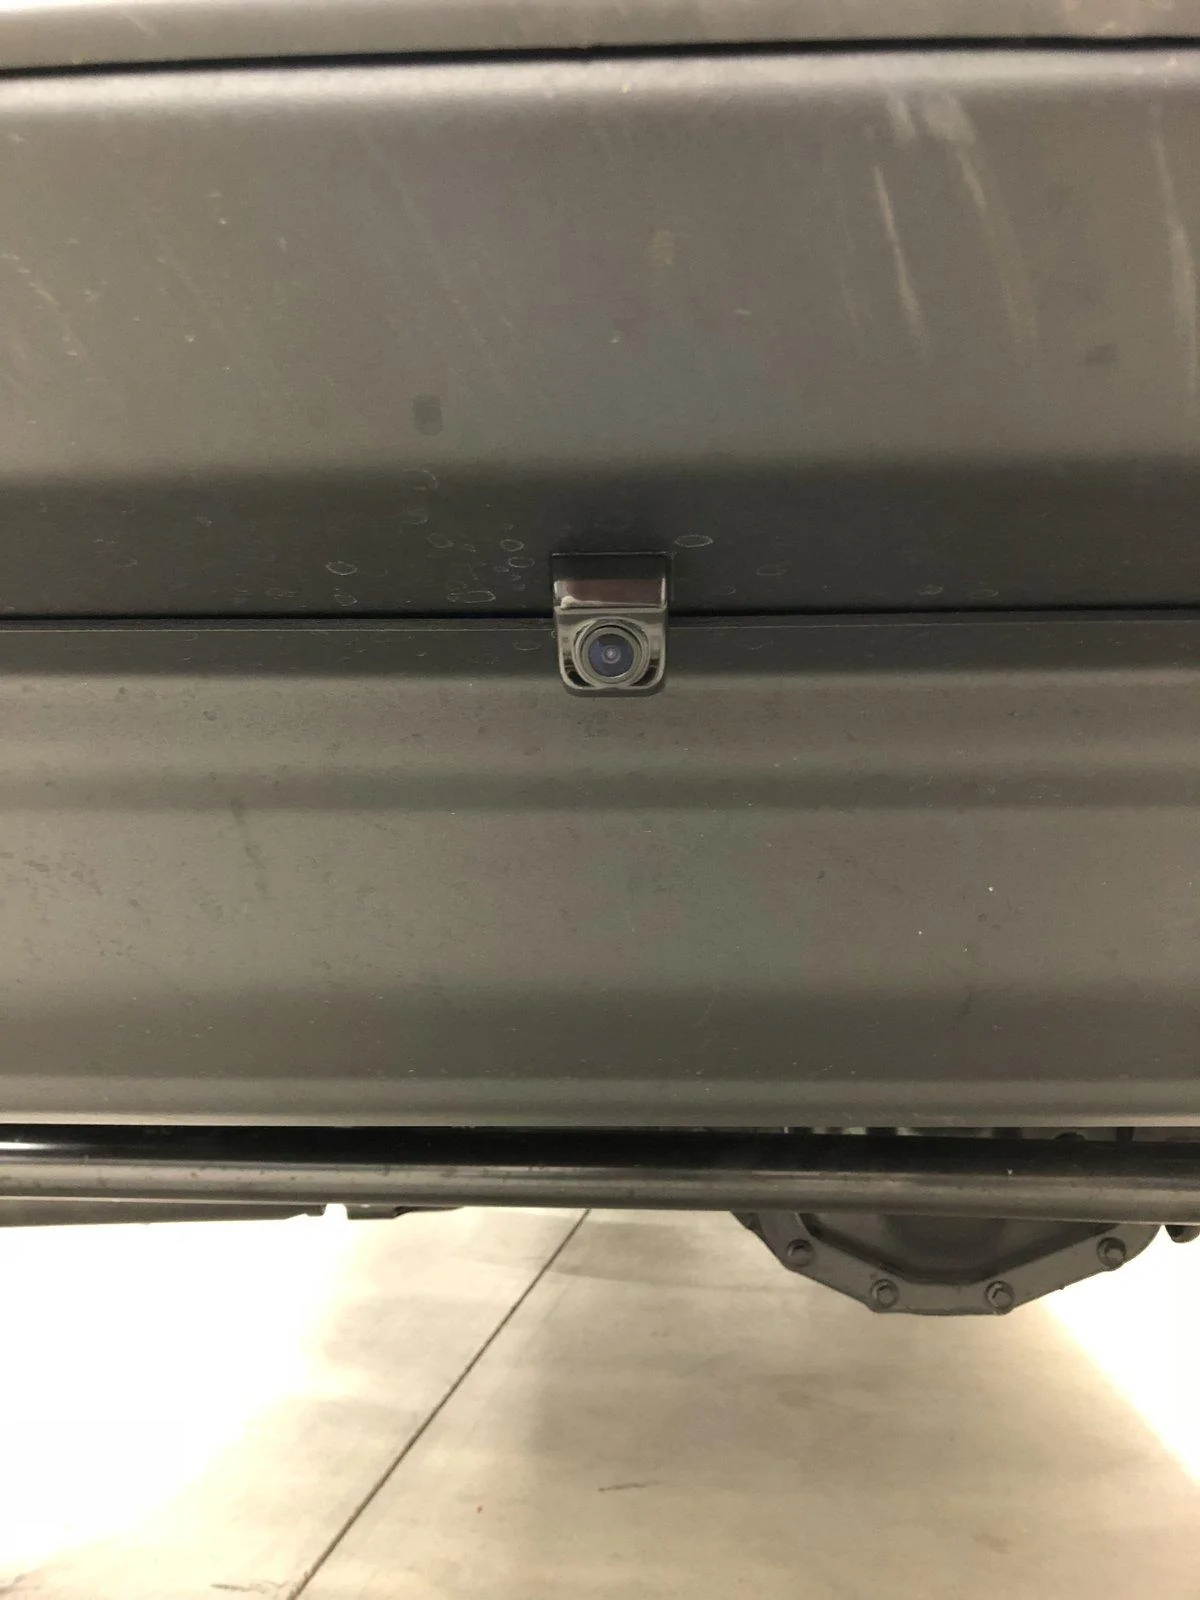
Just completed an install of this front facing camera. Went relatively smooth. I used the following camera that I purchased off Amazon.com and mounted it on the flat section on the bottom of the bumper. Overall difficulty is roughly a 4/10. Not too hard, just tedious and awkward.
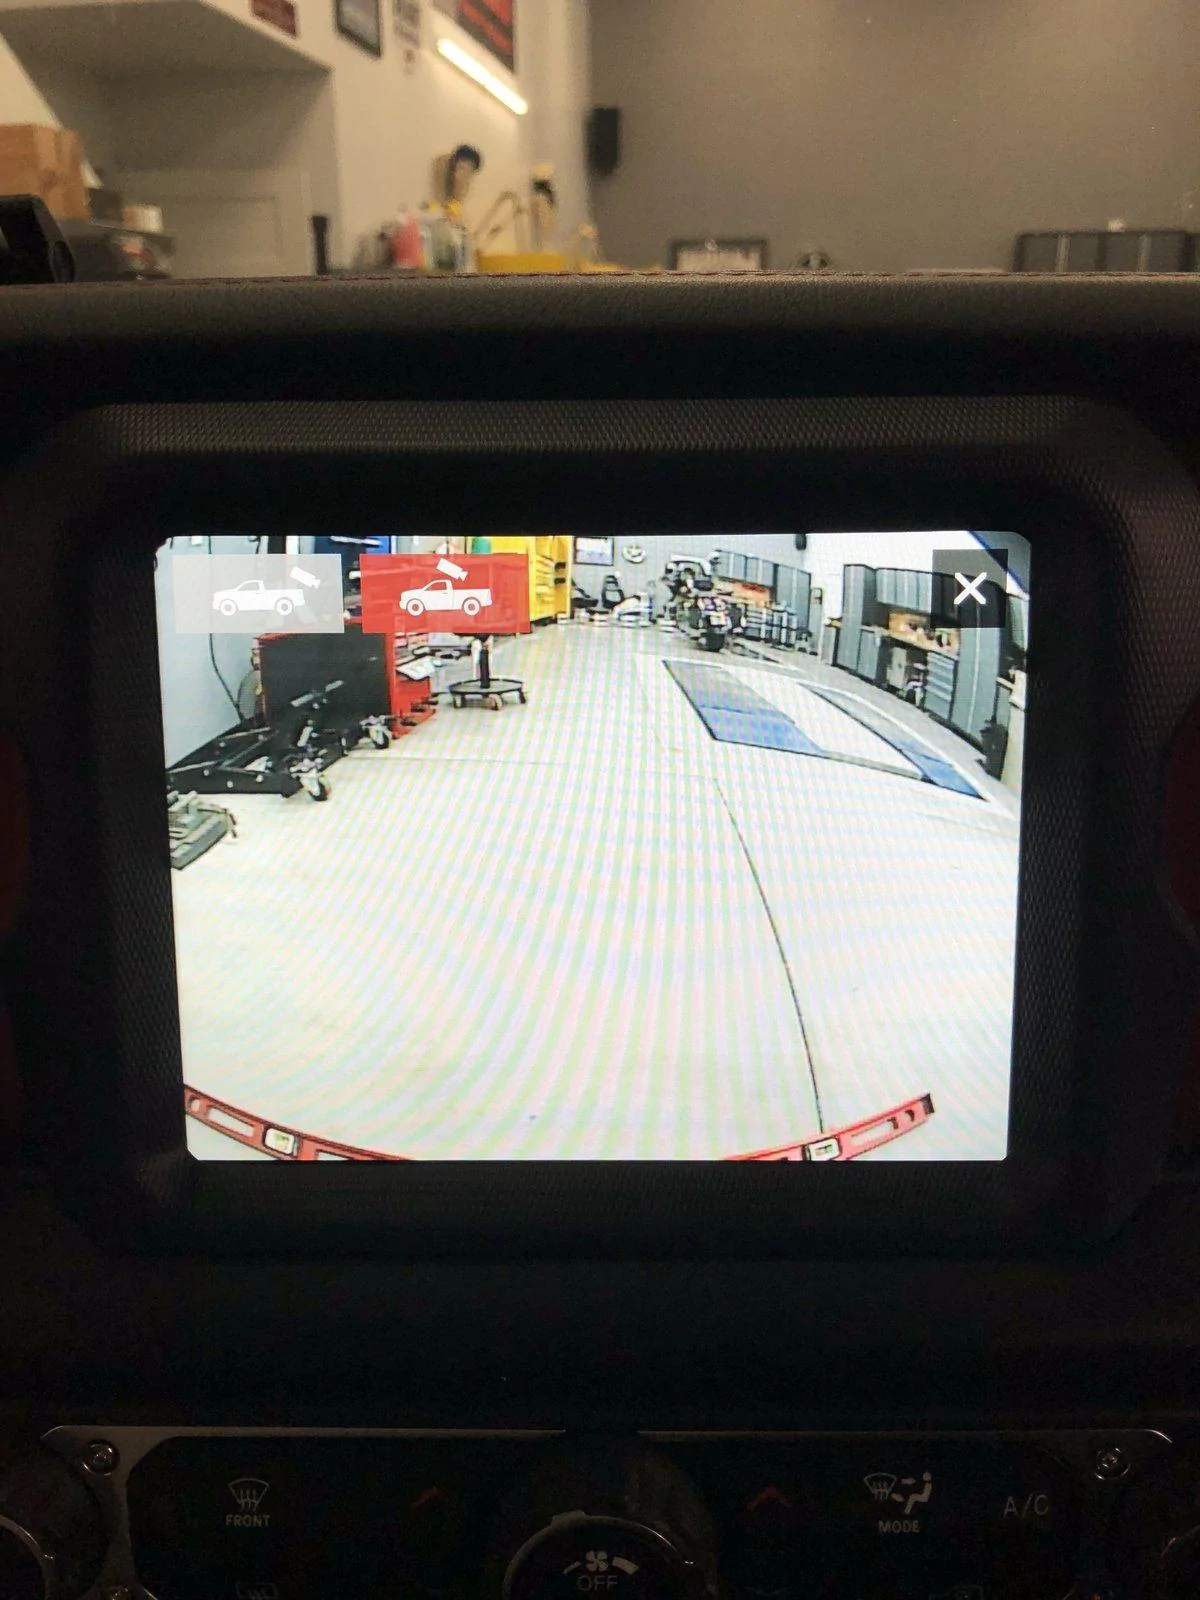
The camera is really small. Roughly 3/4”wide x 1”deep x 3/4”tall. It might be a little vulnerable if I smash the bumper against a rock, however it does sit back and out of the way. I bought this camera over several others that I saw for two reasons, glass lense and metal housing. Overall it’s pretty good quality. Not quite as clear as the rear camera, however I’d attribute that to the composite connection. The level in the picture was placed roughly 2” in front of the bumper.
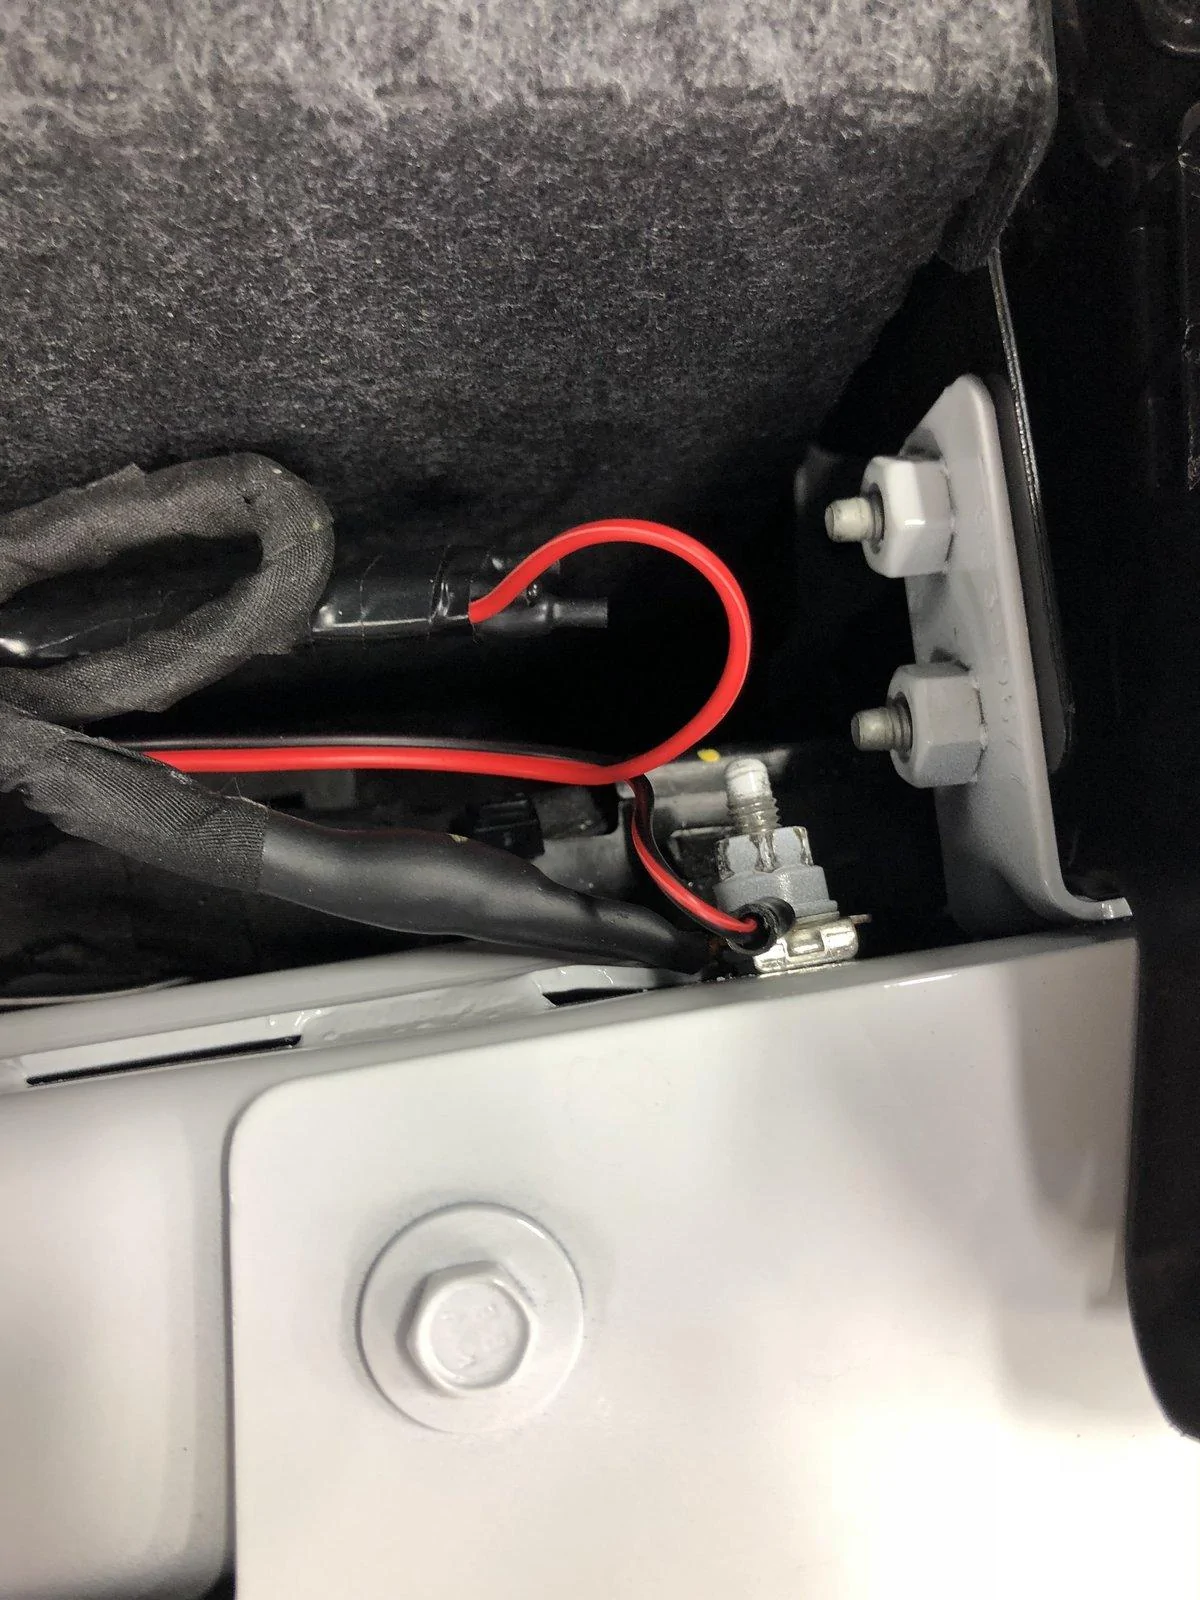
I pulled power from my aux4 connection under the hood. It was an unused circuit and if I ever need to use it I’ll just reconnect to a different power source. I chose to use the aux4 connection also because I don’t see the need to constantly run power to the camera if it’ll only be used sparingly. I soldered the power connection and heat shrinked it, soldered the ground ring to the wiring, and used dielectric grease on the composite camera and wiring connections.
Couple of tips.
1-HIGHLY, HIGHLY, HIGHLY recommend removing the passenger front fender. Makes the install and running the wiring so much easier. I can’t even imaging trying to run the wires with the fender and fender liner in place. Removing the fender allowed me to keep everything nice and tight.
2-Use a hanger and feed the wiring from the inside to the outside through the wiring boot(grommet) on the passenger side. It’s too tight to try and feed from the engine bay to the inside of the cab.
3-Temporarily hook up power and check your connections including the alignment of the camera before you tighten things up. I hooked everything up and turned on the radio so that I could verify the correct pinout of the Tazer cable connection and make sure that it all worked. I’d hate to button everything up only to find that something was incorrect.
Total cost, roughly $60. Will I ever use the camera, probably, though I’m not sure how often. But it was a fun little add on and project.
https://www.amazon.com/COOLINT-CT-107B-Housing-520TVL-Camera/dp/B00P914PMY

The camera is really small. Roughly 3/4”wide x 1”deep x 3/4”tall. It might be a little vulnerable if I smash the bumper against a rock, however it does sit back and out of the way. I bought this camera over several others that I saw for two reasons, glass lense and metal housing. Overall it’s pretty good quality. Not quite as clear as the rear camera, however I’d attribute that to the composite connection. The level in the picture was placed roughly 2” in front of the bumper.
I pulled power from my aux4 connection under the hood. It was an unused circuit and if I ever need to use it I’ll just reconnect to a different power source. I chose to use the aux4 connection also because I don’t see the need to constantly run power to the camera if it’ll only be used sparingly. I soldered the power connection and heat shrinked it, soldered the ground ring to the wiring, and used dielectric grease on the composite camera and wiring connections.
Couple of tips.
1-HIGHLY, HIGHLY, HIGHLY recommend removing the passenger front fender. Makes the install and running the wiring so much easier. I can’t even imaging trying to run the wires with the fender and fender liner in place. Removing the fender allowed me to keep everything nice and tight.
2-Use a hanger and feed the wiring from the inside to the outside through the wiring boot(grommet) on the passenger side. It’s too tight to try and feed from the engine bay to the inside of the cab.
3-Temporarily hook up power and check your connections including the alignment of the camera before you tighten things up. I hooked everything up and turned on the radio so that I could verify the correct pinout of the Tazer cable connection and make sure that it all worked. I’d hate to button everything up only to find that something was incorrect.
Total cost, roughly $60. Will I ever use the camera, probably, though I’m not sure how often. But it was a fun little add on and project.
https://www.amazon.com/COOLINT-CT-107B-Housing-520TVL-Camera/dp/B00P914PMY

Sponsored