regriff
Member
- Thread starter
- #1
I recently traded in my JK for a JL and needed to find a new home for my ARB single compressor. Criteria for this install:
Parts list:
I hope this is helpful to someone! Happy to field any questions.
Ryan


- Avoid the engine compartment
- Avoid running wires or air hoses from inside the Jeep to the outside
- Not spend excessive money on mounting brackets
Parts list:
- ARB Single Compressor
- Next Venture Motorsports Fuel Door Air Fitting Kit
- 3/8" NPT (M) x 1/4" NPT (F) Reducer. (Qty 2) (if using the provided air coupler, only 1 is needed)
- Viair 92804 18" Stainless Steel Braided Leader Hose without Check Valve
- Slip Joint Pliers
- Torx Set
- Dremel
- PTFE Thread Seal Tape
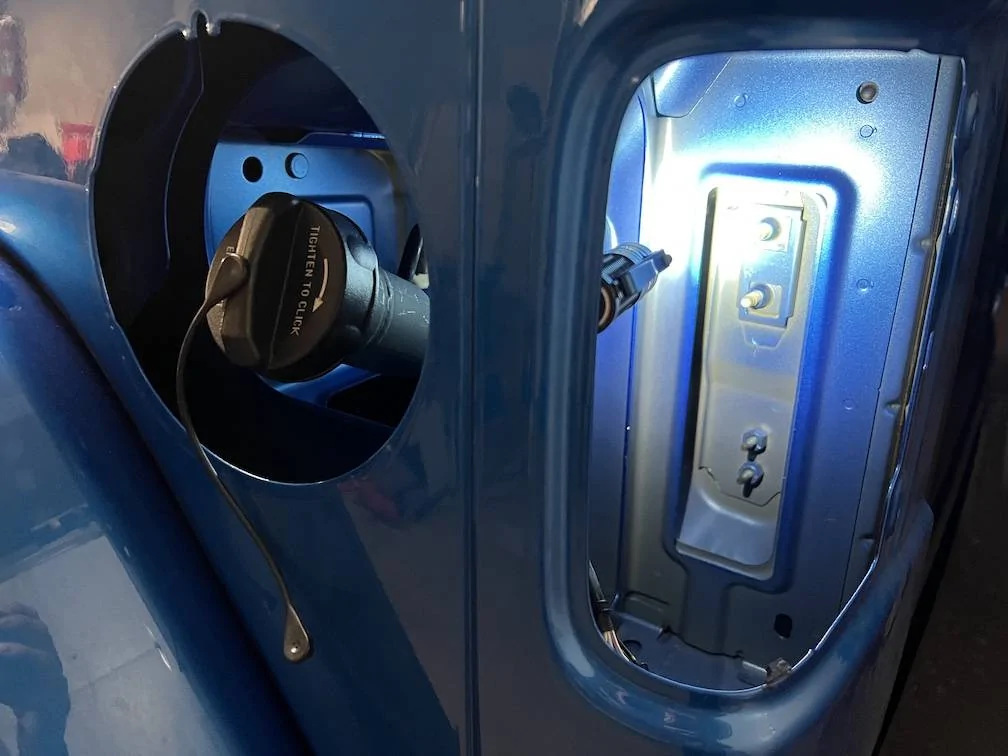
- Remove Tail light & Fuel Door Housing
- Remove Driver's side tail light by removing the single screw under the access panel inside Jeep behind the tail light
- Disconnect wiring harness from tail light
- Remove fuel cap (and retaining strap)
- Remove fuel door housing (4 tabs, depressed using trim removal tool - you can see two of them through the rear tail light cavity)
- Remove gasket from back of fuel door housing (save for reinstall)
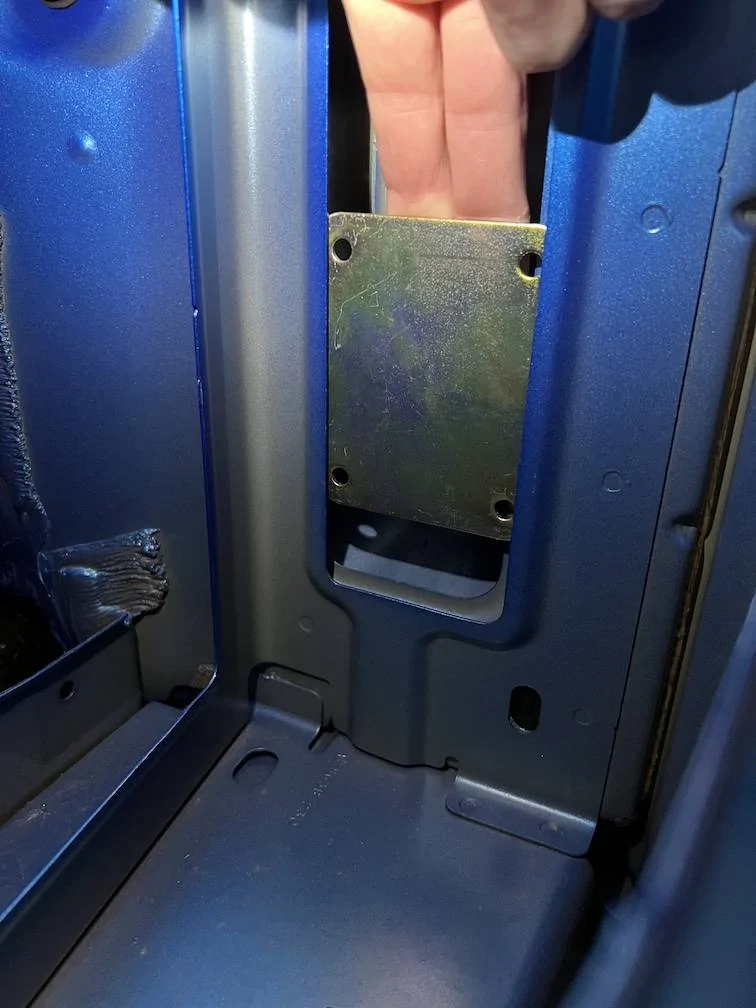
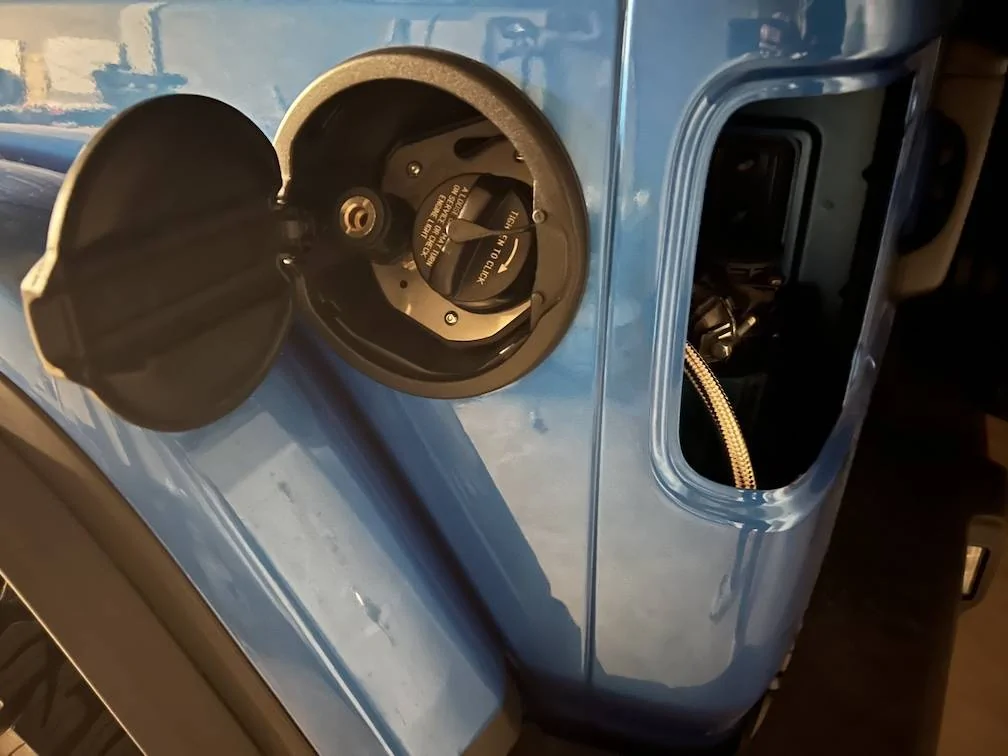
- Prepare Fuel Door Housing
- Trace Next Venture Motorsports Fuel Door Air Fitting Kit plate onto the back of the fuel door housing, including bolt holes
- Take a deep breath and cut out the pattern and drill the bolt holes
- Secure plate to inside of fuel door housing with provided bolts
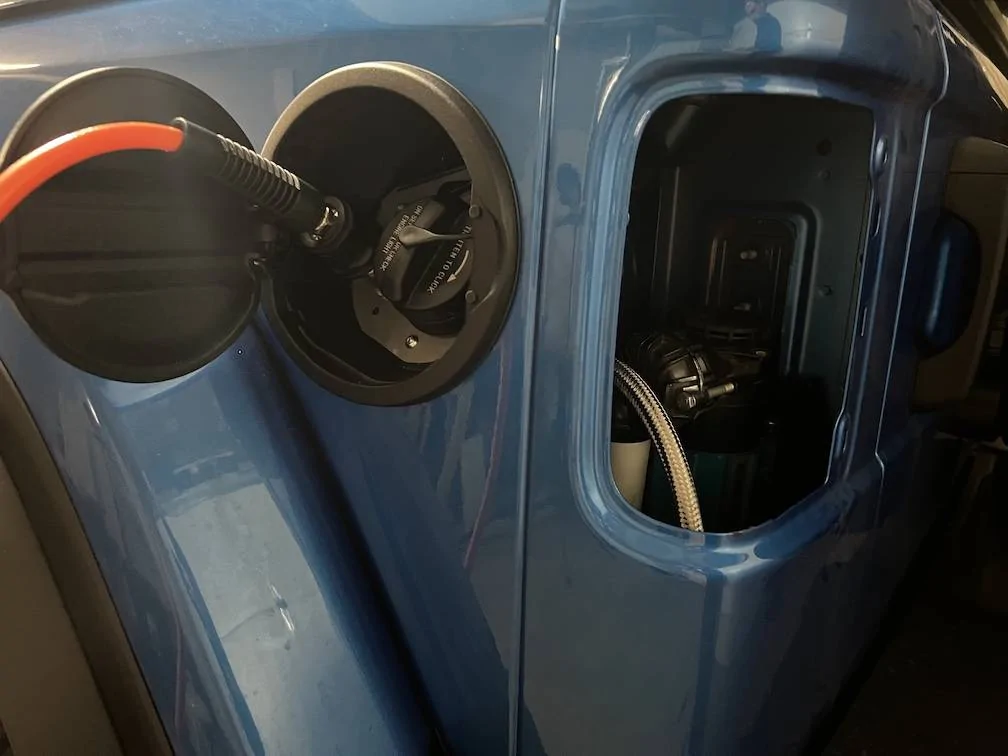
- Insert a reducer into both sides of the Next Venture Motorsports air supply hardware (rear side only if using supplied coupler)
- Connect air coupler with PTFE tape to front of air supply hardware
- Connect hose to backside of air supply hardware and reducer
- Insert Next Venture Motorsports provided air kit hardware through plate
- Secure with supplied ring nut
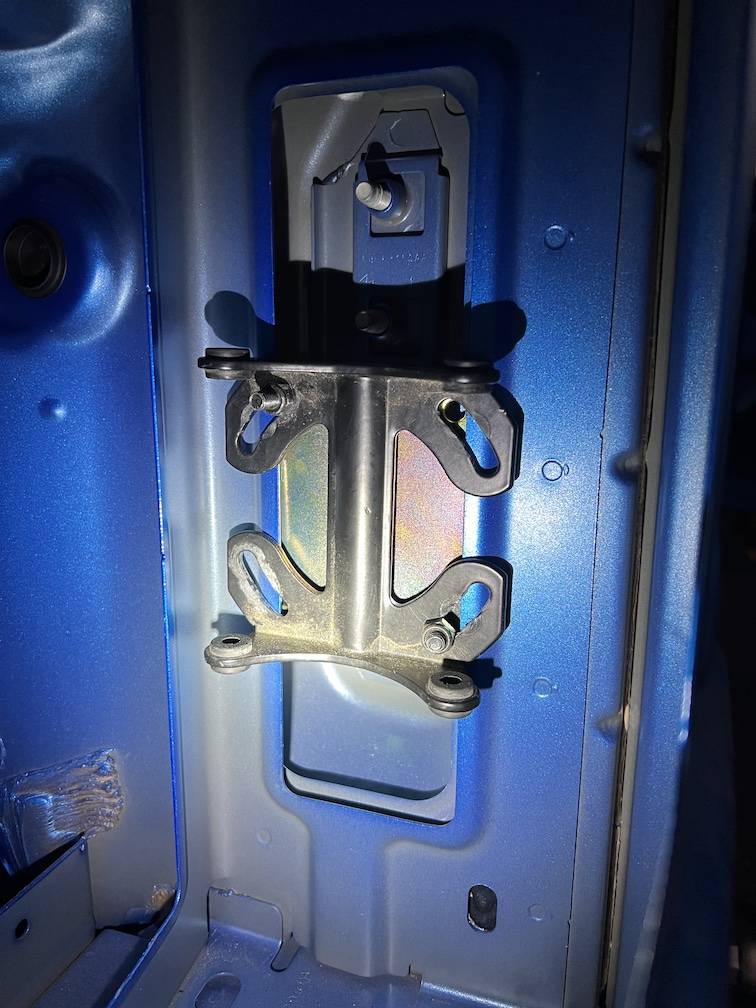
- ARB Compressor
- Use supplied bracket and slide behind cavity wall in tail light cavity
- Secure compressor mount to bracket
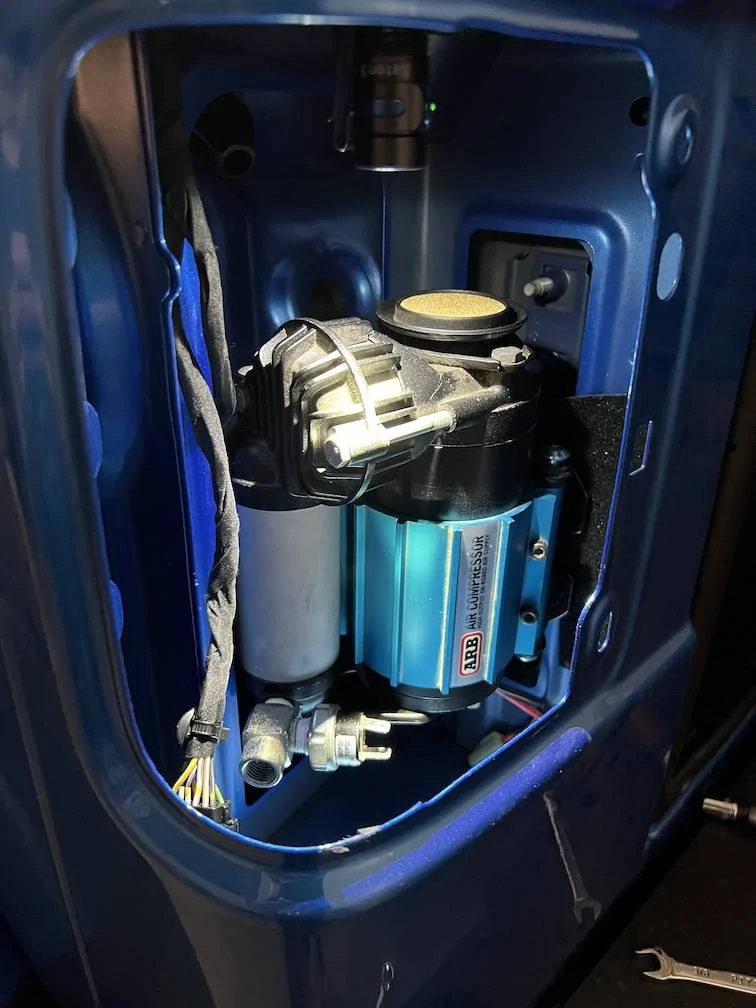
- Secure compressor to mount
- Connect air hose to compressor
- Connect power (I ran power from starter battery beneath driver side panels and then down through existing wire access point into tail light cavity)
- Finishing up
- Reattach gasket to fuel door housing and Next Venture Motorsports plate
- Reattach fuel cap retaining strap
- Reinsert fuel door housing
I hope this is helpful to someone! Happy to field any questions.
Ryan
Sponsored
