OP
OP
WontonJLUR
Well-Known Member
- First Name
- Matt
- Joined
- Dec 26, 2018
- Threads
- 20
- Messages
- 485
- Reaction score
- 796
- Location
- Suffolk, VA
- Vehicle(s)
- 2019 JLU Rubicon
- Build Thread
- Link
- Thread starter
- #121
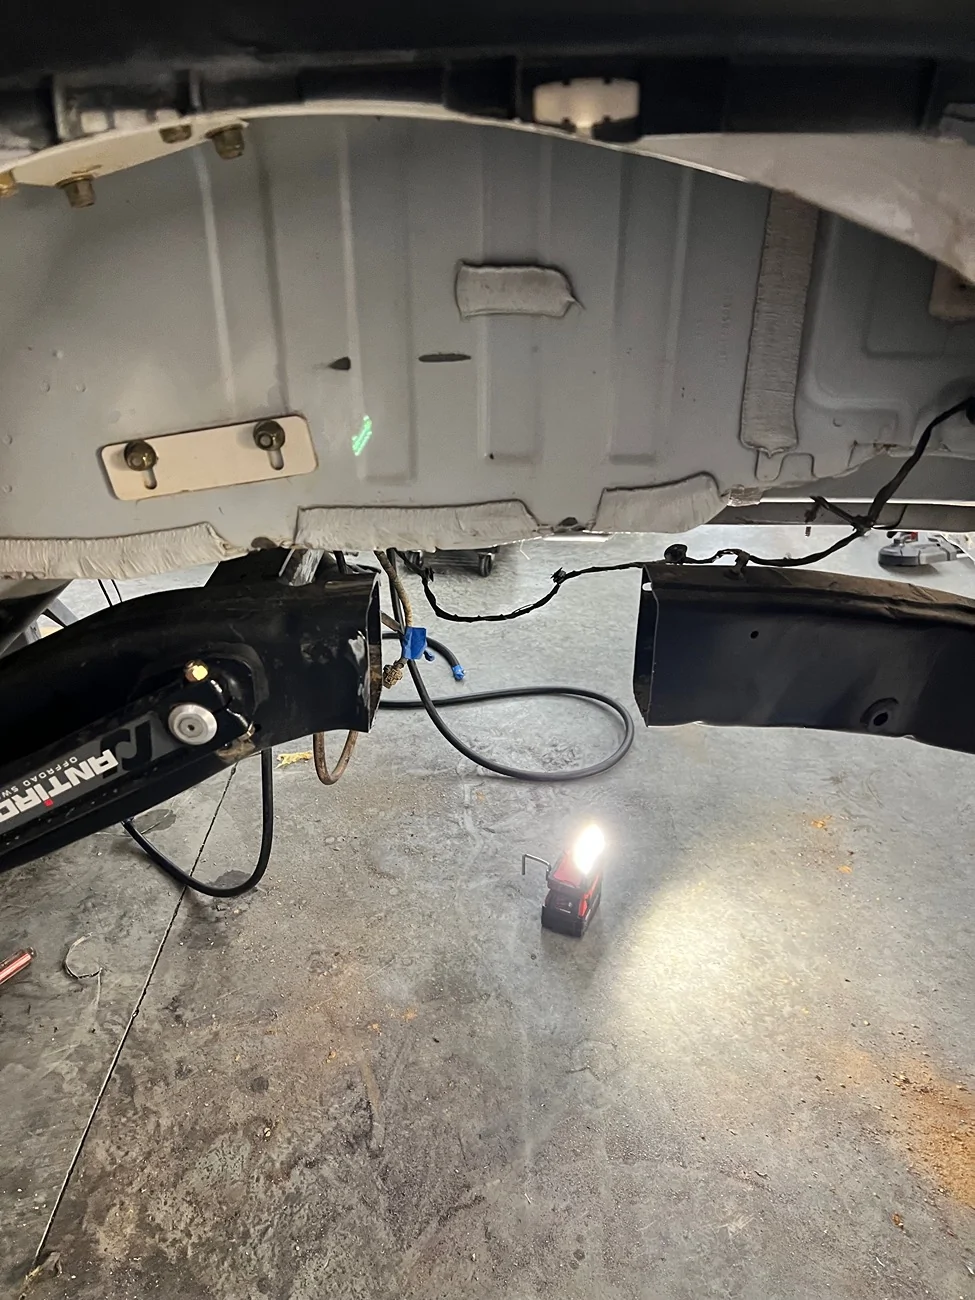
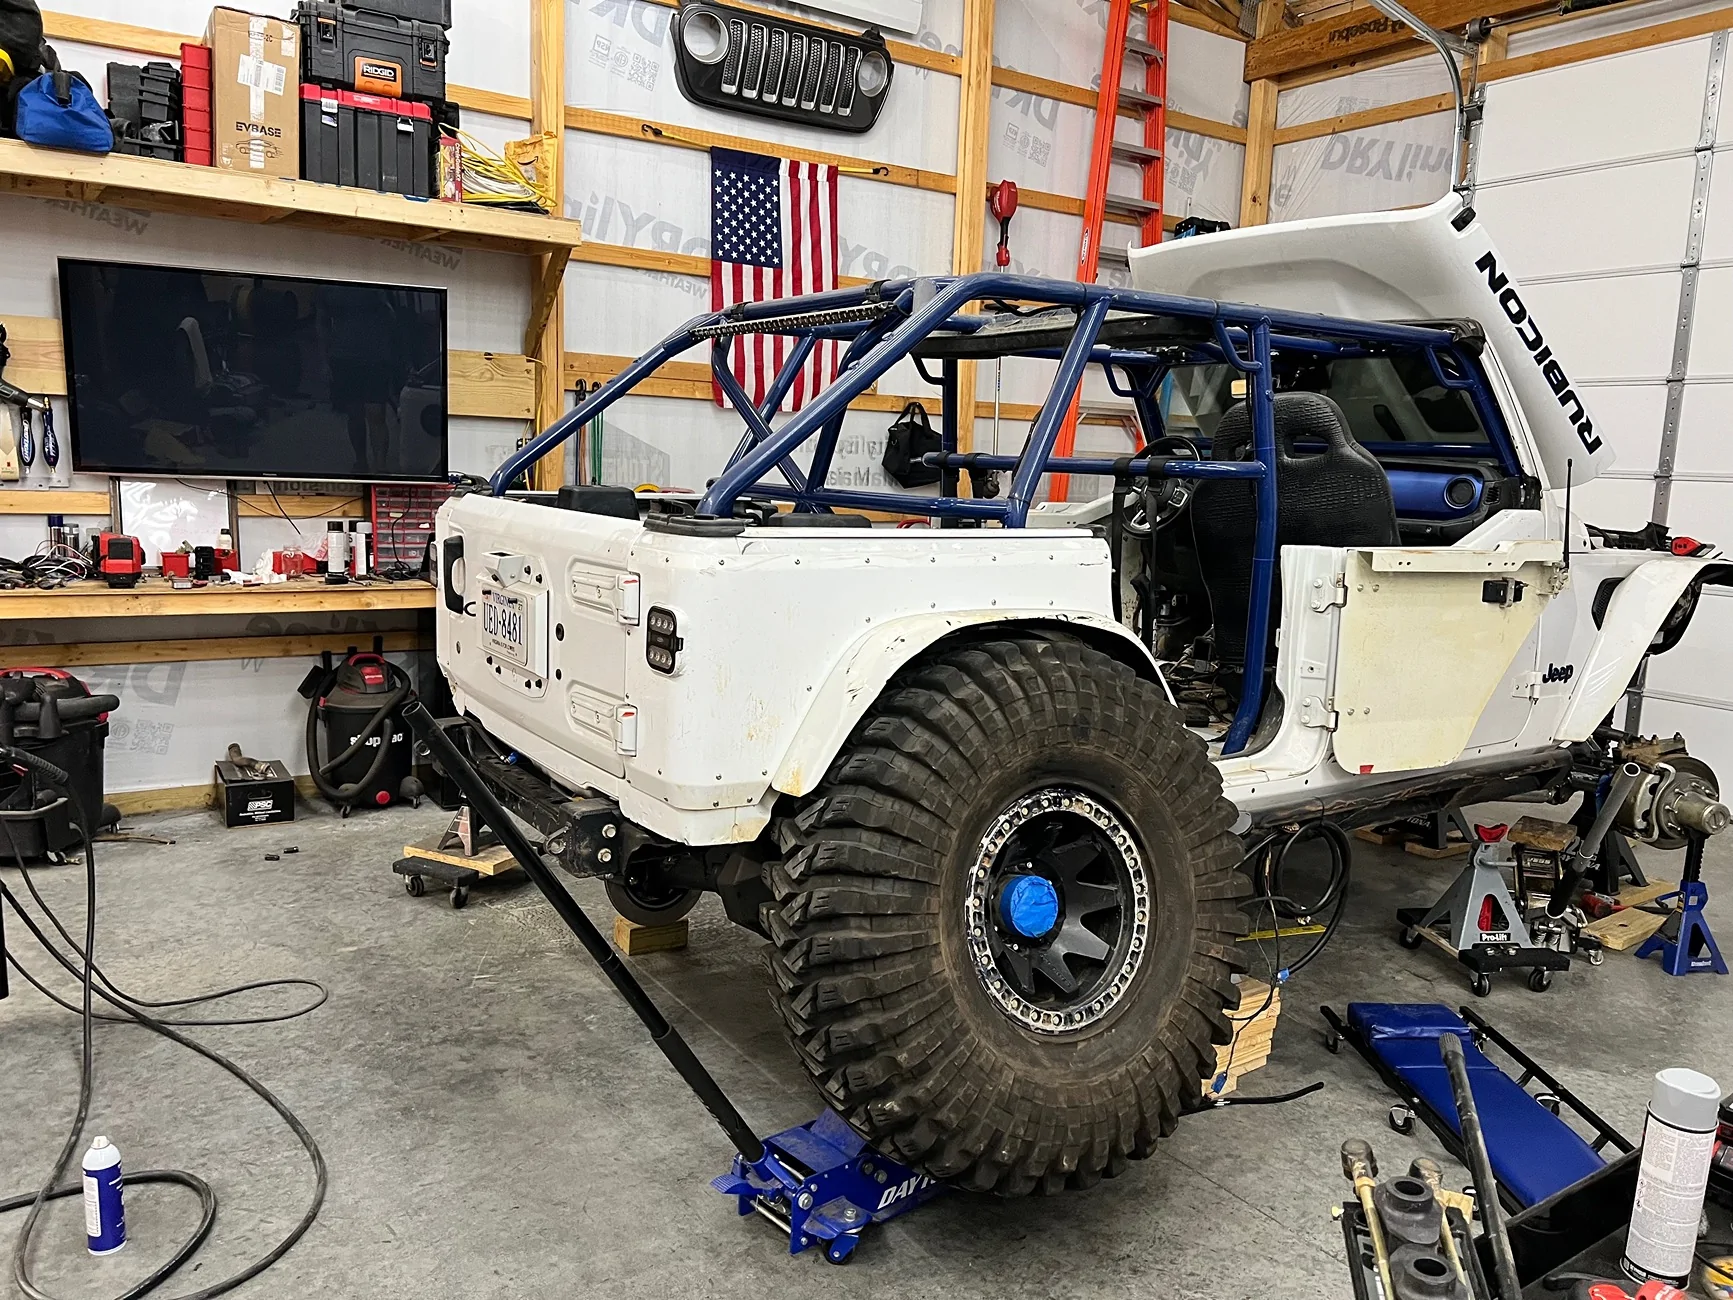
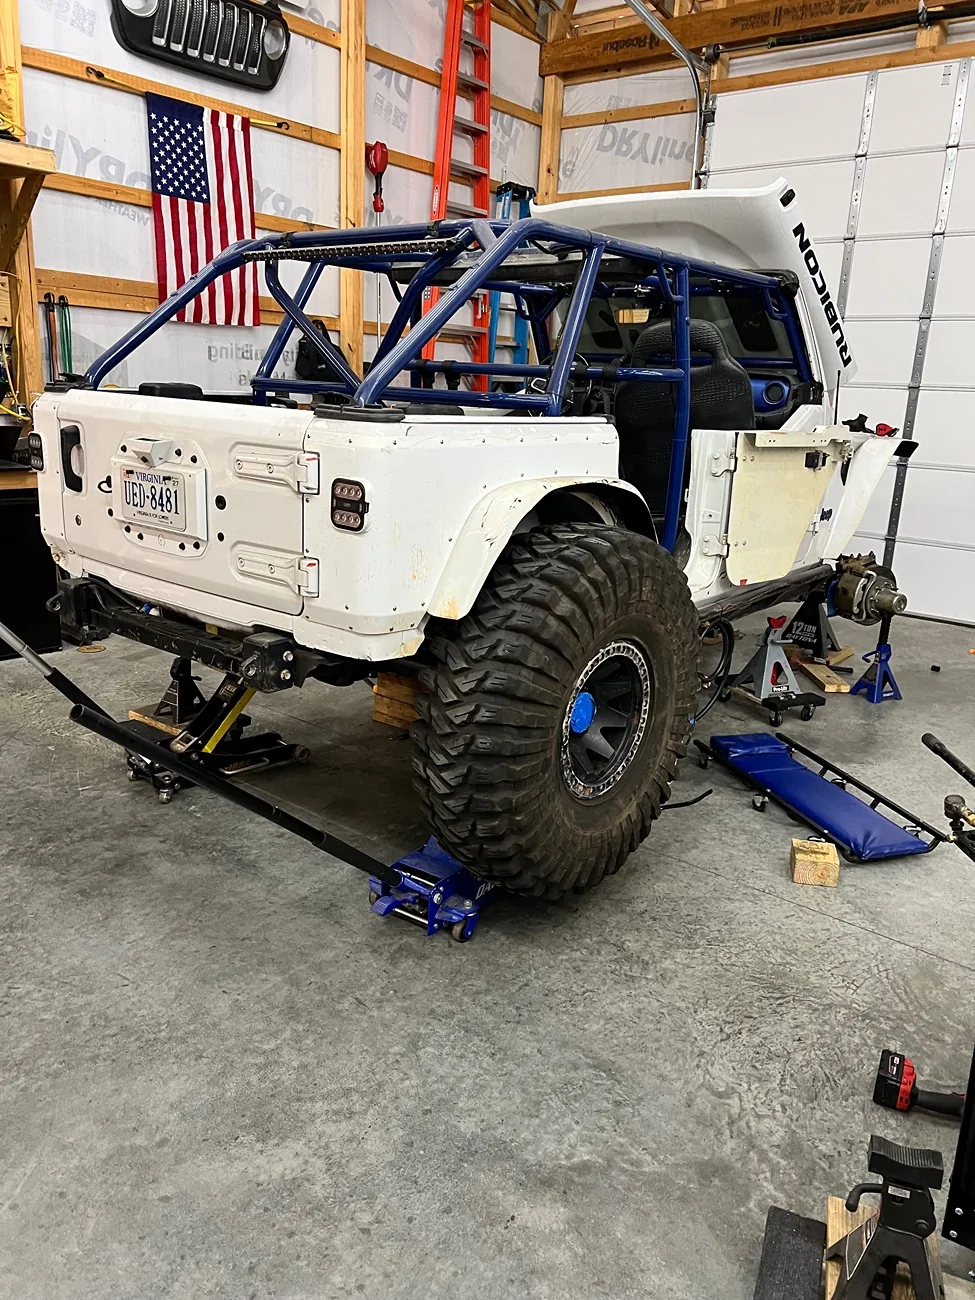
Been a while since I’ve updated this.
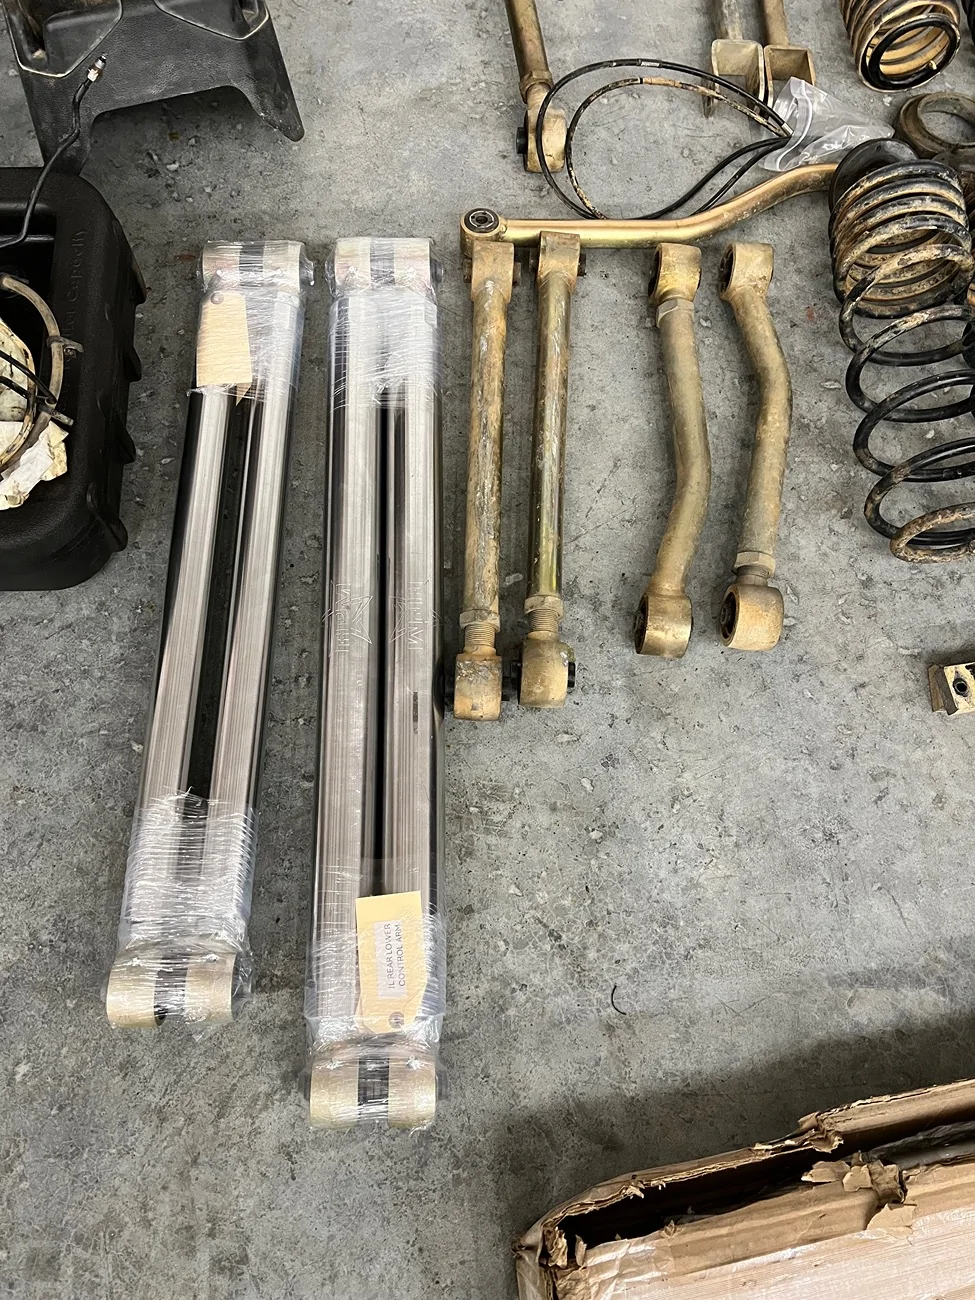
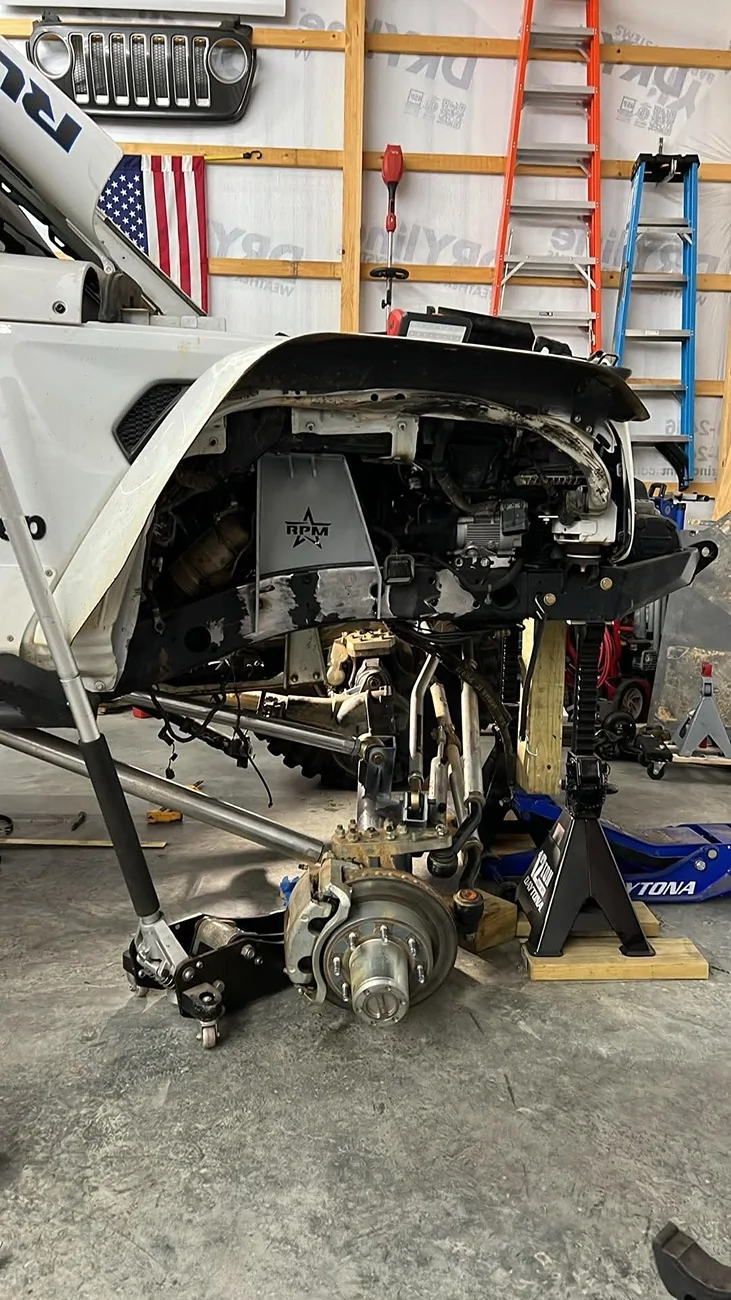
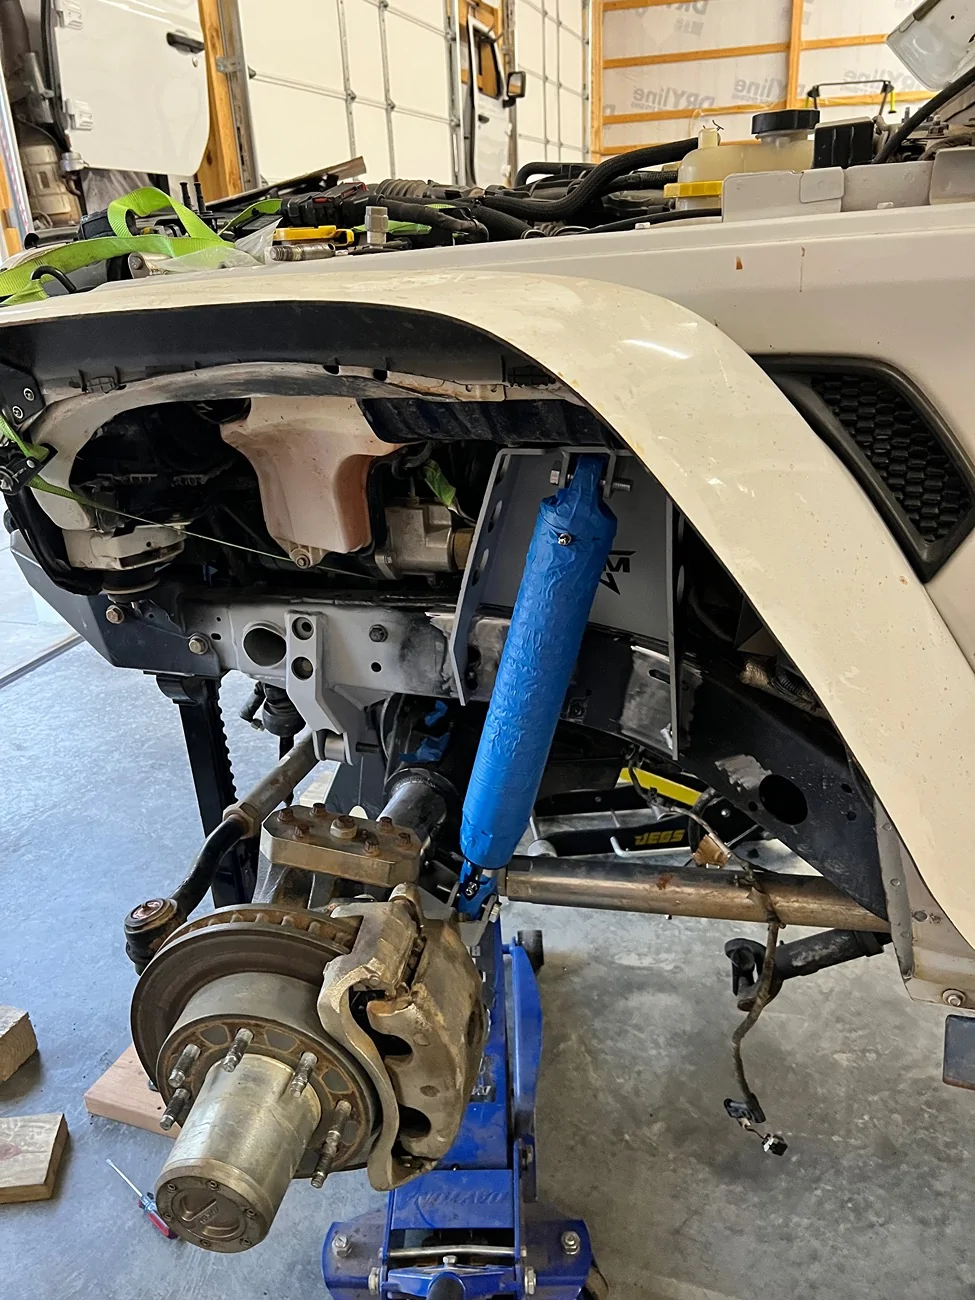
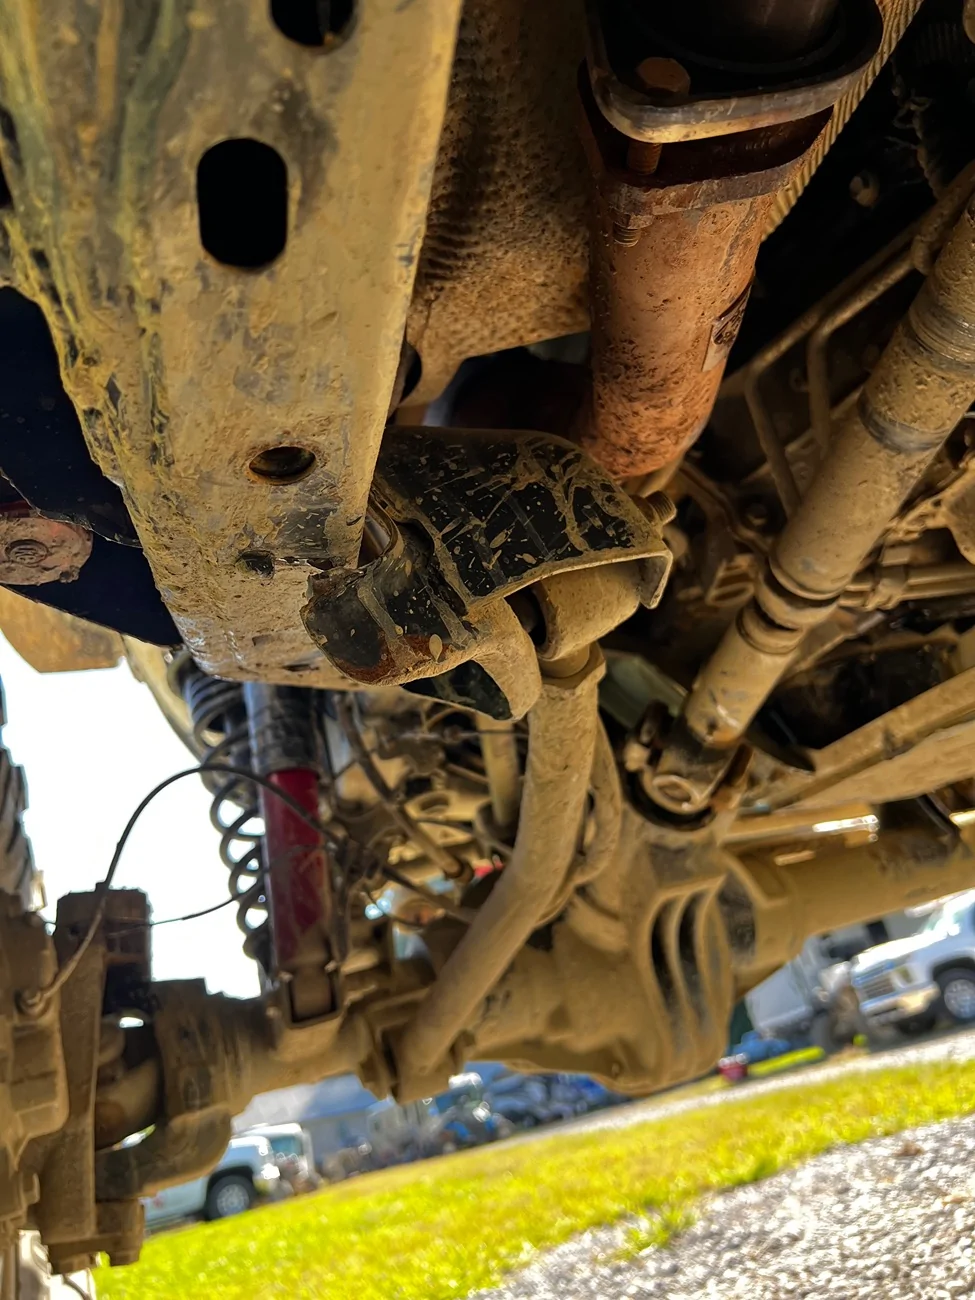
few months ago, I smoked a ditch while night wheeling. Bent the front lower control arm and partially tore the mount off the frame.

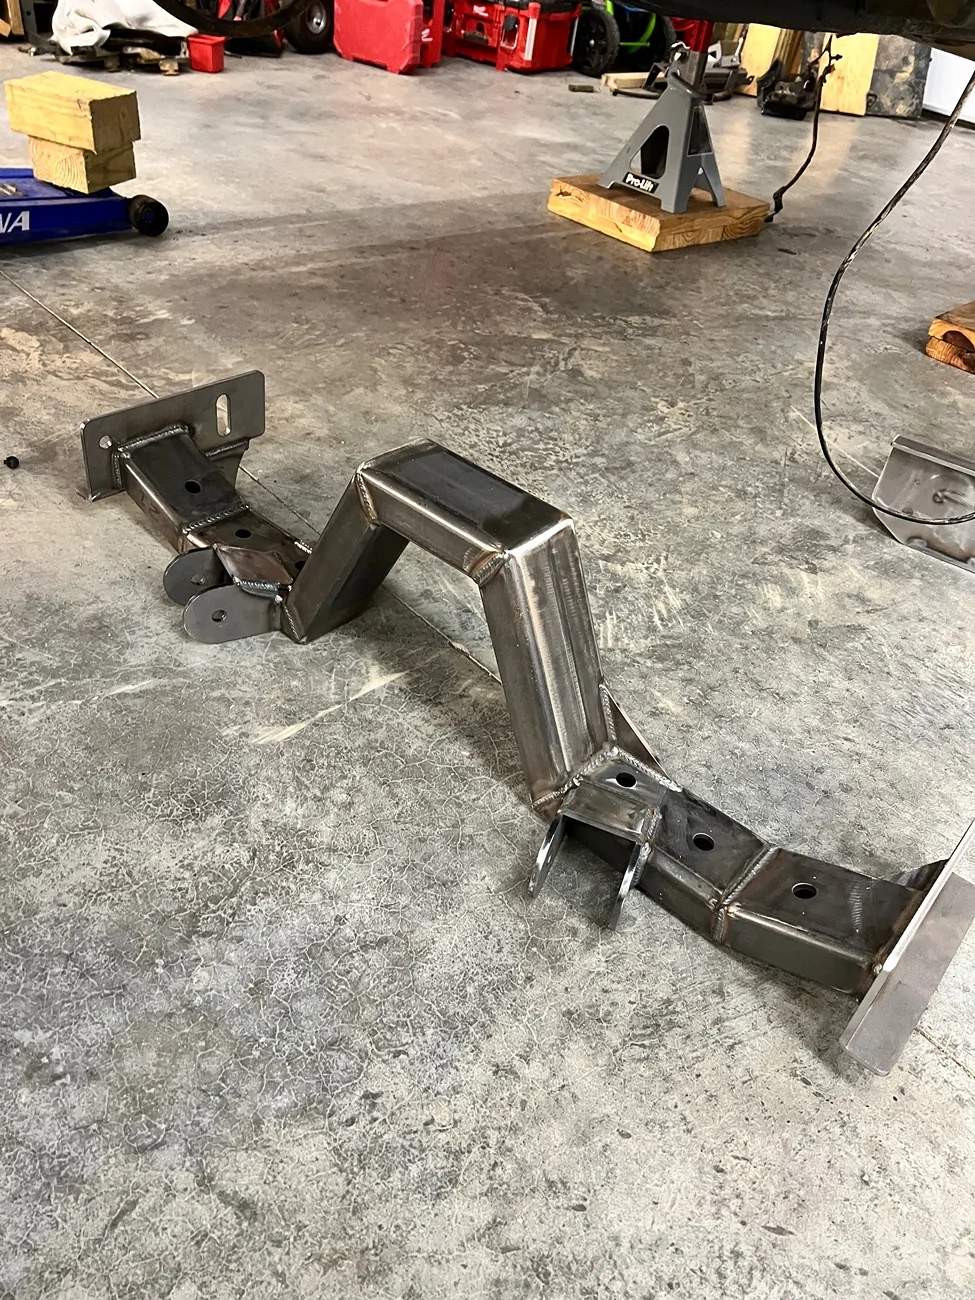
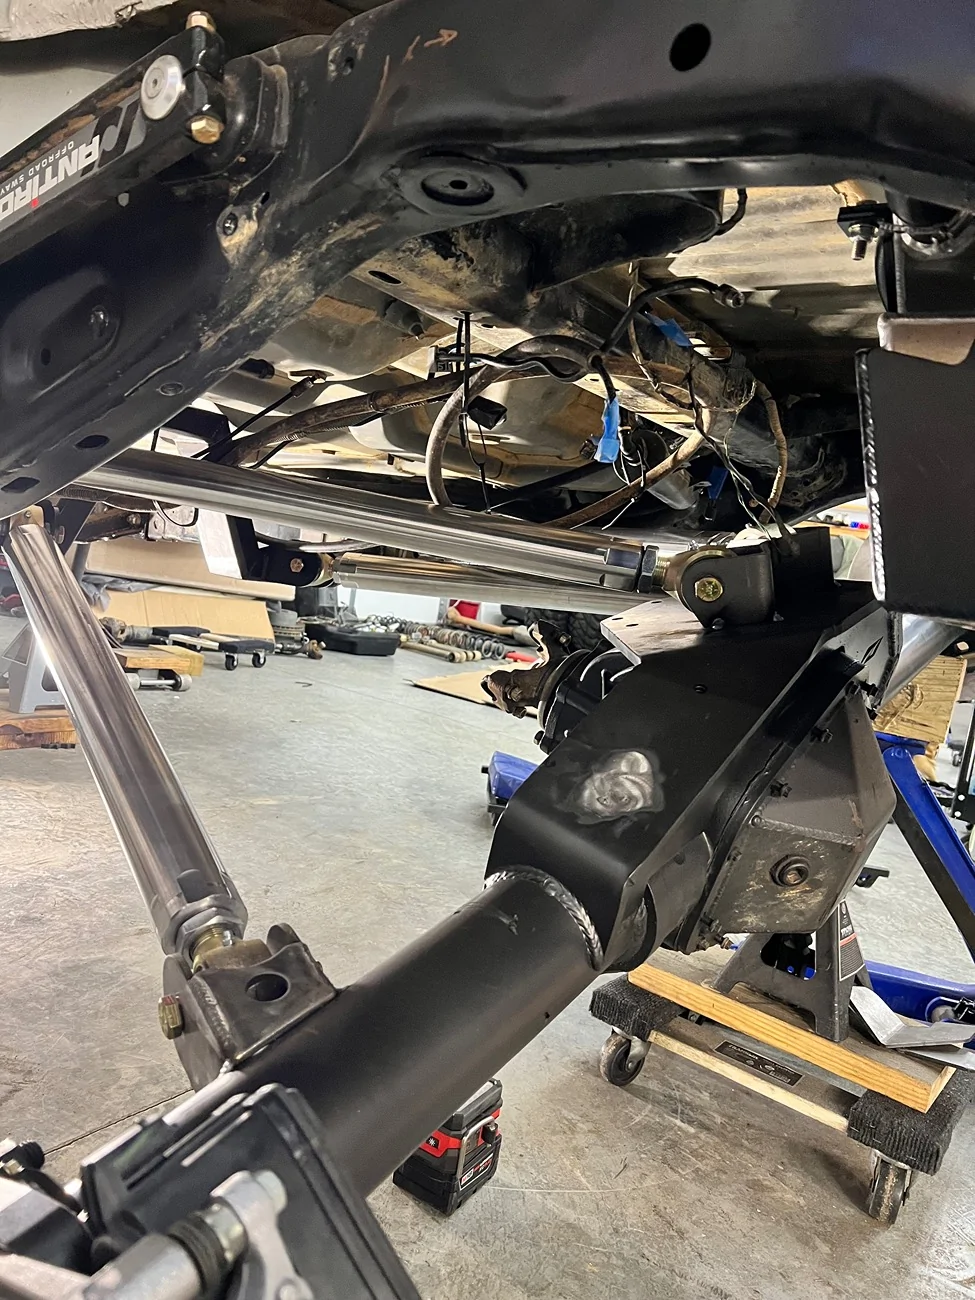
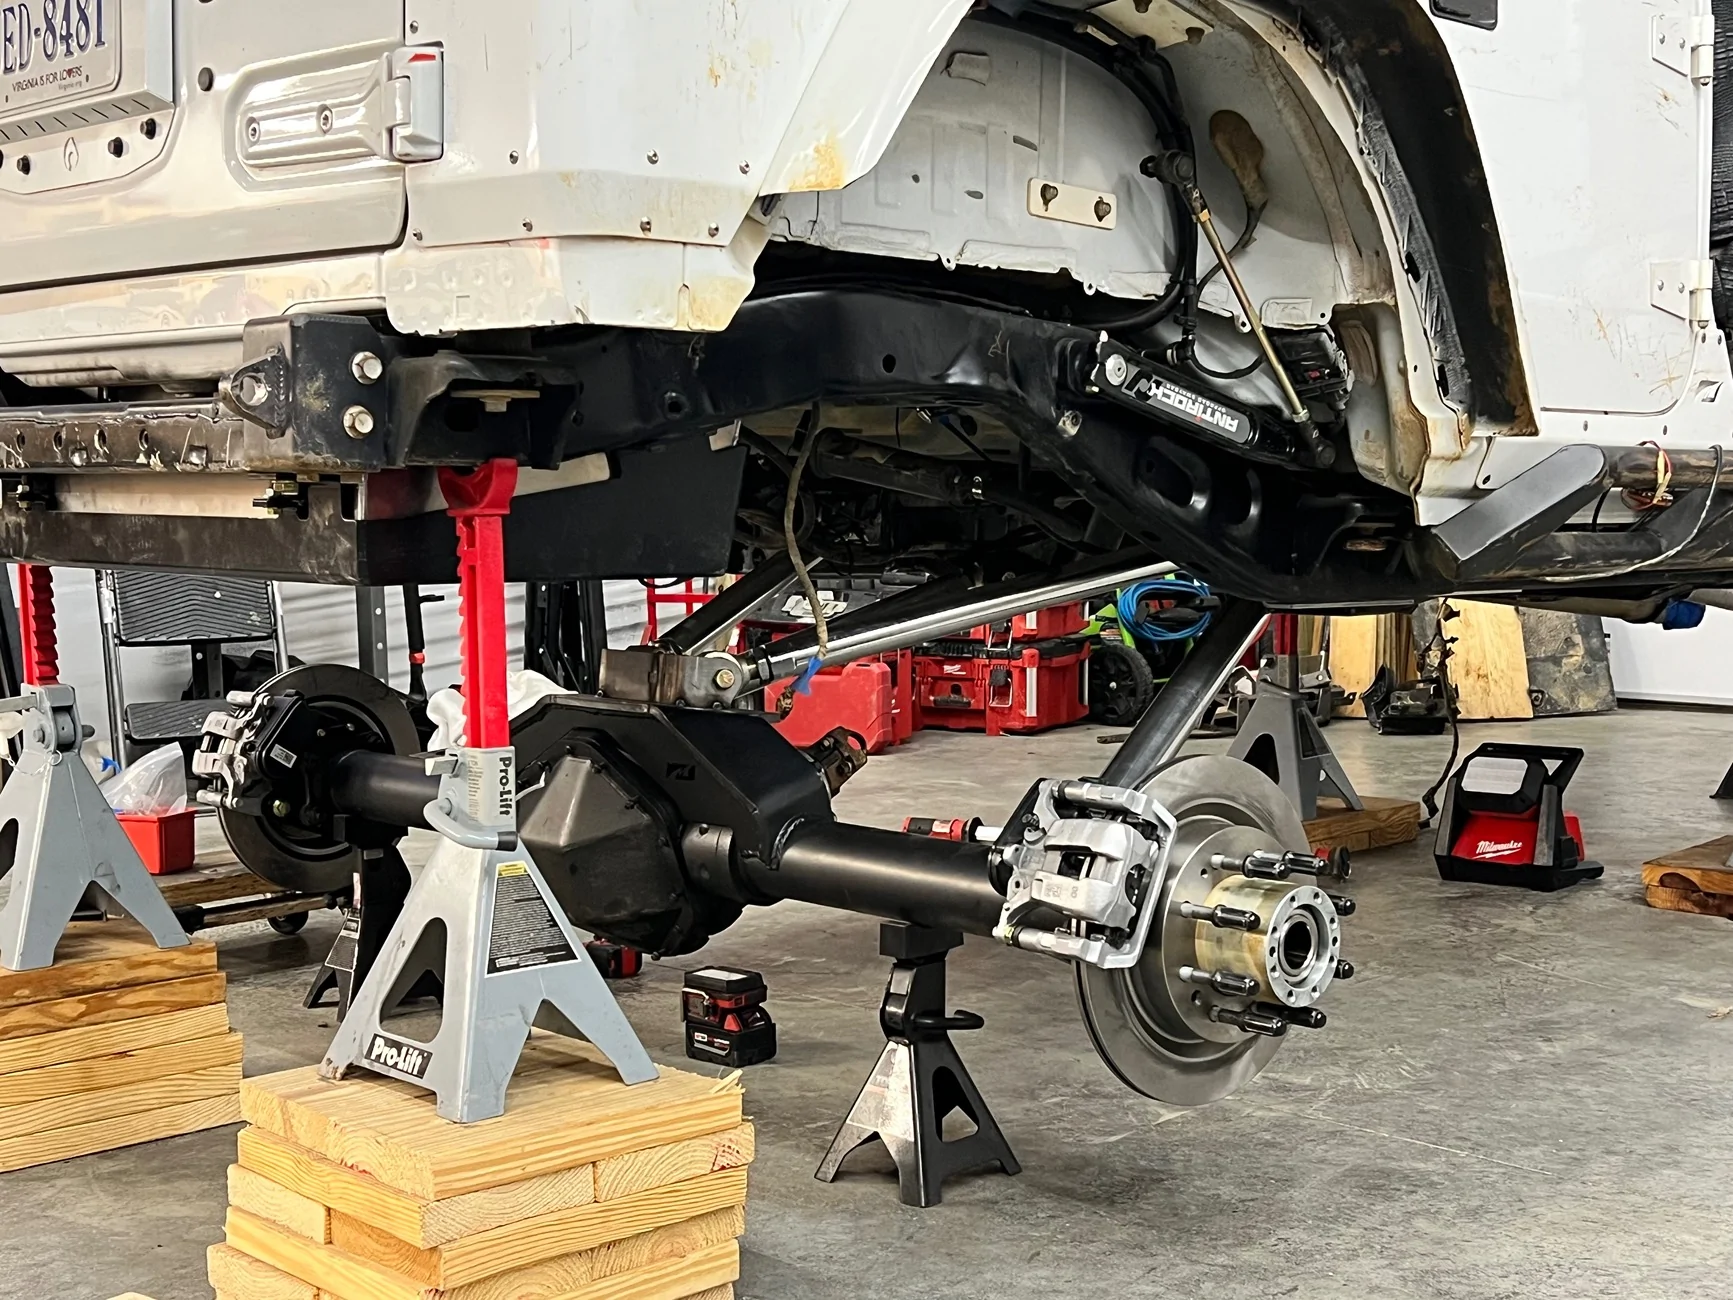
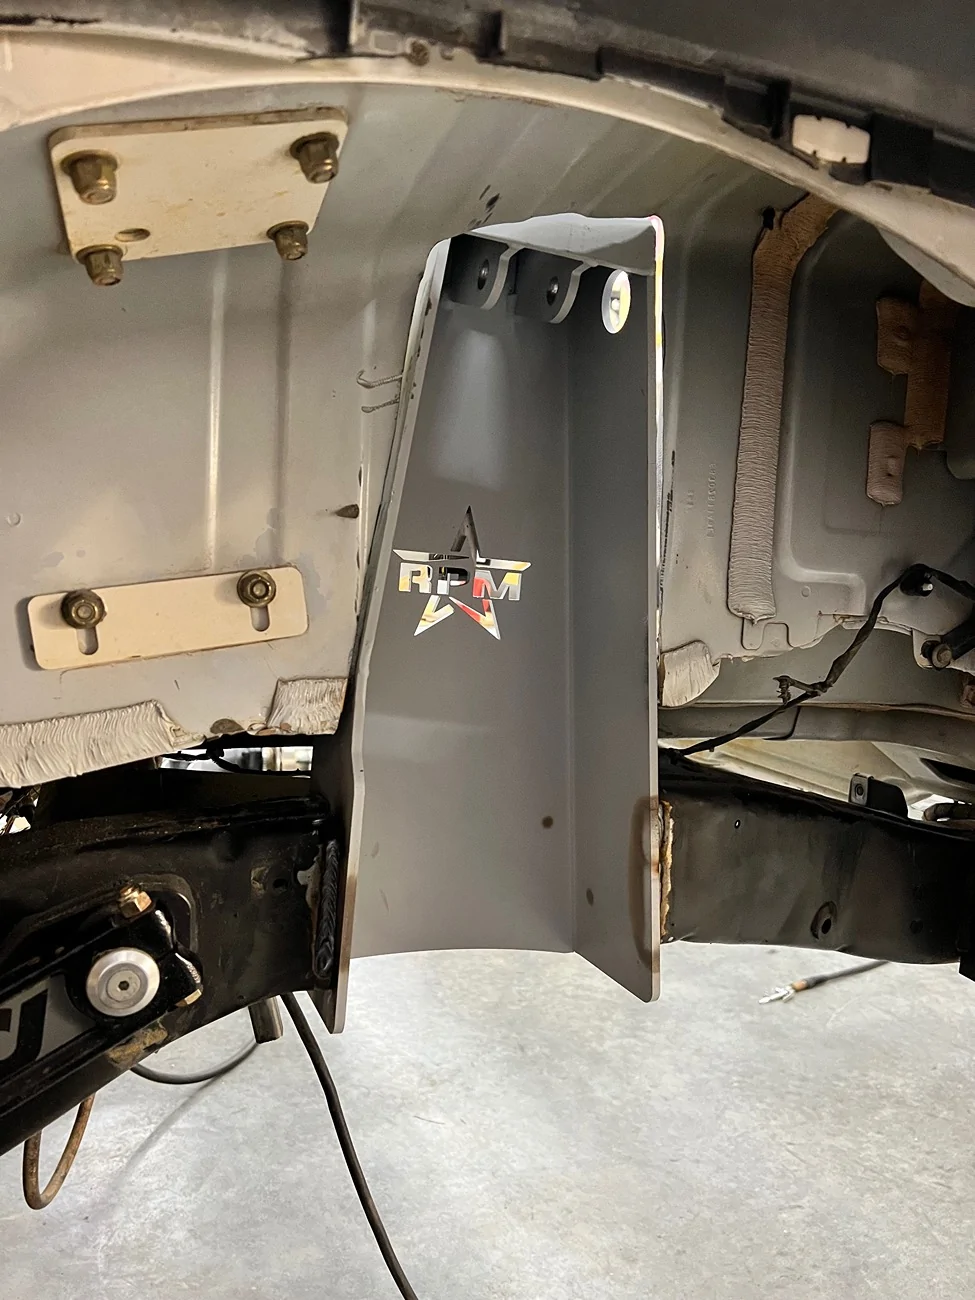
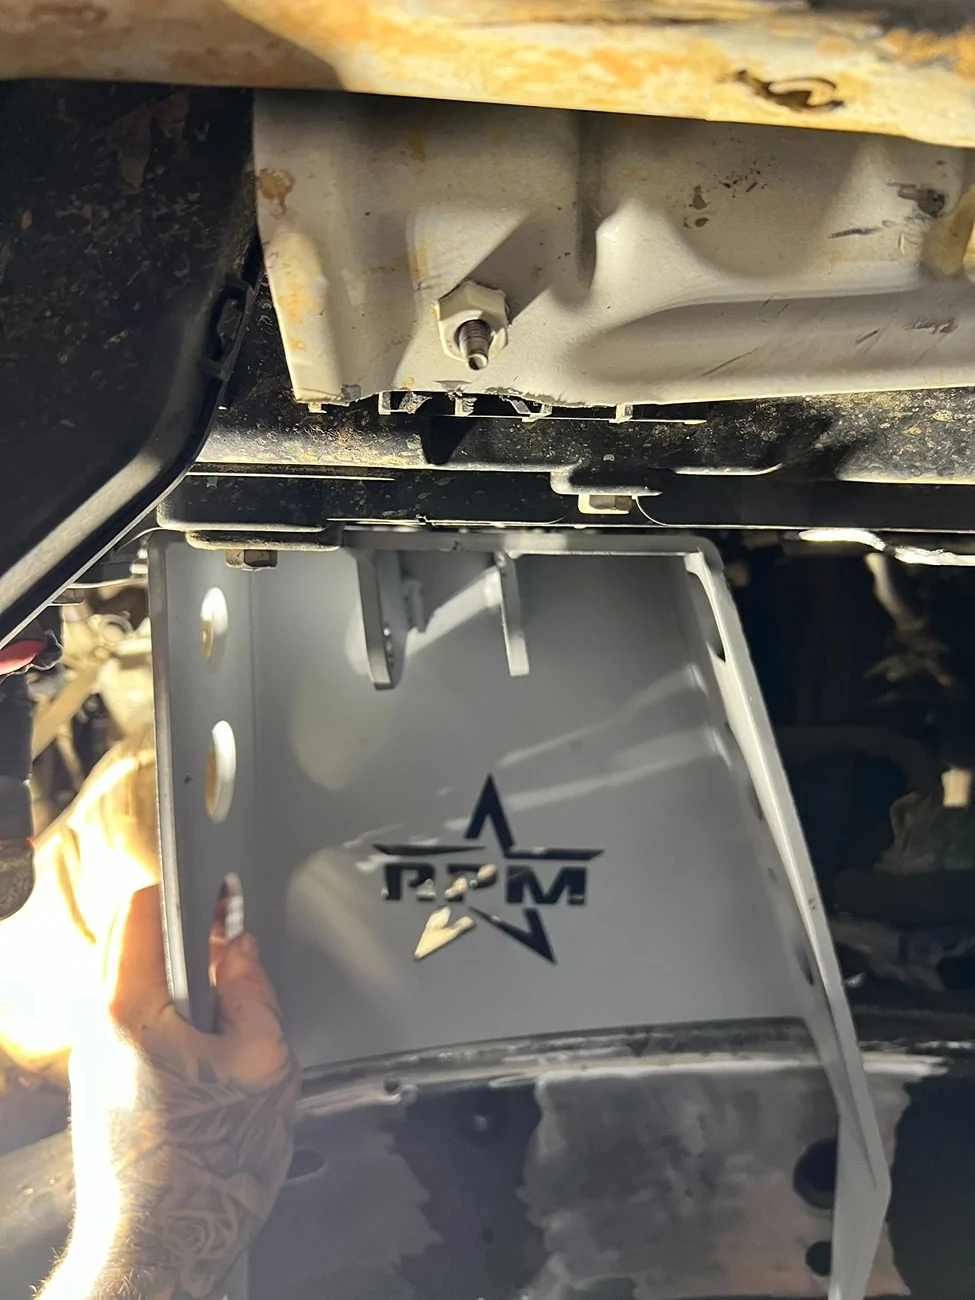
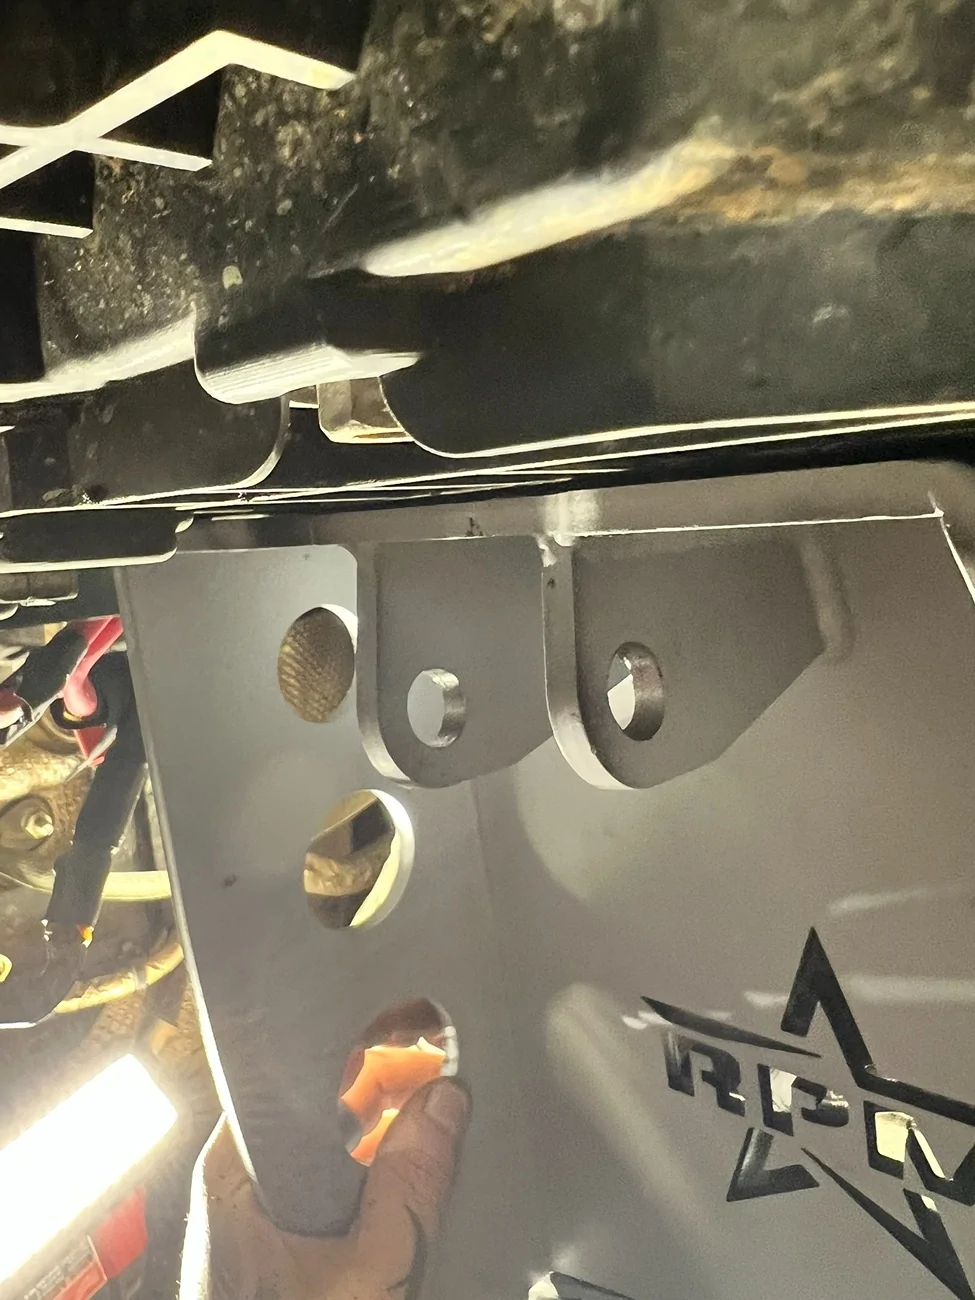
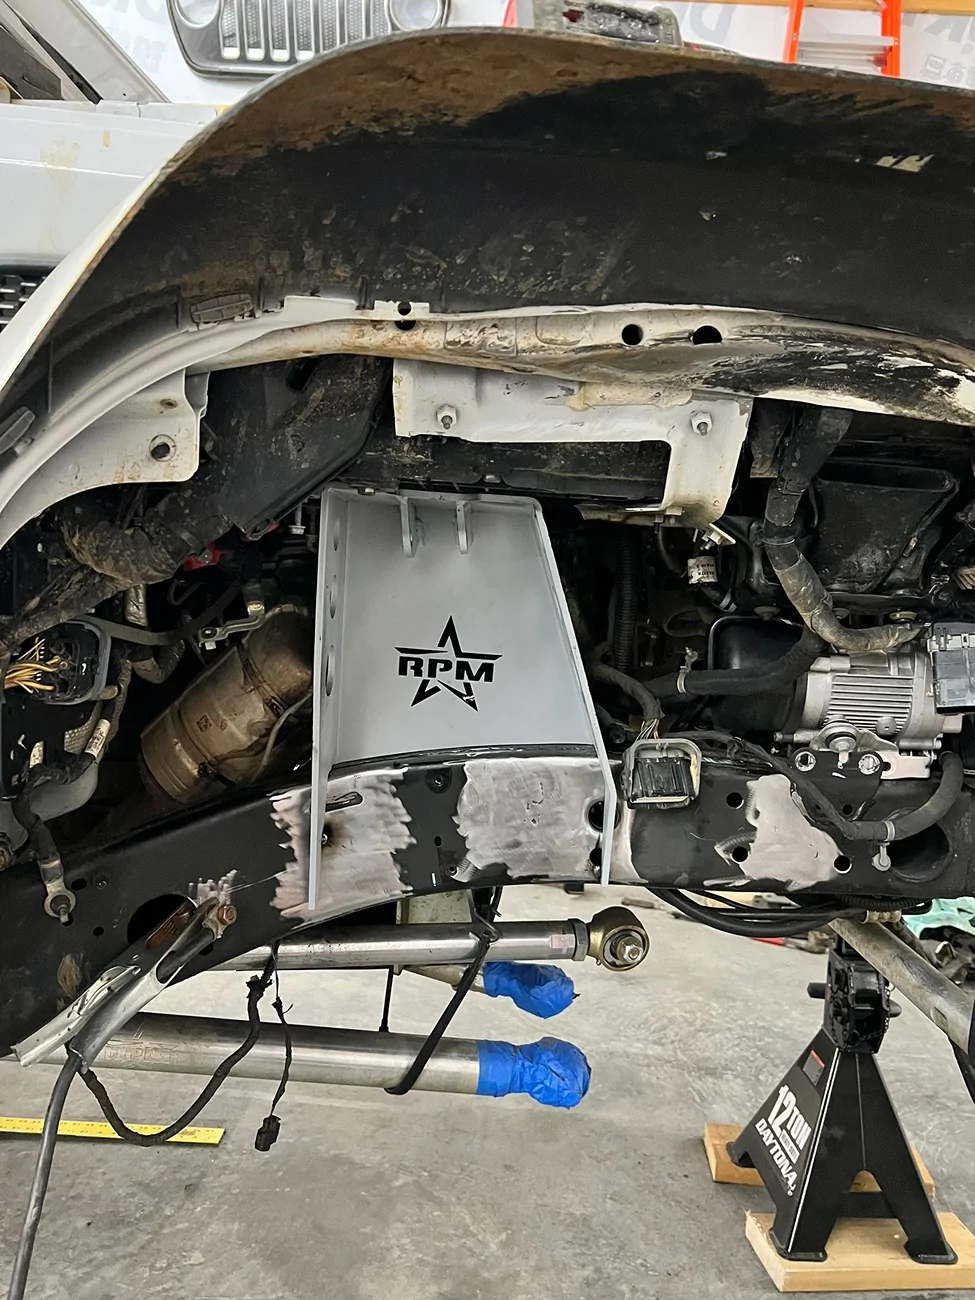
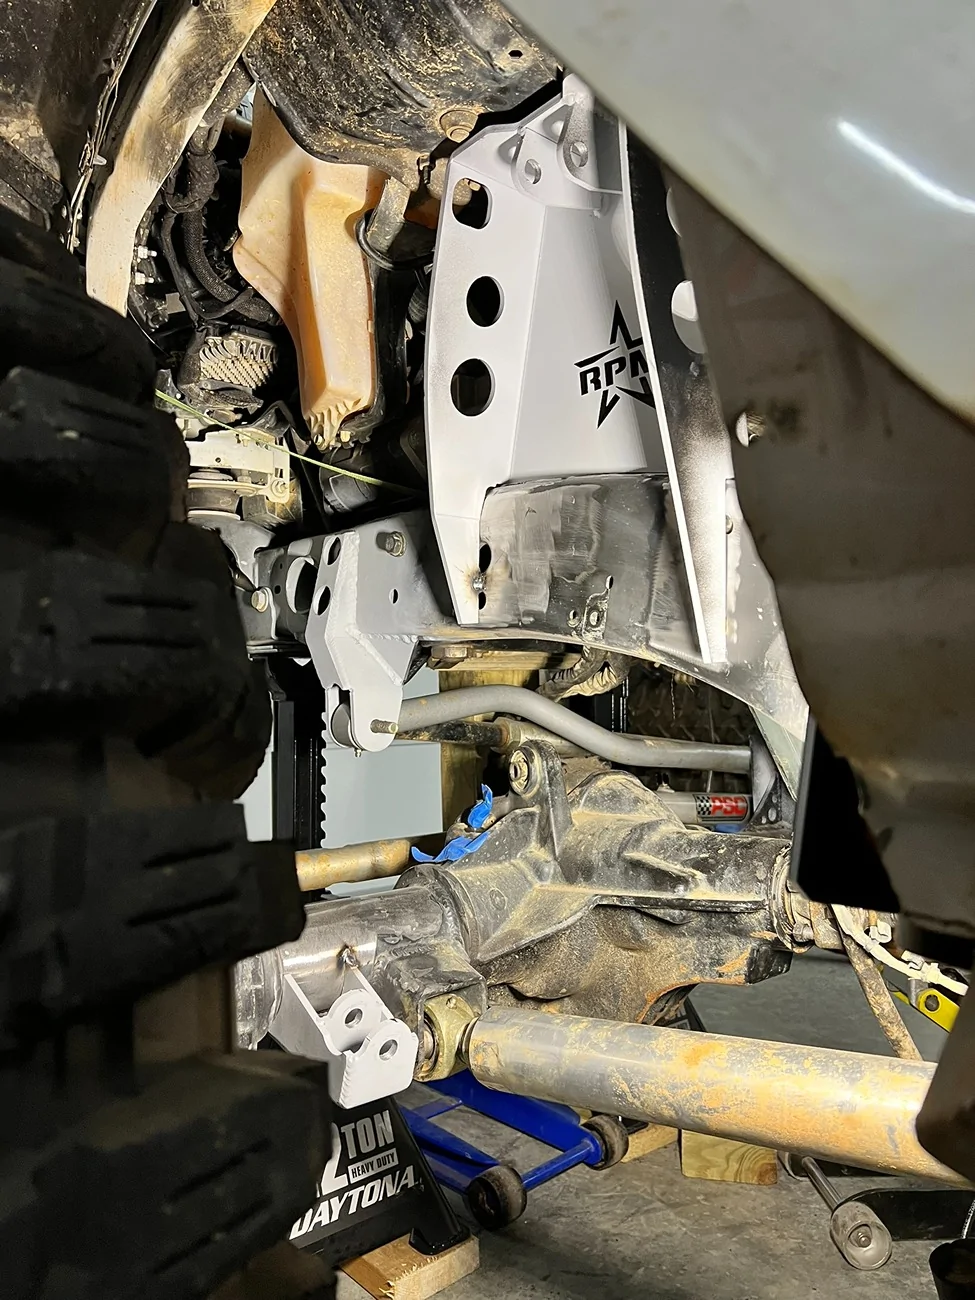
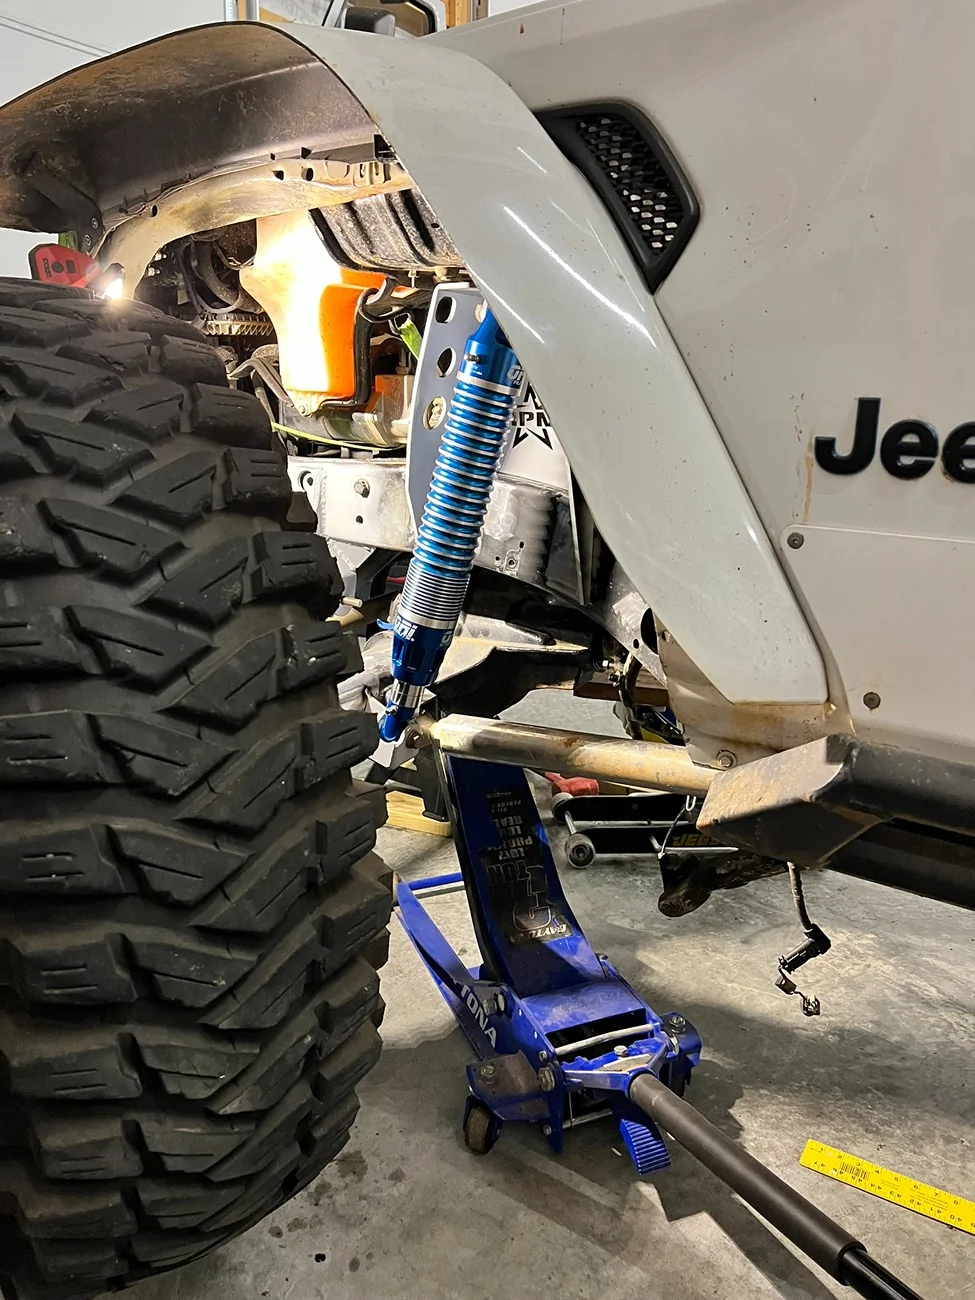
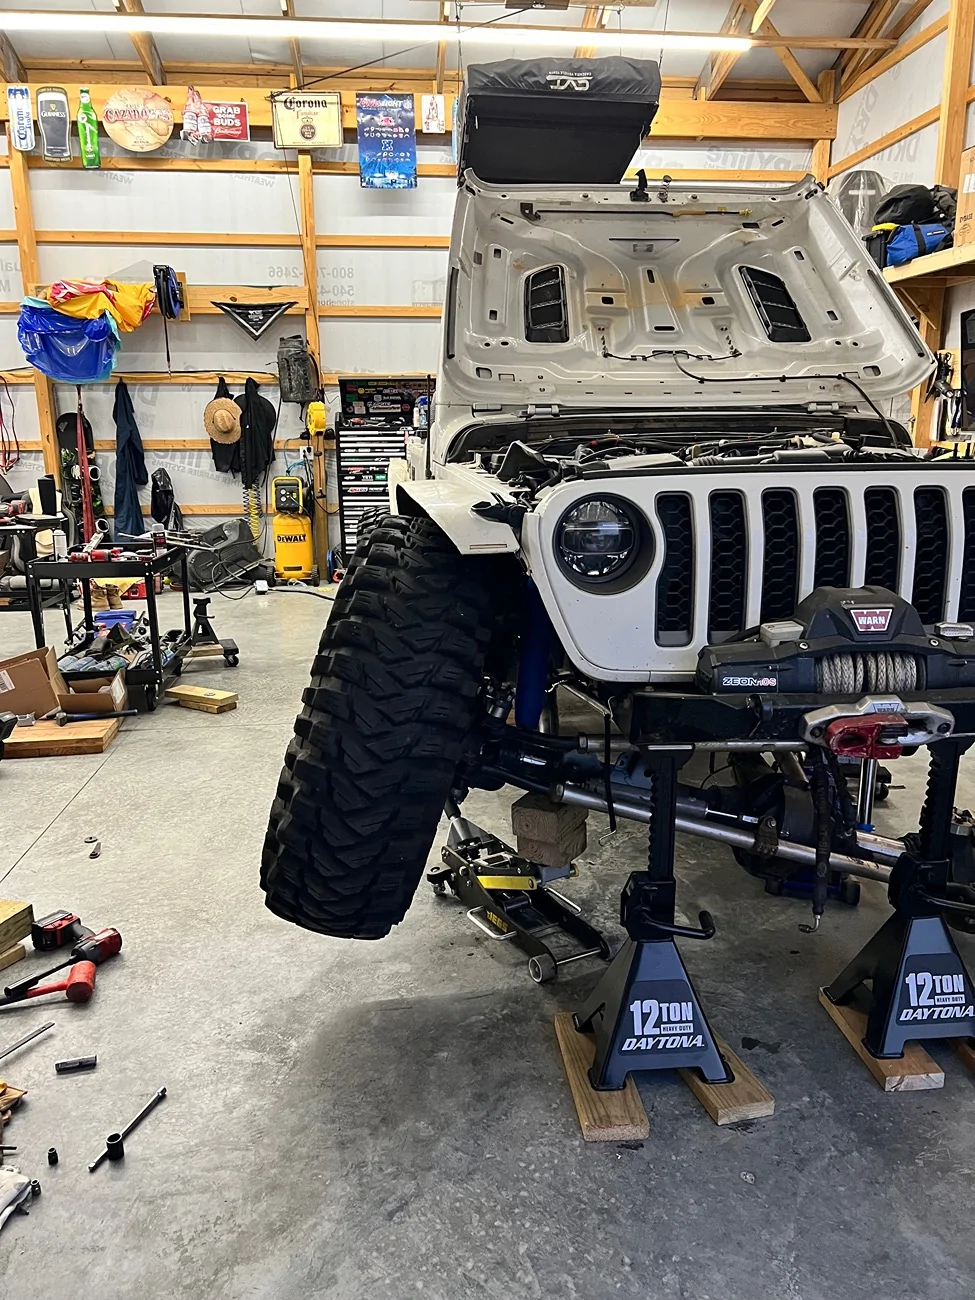
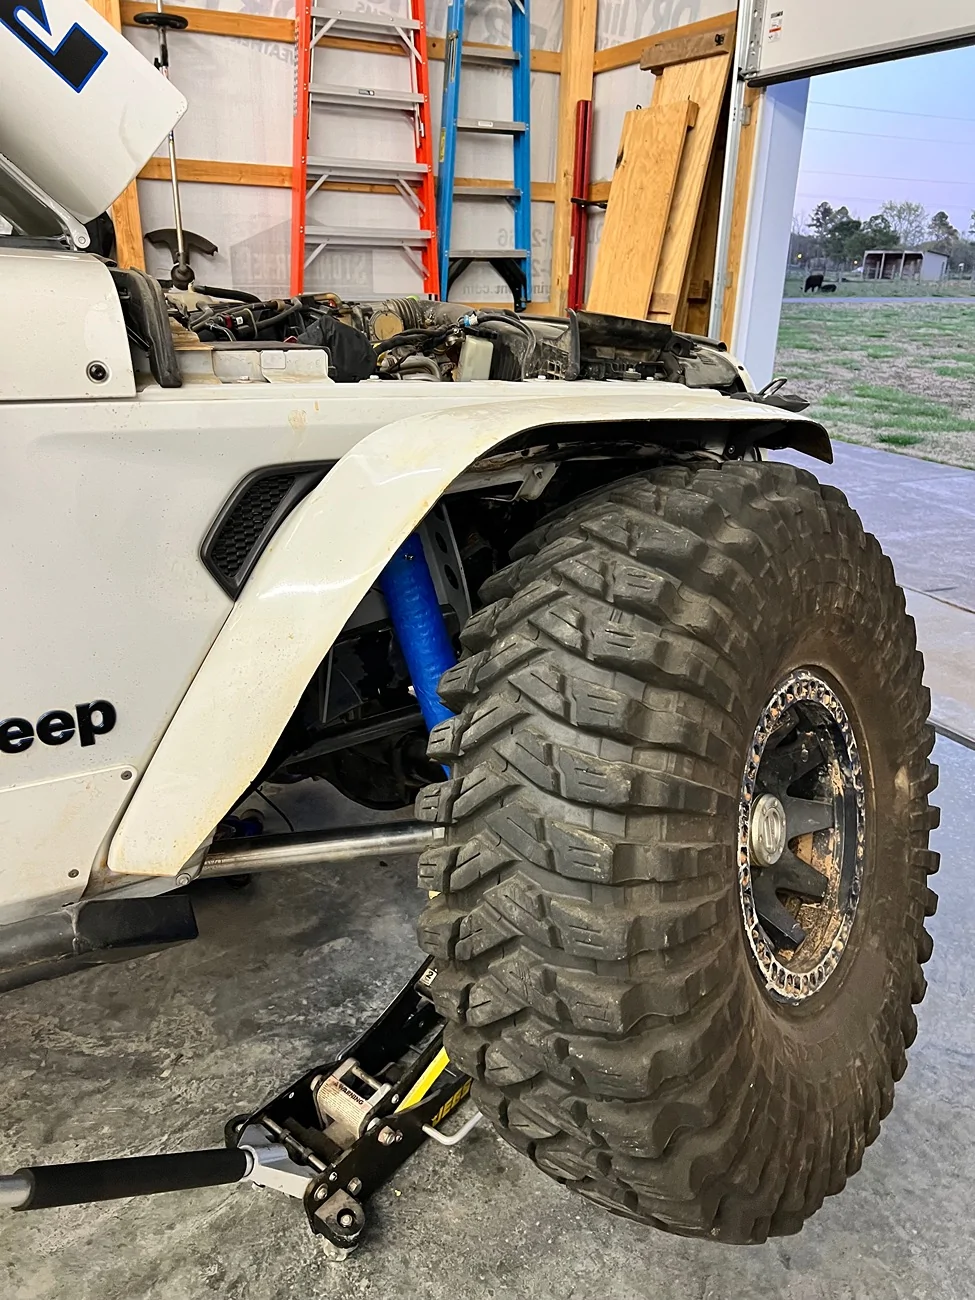
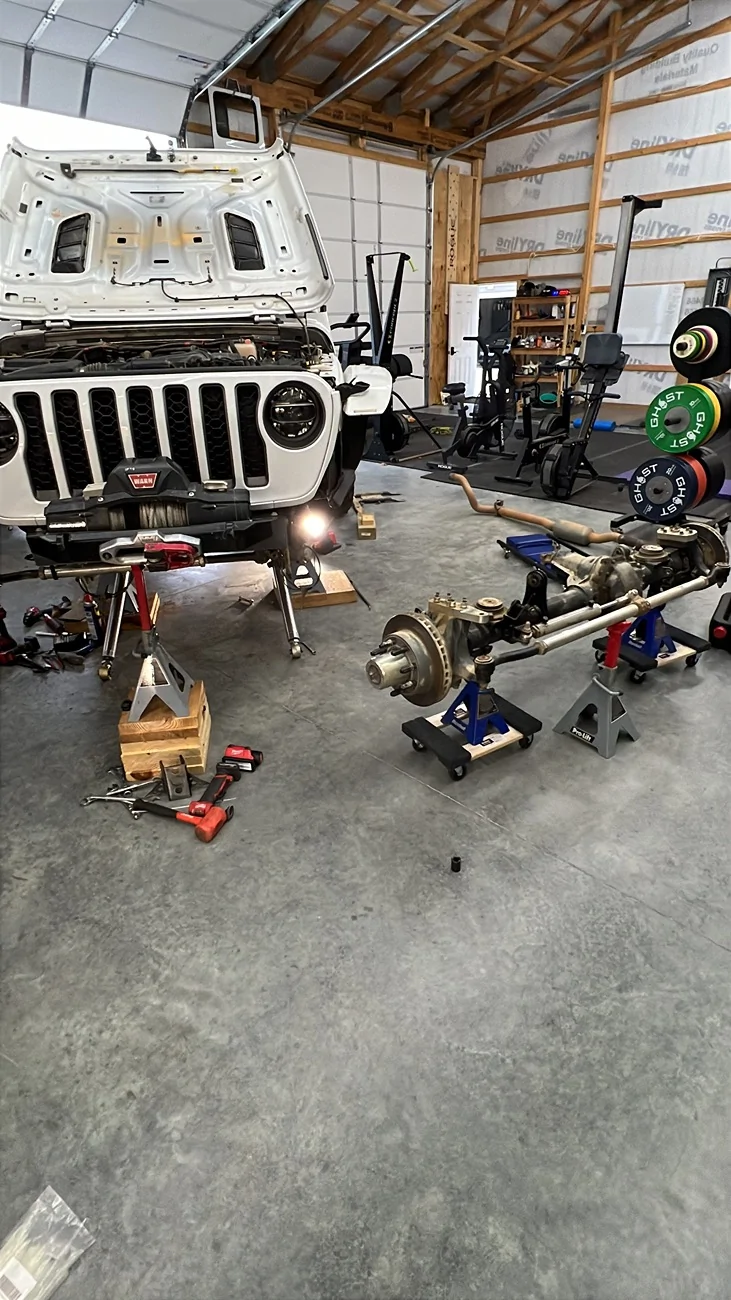
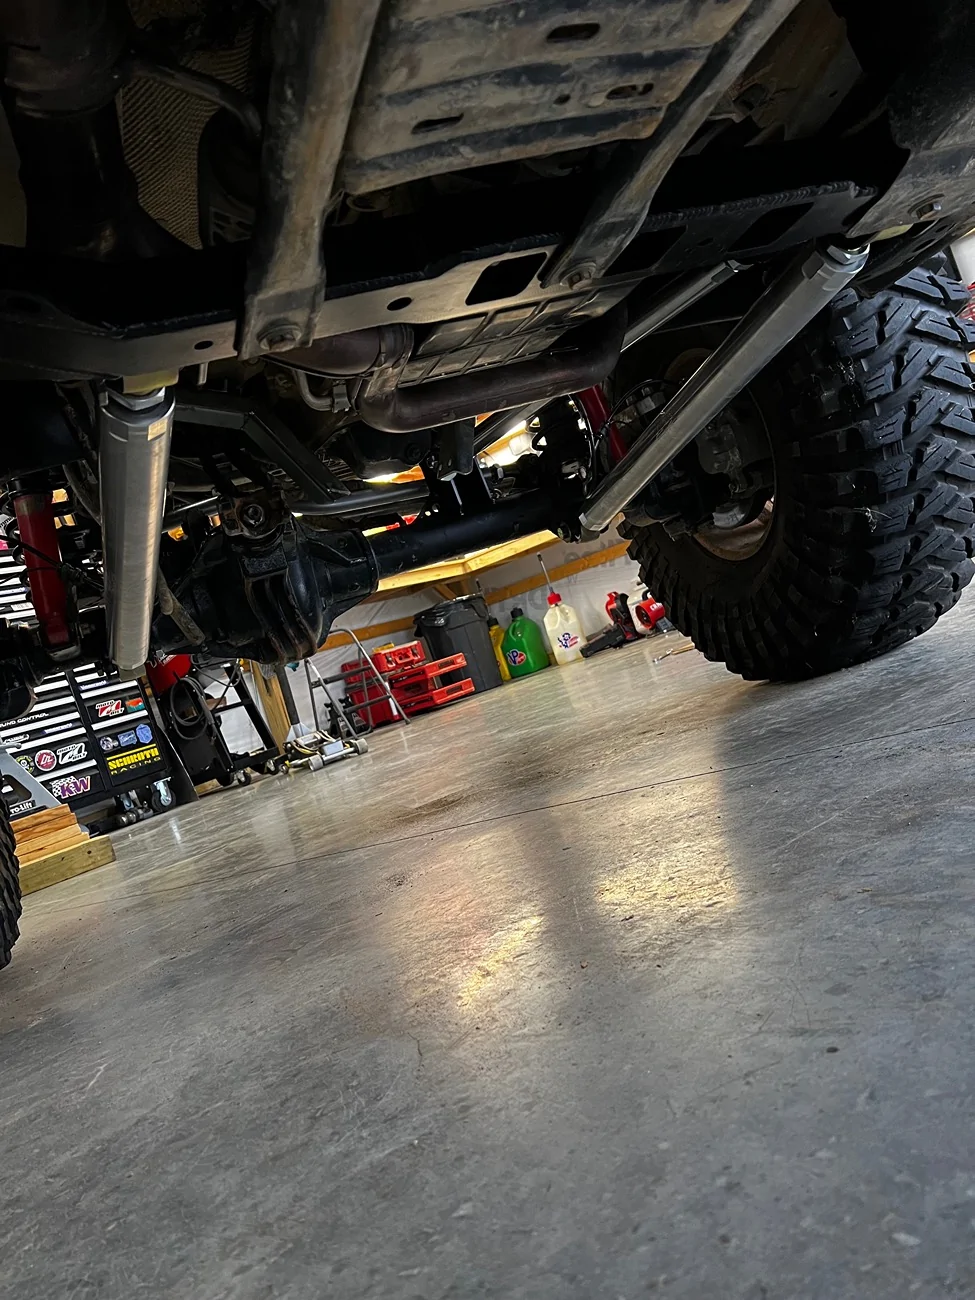
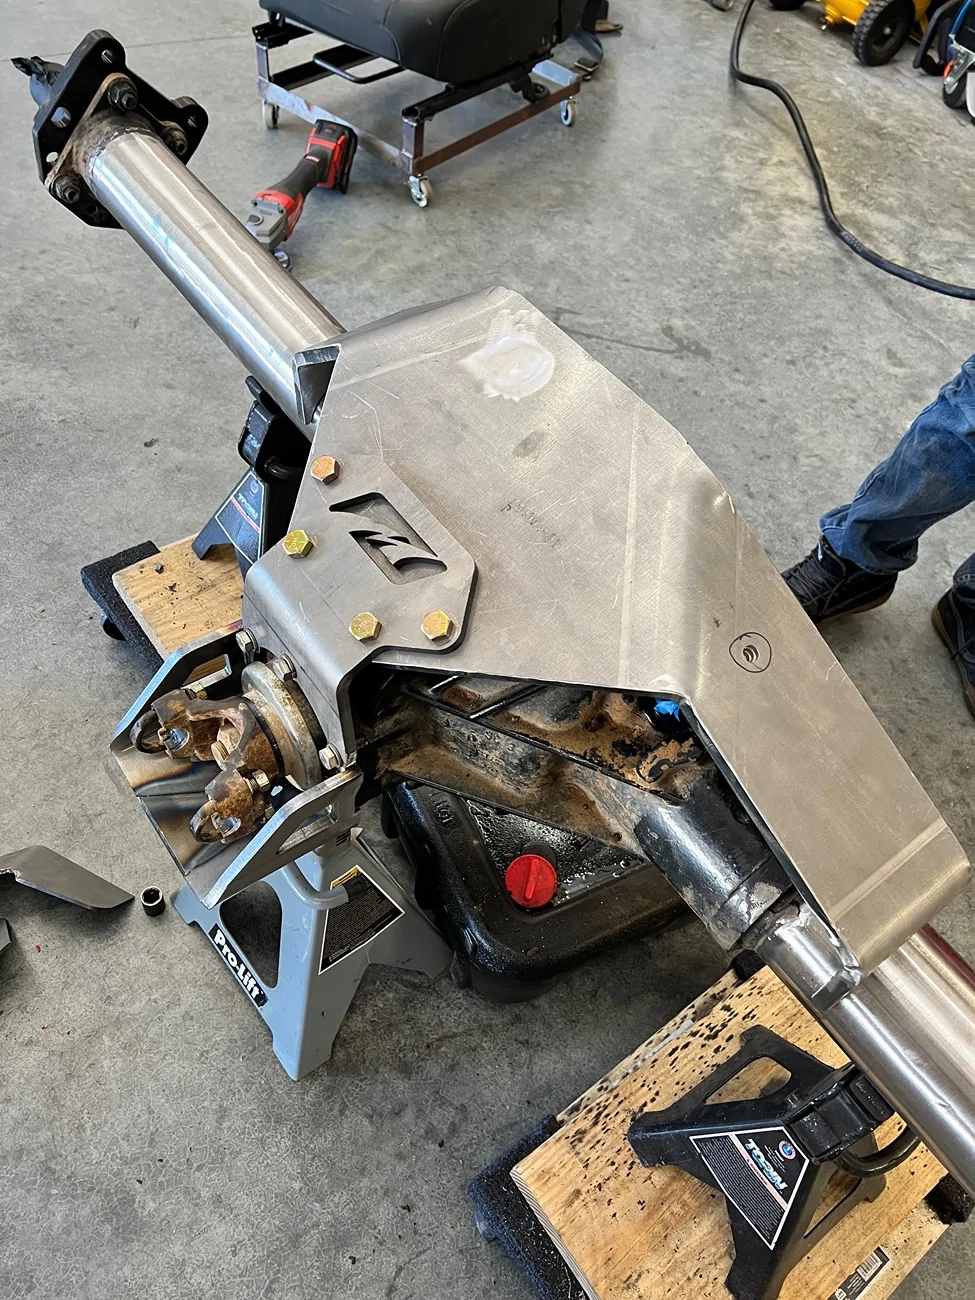
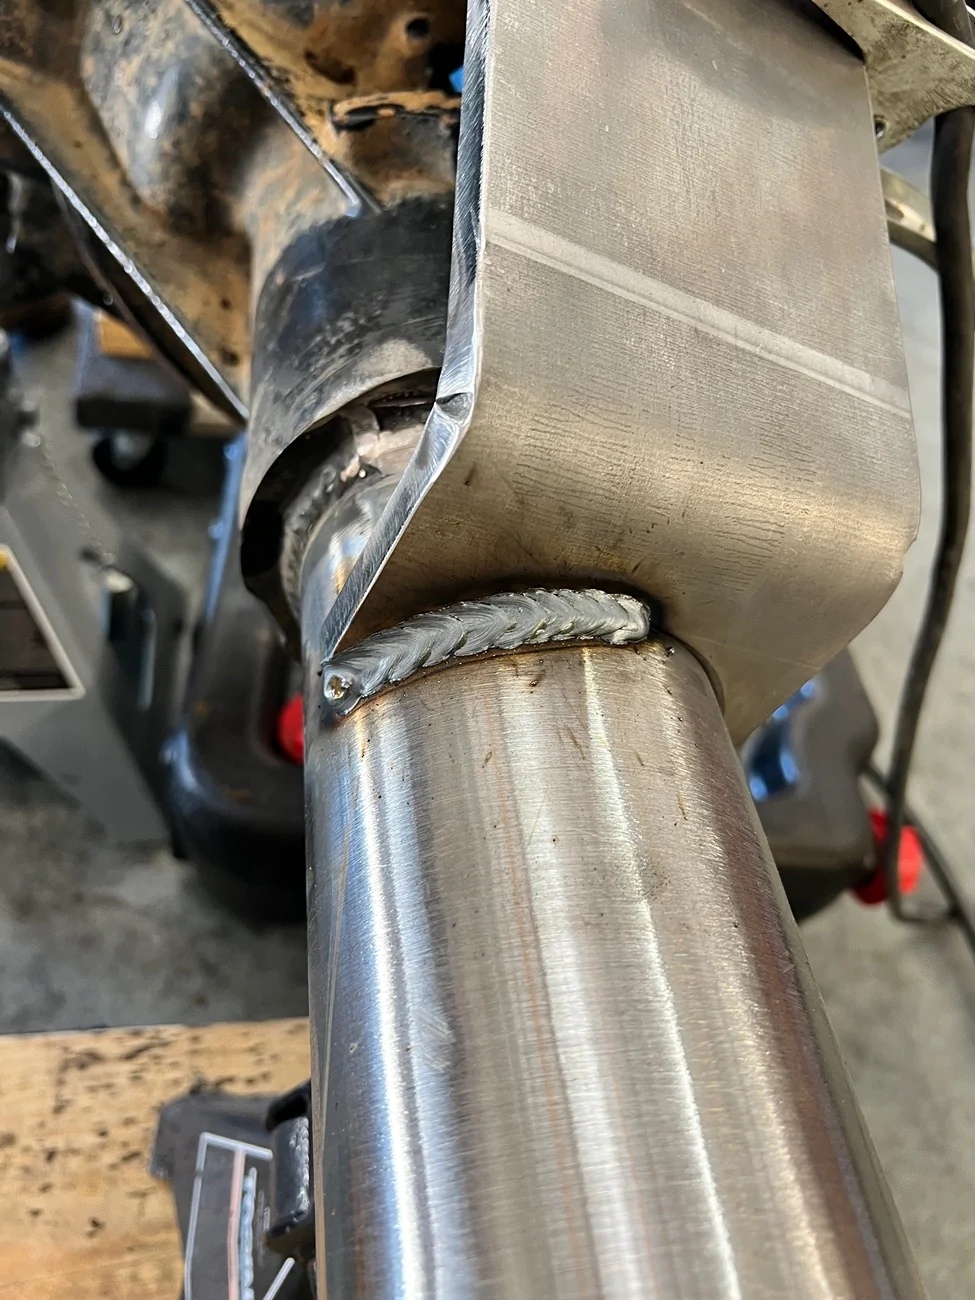
so that got replaced by the RPM 3 link front. Super nice kit, welded on all the bolt on parts because why not.

only had 1 trip on it, and a handful of road miles, but it’s the cats ass. Front is noticeably smoother over road bumps.
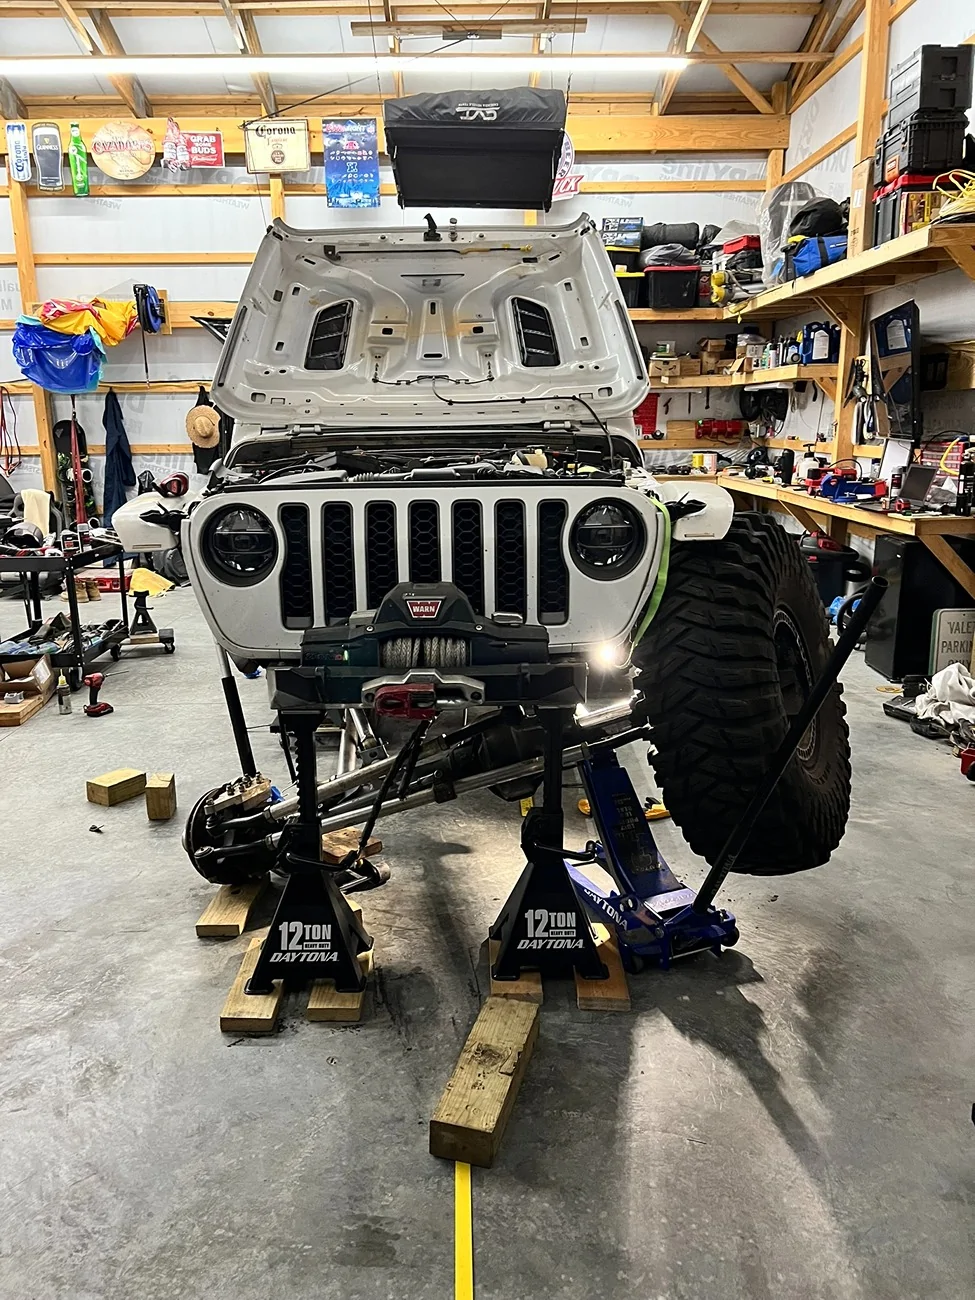
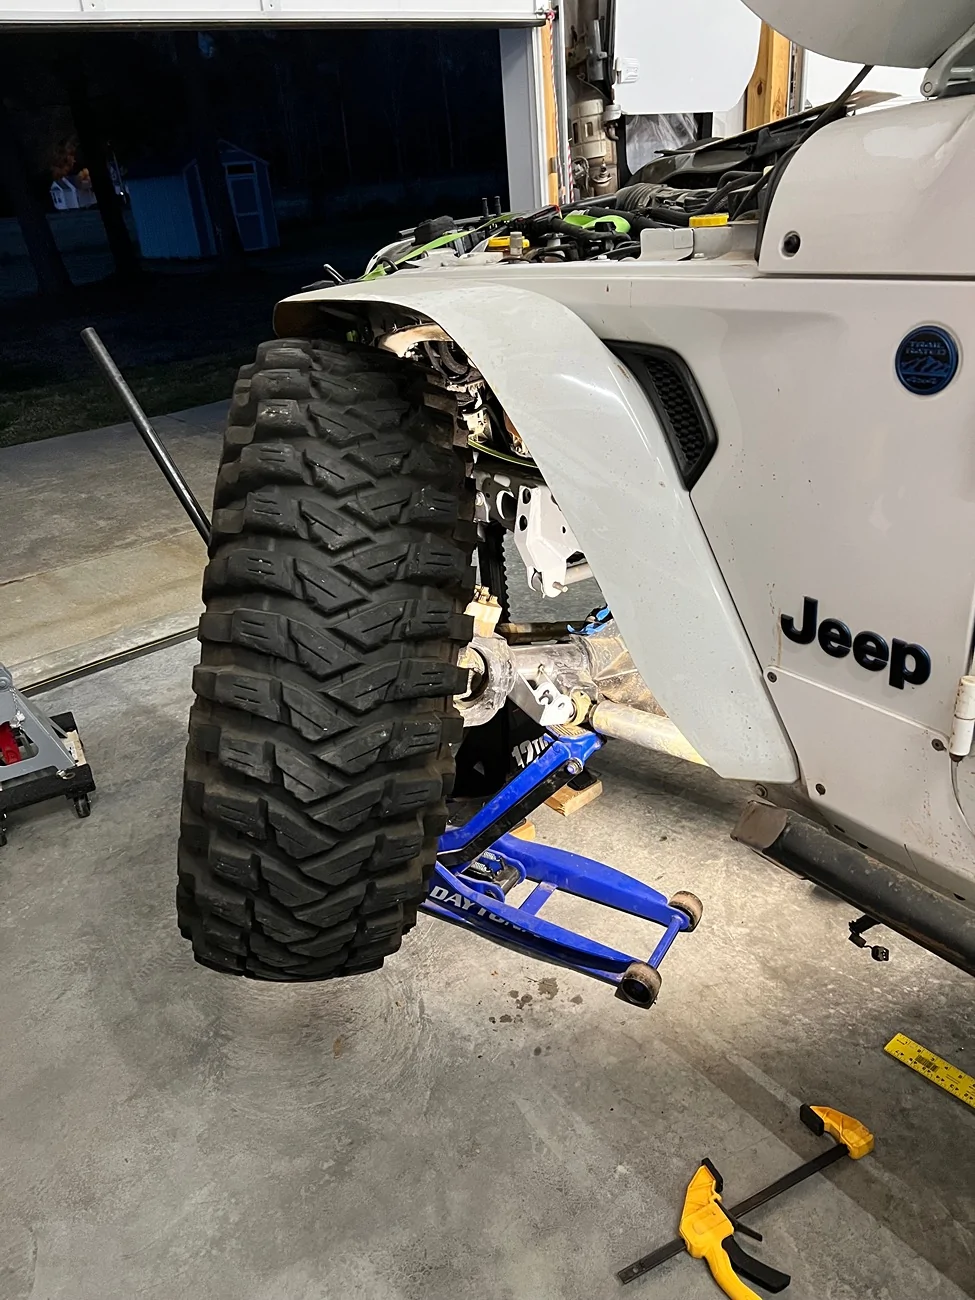
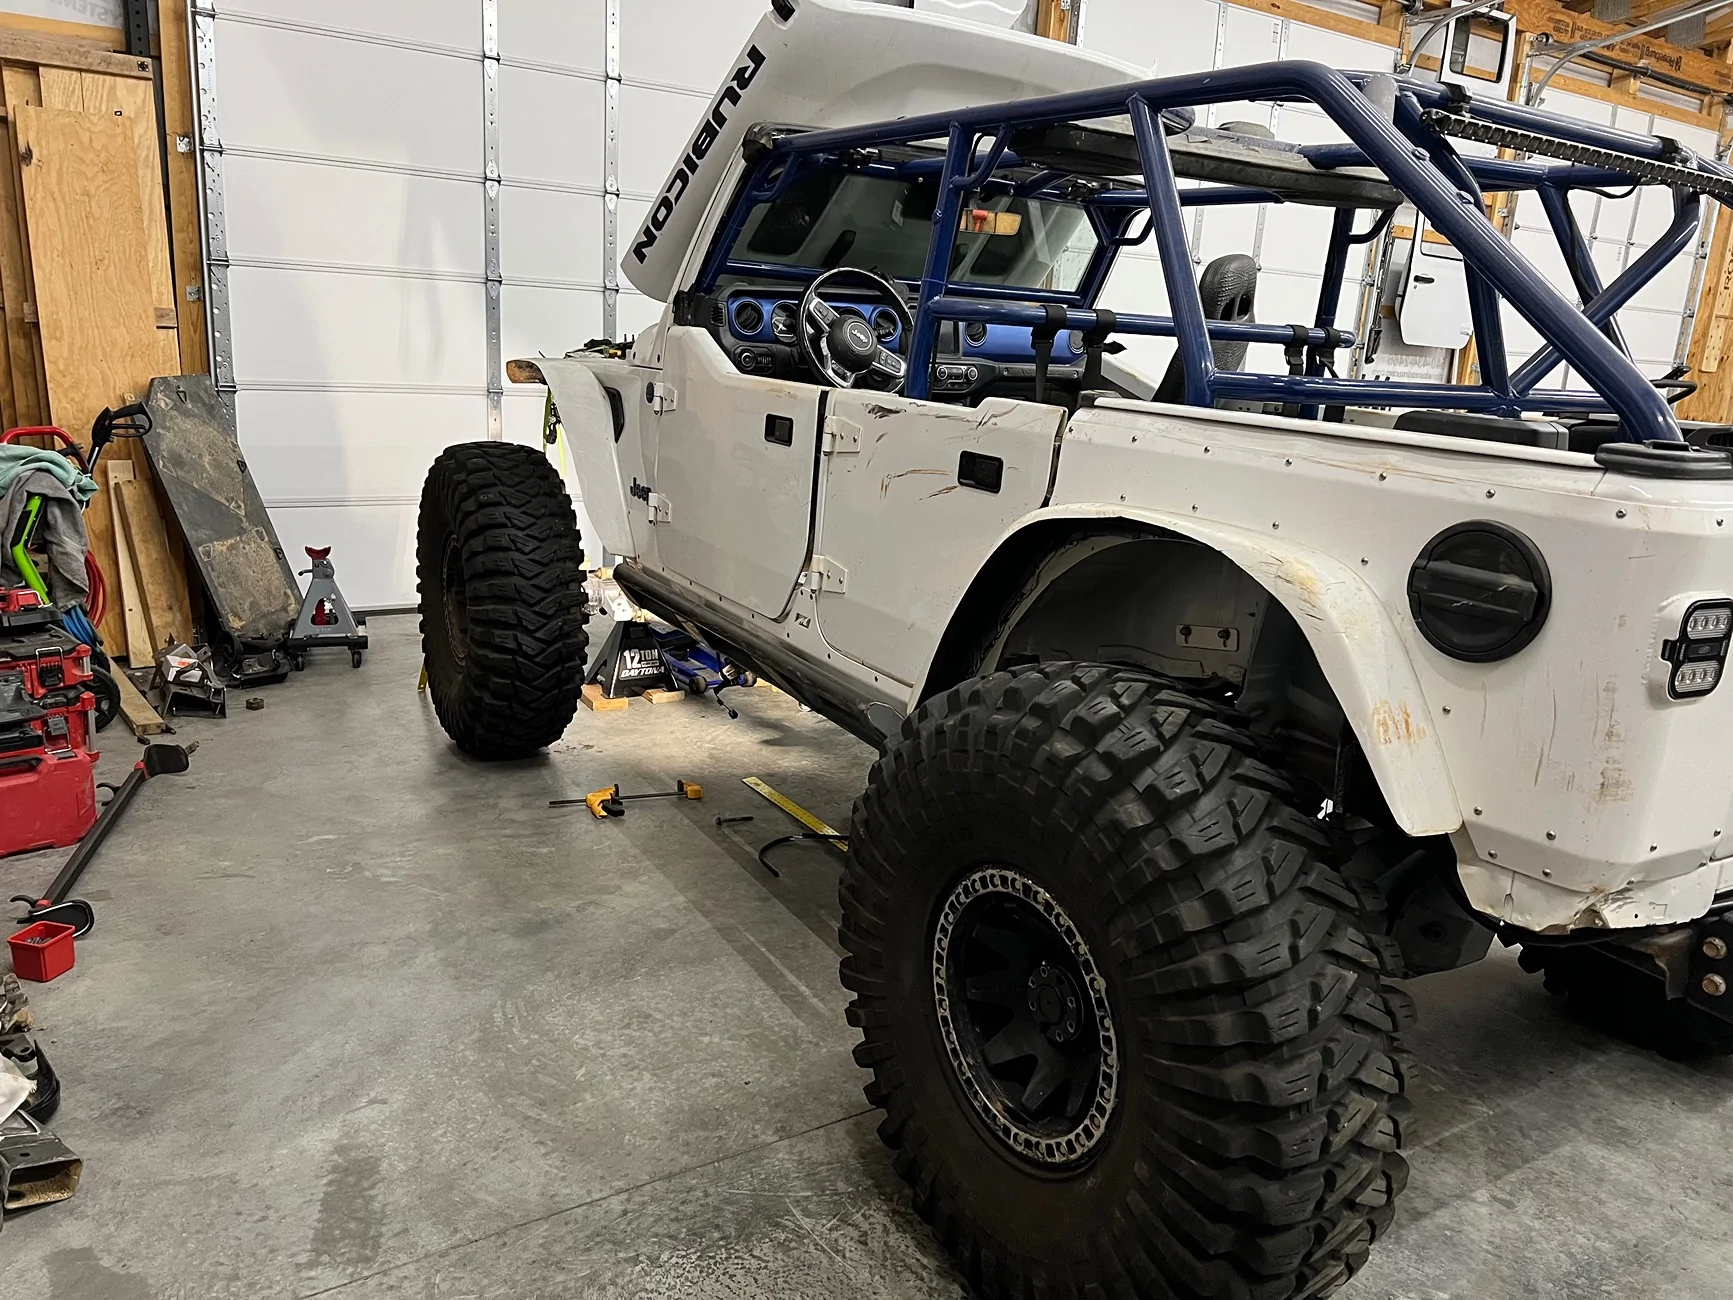
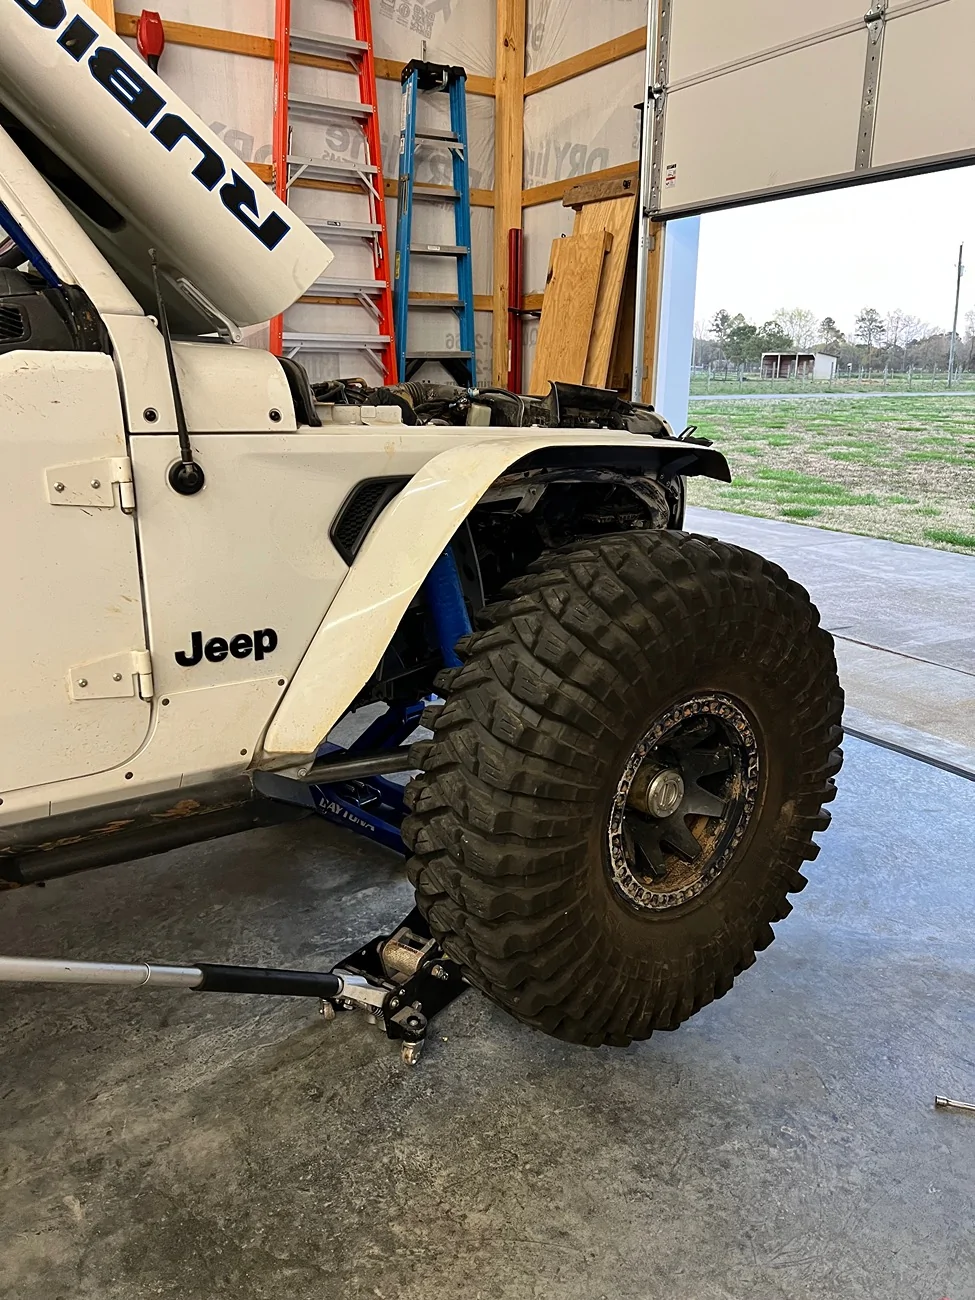
with mid arms, I had to put a spring in on the “low” side in order to jack up the “high” side for shop articulation. The front 3 link is completely unrestricted and has no issues flexing with no springs in either direction.
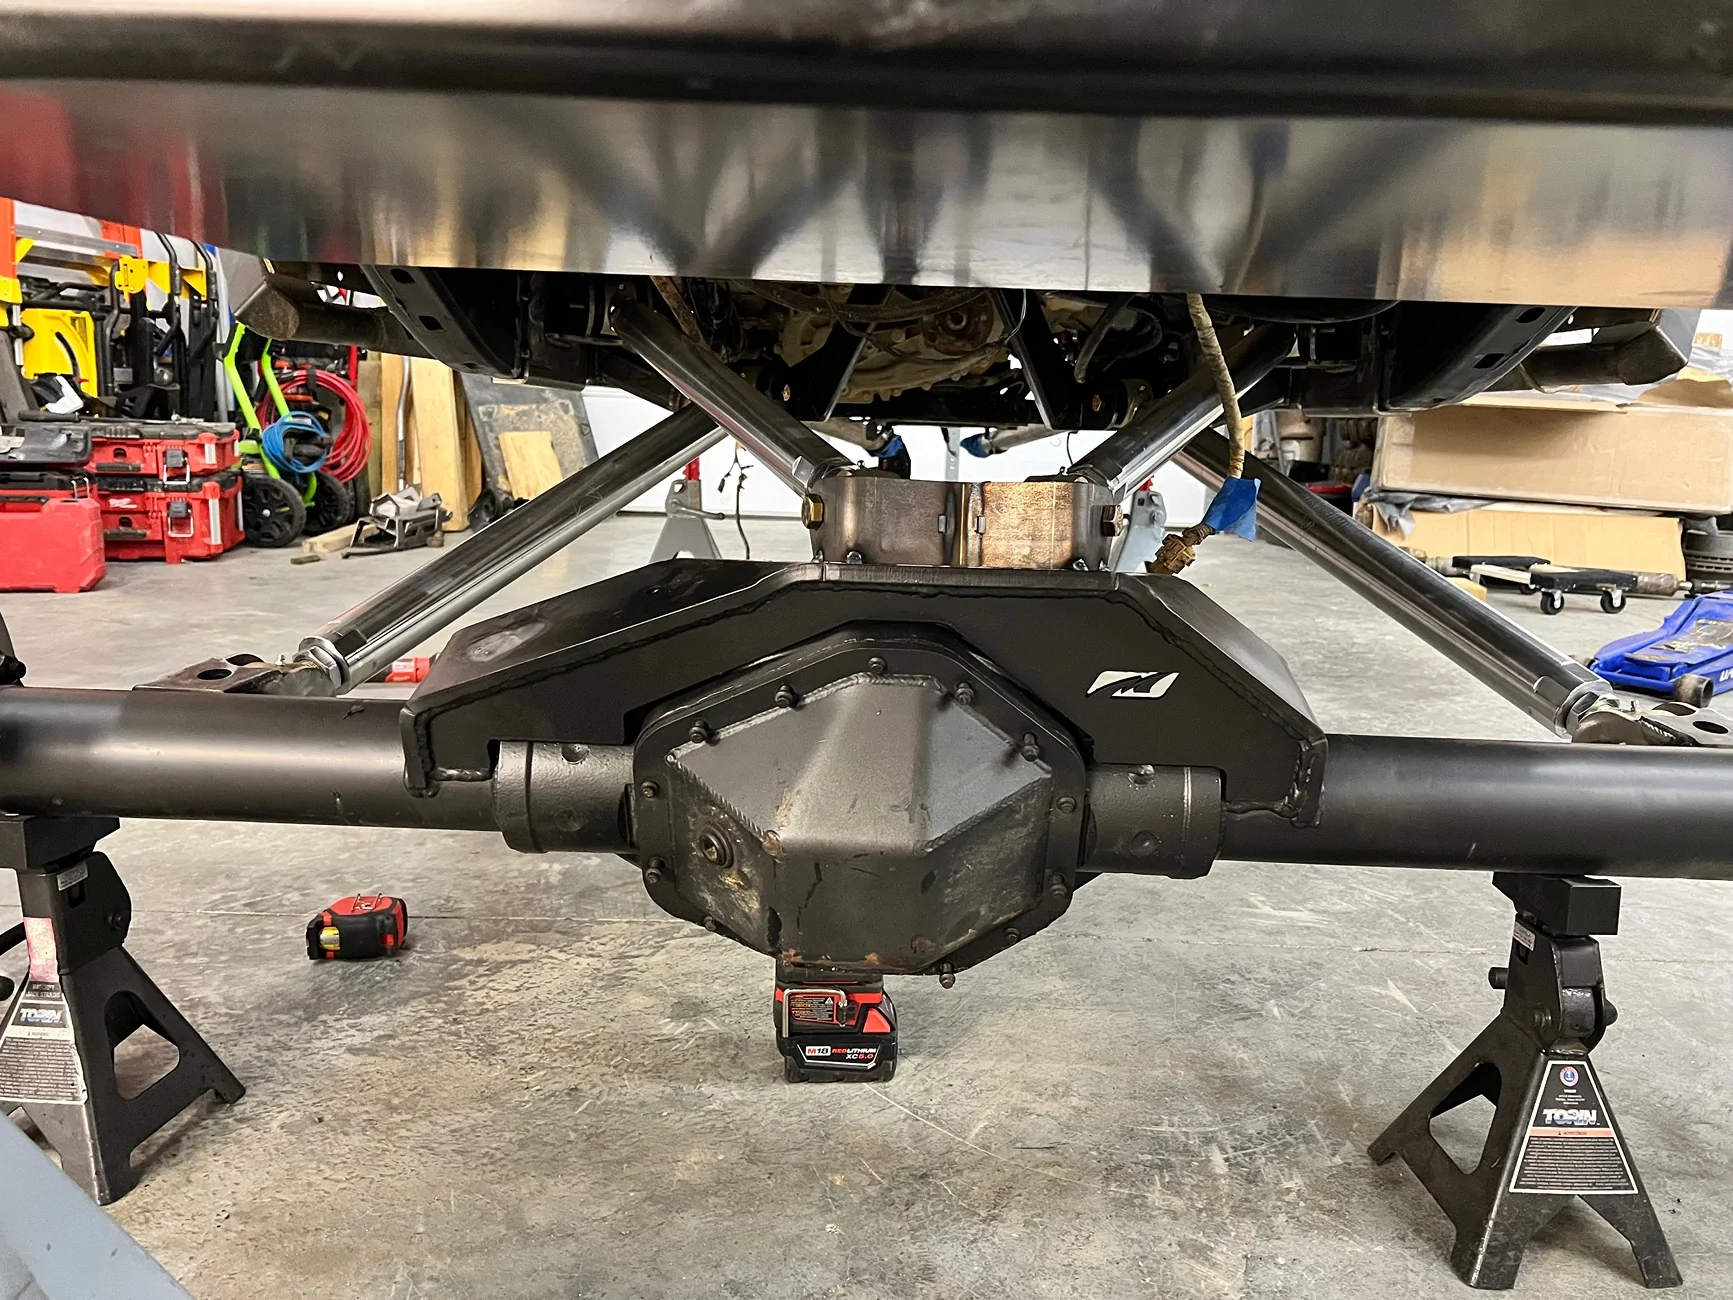
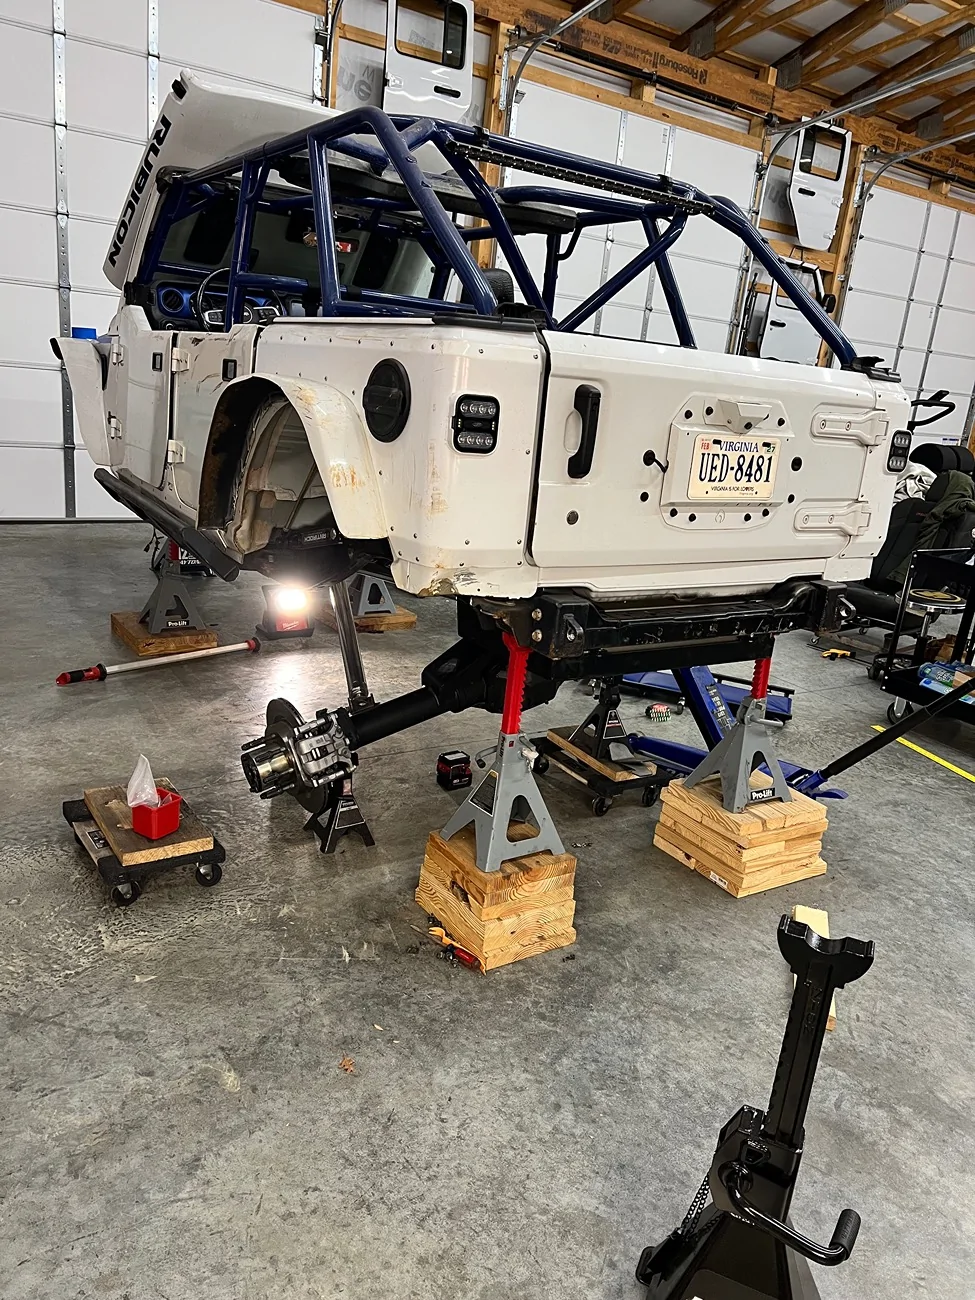
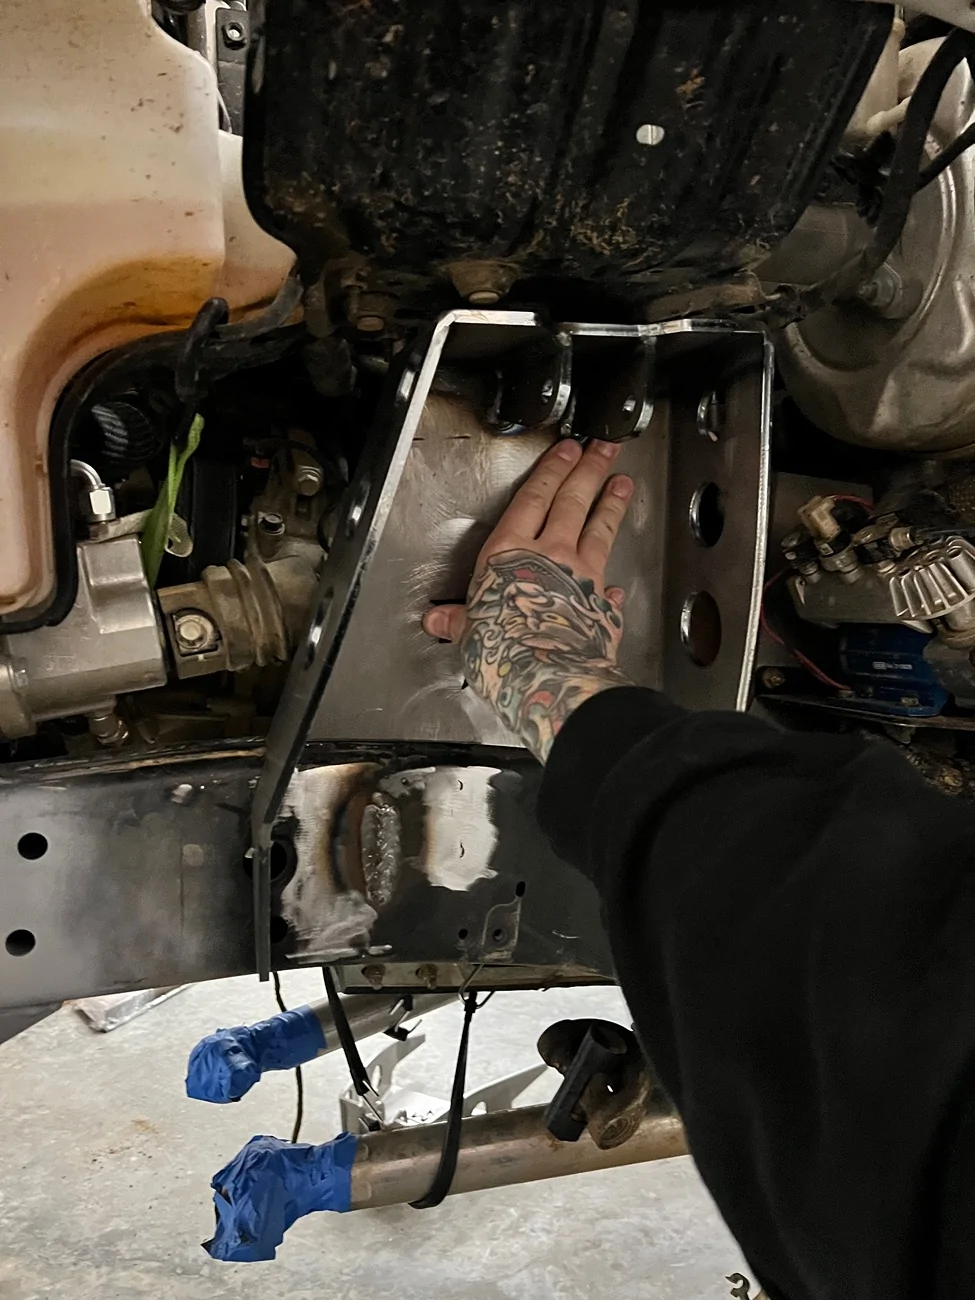
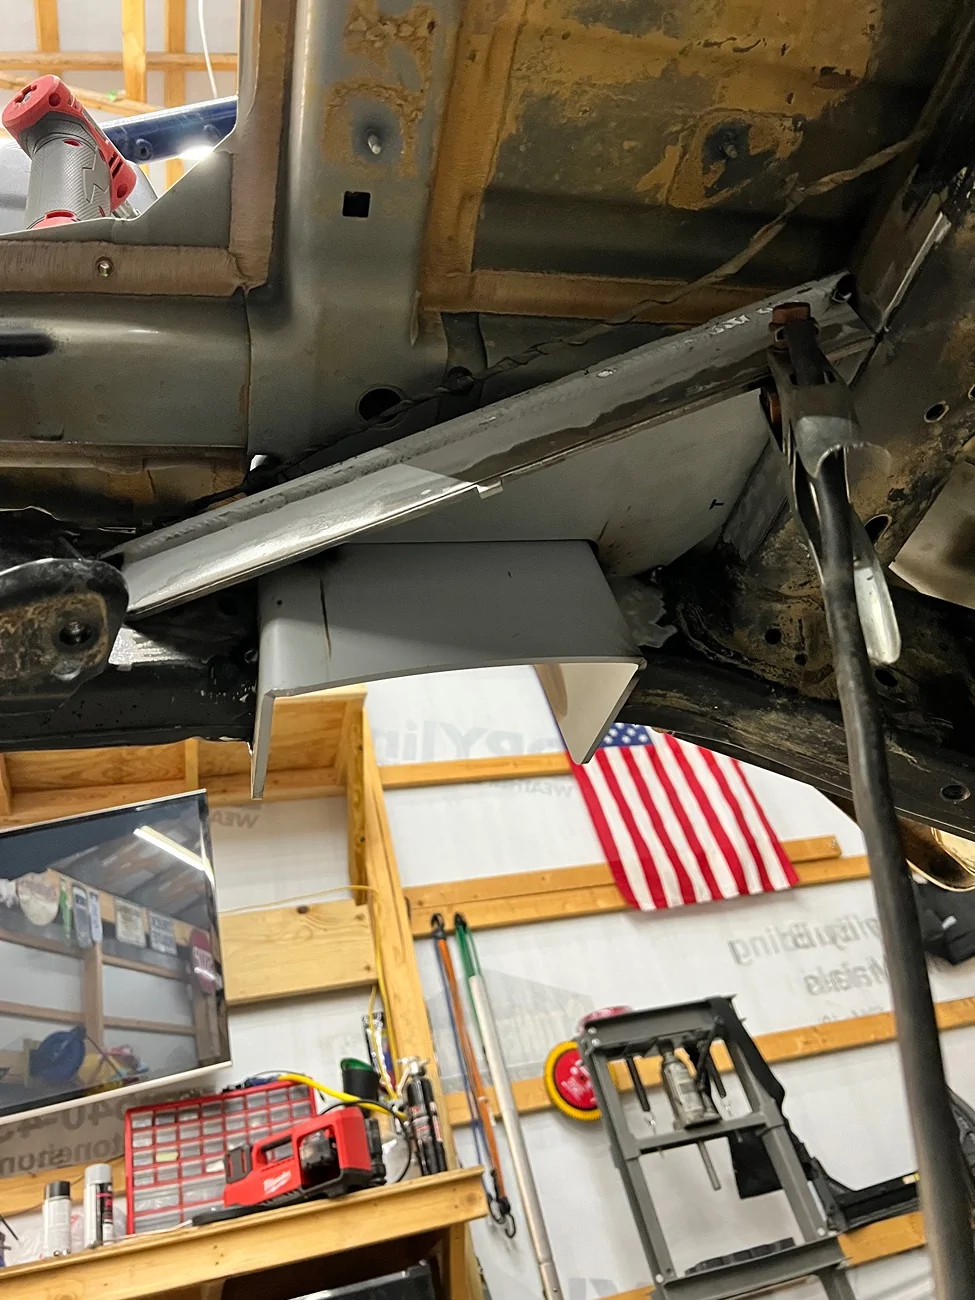
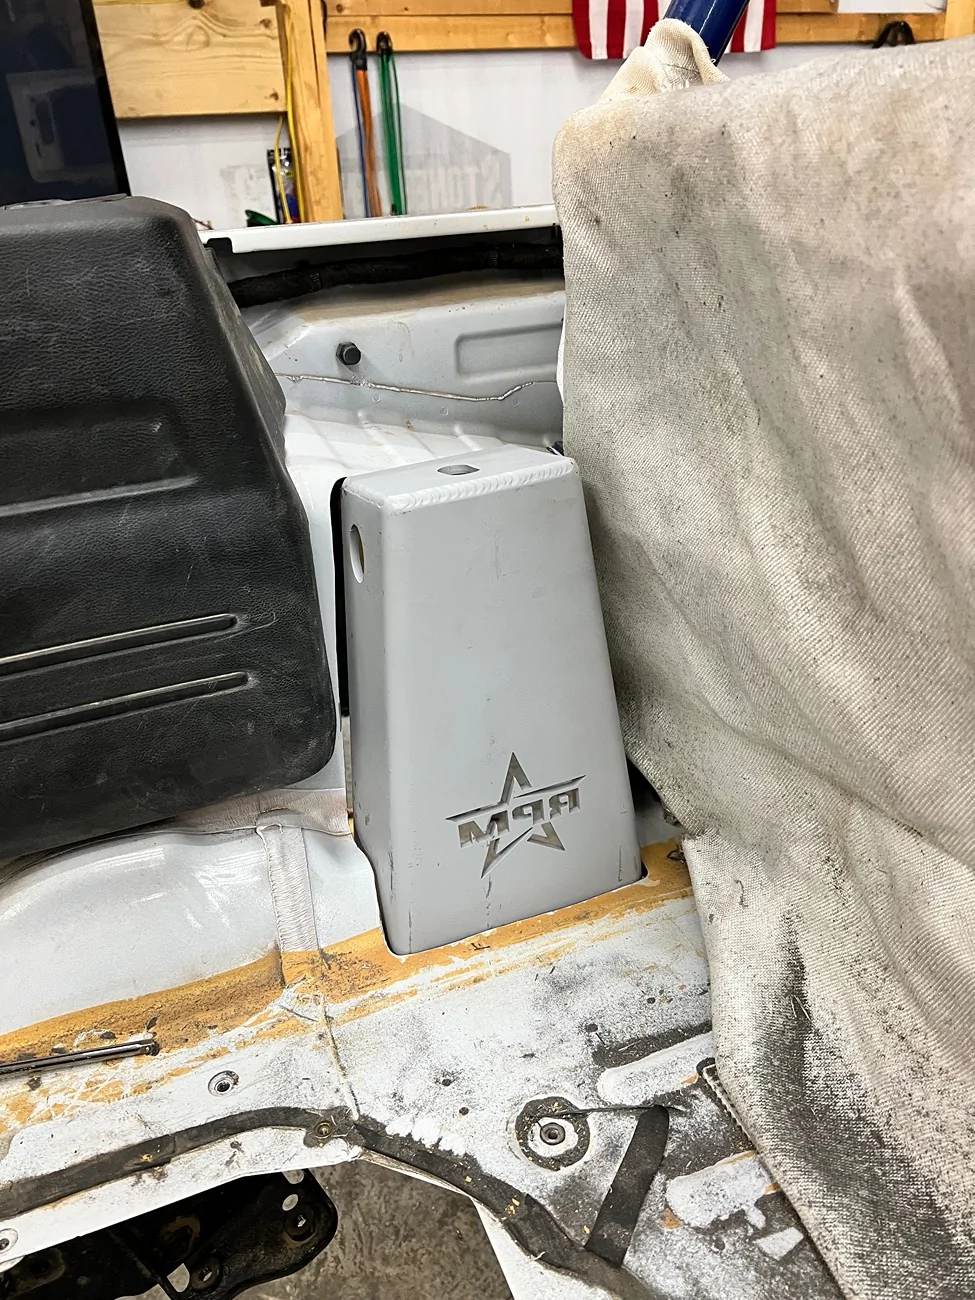
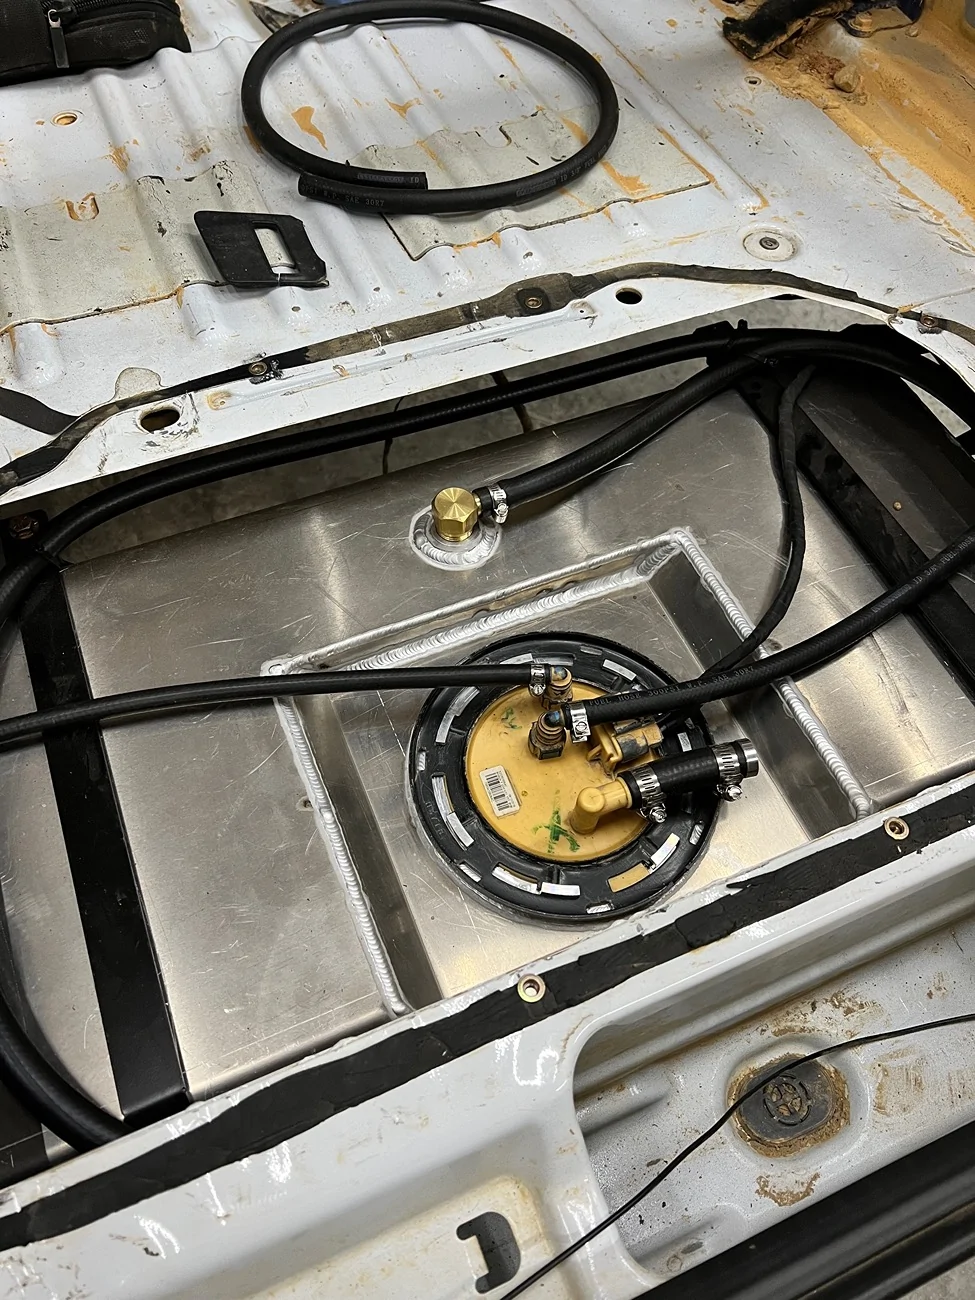
Next up is triangulated 4 link rear, which also requires a fuel cell.
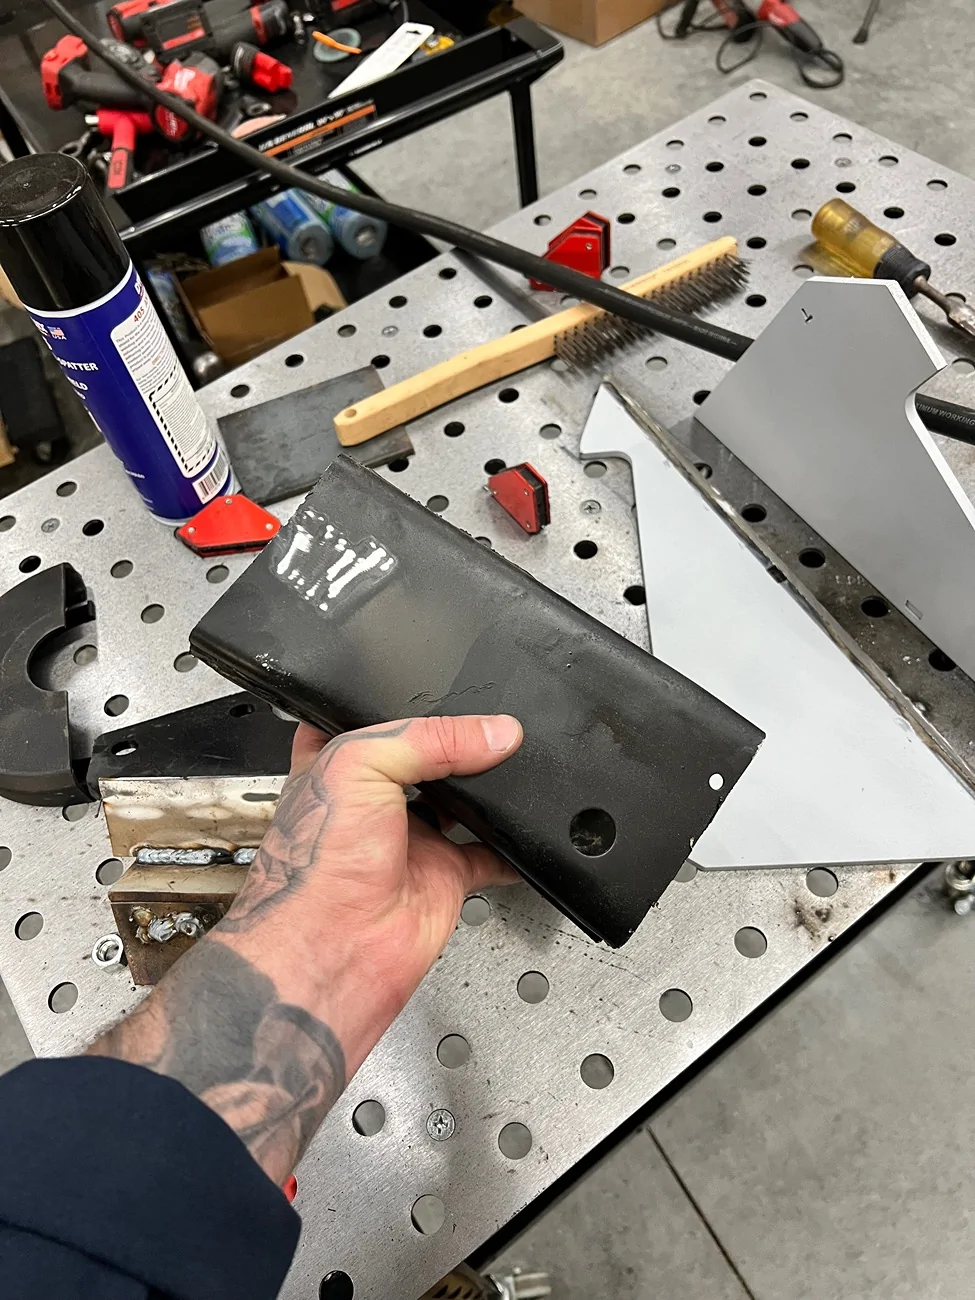
RPM fuel cell, easy install and great kit.
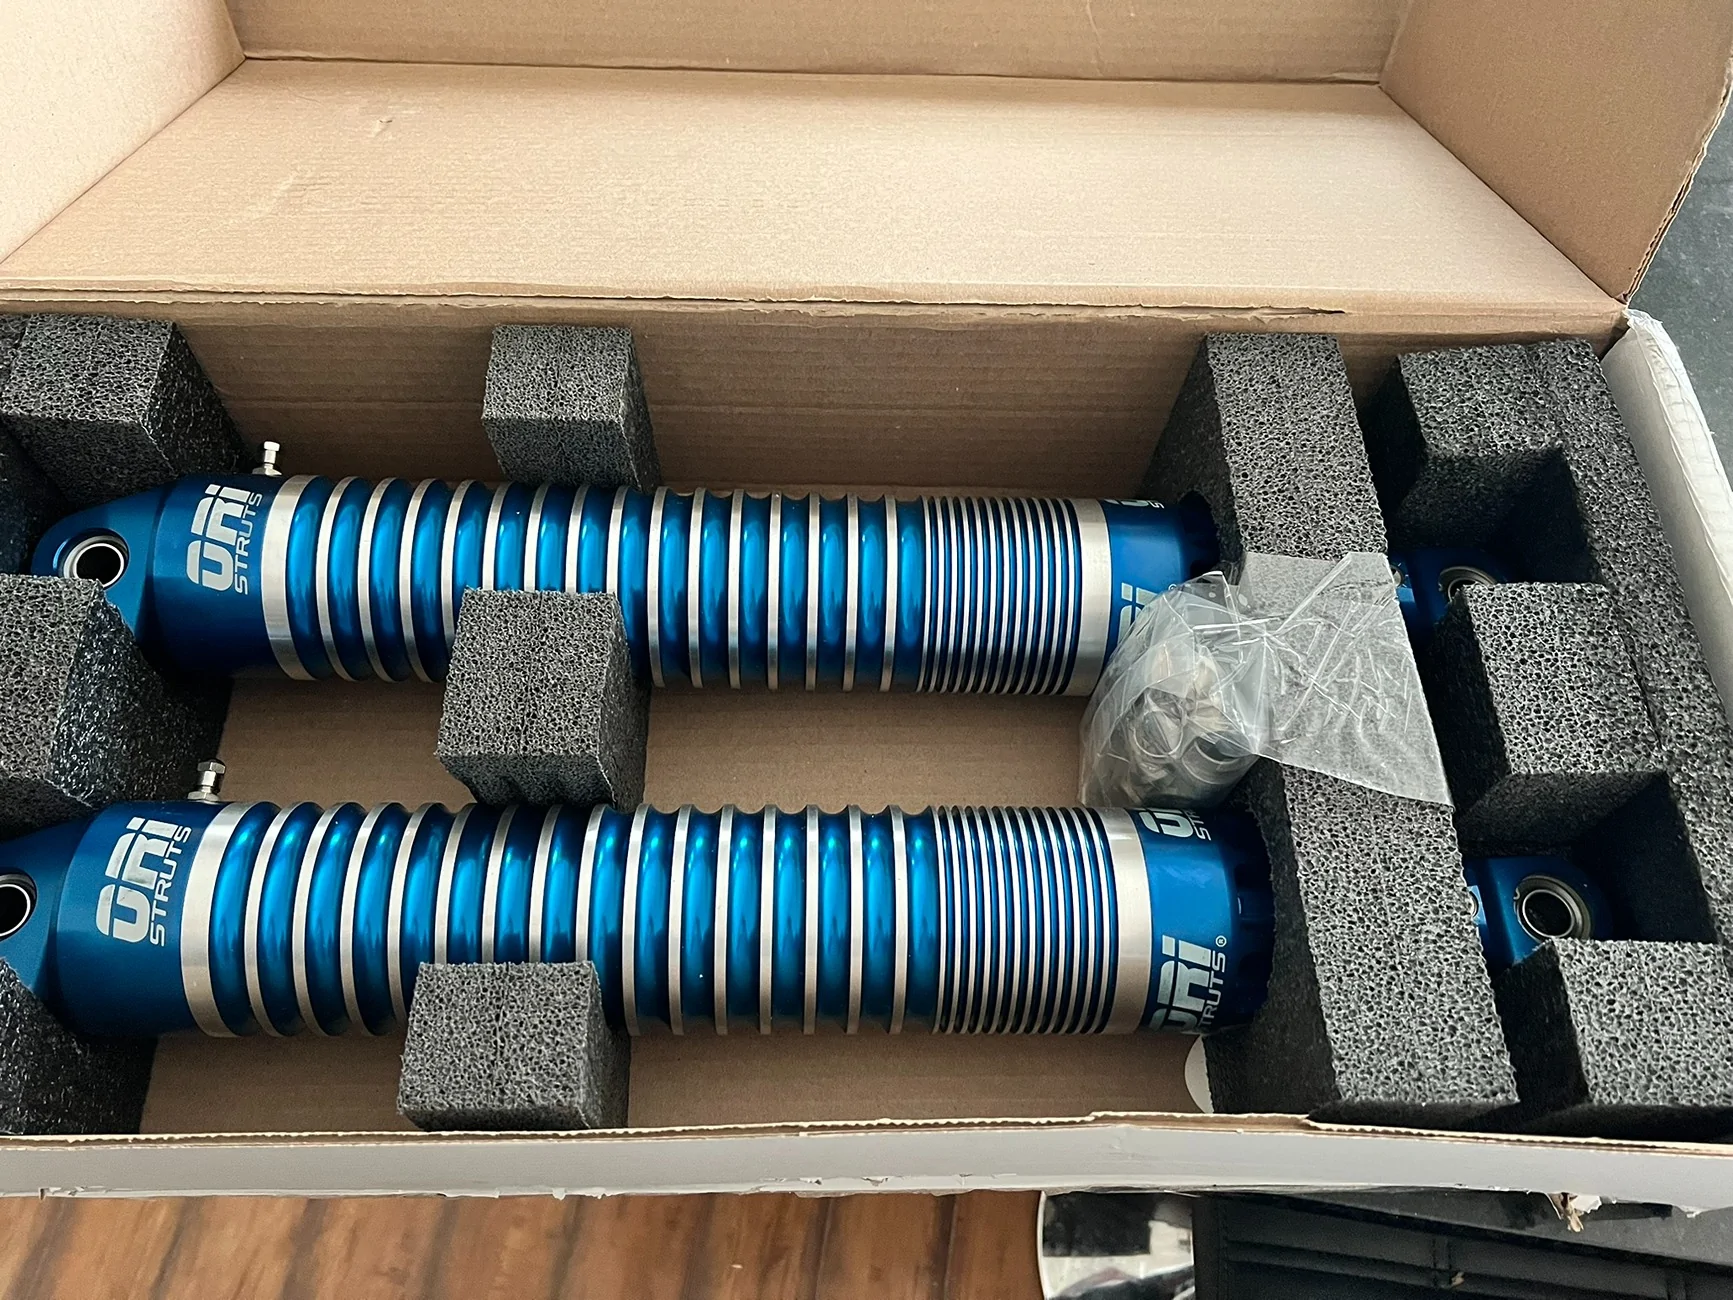
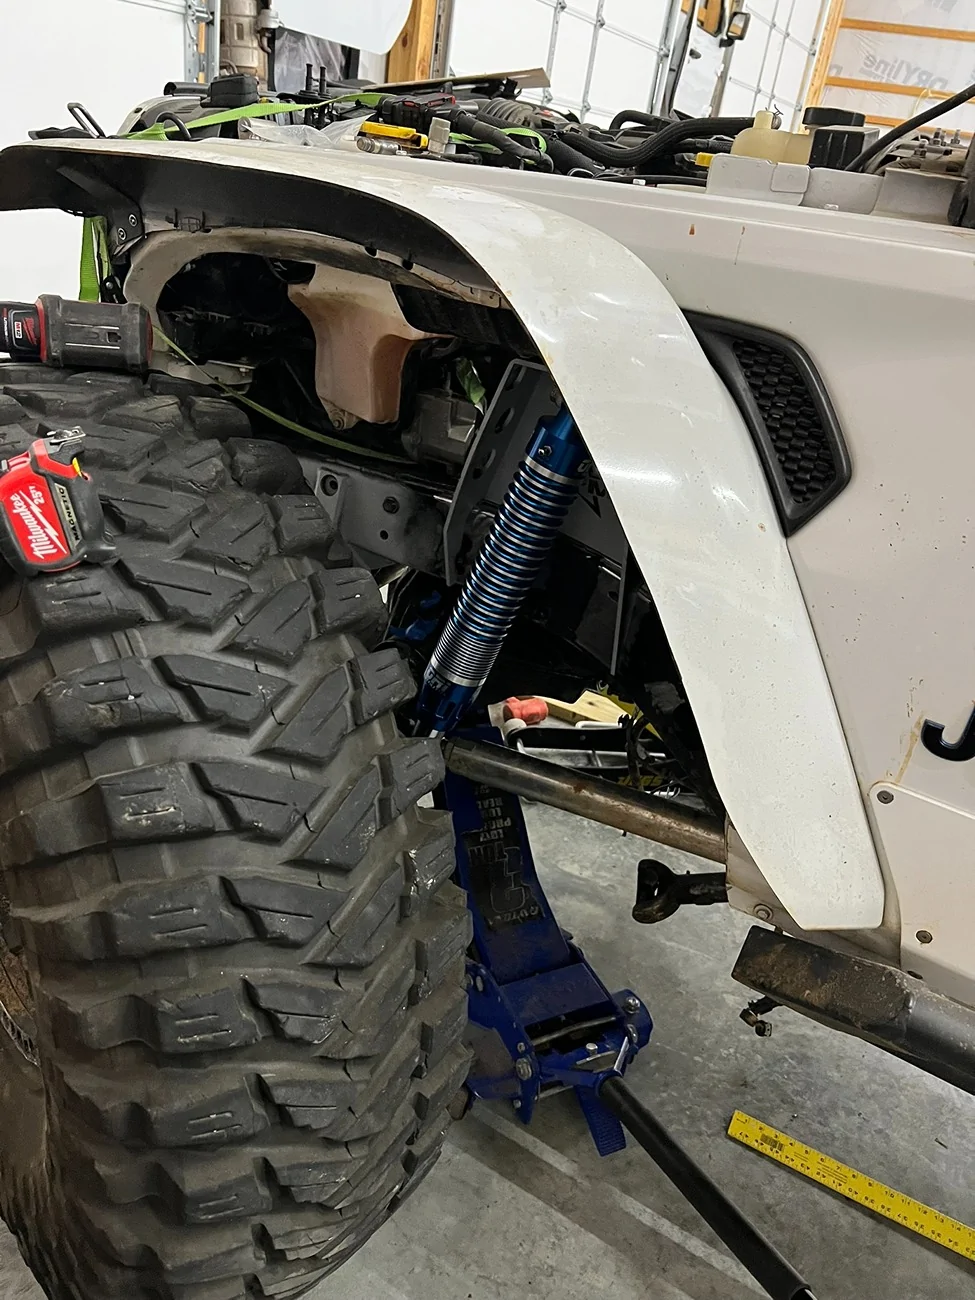
still waiting on parts for the rear 4 link, and front and rear towers for ORIs.
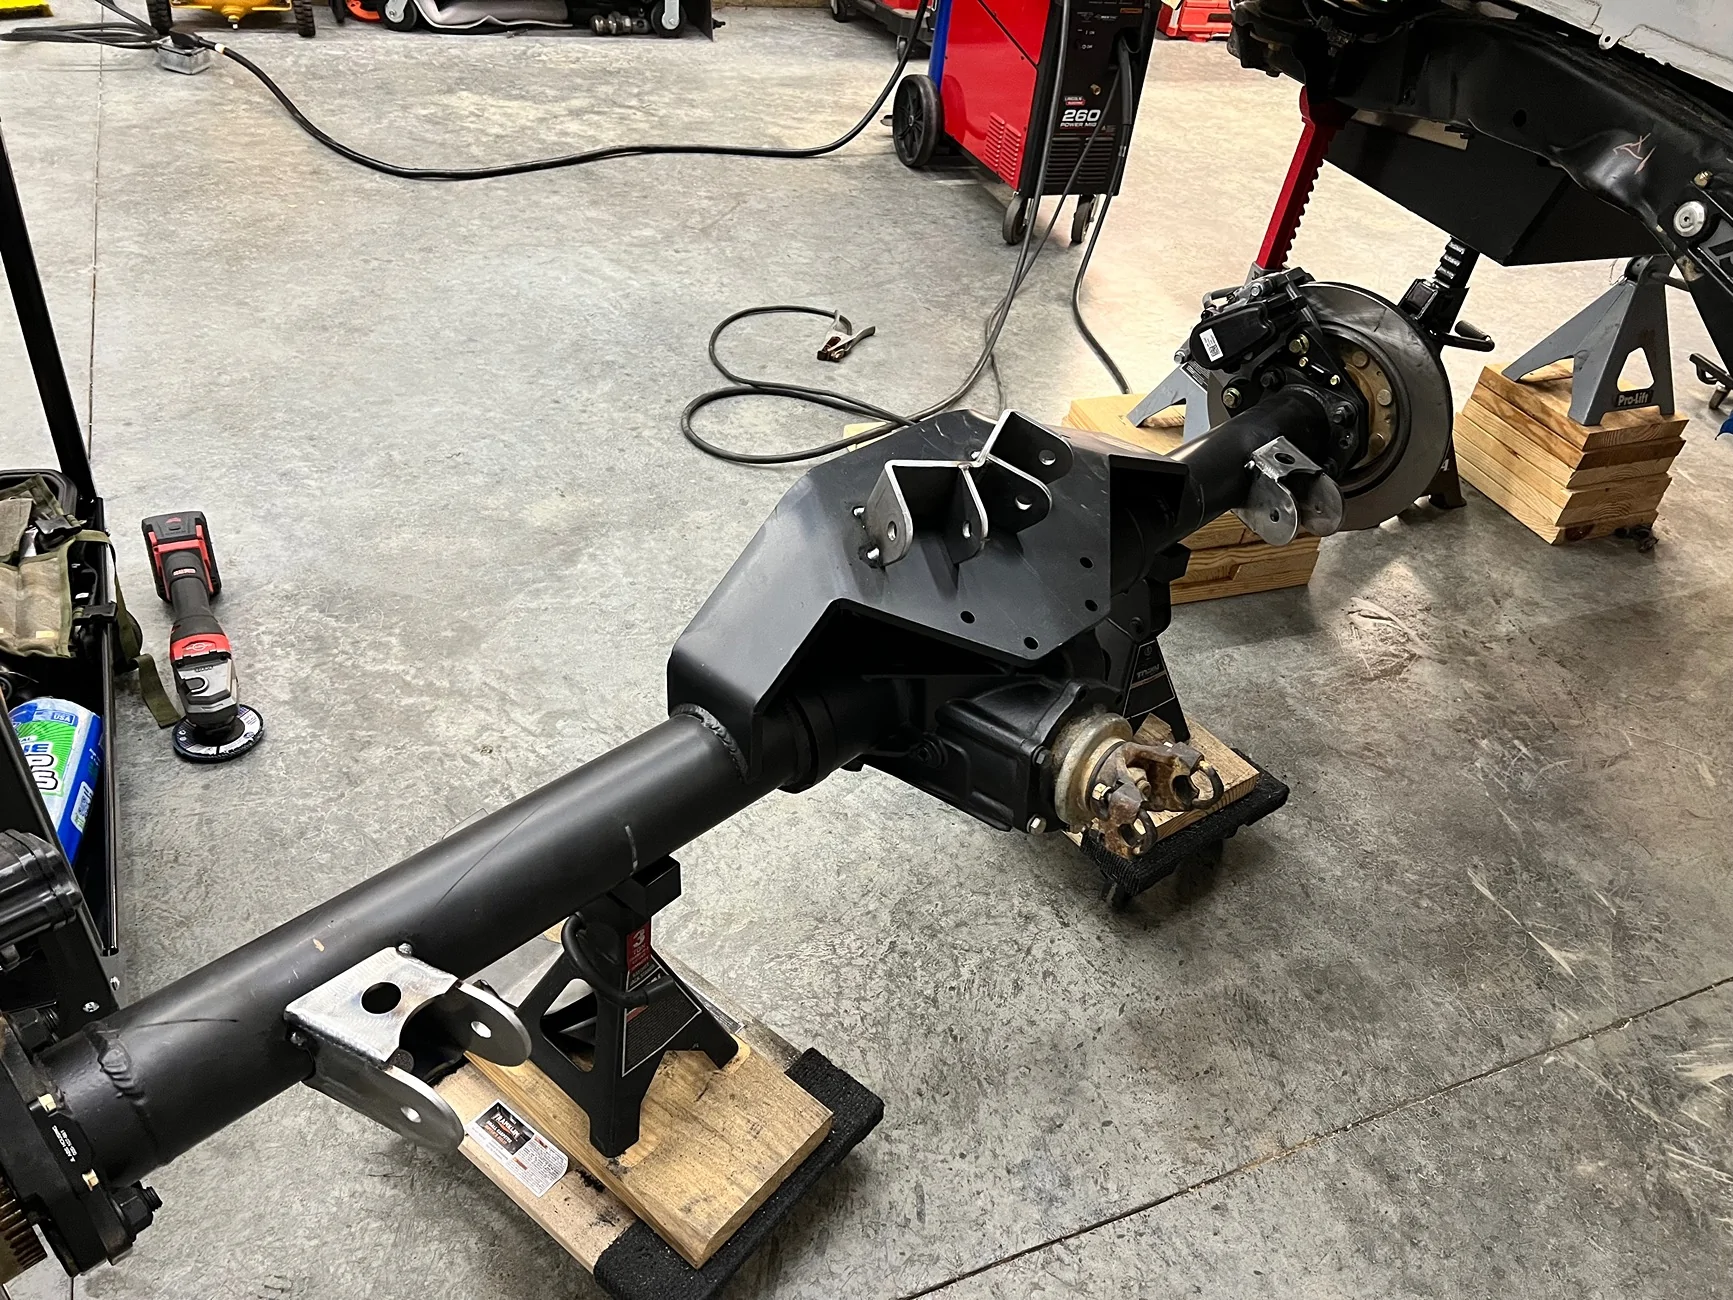
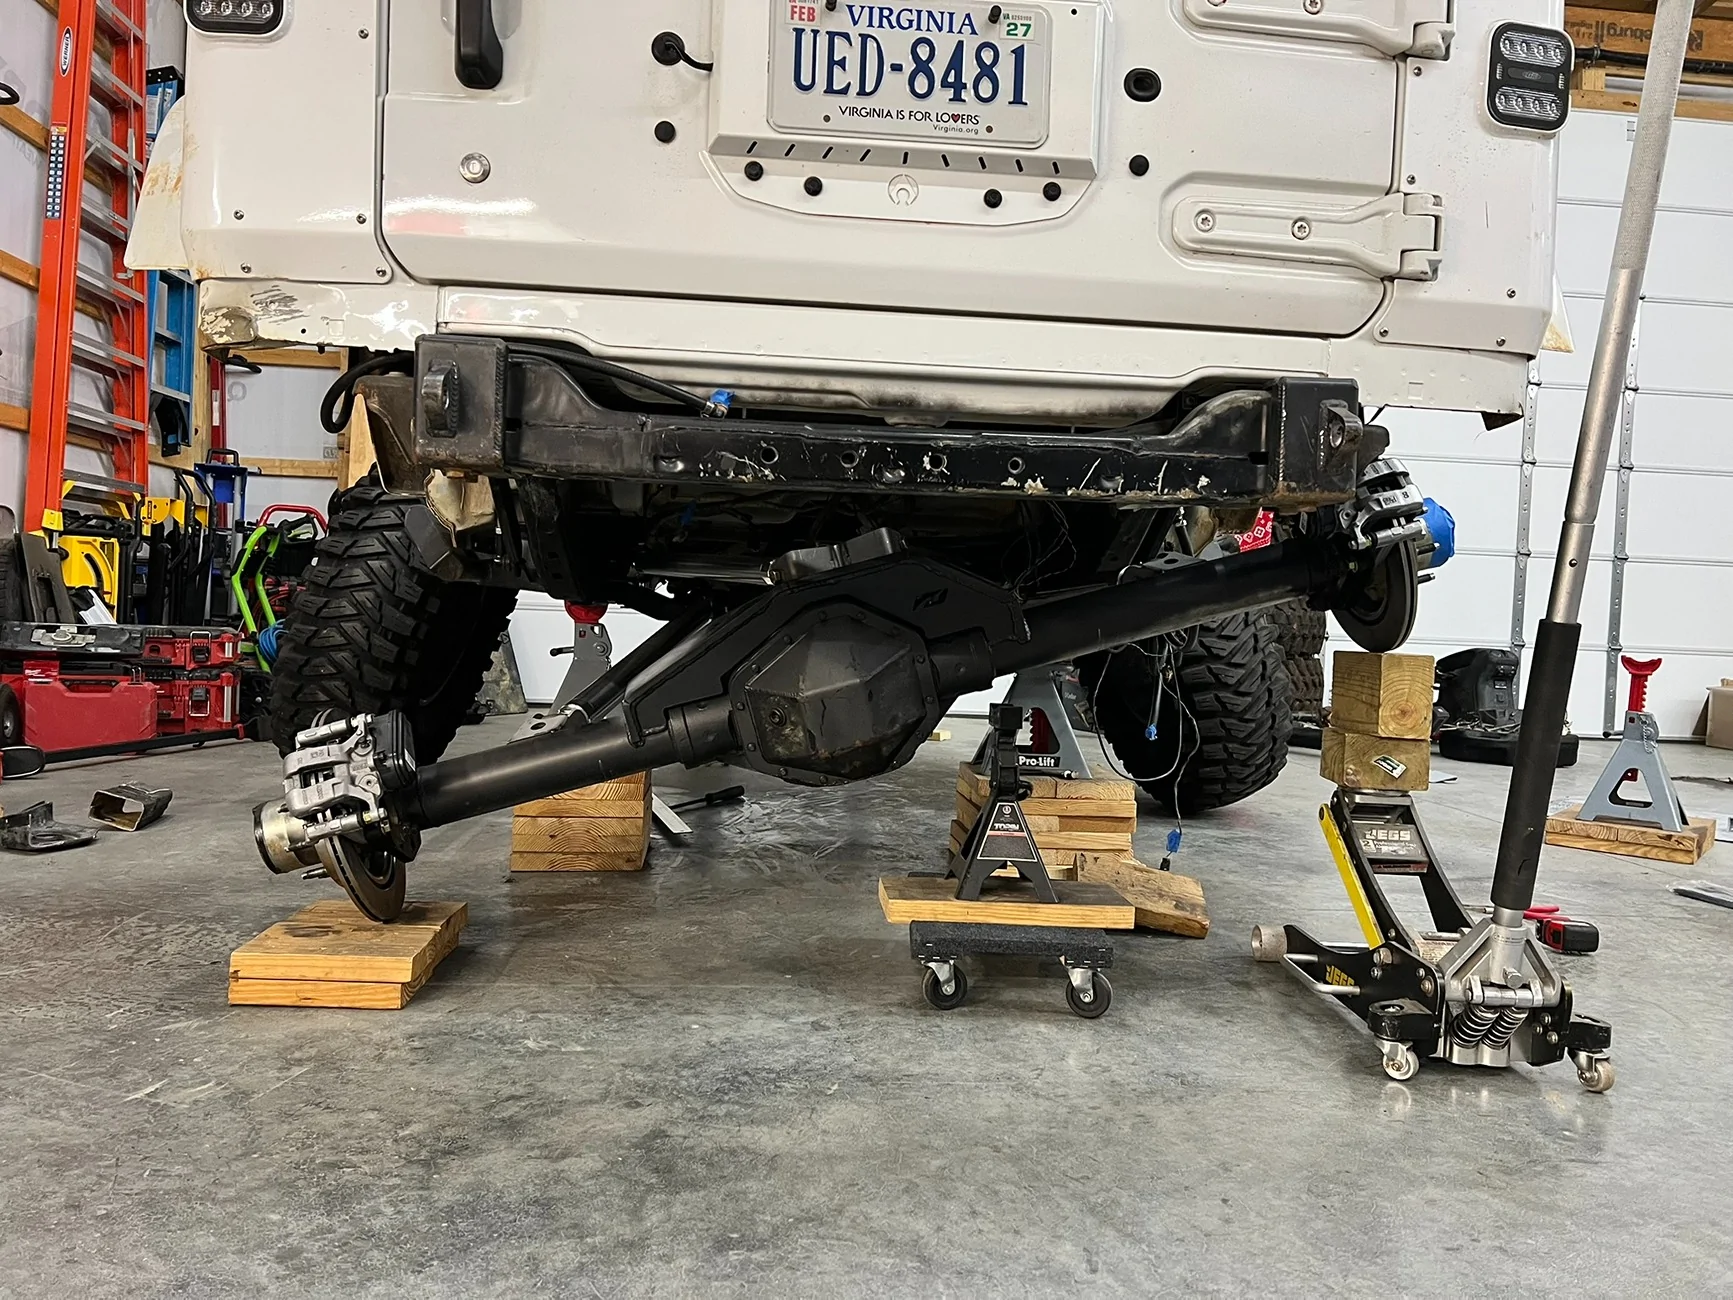
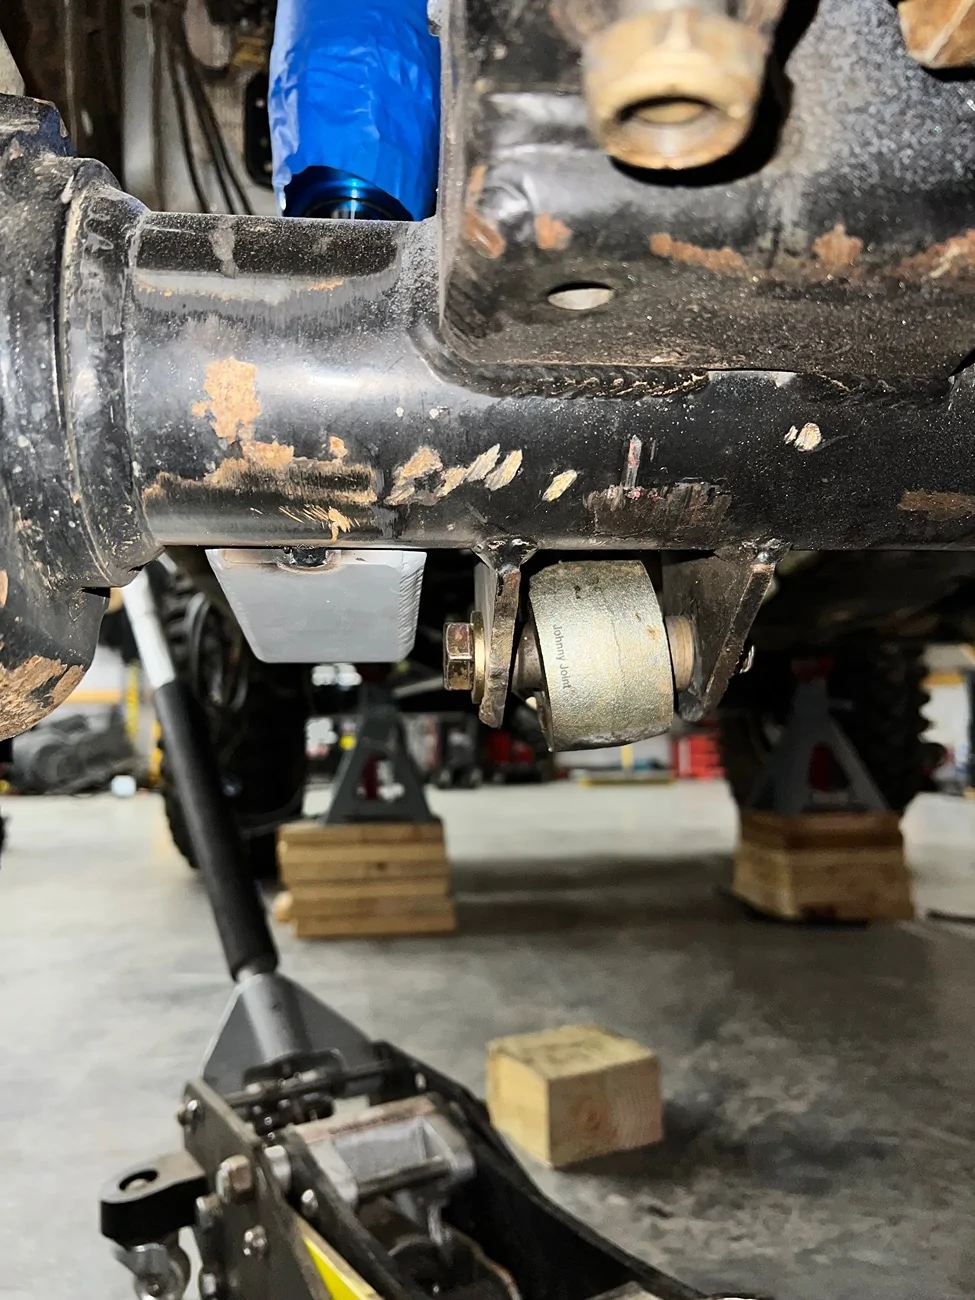
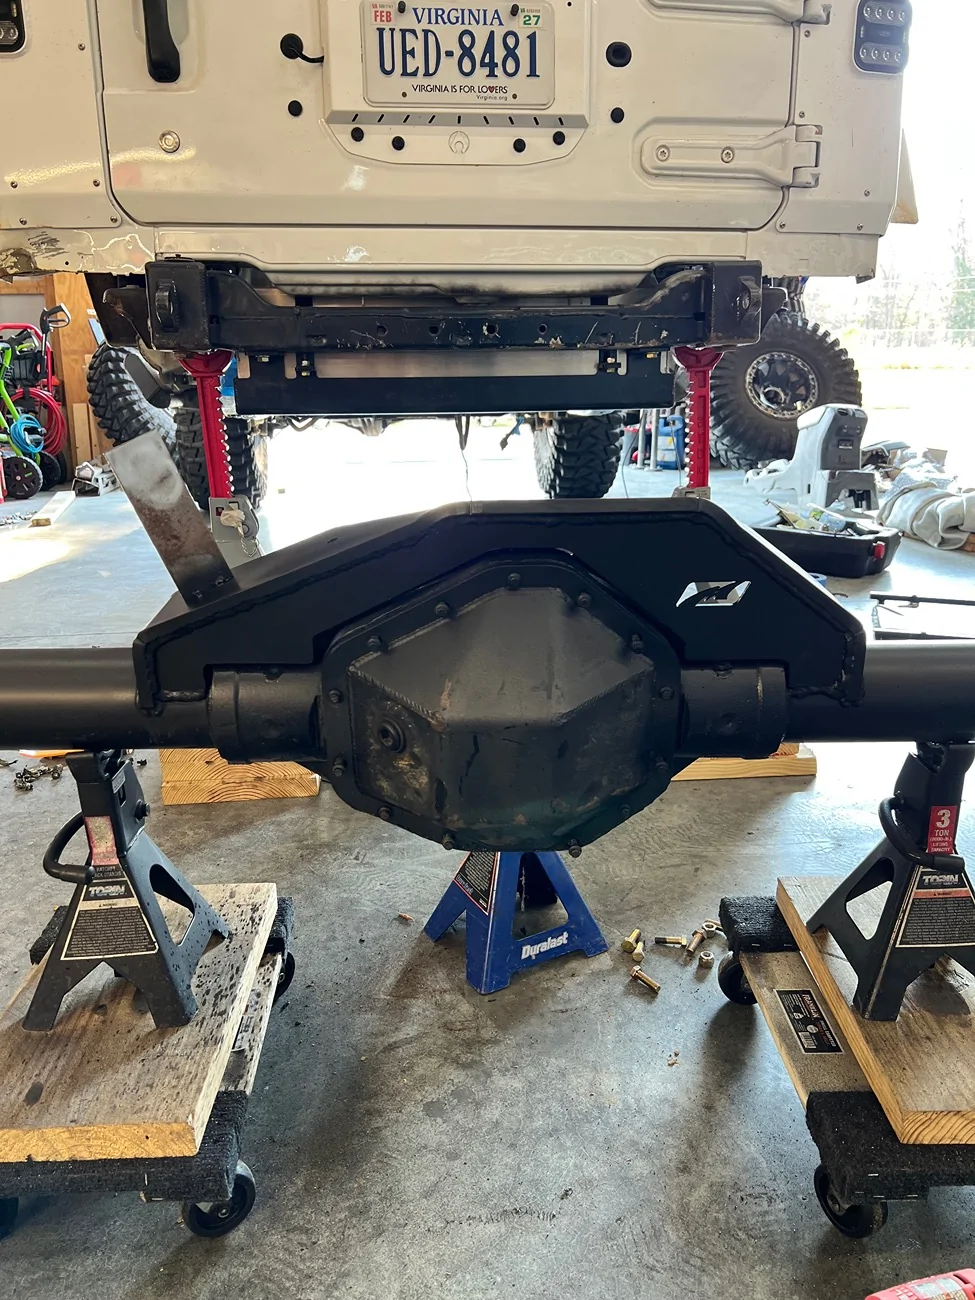
installed motobilt truss on the rear axle:
More to follow, but that’s where we’re at right now
few months ago, I smoked a ditch while night wheeling. Bent the front lower control arm and partially tore the mount off the frame.

so that got replaced by the RPM 3 link front. Super nice kit, welded on all the bolt on parts because why not.
only had 1 trip on it, and a handful of road miles, but it’s the cats ass. Front is noticeably smoother over road bumps.
with mid arms, I had to put a spring in on the “low” side in order to jack up the “high” side for shop articulation. The front 3 link is completely unrestricted and has no issues flexing with no springs in either direction.
Next up is triangulated 4 link rear, which also requires a fuel cell.
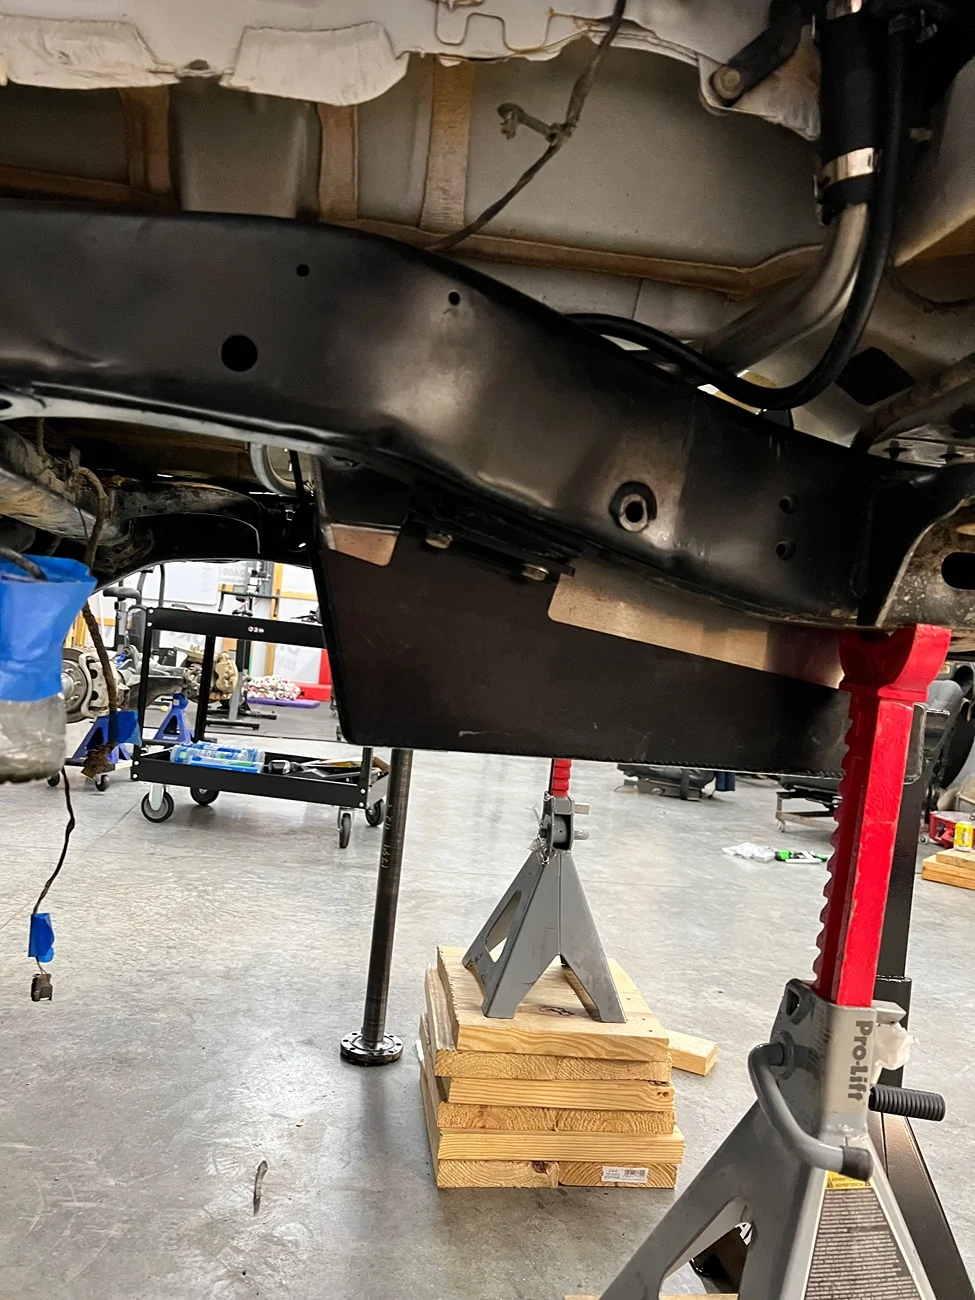
RPM fuel cell, easy install and great kit.
still waiting on parts for the rear 4 link, and front and rear towers for ORIs.
installed motobilt truss on the rear axle:
More to follow, but that’s where we’re at right now
Sponsored