grandsrus
Well-Known Member
- Joined
- Jul 1, 2019
- Threads
- 9
- Messages
- 2,666
- Reaction score
- 12,664
- Location
- DFW, TX/ Melbourne, FL
- Vehicle(s)
- 2019 JLUR
- Occupation
- Aerospace
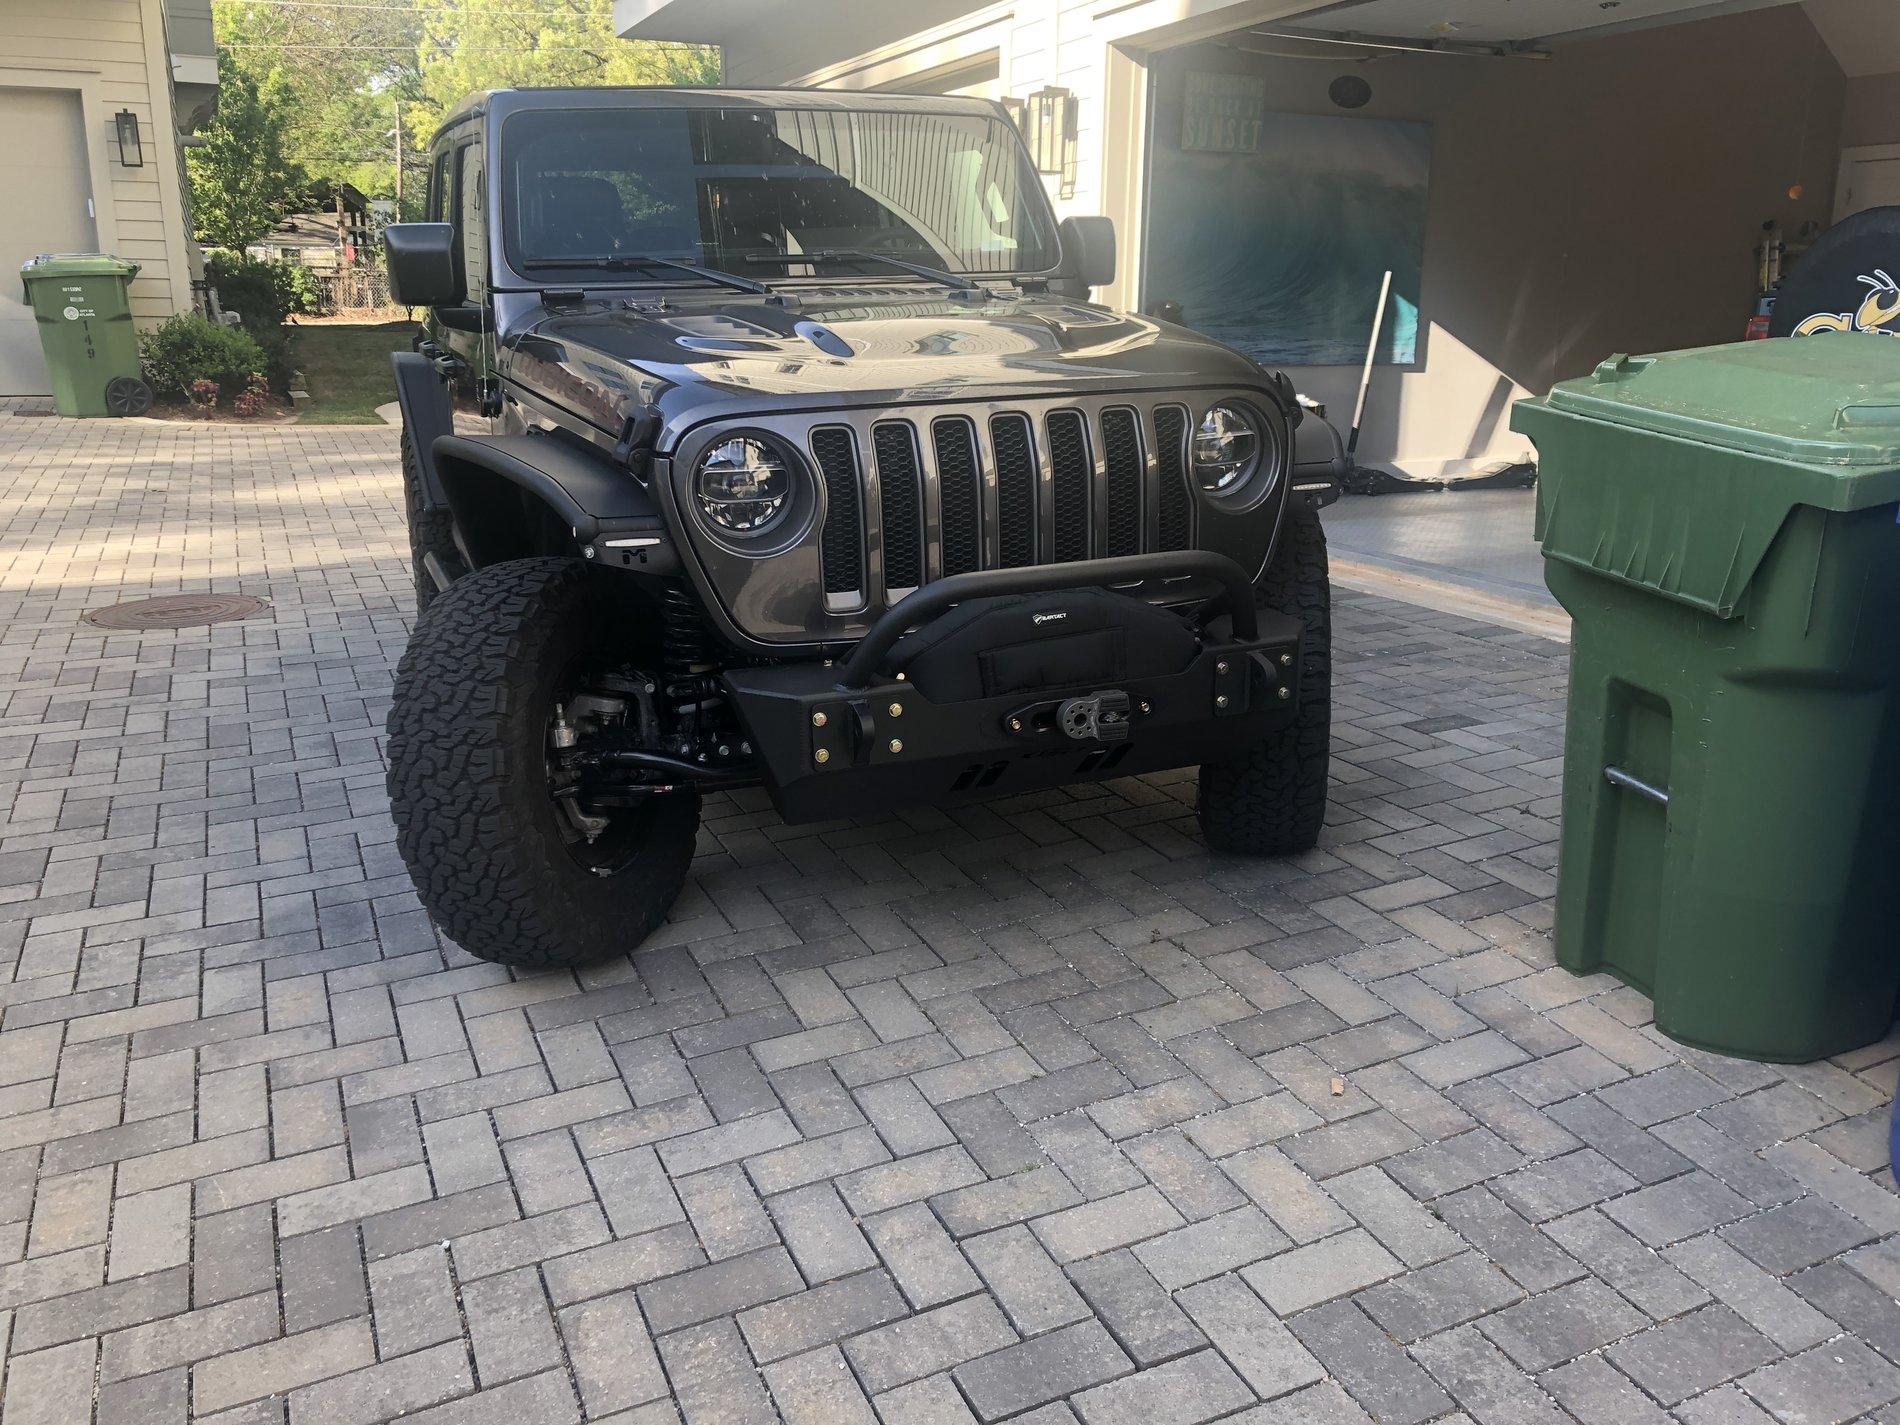
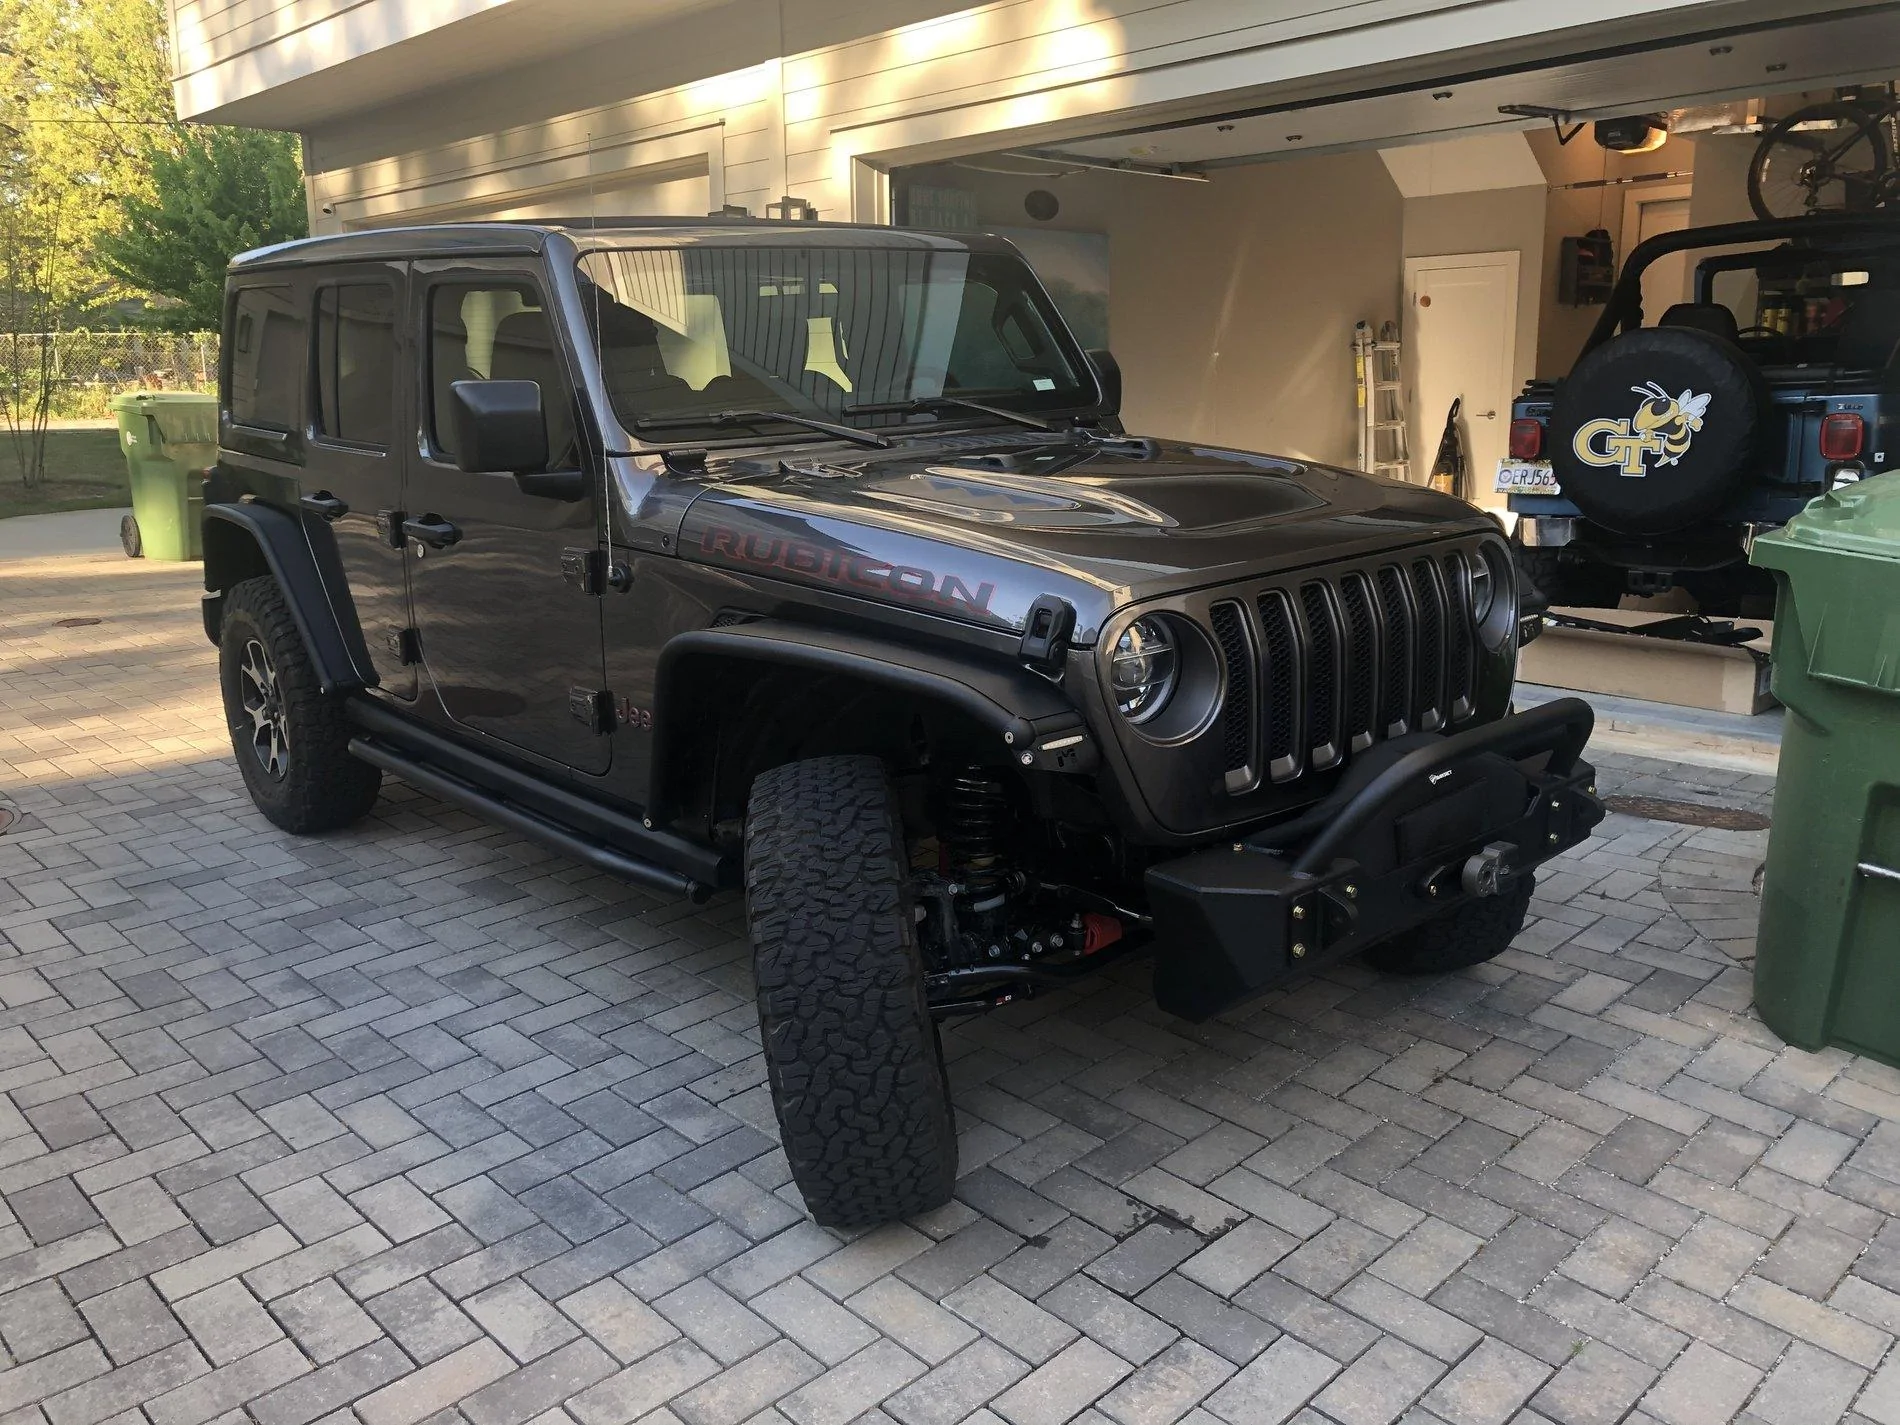
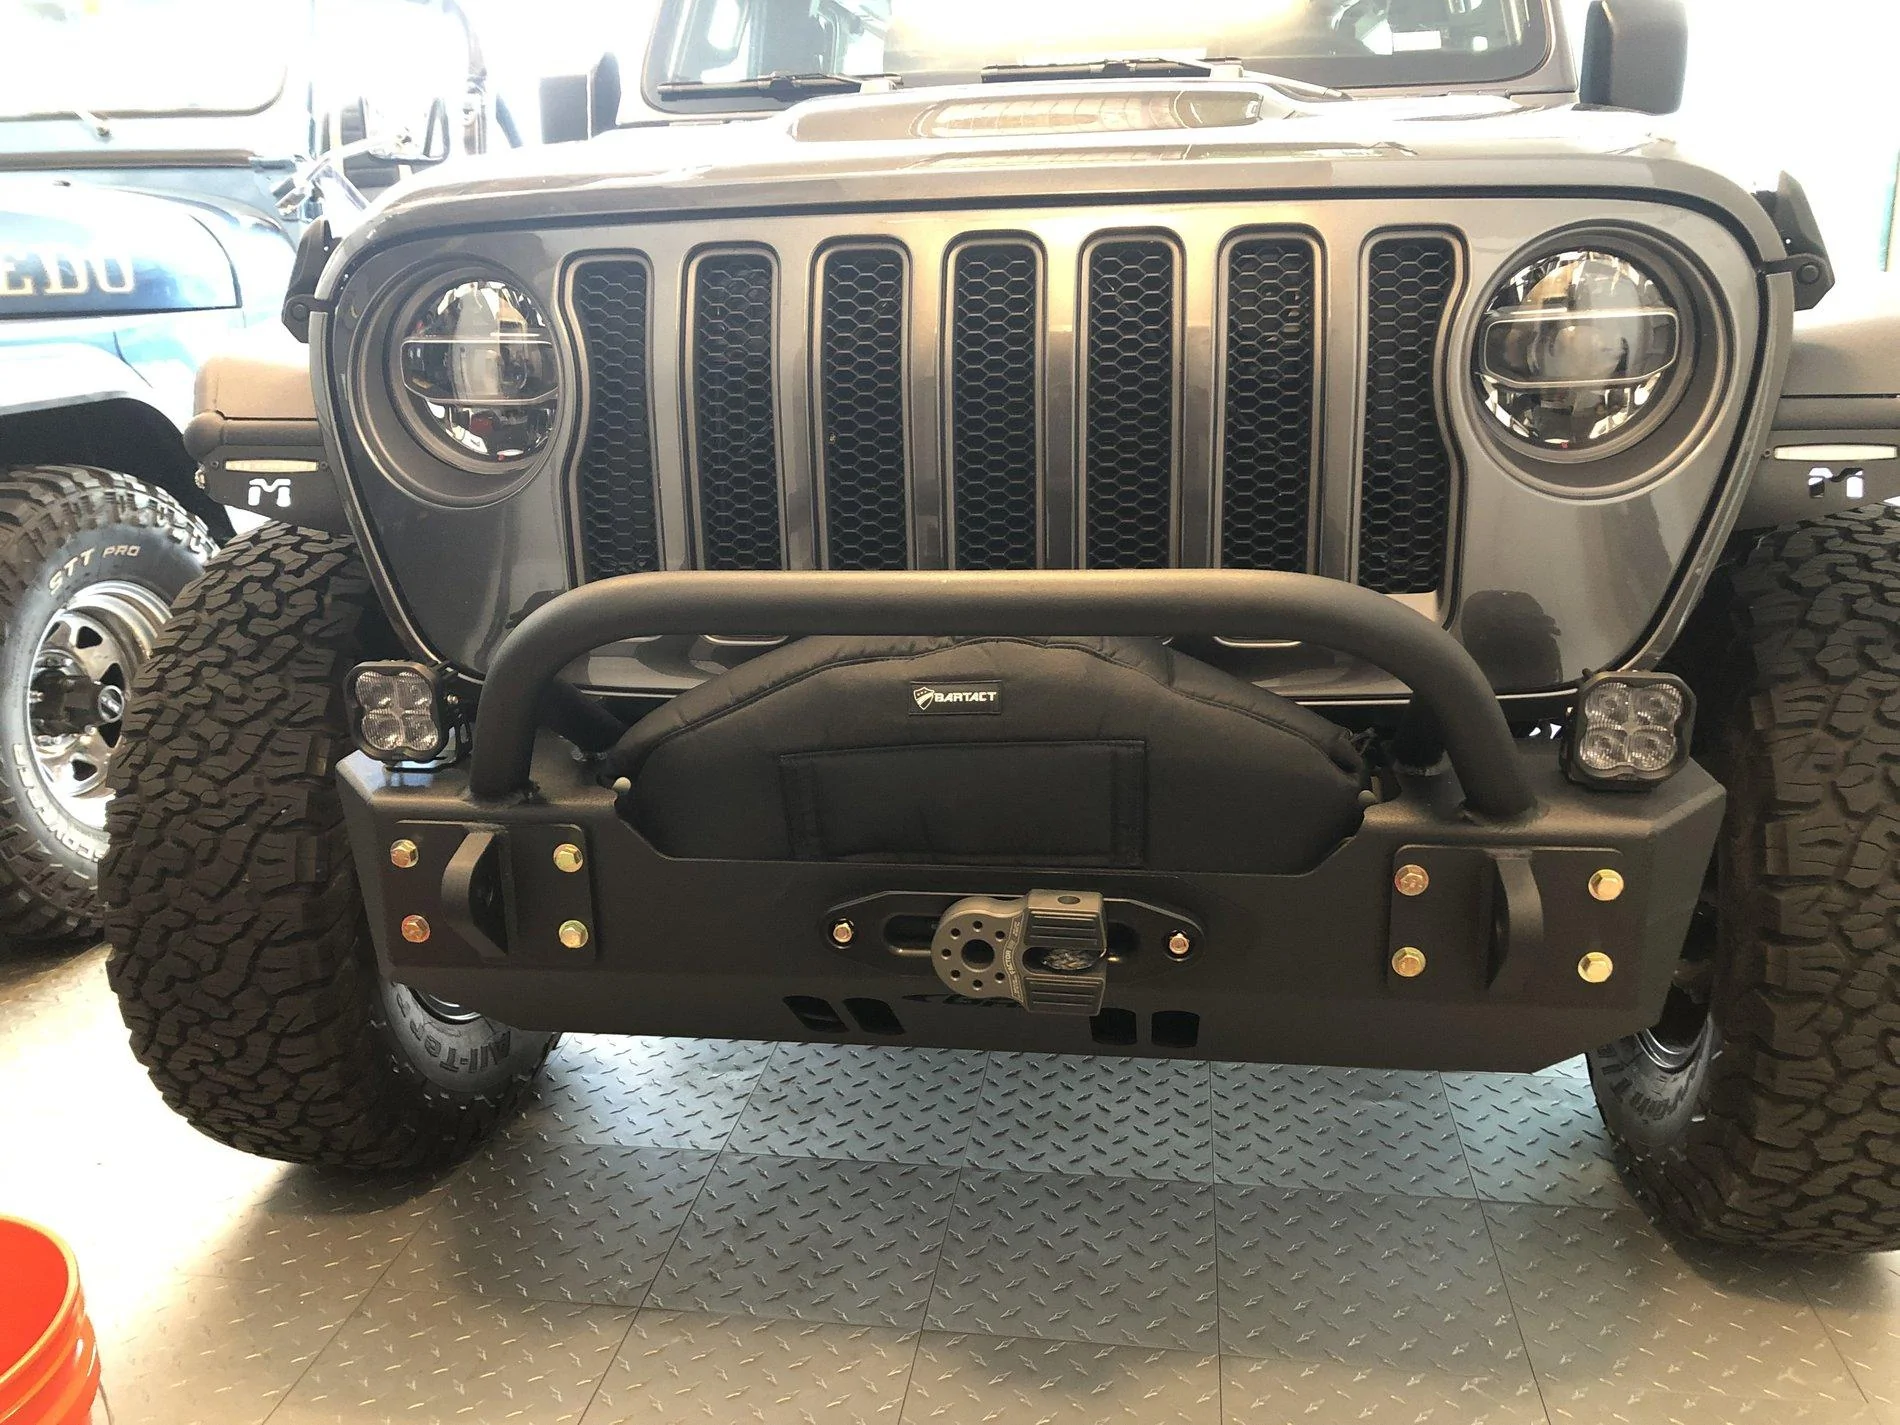
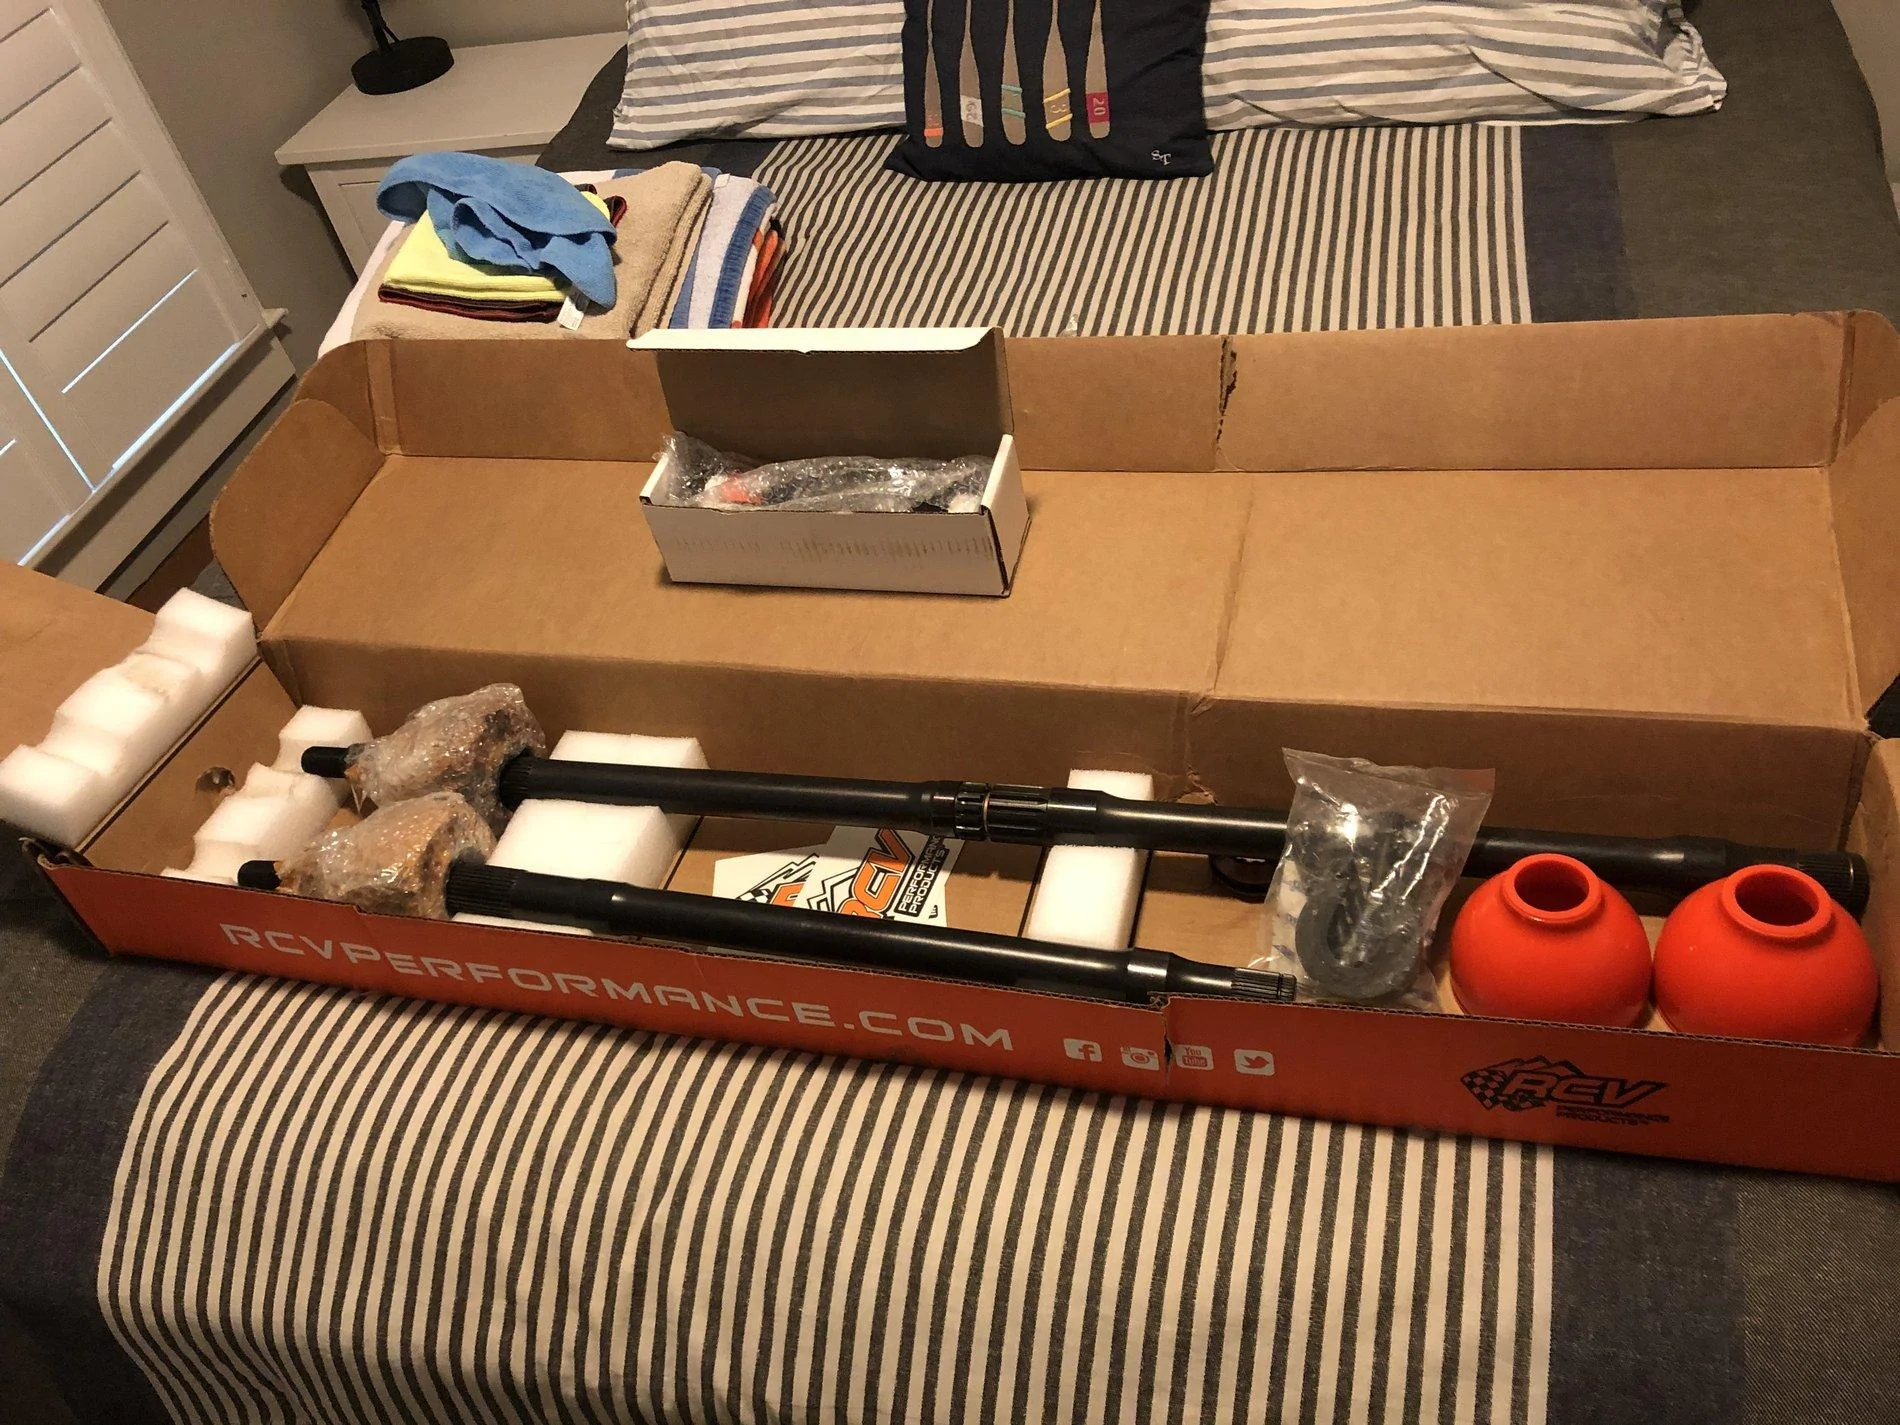
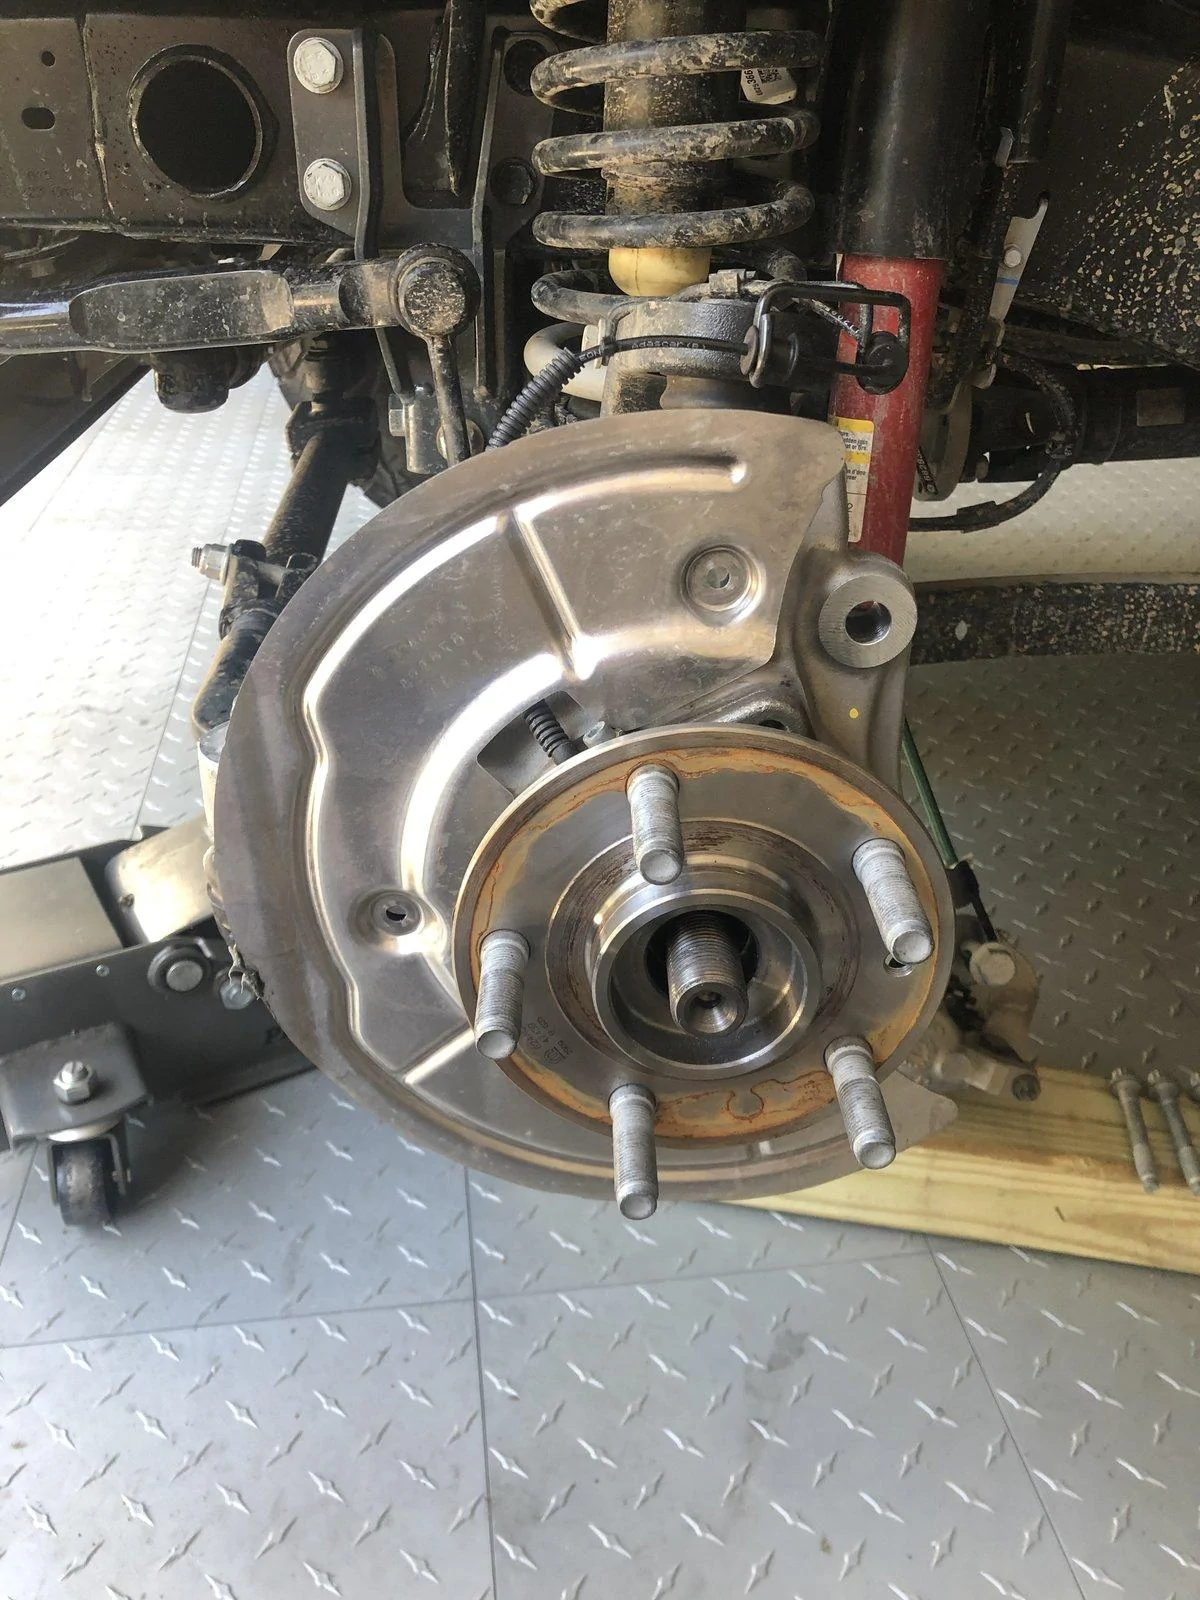
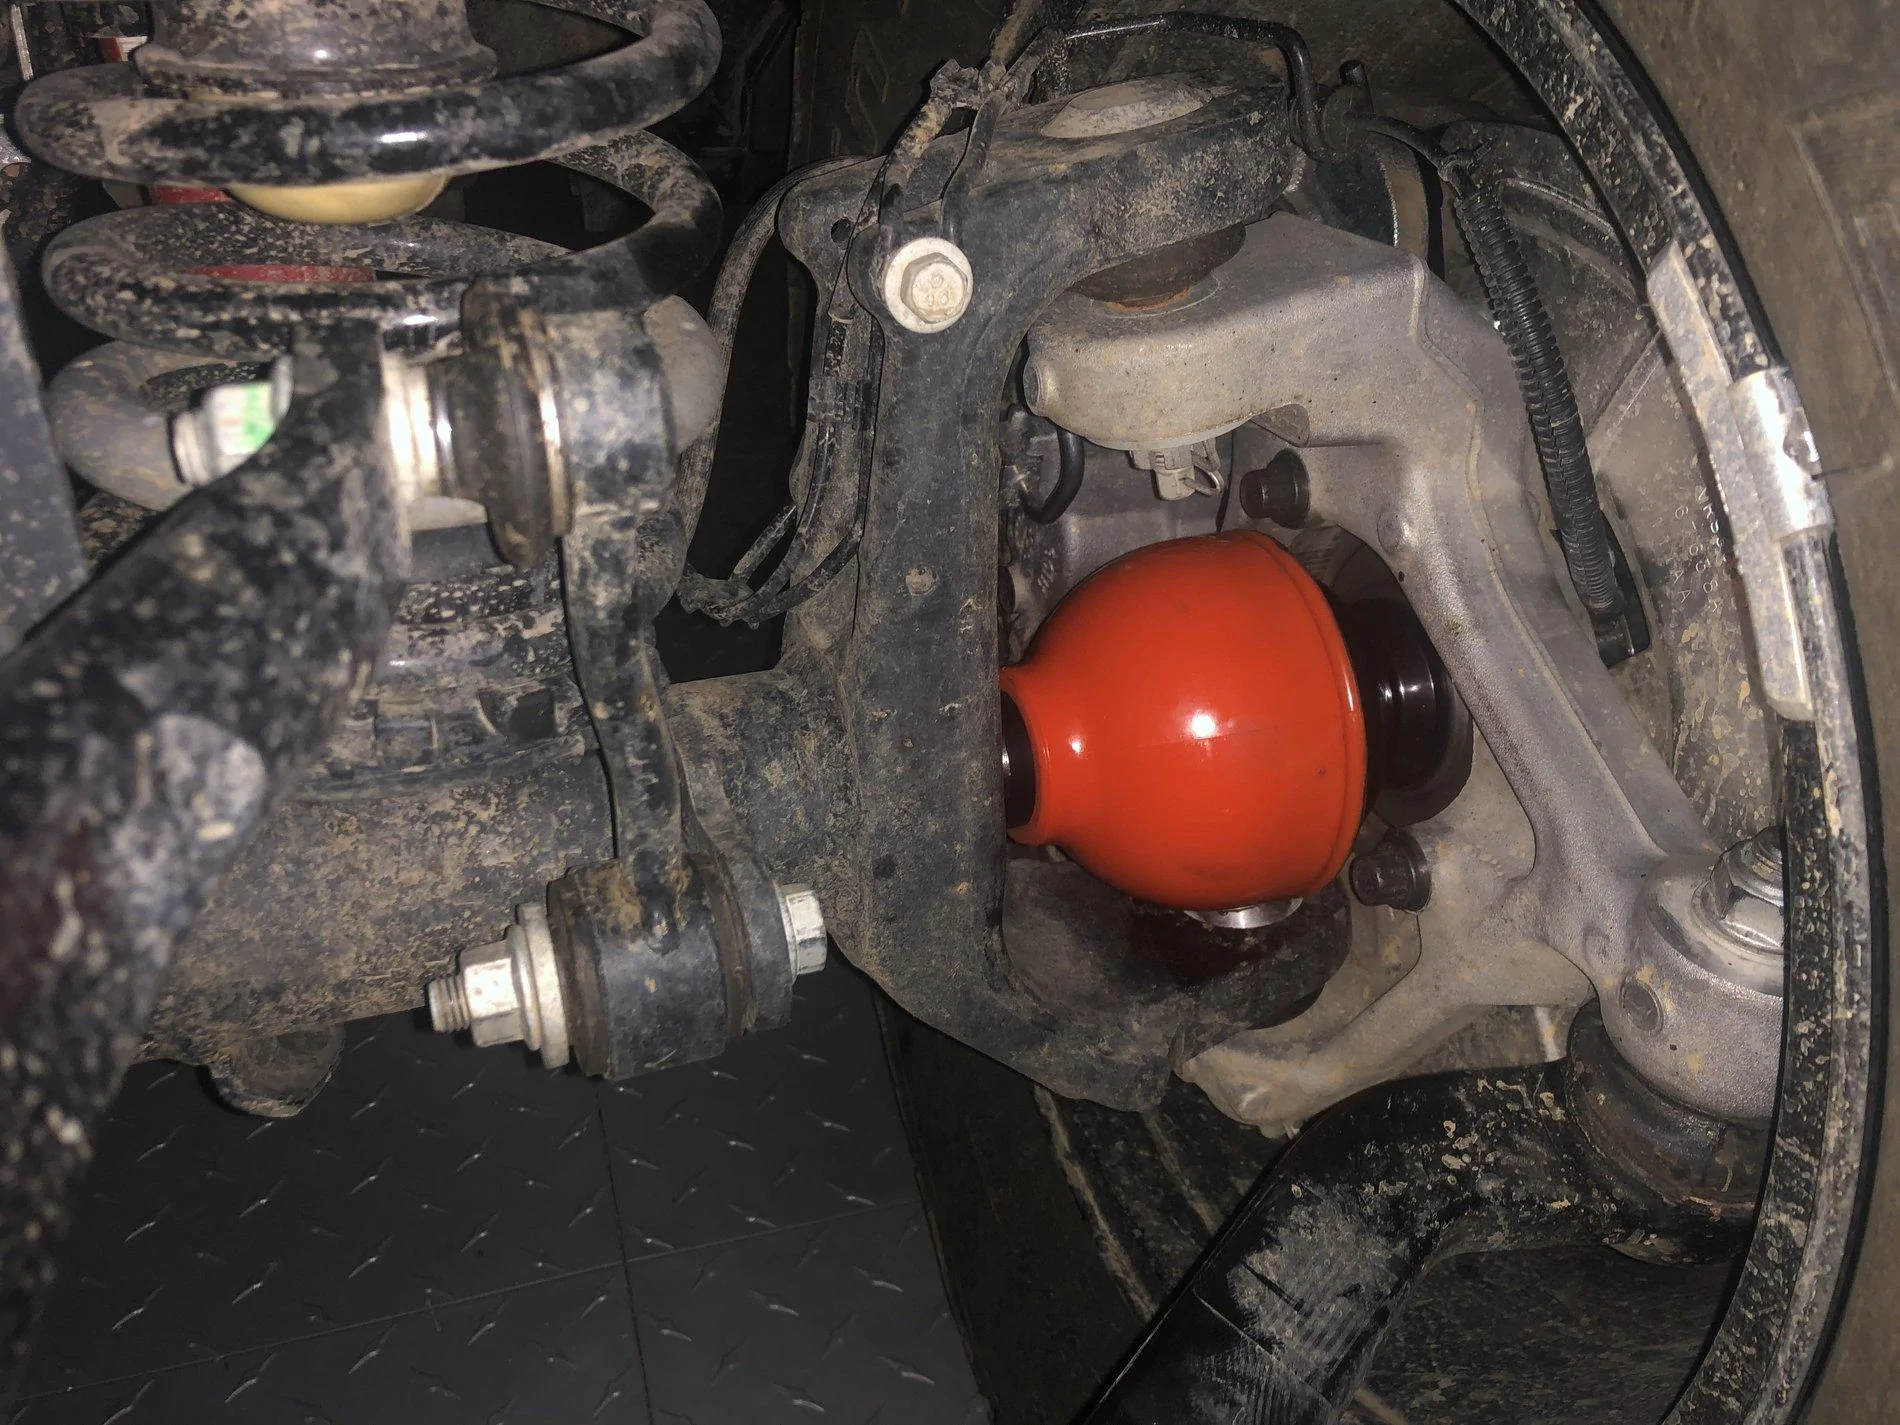
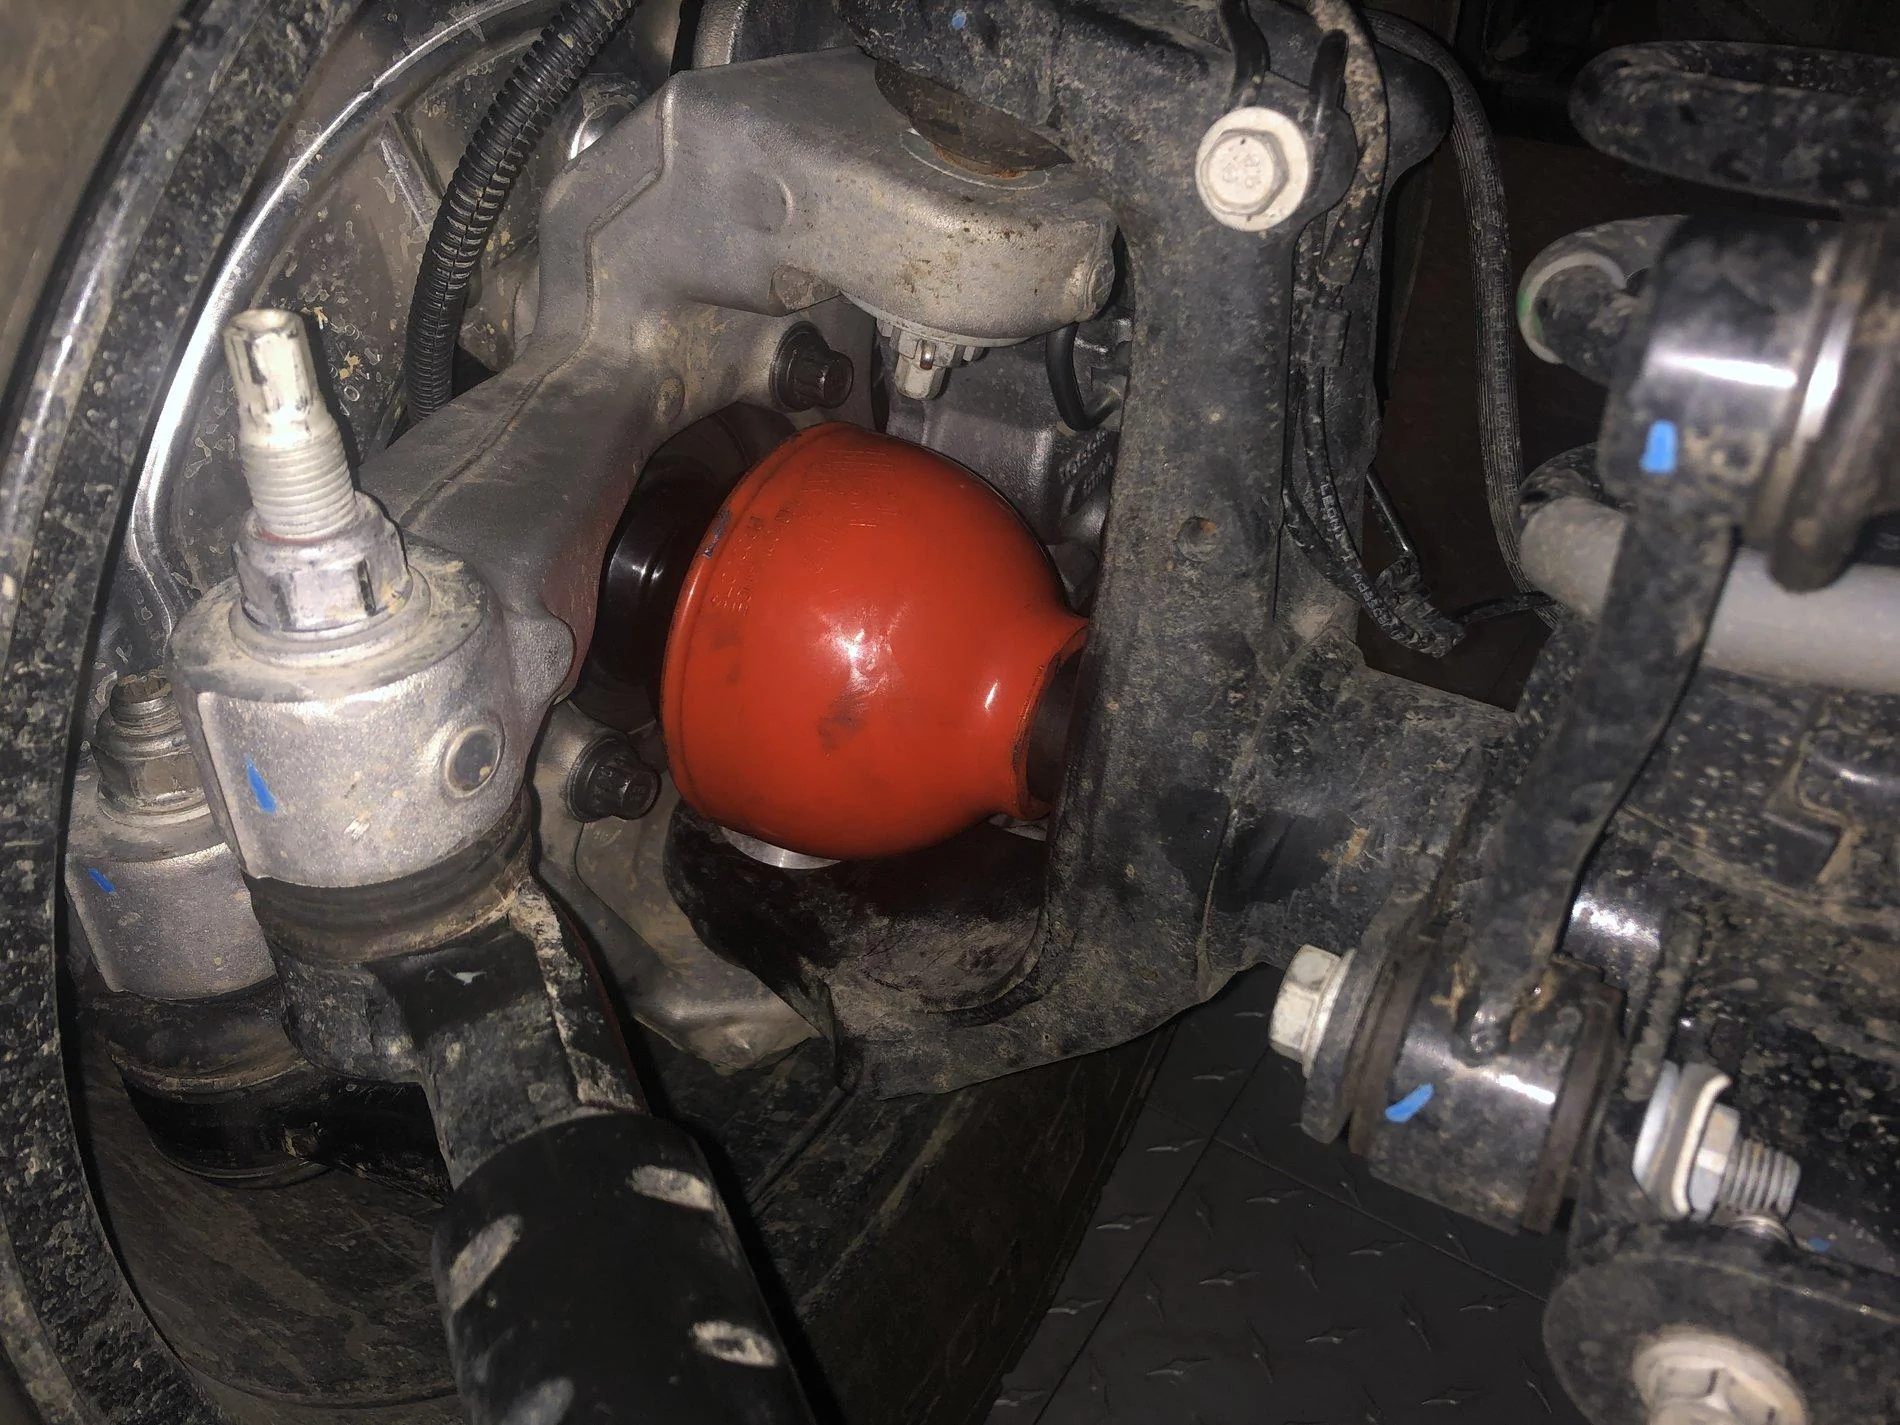
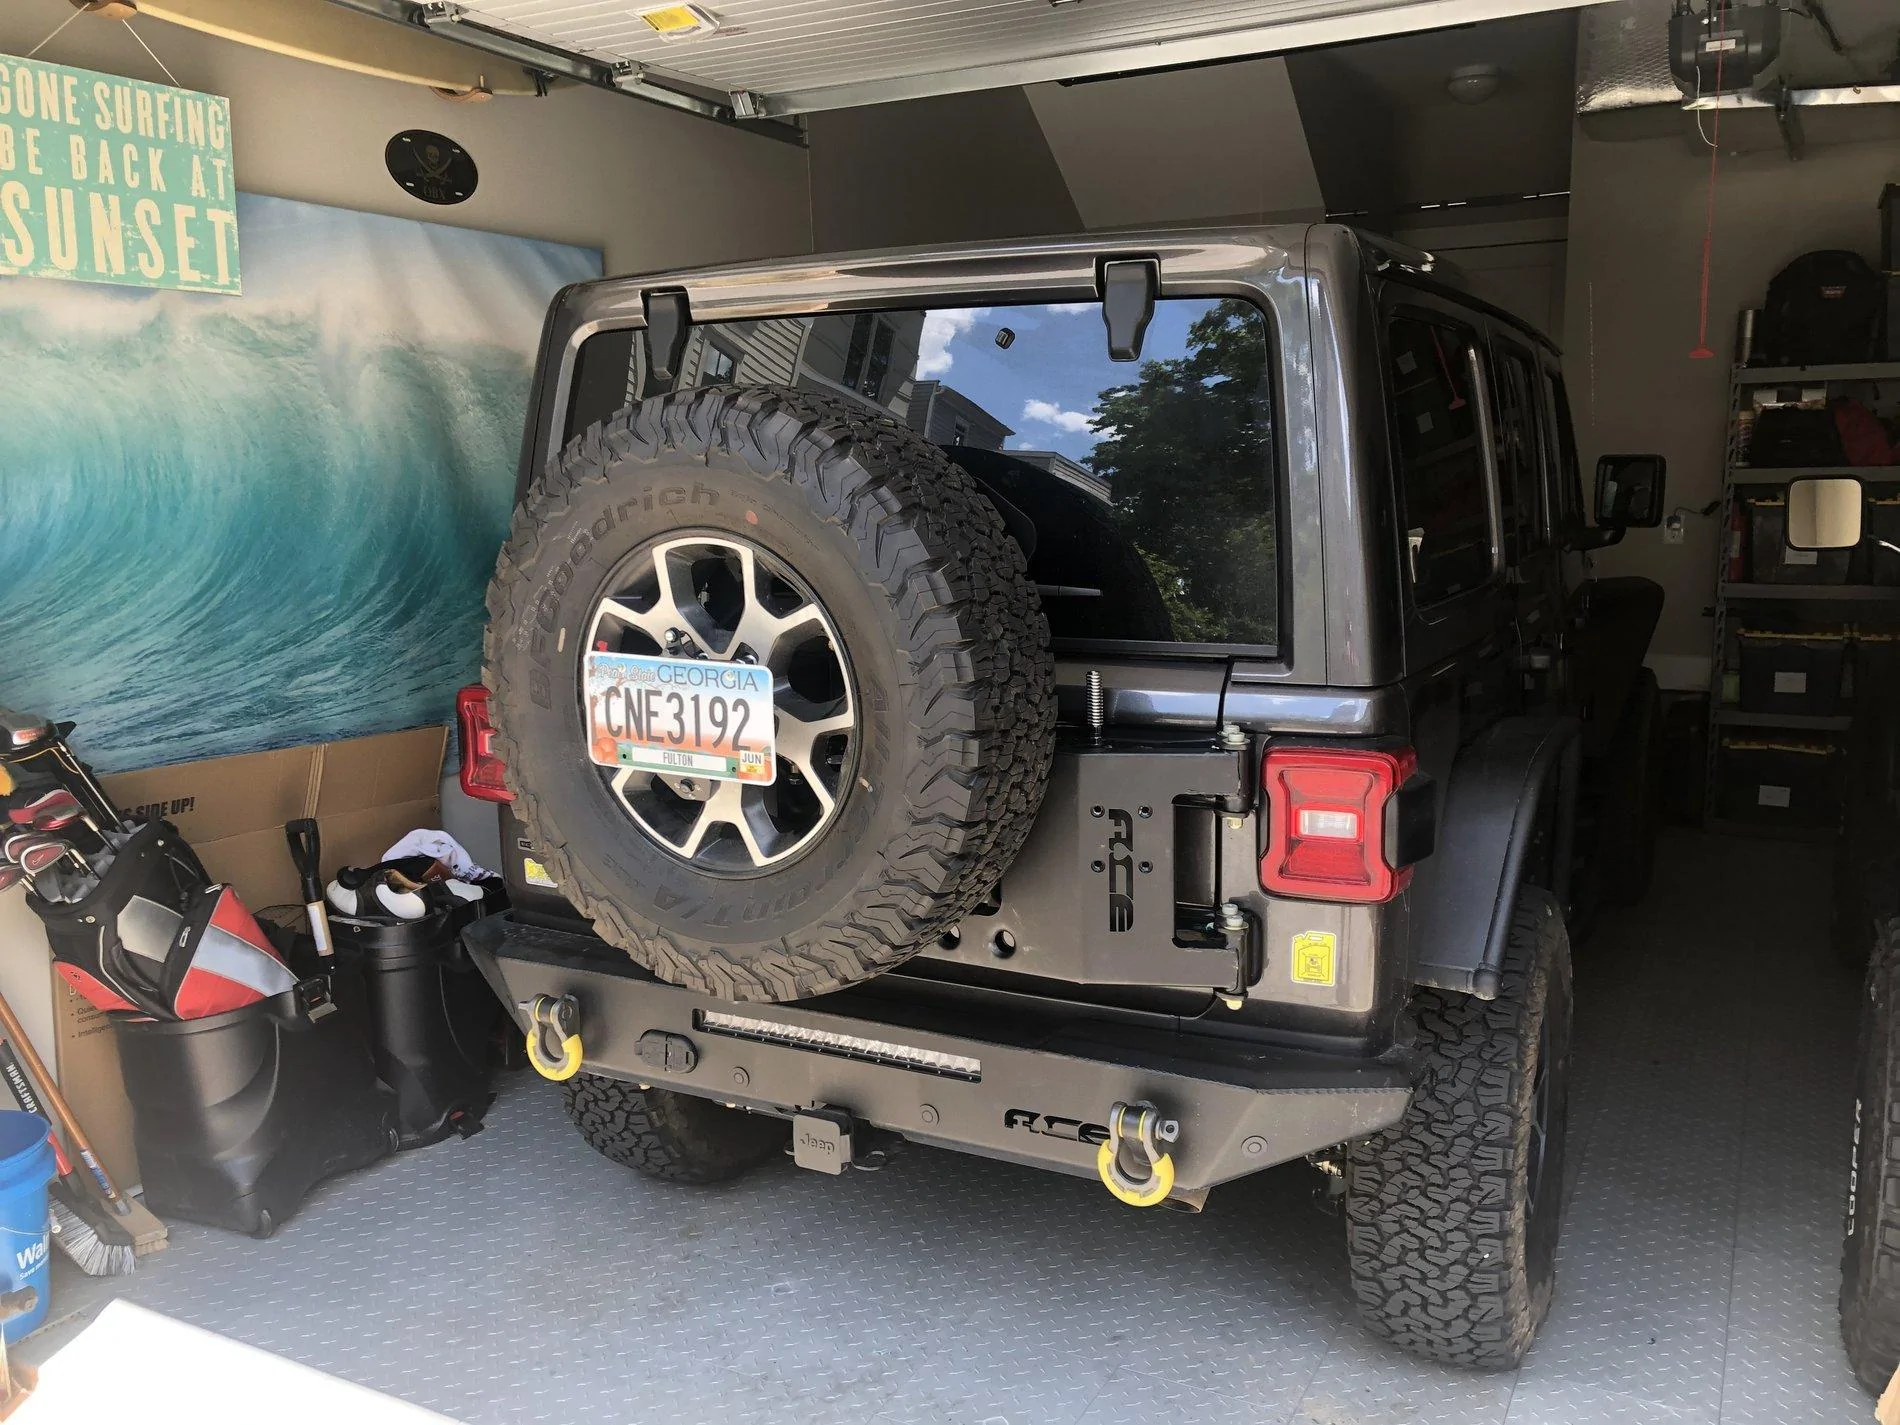
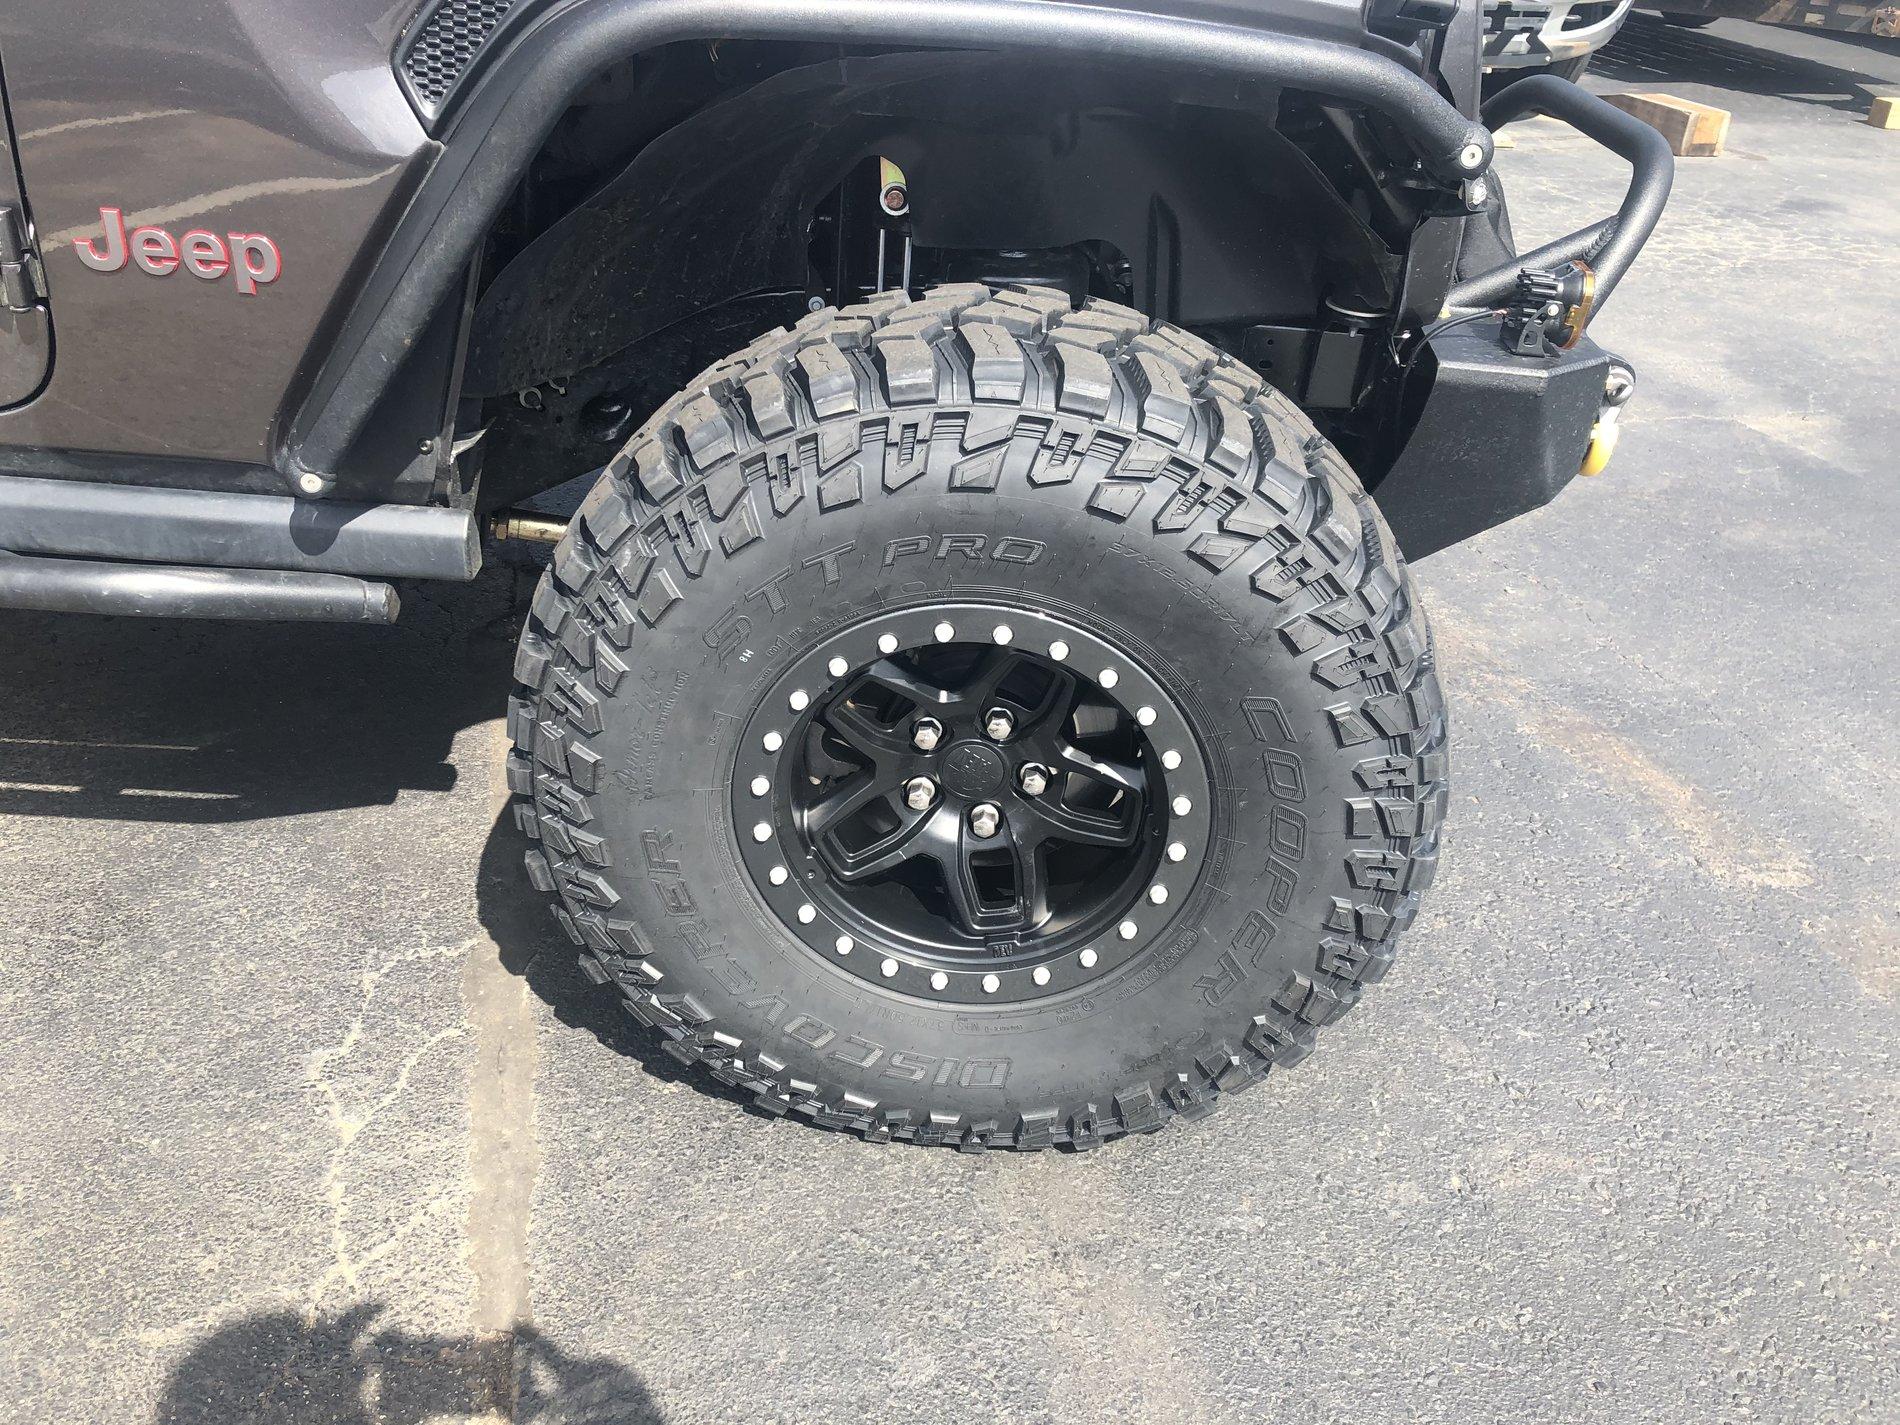
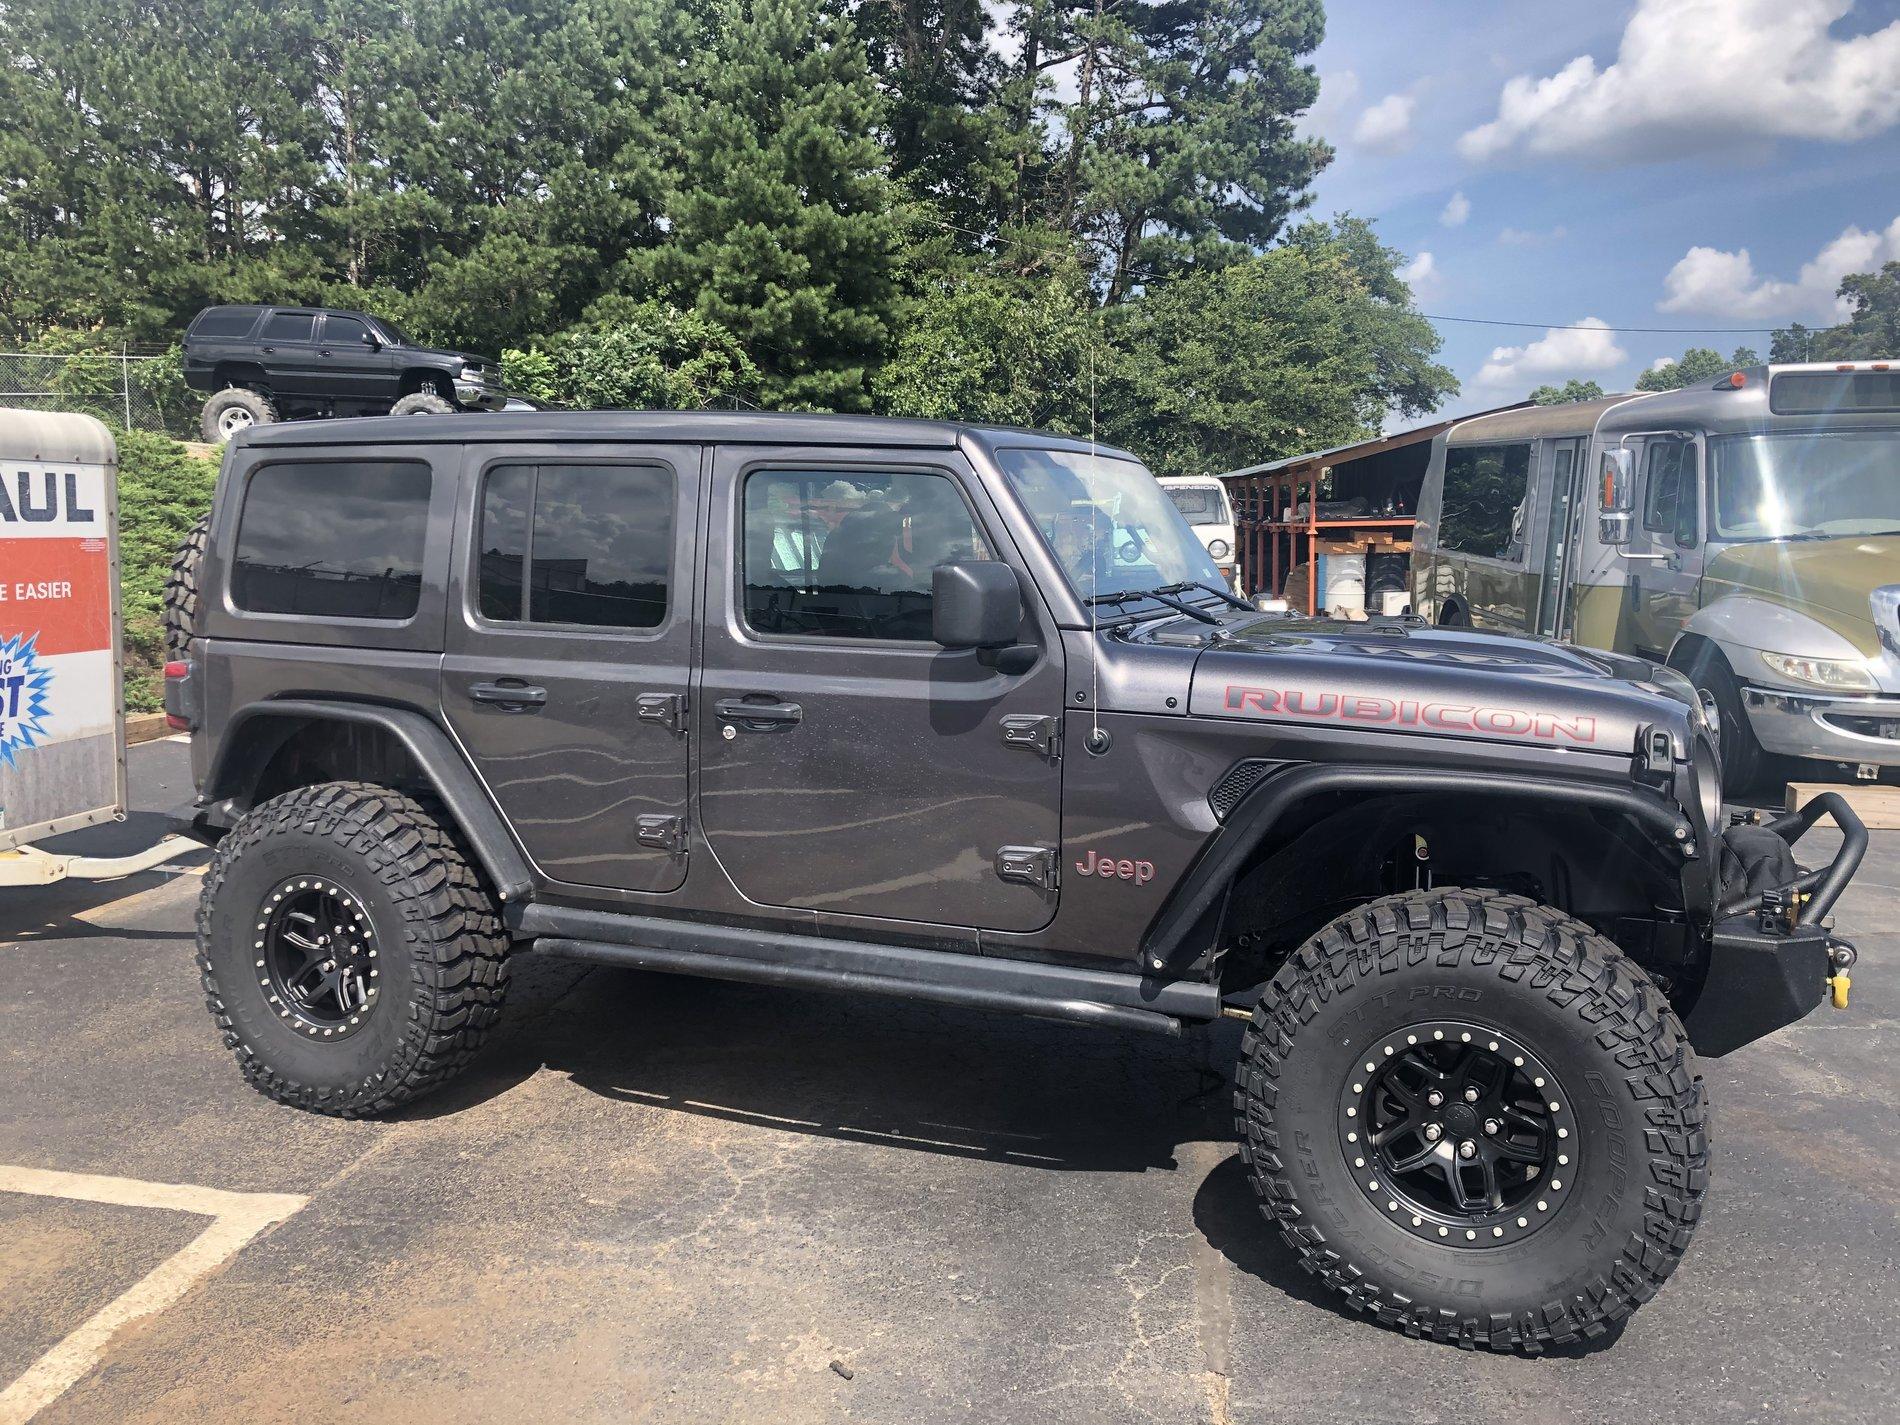
Then tighten the steering box. It will cure your issue without buying all of the extra other parts.I haven't really had noticeable bumpsteer or any wobble at all. My main issue is the dead spot. I installed the SteerSmarts Yeti tie rod and steering stabilizer relocation bracket with HD-N steering stabilizer today. That is another incremental fix, but the dead spot is not gone still. I have the drag link also, but there isn't enough room to install it until I lift the Jeep.
Sponsored