WhereRU_A-A-Ron
Well-Known Member
- Thread starter
- #1
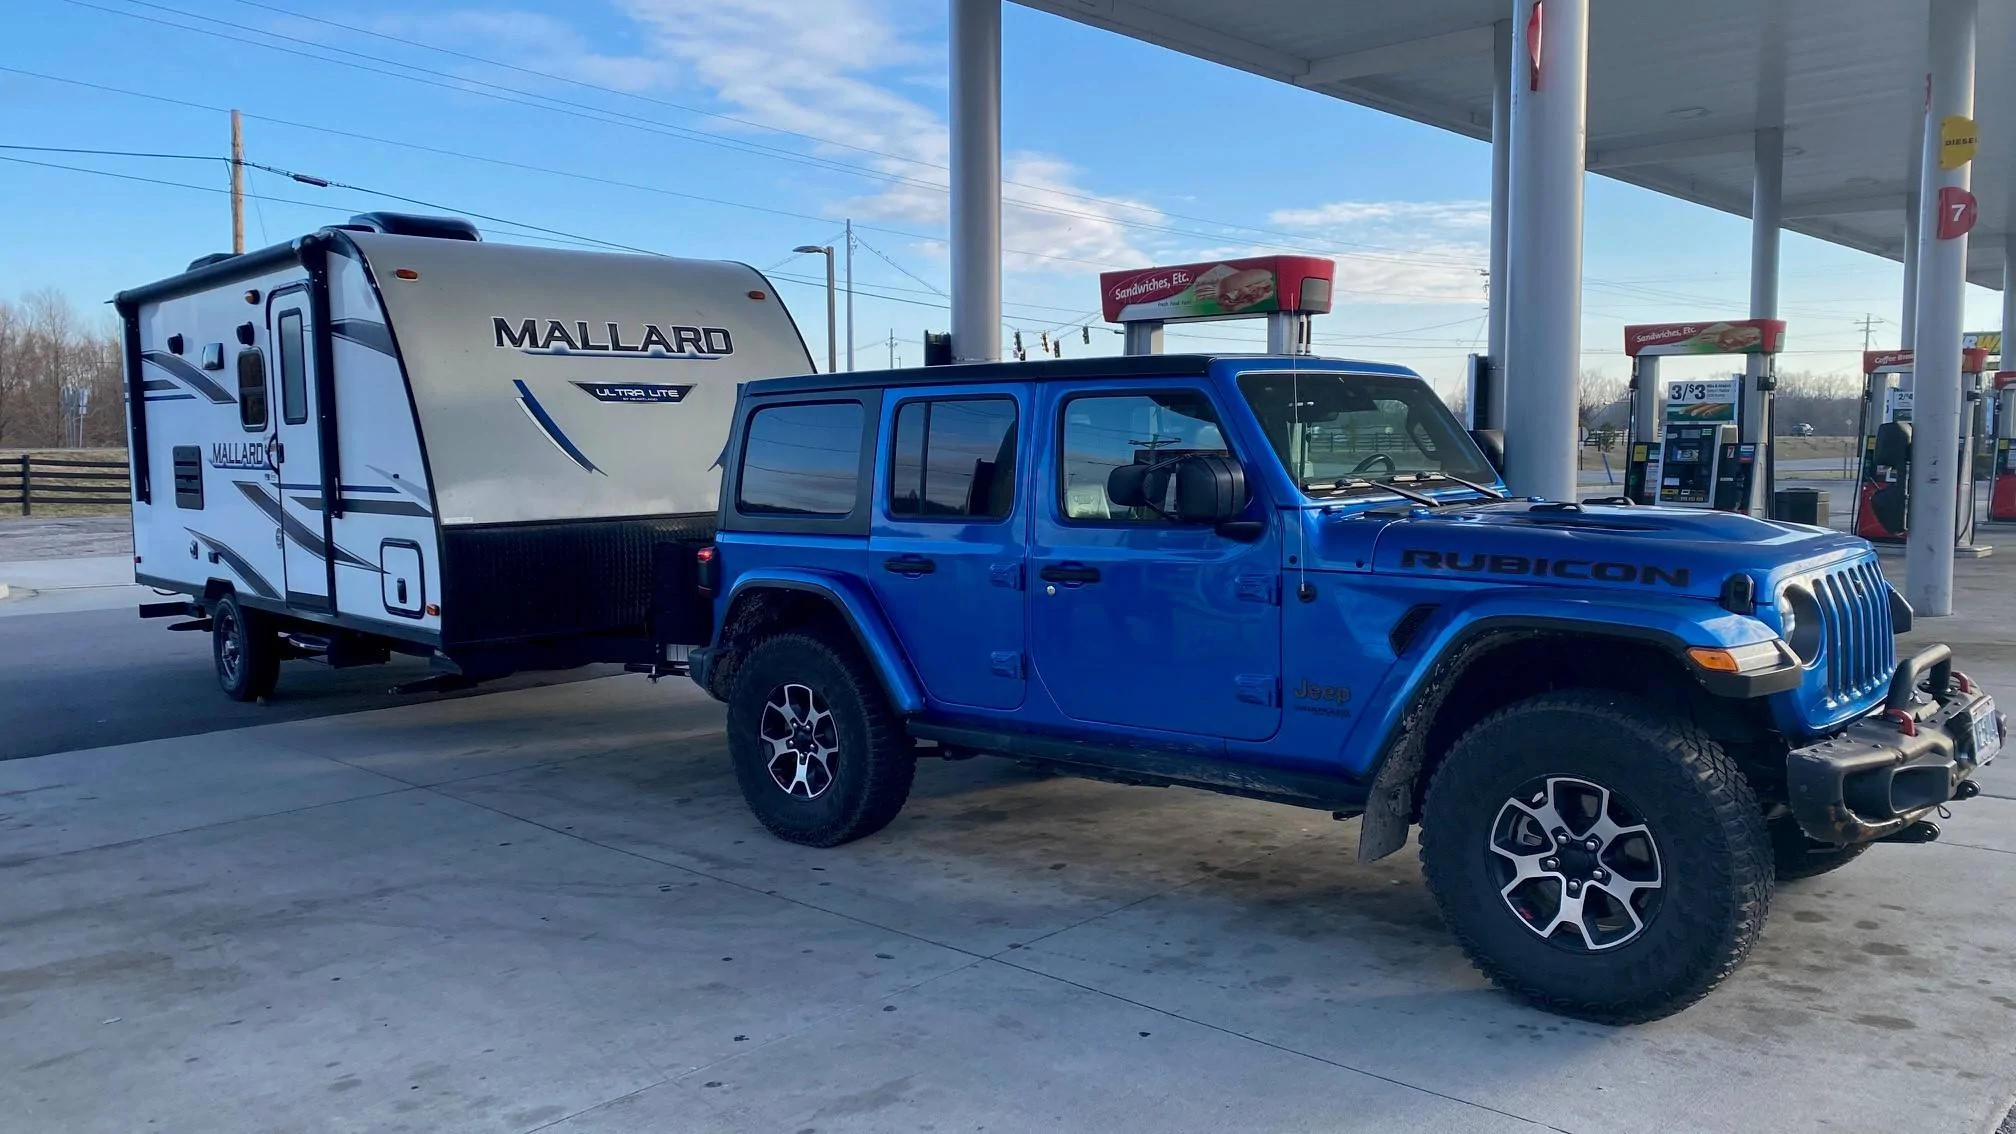
Today’s project was installing the Air Lift 1000 rear helper bags on my ‘21 JLU Willys. Having never installed anything like this before, I have to say this was shockingly much easier than I thought it would be.
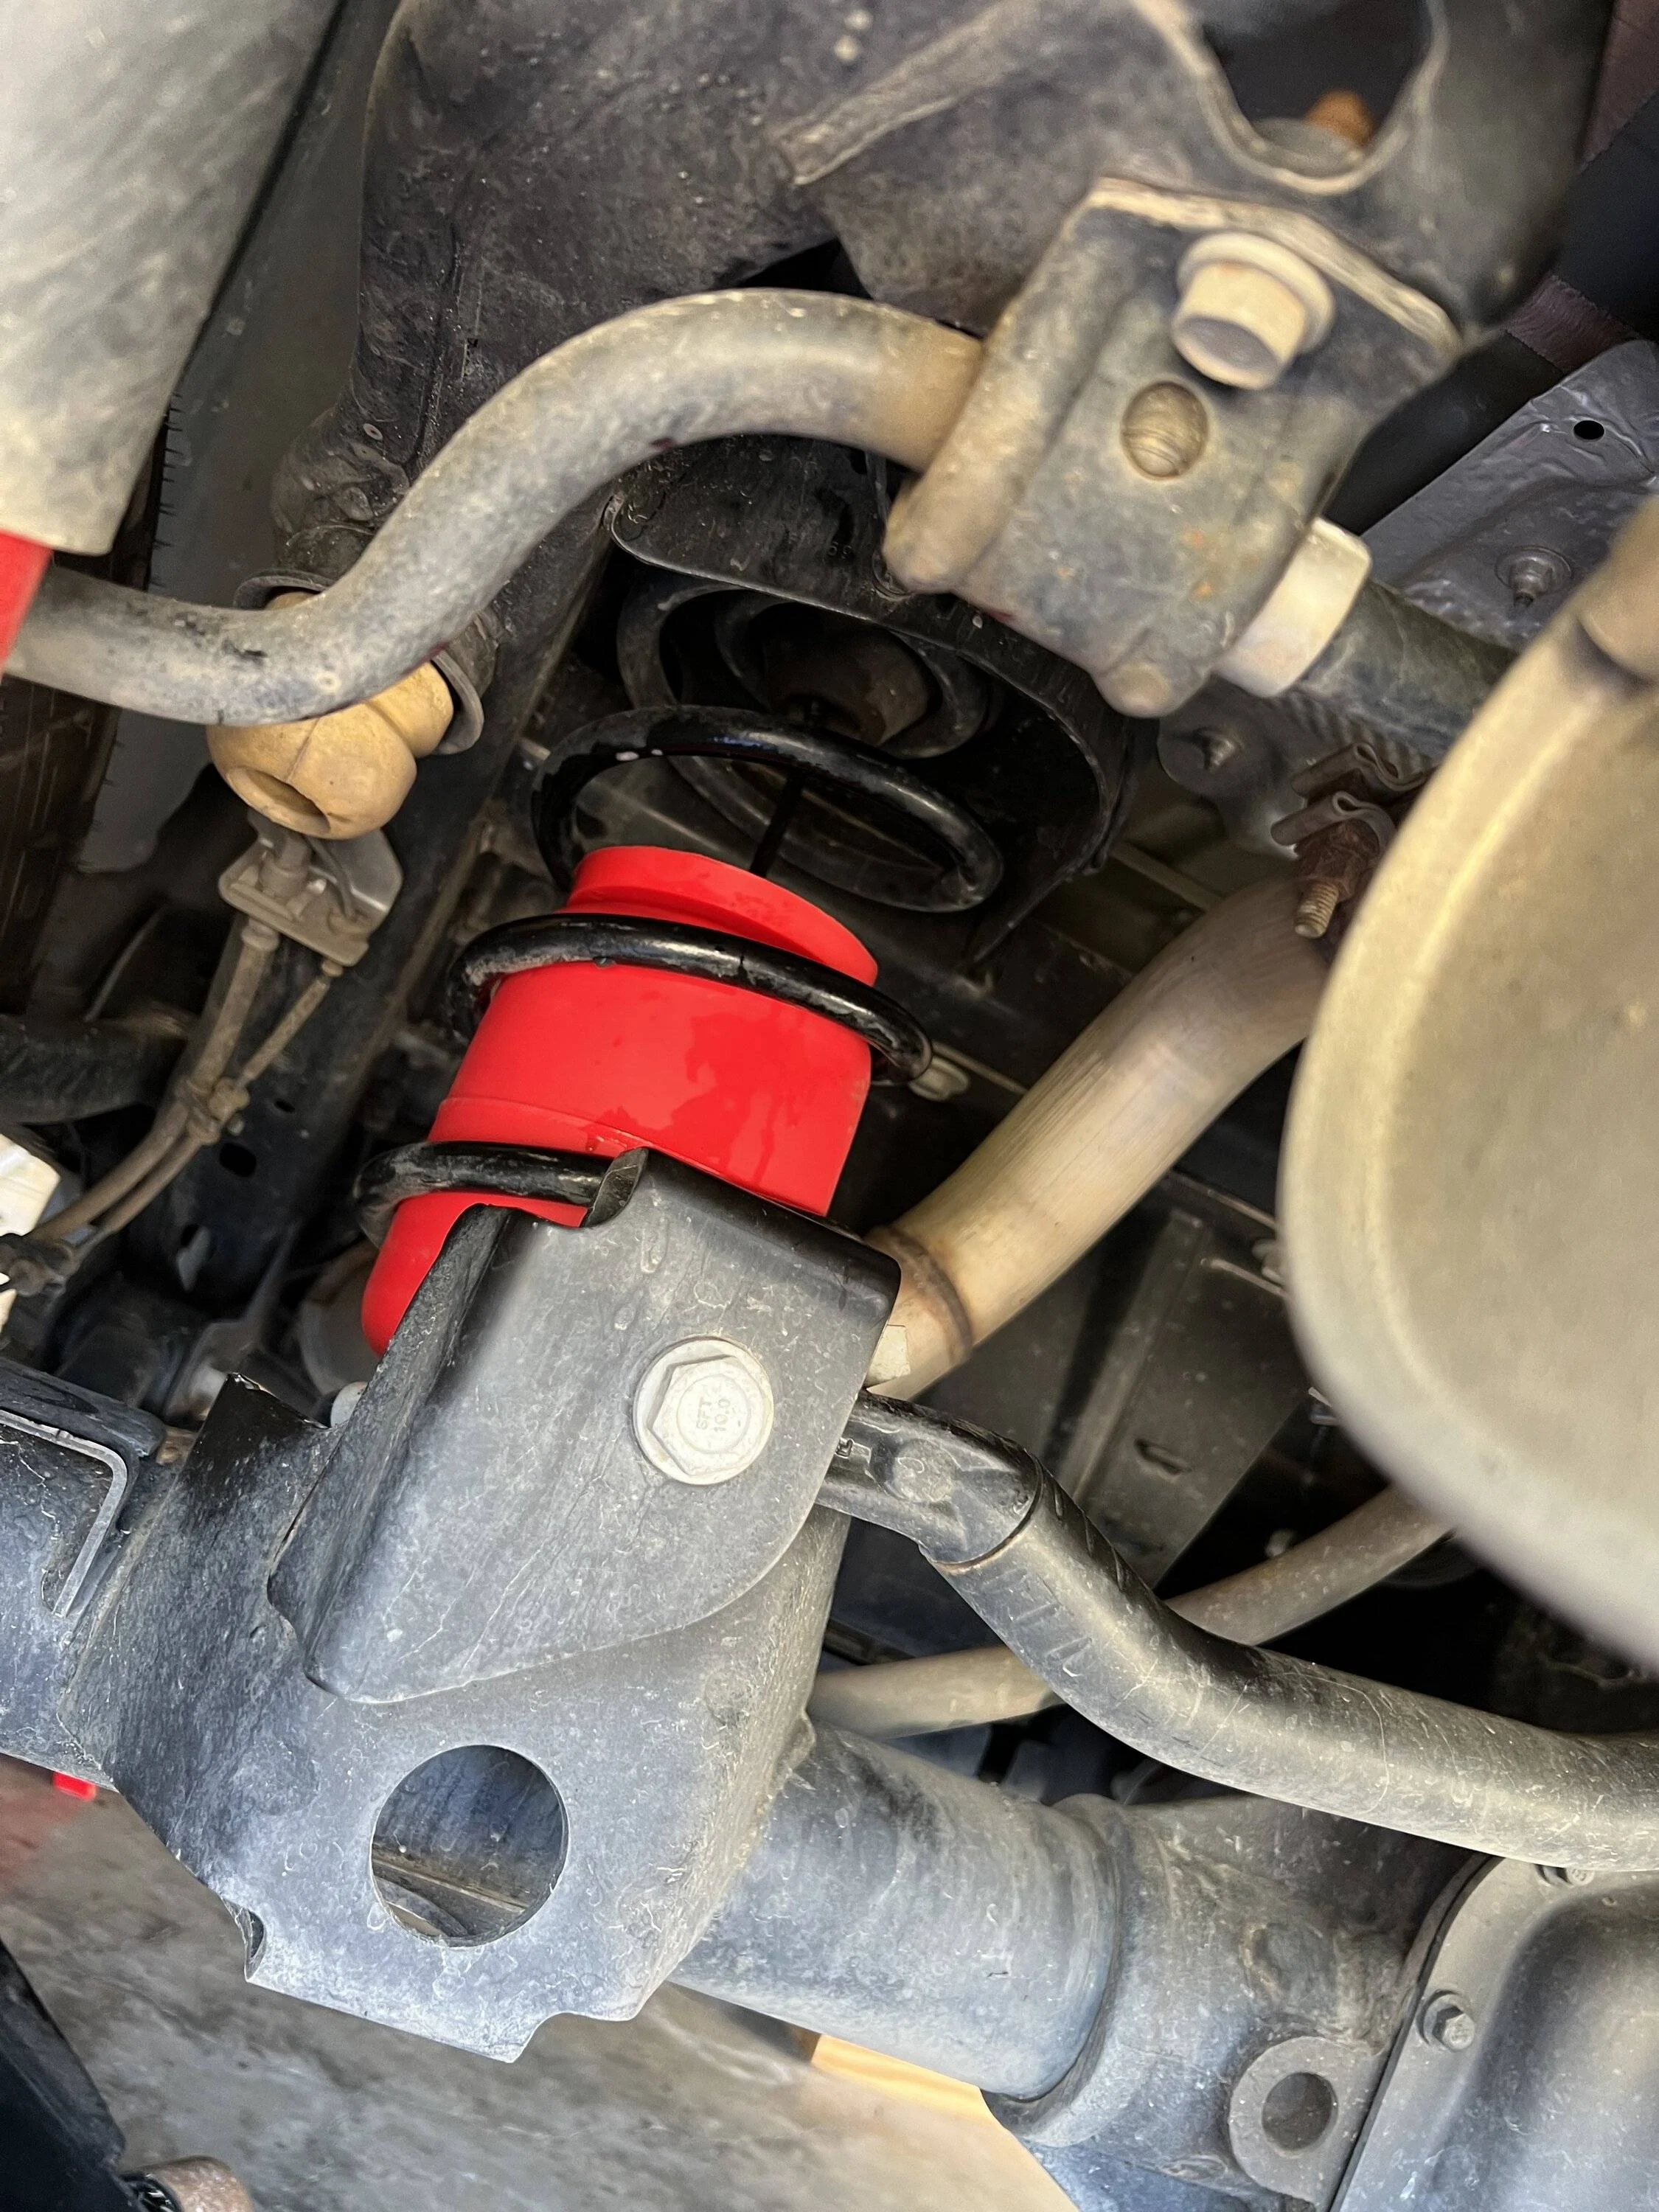
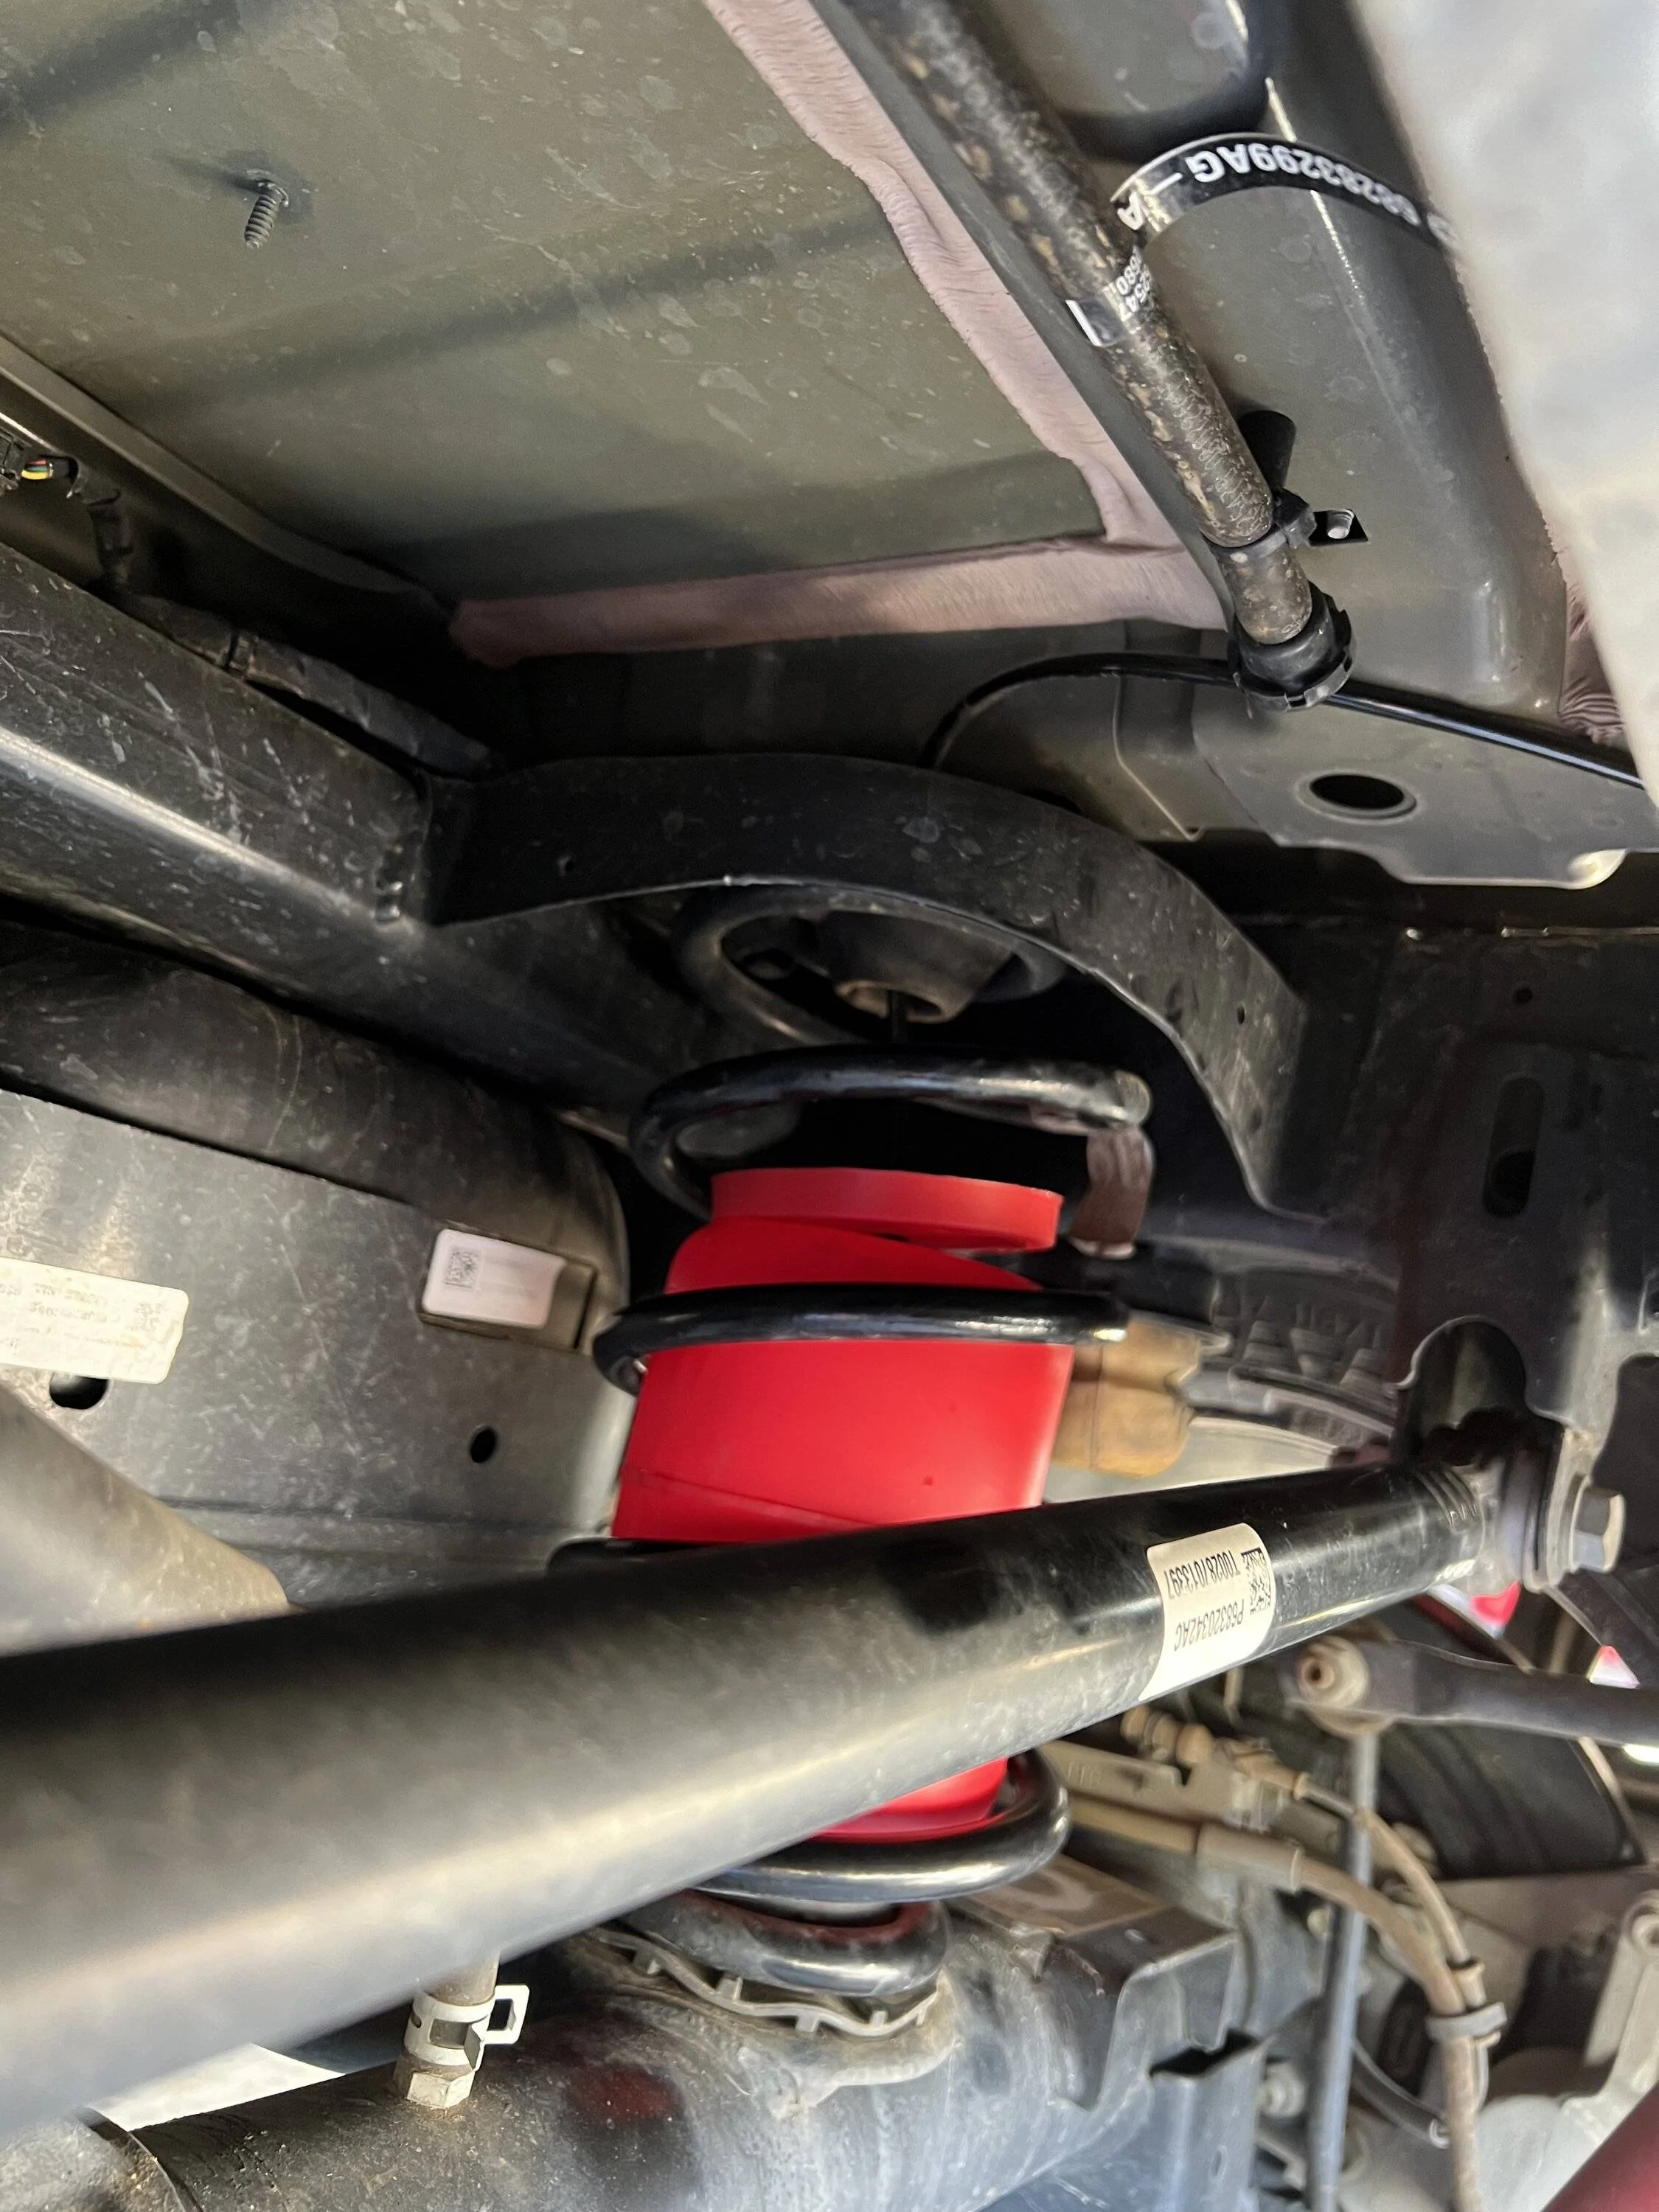
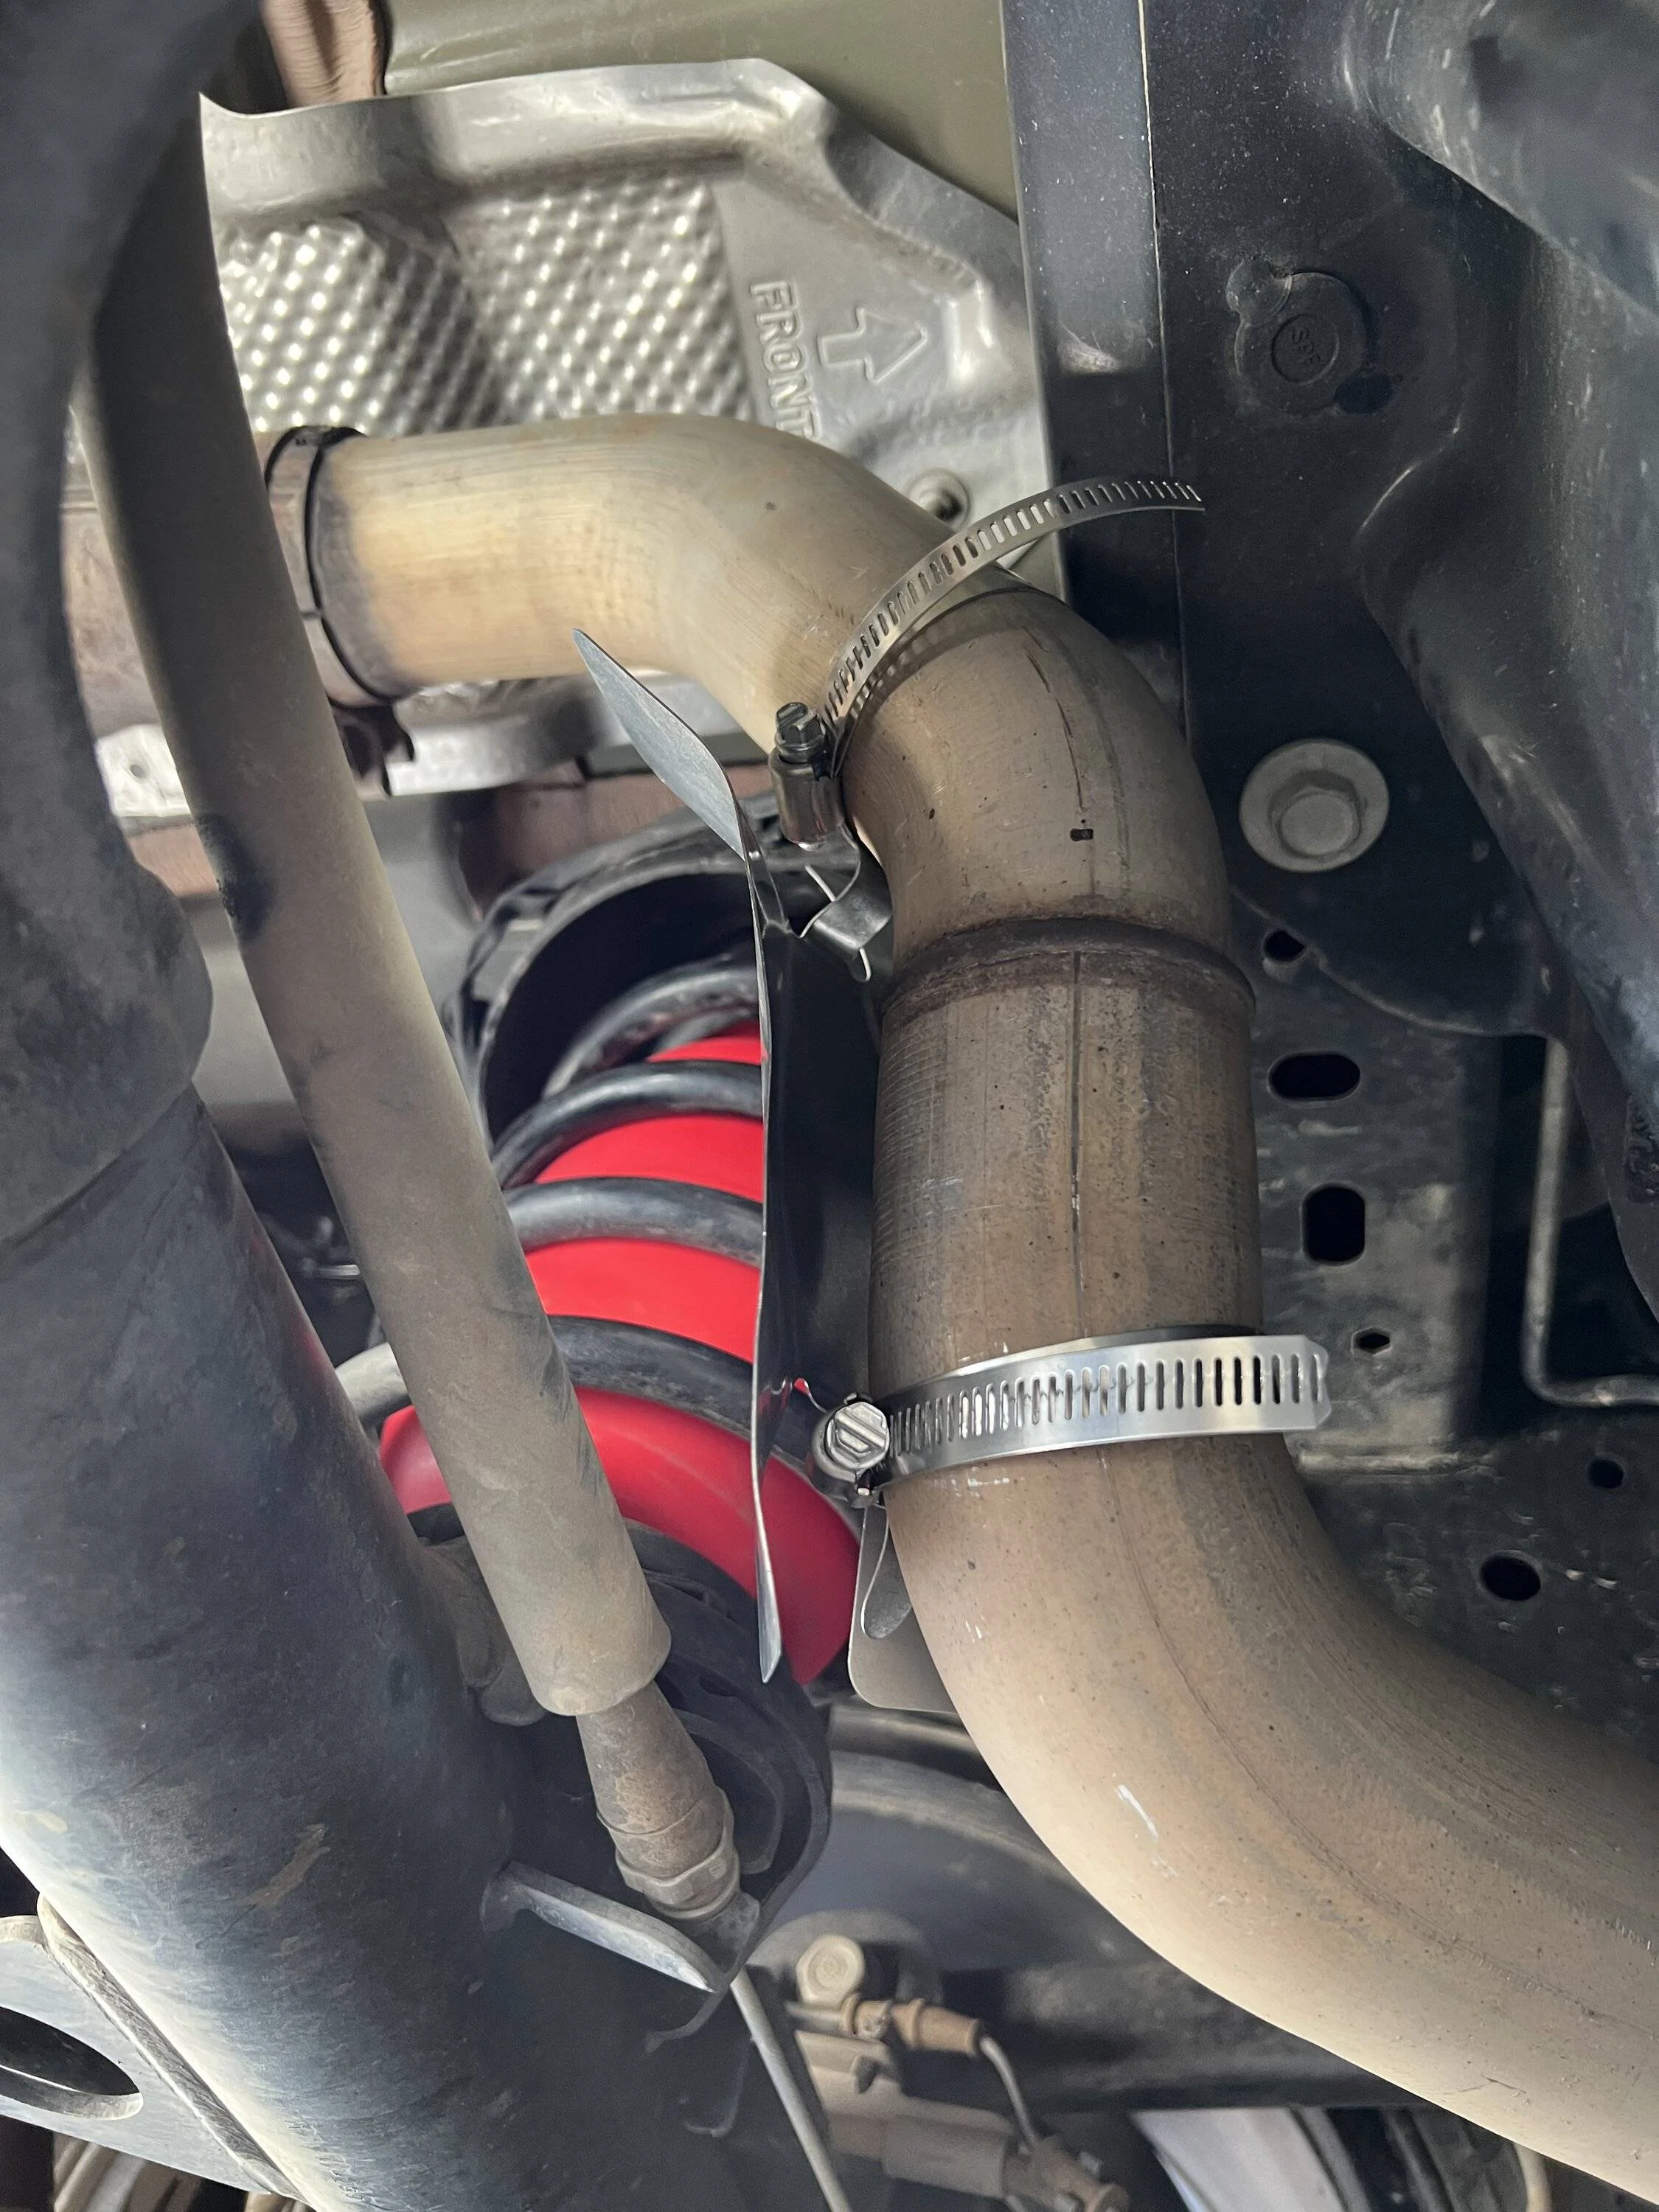
With the suspension at full droop, it’s incredibly easy to install the air line and the bags. There’s a ton of room to work around. I’d seen everywhere that the hardest part of this install was shoving the bags in between the spring. I would agree but it was much easier than I thought it would be.

Next you have to run the air lines along the frame to the rear and use a few zip ties along the way. The instructions show you exactly where to use zip ties for best results. I chose to keep both lines separate for more a more customizable solution and less connections that could become points of failure. You can combine both lines together if you like for simplicity.
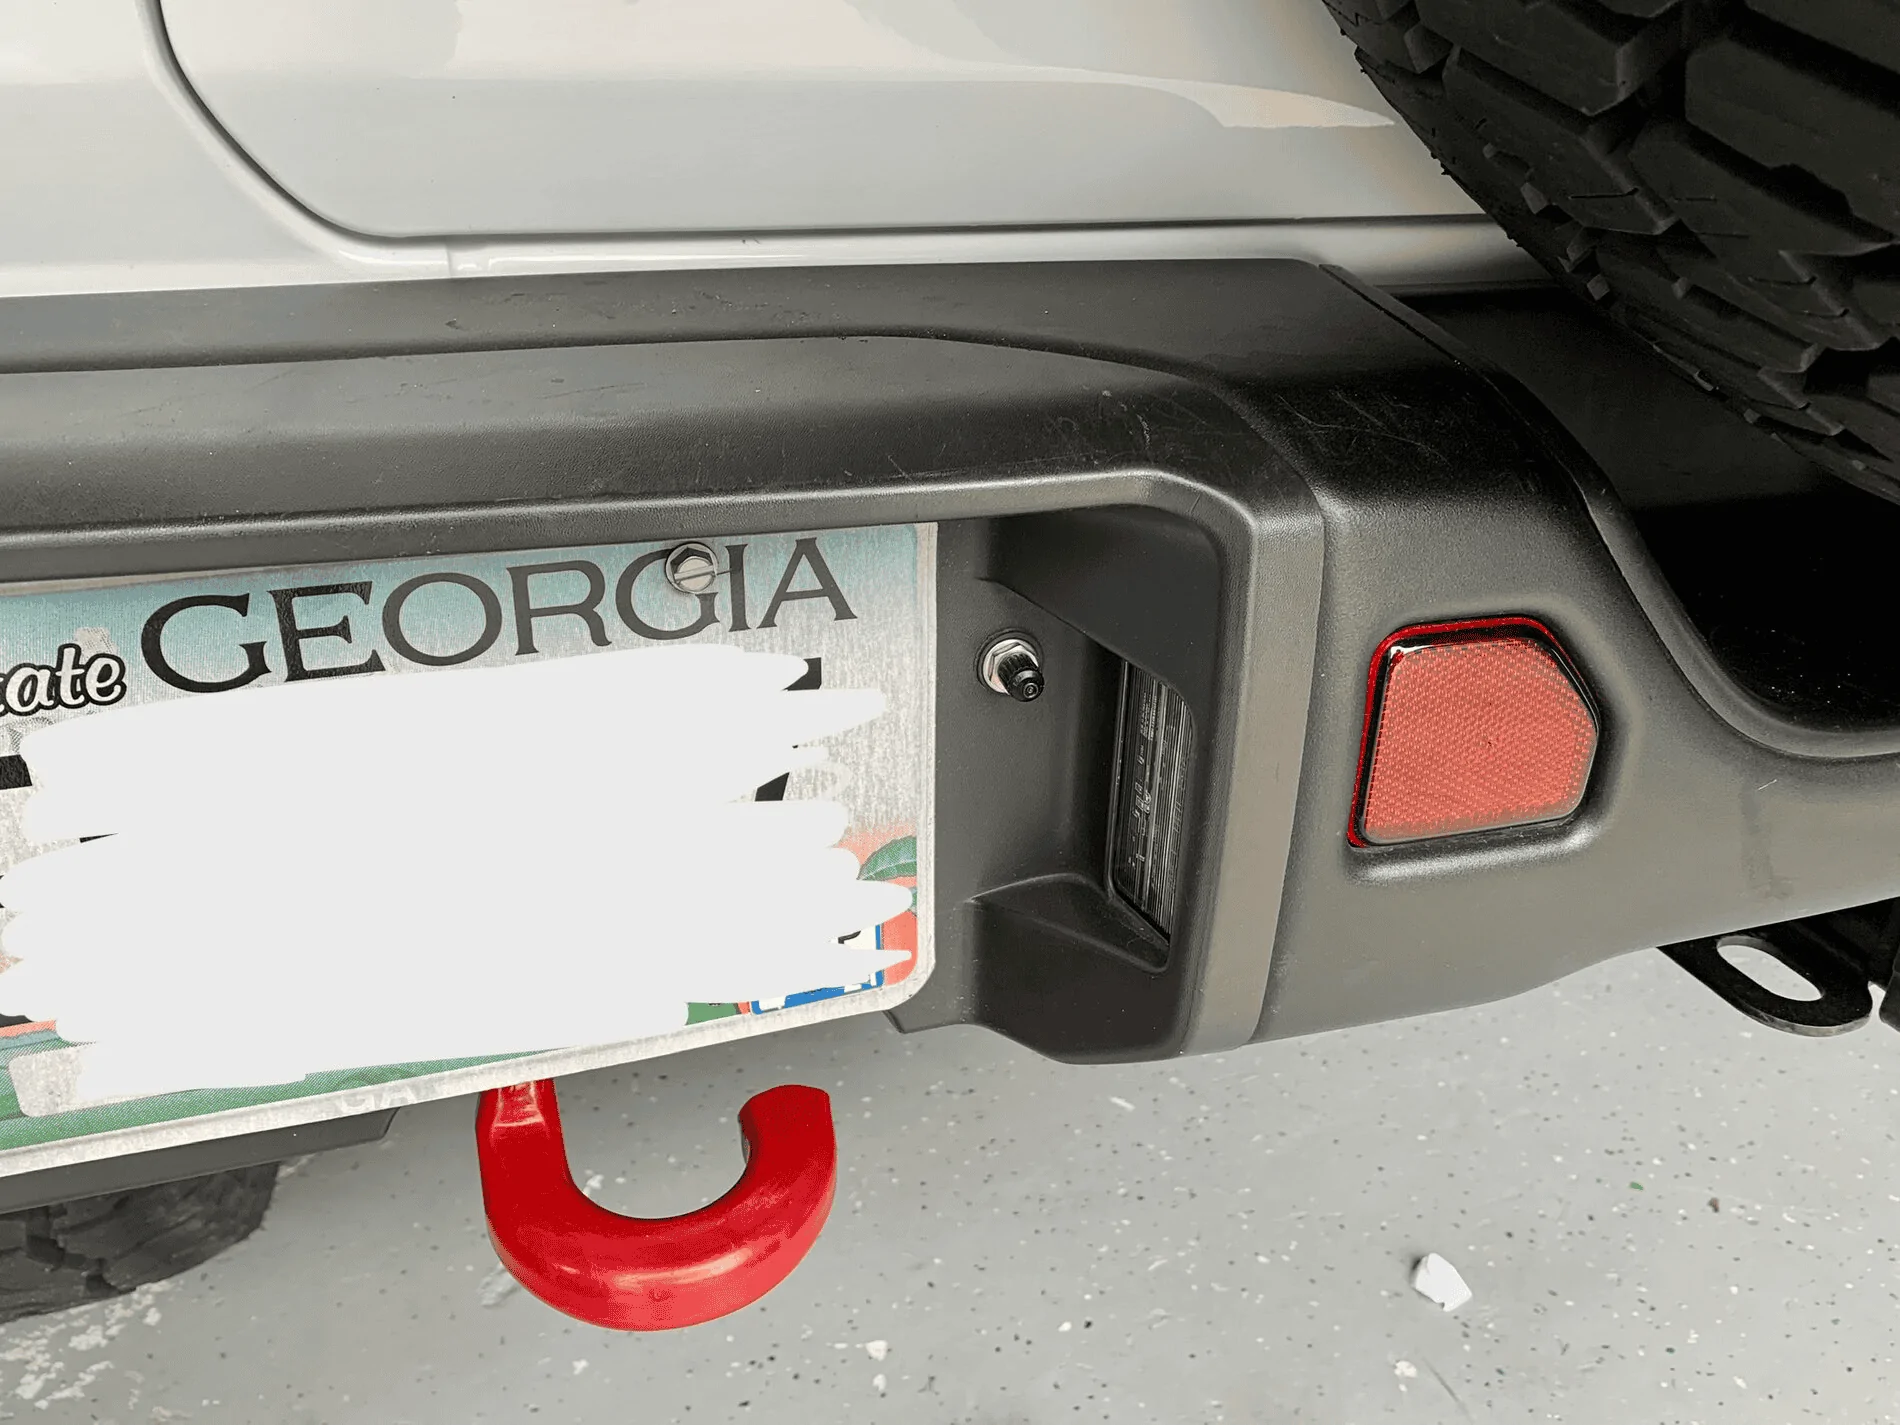
I ran my lines all the way to the rear of the frame and threaded the line down through it. Ironically, there are four hexagonal openings in the bottom of the frame that the supplied hardware fits through exactly making for an incredibly low profile install.
Following the instructions, you can install your valve stems right here. I had to put the lock washer in through the larger hole to the top of the picture but it was very simple the get my finger in there and feed it right over the hole.
This makes for an insanely clean install. You cannot see the valve stems when standing behind the Jeep, which I like and I think will greatly discourage someone coming along and messing with them. I also just like a more factory installed look but that’s just me. If you have the Tow Package, one of these hexagonal openings is being used to secure the trailer plug bracket but there are three others to work with.
Installing the heat shield was definitely the quirkiest part of this install. I have the 3.6 so the exhaust runs down the driver side.
The install is frankly quite easy and the heat shield is very pliable and can easily be shaped to the contour of the exhaust. I will say, I felt like the instructions were lacking here and there’s really nothing said about where and how to place it. I mean it’s kind of obvious what it’s trying to accomplish but I think it would’ve been nice to get some reassurance from the manufacturer that it’s in the right place.
Don’t forget to spray connections with soapy water to check for leaks before you drop the rear back down on the ground. You’re done!
I haven’t had a chance to test these out yet but there have been several occasions when I could’ve greatly benefited from having these. No more getting flashed at when I’m taking the family camping or hanging bikes off the back. I’ll update the thread once I get a chance to truly test them out.
Hopefully this helps someone else out there looking for an install write up. If anyone wants more pictures or specifics I’m happy to help. Cheers!
With the suspension at full droop, it’s incredibly easy to install the air line and the bags. There’s a ton of room to work around. I’d seen everywhere that the hardest part of this install was shoving the bags in between the spring. I would agree but it was much easier than I thought it would be.
Next you have to run the air lines along the frame to the rear and use a few zip ties along the way. The instructions show you exactly where to use zip ties for best results. I chose to keep both lines separate for more a more customizable solution and less connections that could become points of failure. You can combine both lines together if you like for simplicity.
I ran my lines all the way to the rear of the frame and threaded the line down through it. Ironically, there are four hexagonal openings in the bottom of the frame that the supplied hardware fits through exactly making for an incredibly low profile install.
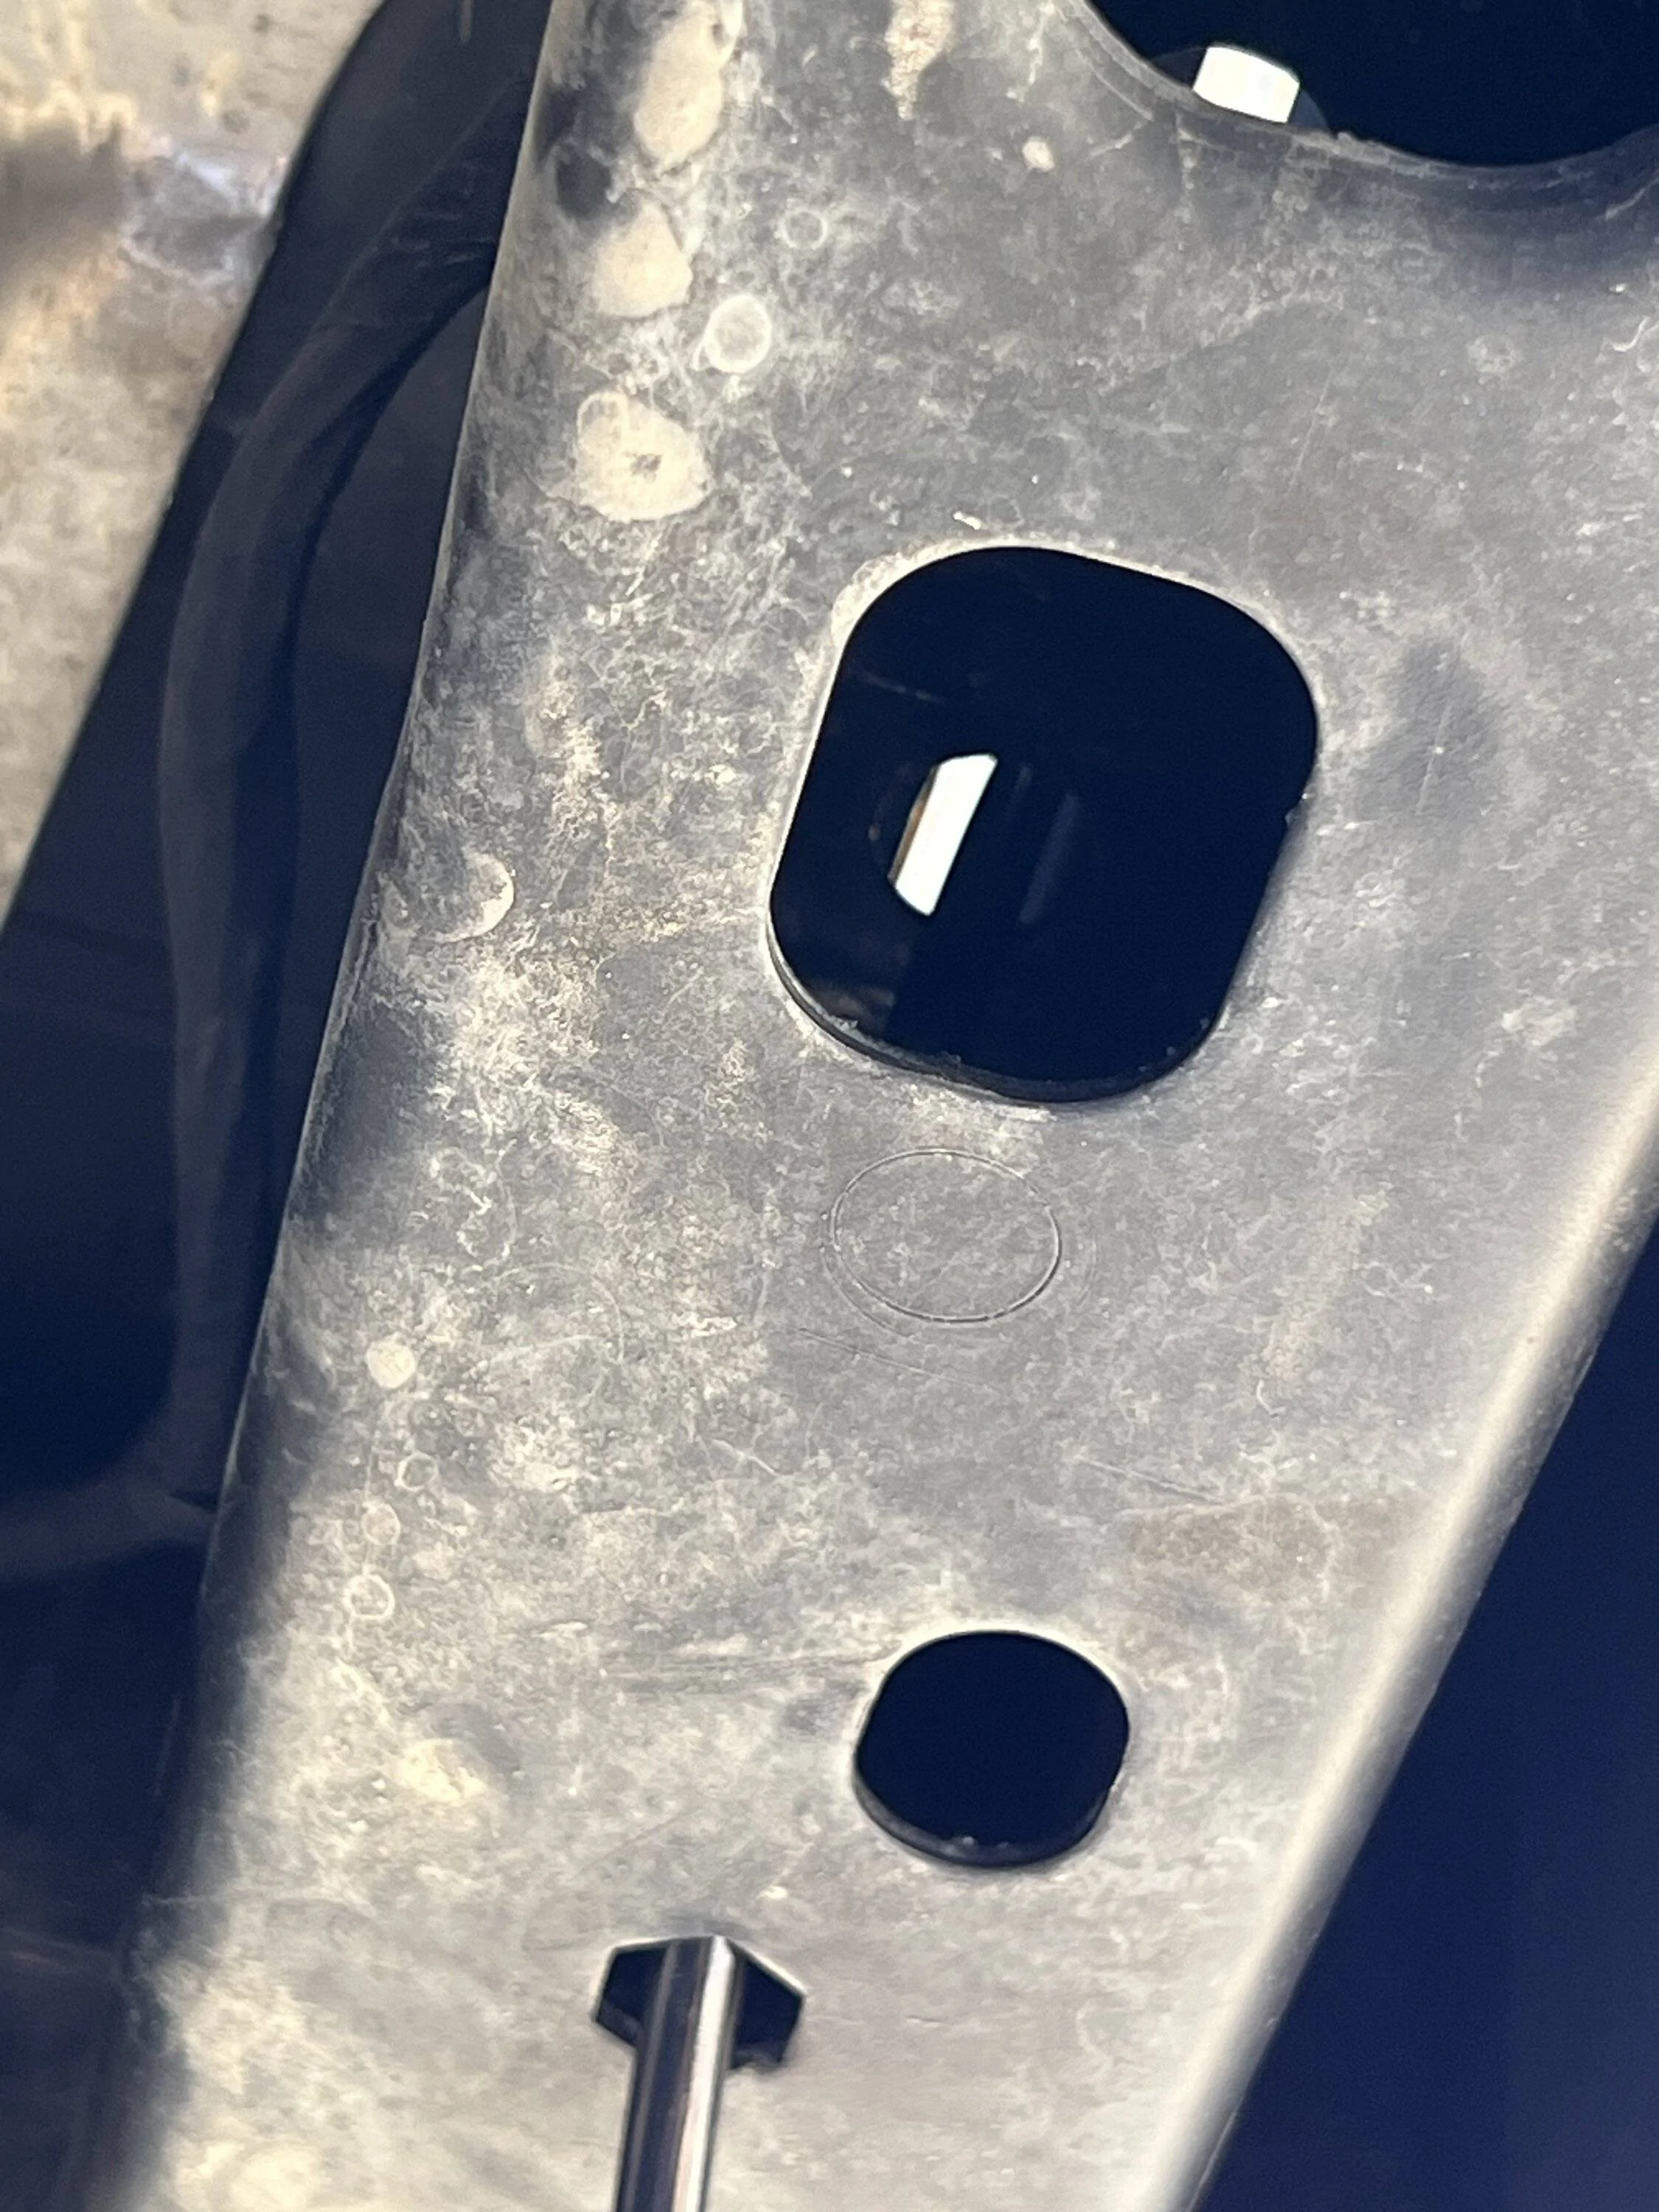
Following the instructions, you can install your valve stems right here. I had to put the lock washer in through the larger hole to the top of the picture but it was very simple the get my finger in there and feed it right over the hole.

This makes for an insanely clean install. You cannot see the valve stems when standing behind the Jeep, which I like and I think will greatly discourage someone coming along and messing with them. I also just like a more factory installed look but that’s just me. If you have the Tow Package, one of these hexagonal openings is being used to secure the trailer plug bracket but there are three others to work with.
Installing the heat shield was definitely the quirkiest part of this install. I have the 3.6 so the exhaust runs down the driver side.
The install is frankly quite easy and the heat shield is very pliable and can easily be shaped to the contour of the exhaust. I will say, I felt like the instructions were lacking here and there’s really nothing said about where and how to place it. I mean it’s kind of obvious what it’s trying to accomplish but I think it would’ve been nice to get some reassurance from the manufacturer that it’s in the right place.
Don’t forget to spray connections with soapy water to check for leaks before you drop the rear back down on the ground. You’re done!
I haven’t had a chance to test these out yet but there have been several occasions when I could’ve greatly benefited from having these. No more getting flashed at when I’m taking the family camping or hanging bikes off the back. I’ll update the thread once I get a chance to truly test them out.
Hopefully this helps someone else out there looking for an install write up. If anyone wants more pictures or specifics I’m happy to help. Cheers!
Sponsored
Last edited: