ValorSolo
Active Member
- Thread starter
- #1
| Items Used: | |
| 2 x Rockford Fosgate P132, Punch 3.5" Full Range Coaxial Speakers 40W | $96.18 |
| 2 x Rockford Fosgate R165X3 6.5" 90W 3 Way Car Audio Coaxial Speakers | $72.65 |
| 2 x Rockford Fosgate R169X3 Prime 6x9” 3 Way Full Range Coaxial Car Speakers | $69.44 |
| 1 x METRA 72-7902 98-Up Chrysler/Dodge/Jeep/Hyundai Speaker Harness | $17.44 |
| 2 x Rockville SS8P 400w 8" Slim Under-Seat Active Powered Car/Truck Subwoofer | $213.89 |
| 2 x PAC SNI-35 Variable LOC Line Out Converters | $28.05 |
| 1 x Copper 0/4 Gauge to 4/8 Gauge 60 Amp Mini ANL 2 Way Fuse Holder Distribution Block | $19.24 |
| 1 x Metra Brands Active LOC T-Harness - 2011-2023 Chrysler, Jeep, Dodge, RAM | $48.11 |
| 1 x 25'- 4 Gauge Red Power Wire | $21.35 |
| 1 x MB Quart JE1-116 6-1/2" dash speaker enclosures for select Jeep Wrangler JL and Gladiator vehicles | $96.29 |
| 1 x MB Quart JE1-169SB 6"x9" rear soundbar speaker adapter kit for select Jeep Wrangler JL and Gladiator vehicles | $64.19 |
| 2 x 10ft, Gold-Plated 2 RCA Male to 2 RCA Male Stereo Audio Cable | $17.10 |
| Notes: | |
| The Metra OEM Speaker Harness were included with MB Quart JE1-116 and JE1-169SB. | |
| The additional Metra 72-7902 are for the 3.5" top corner dash speakers. | |
| I also purchased some Female Spade Connectors because the Metra cables didn't fit the speakers. | |
| Rockford Fosgate has wider terminals (both + and -) on the speakers than most popular brands. | |
| The 3.5" P132 speakers are slightly larger than most other brands and don't quite fit the Jeep. | |
| But I mounted them at an angle, aiming them towards the seats and was able to secure them. | |
| The grills are plenty high enough to accomodate this mounting position. | |
| Optionally, I thought about using only one PAC SNI-35 LOC and a set of RCA Y-Cable splitter to save about $10. | |
| But since the Metra LOC T-Harness has both front and rear channels, I decided to use seperate LOC for each. | |
| So one SS8P is run off the front LOC and the other is run off the rear LOC. | |
| Installation: | |
| First, I remove the front seats to make mounting the subwoofers and running the cables much easier. | |
| I removed trim and carpet, tucked the cables and reinstalled trim and carpet as I followed the steps below. | |
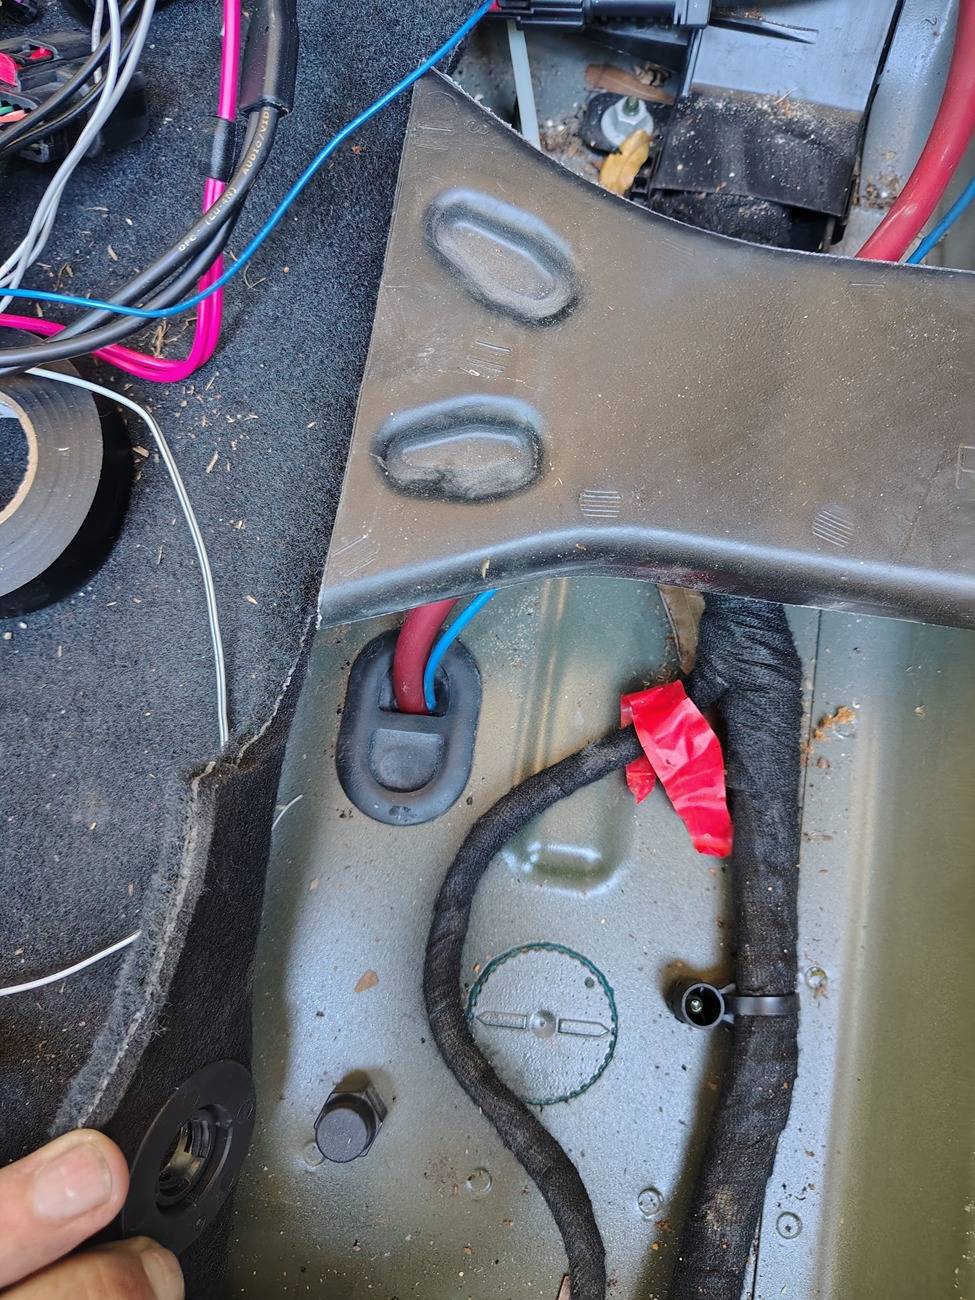
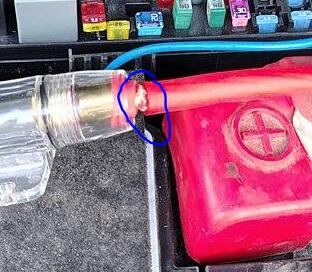
| I ran the 4 gauge power wire from a 60 amp fuse holder directly from the battery, leaving the fuse out for the moment. | |
| I routed it through the grommet under the passenger seat to the 60 amp 2-way fuse. | |
| From there I ran separate leads to each subwoofer. And grounded each to the existing bolts with the wires provided with the Subwoofers. | |
| I connected the T-Harness from the factory plug to the back of the head unit and then routed the wires for the LOCs behind the kick panel. | |
| I connected the LOC's to the T-Harness and connected the audio cables. | |
| Then I routed the audio cables down the left side of the center console. One to each subwoofer. | |
| And the remote wire was run from the distribution box and routed with the power wire through the grommet under the passenger seat and split to go to each subwoofer. | |
| Before mounting the subwoofers, I made all the necessary connections, installed the fuse and tested for functionality. | |
| Next, I mounted the subwoofers with the connection panel towards the front to protect the connections from damage. | |
| There's very little room for rear passenger's feet, even without subwoofers under the seat. They will be stepped on. | |
| Once that was done, I double checked all connections, installed the head unit and the front seats. Mission complete. | |
| Pictures in the next post below. |
Sponsored