AncientCityJL
Well-Known Member
- First Name
- Coop
- Joined
- Feb 10, 2023
- Threads
- 7
- Messages
- 105
- Reaction score
- 335
- Location
- St Augustine, FL
- Vehicle(s)
- 2020 JLR and 2022 JTR
- Build Thread
- Link
- Thread starter
- #1
I originally installed my G Screen for Gen 3 Dual Battery Systems overhead by the rearview mirror next to the emergency call switches. For those who haven't mounted a switch there, this is a really tight space already full of stuff. The reason I rewired it today is to give myself more room between the circuitboard on the switch assembly and the Jeep's windshield frame.
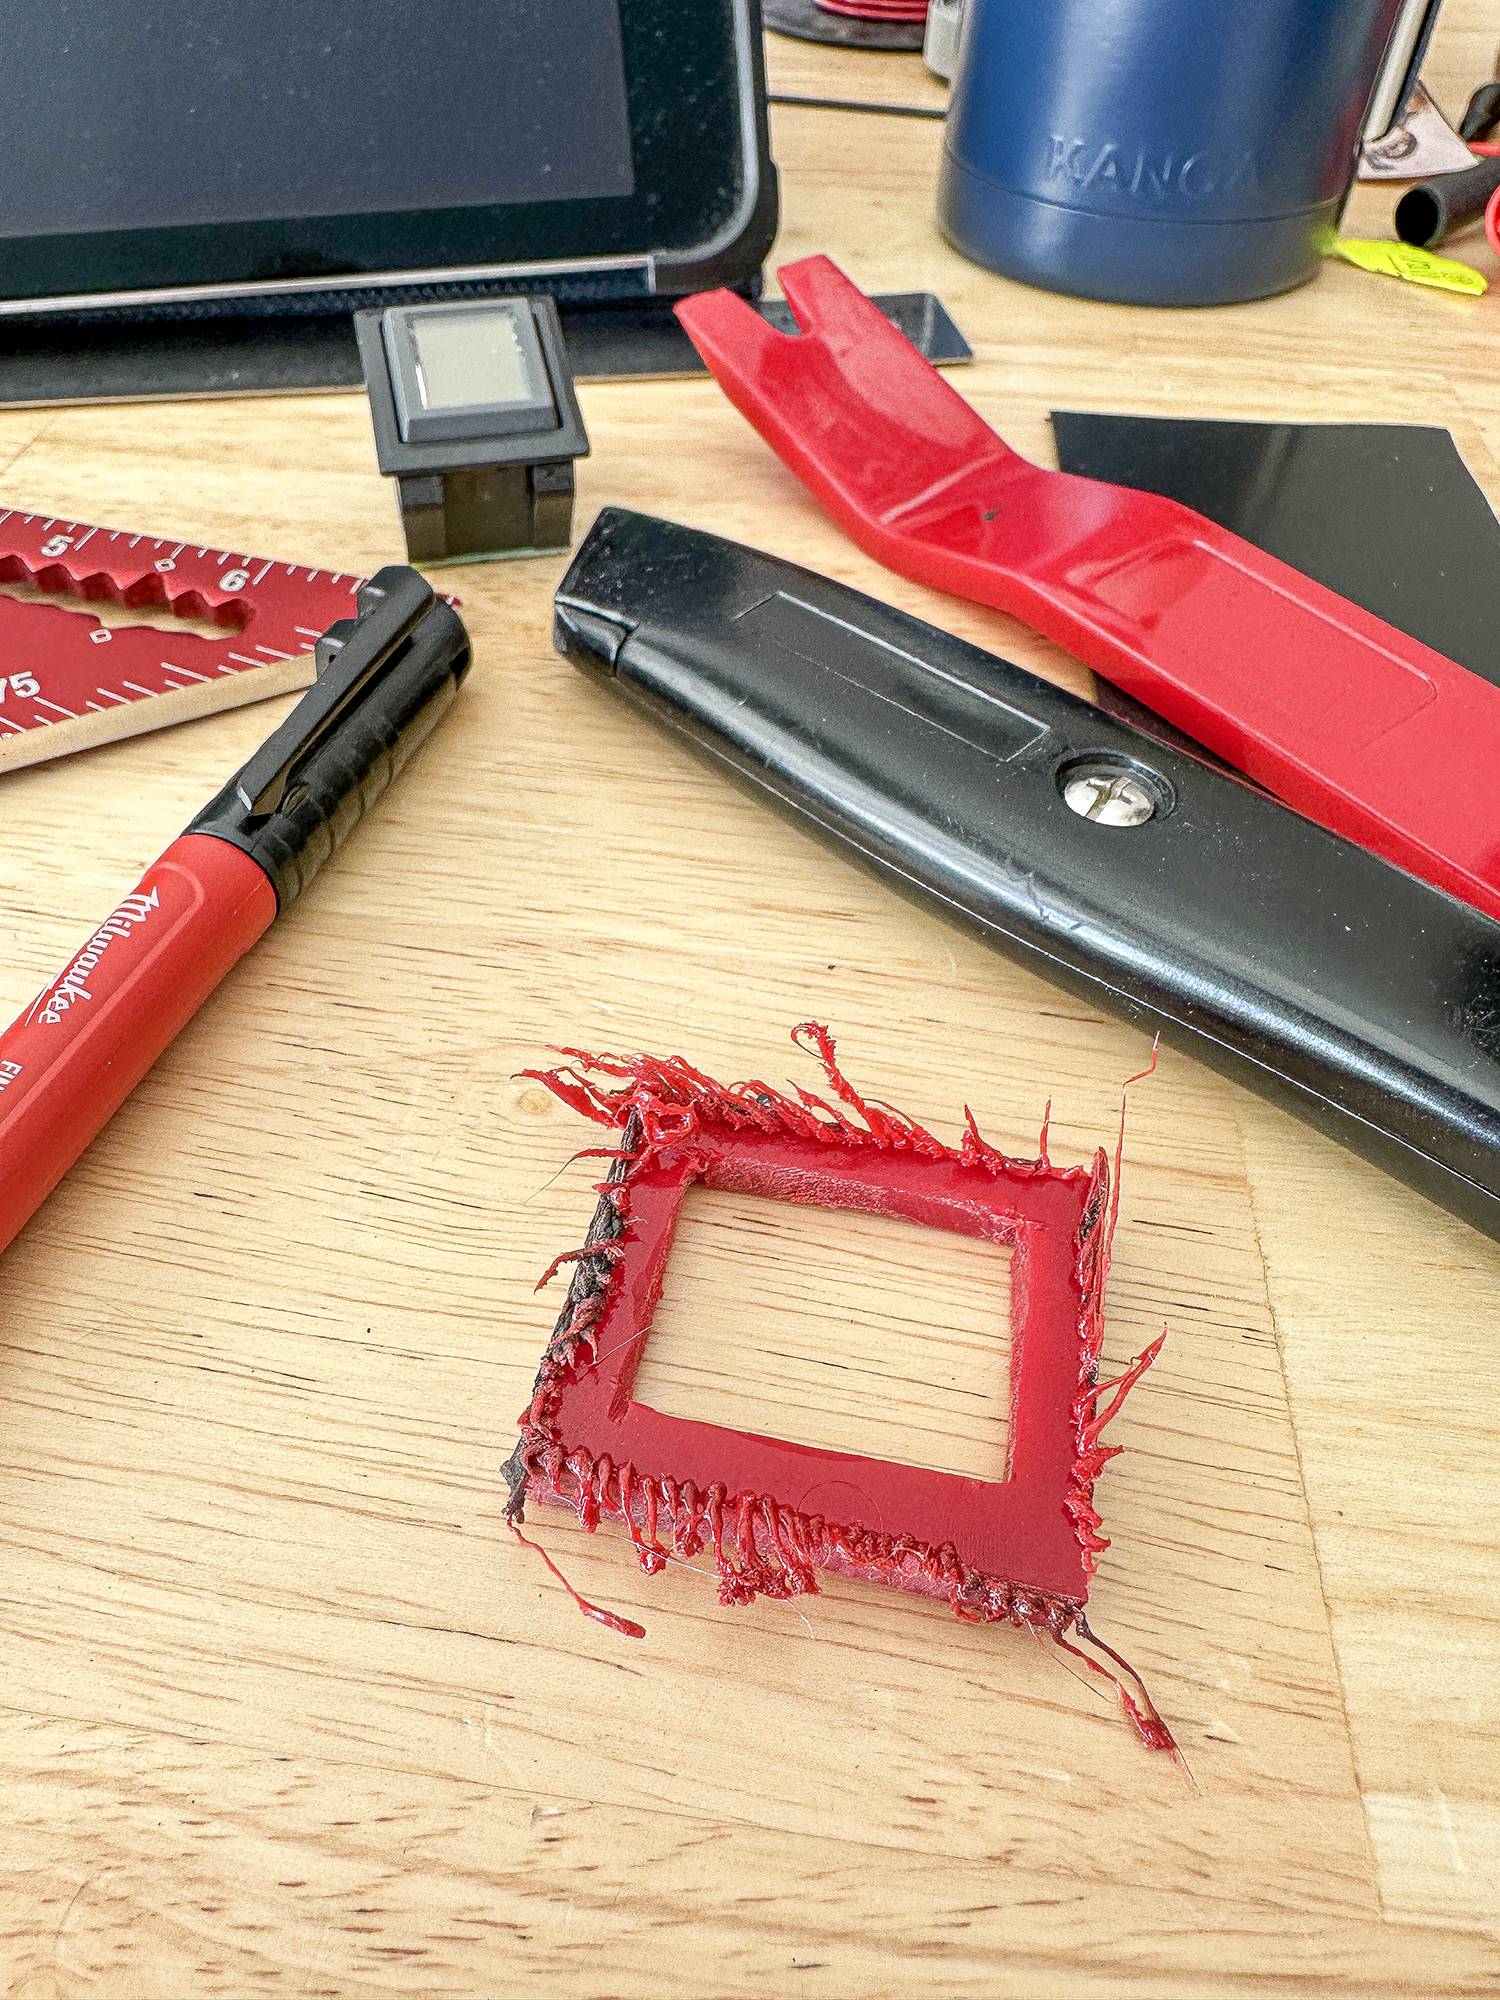
To start the project off I needed some sort of plastic, plexiglass, or other stock to raise the G Screen up a bit. Not having any luck at the hardware store, I decided to scrounge around my garage. And I found this. It's my palm sander case. It's abs plastic (or something) and it has a compartmentalized walls inside. I cut just as much as I needed and no more. I am still able to use this particular compartment to hold sanding discs.

This plastic bit was awesome; it was easy to work with. To cut it all I had to do was use a straight edge to score it then bend it back and slice it with a box cutter.
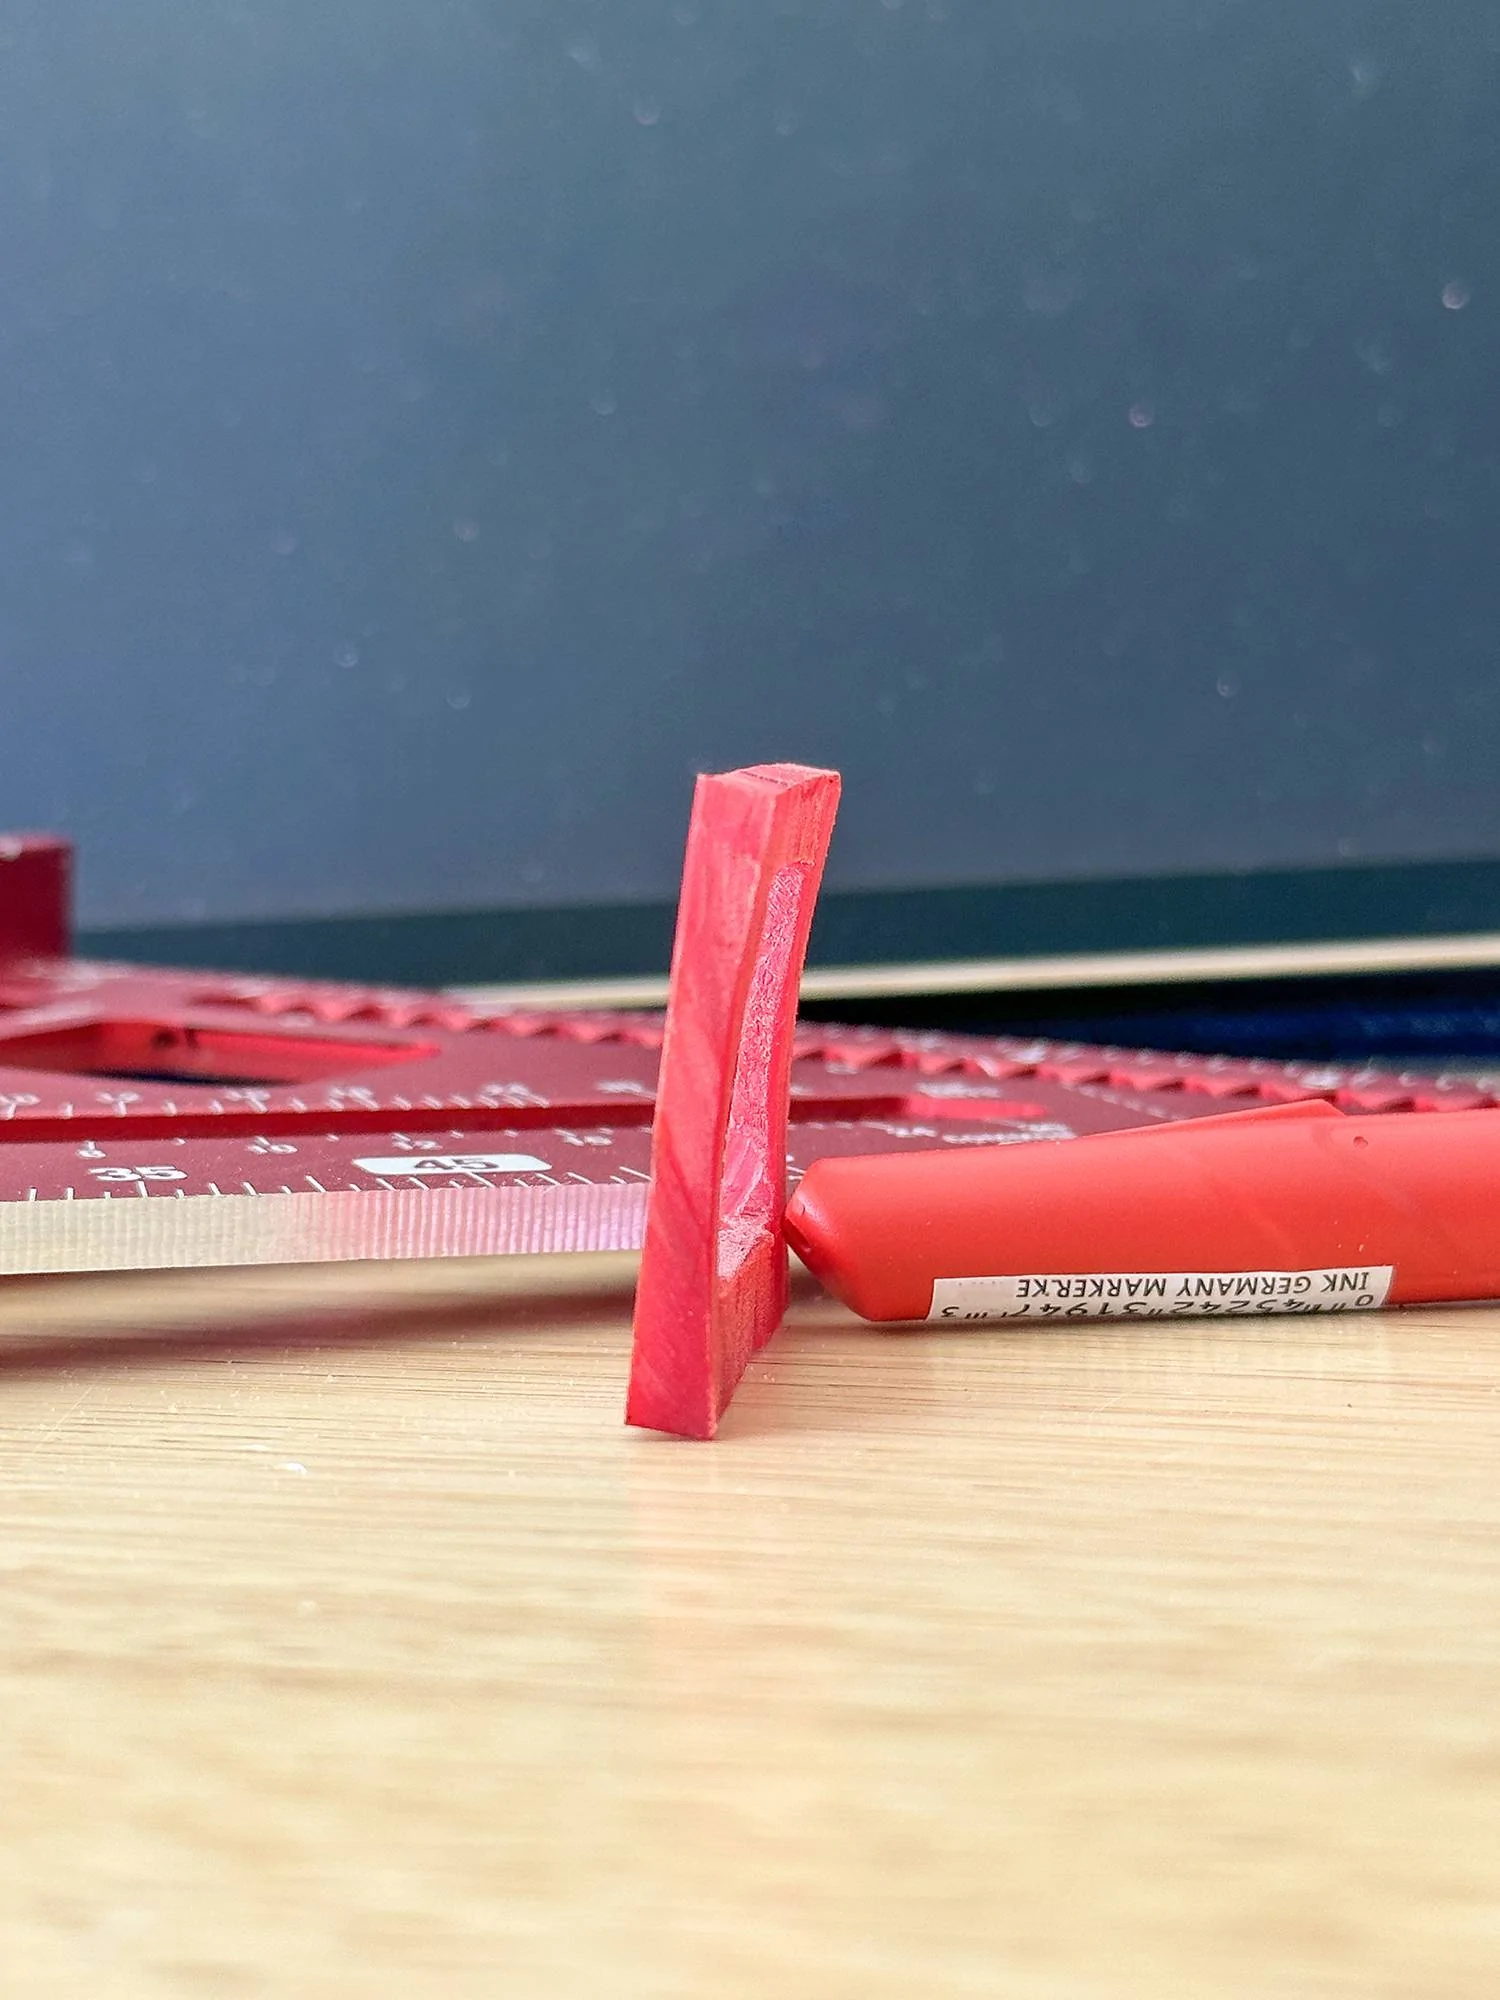
Turns out easy wasn't the way. This stuff was too thin. I thought I could just layer it like a laminate - but... I mean. I just don't have the skill to make it look like one seamless piece. BUT, as it turns out the solution was sitting right in front of me staring me right in the face the entire time.
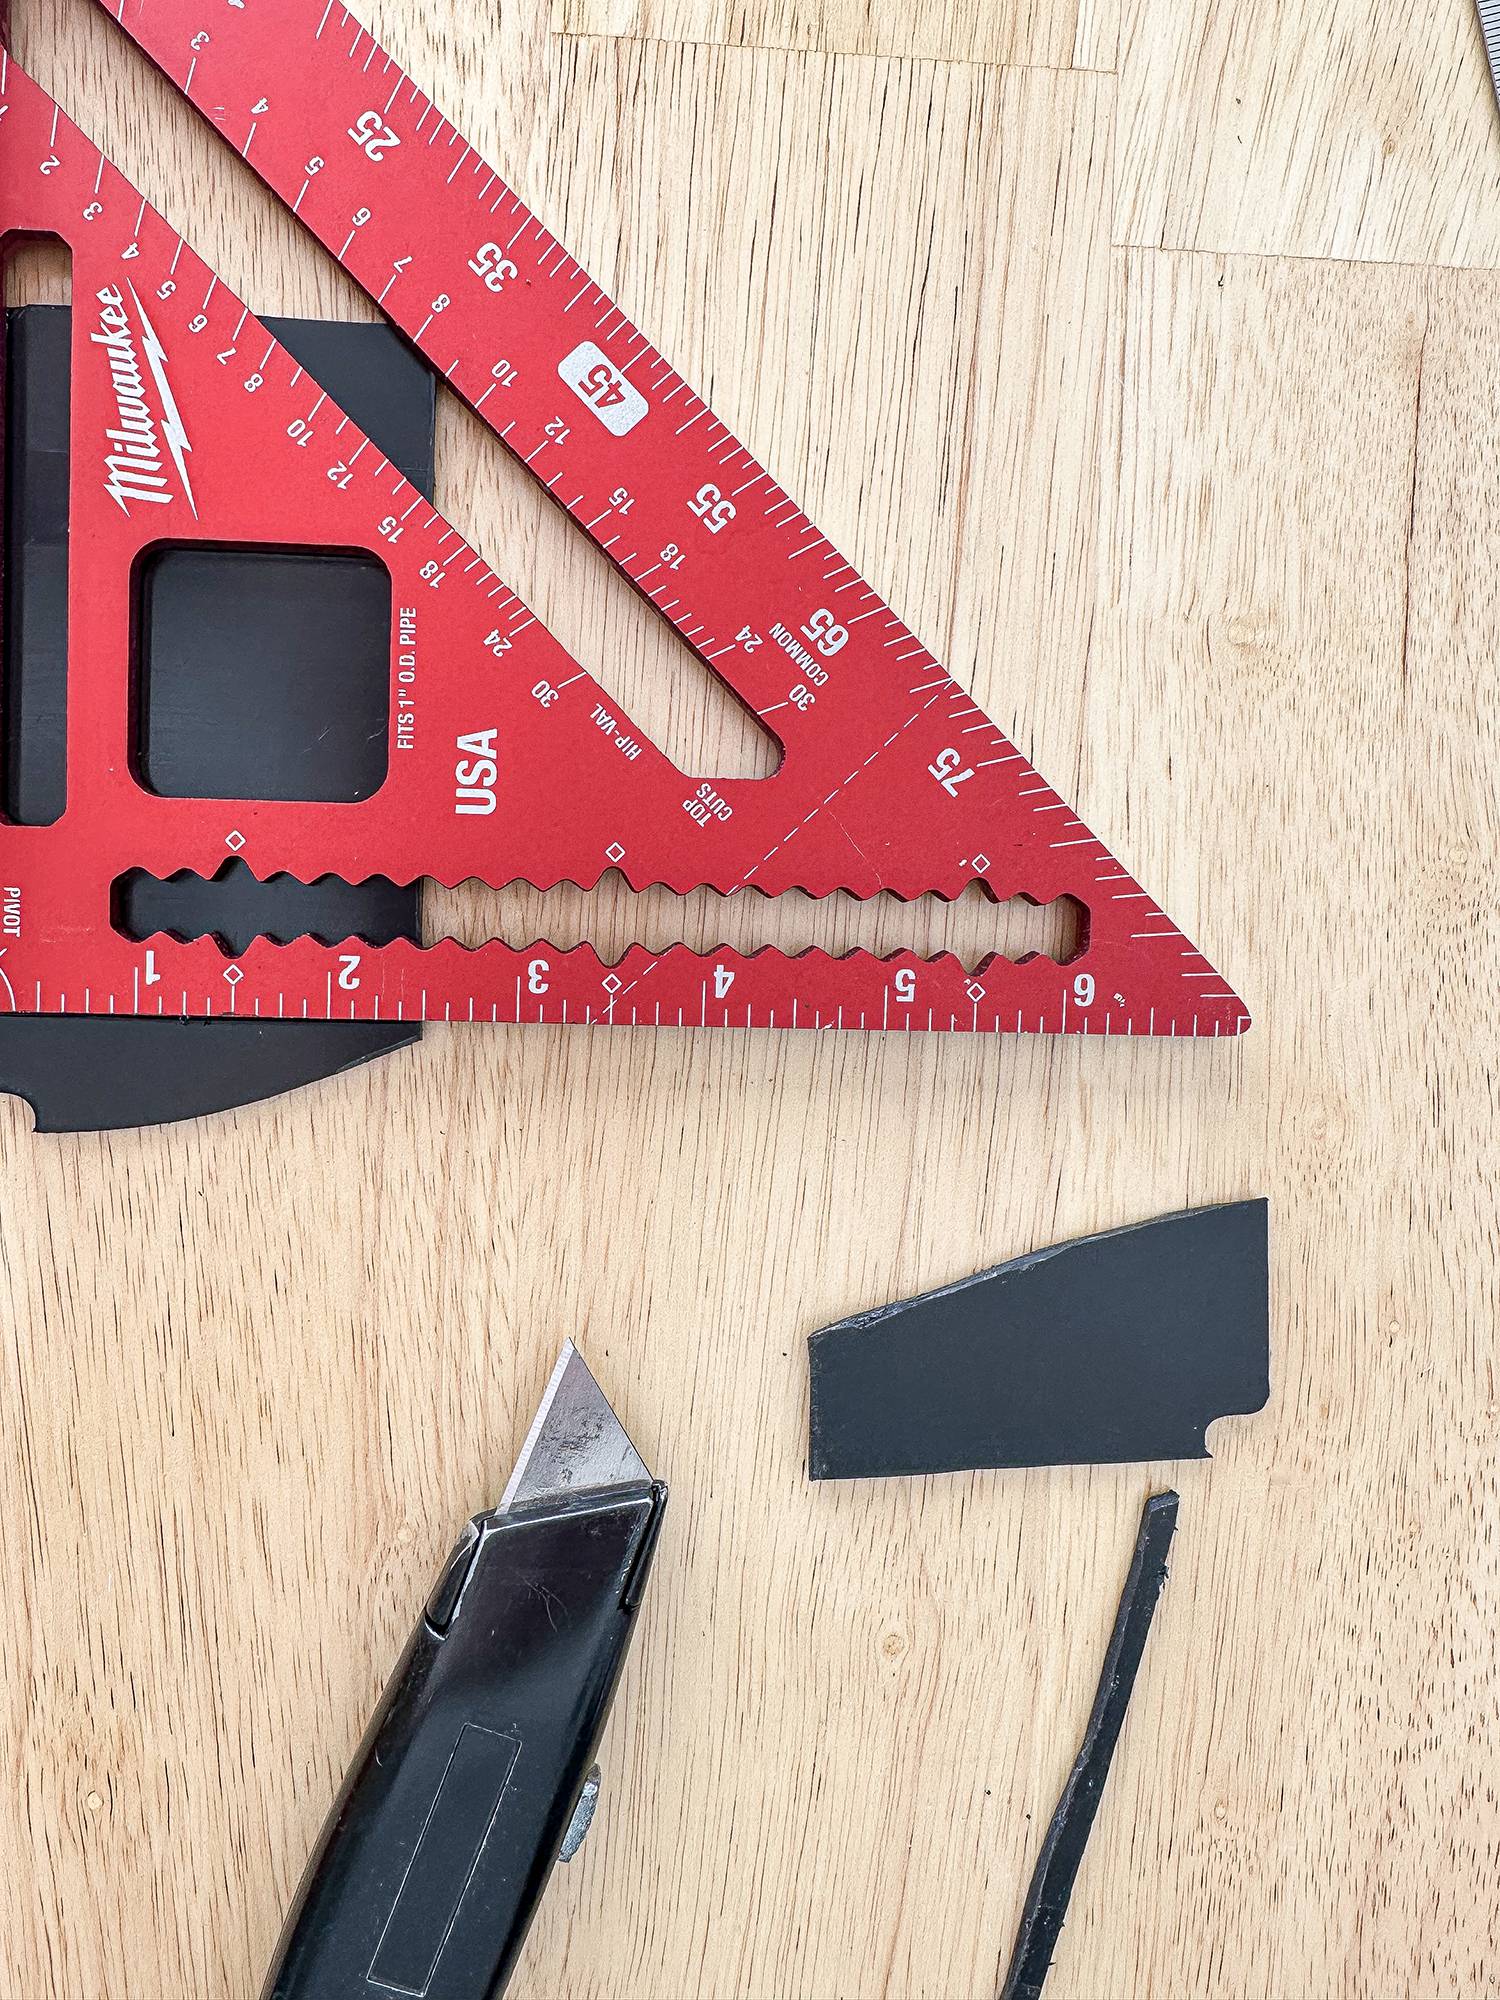
I saw the trim tool - it was thick enough - I have plenty of them - I have (had) one really wide I've never used - and some are RED (bonus)
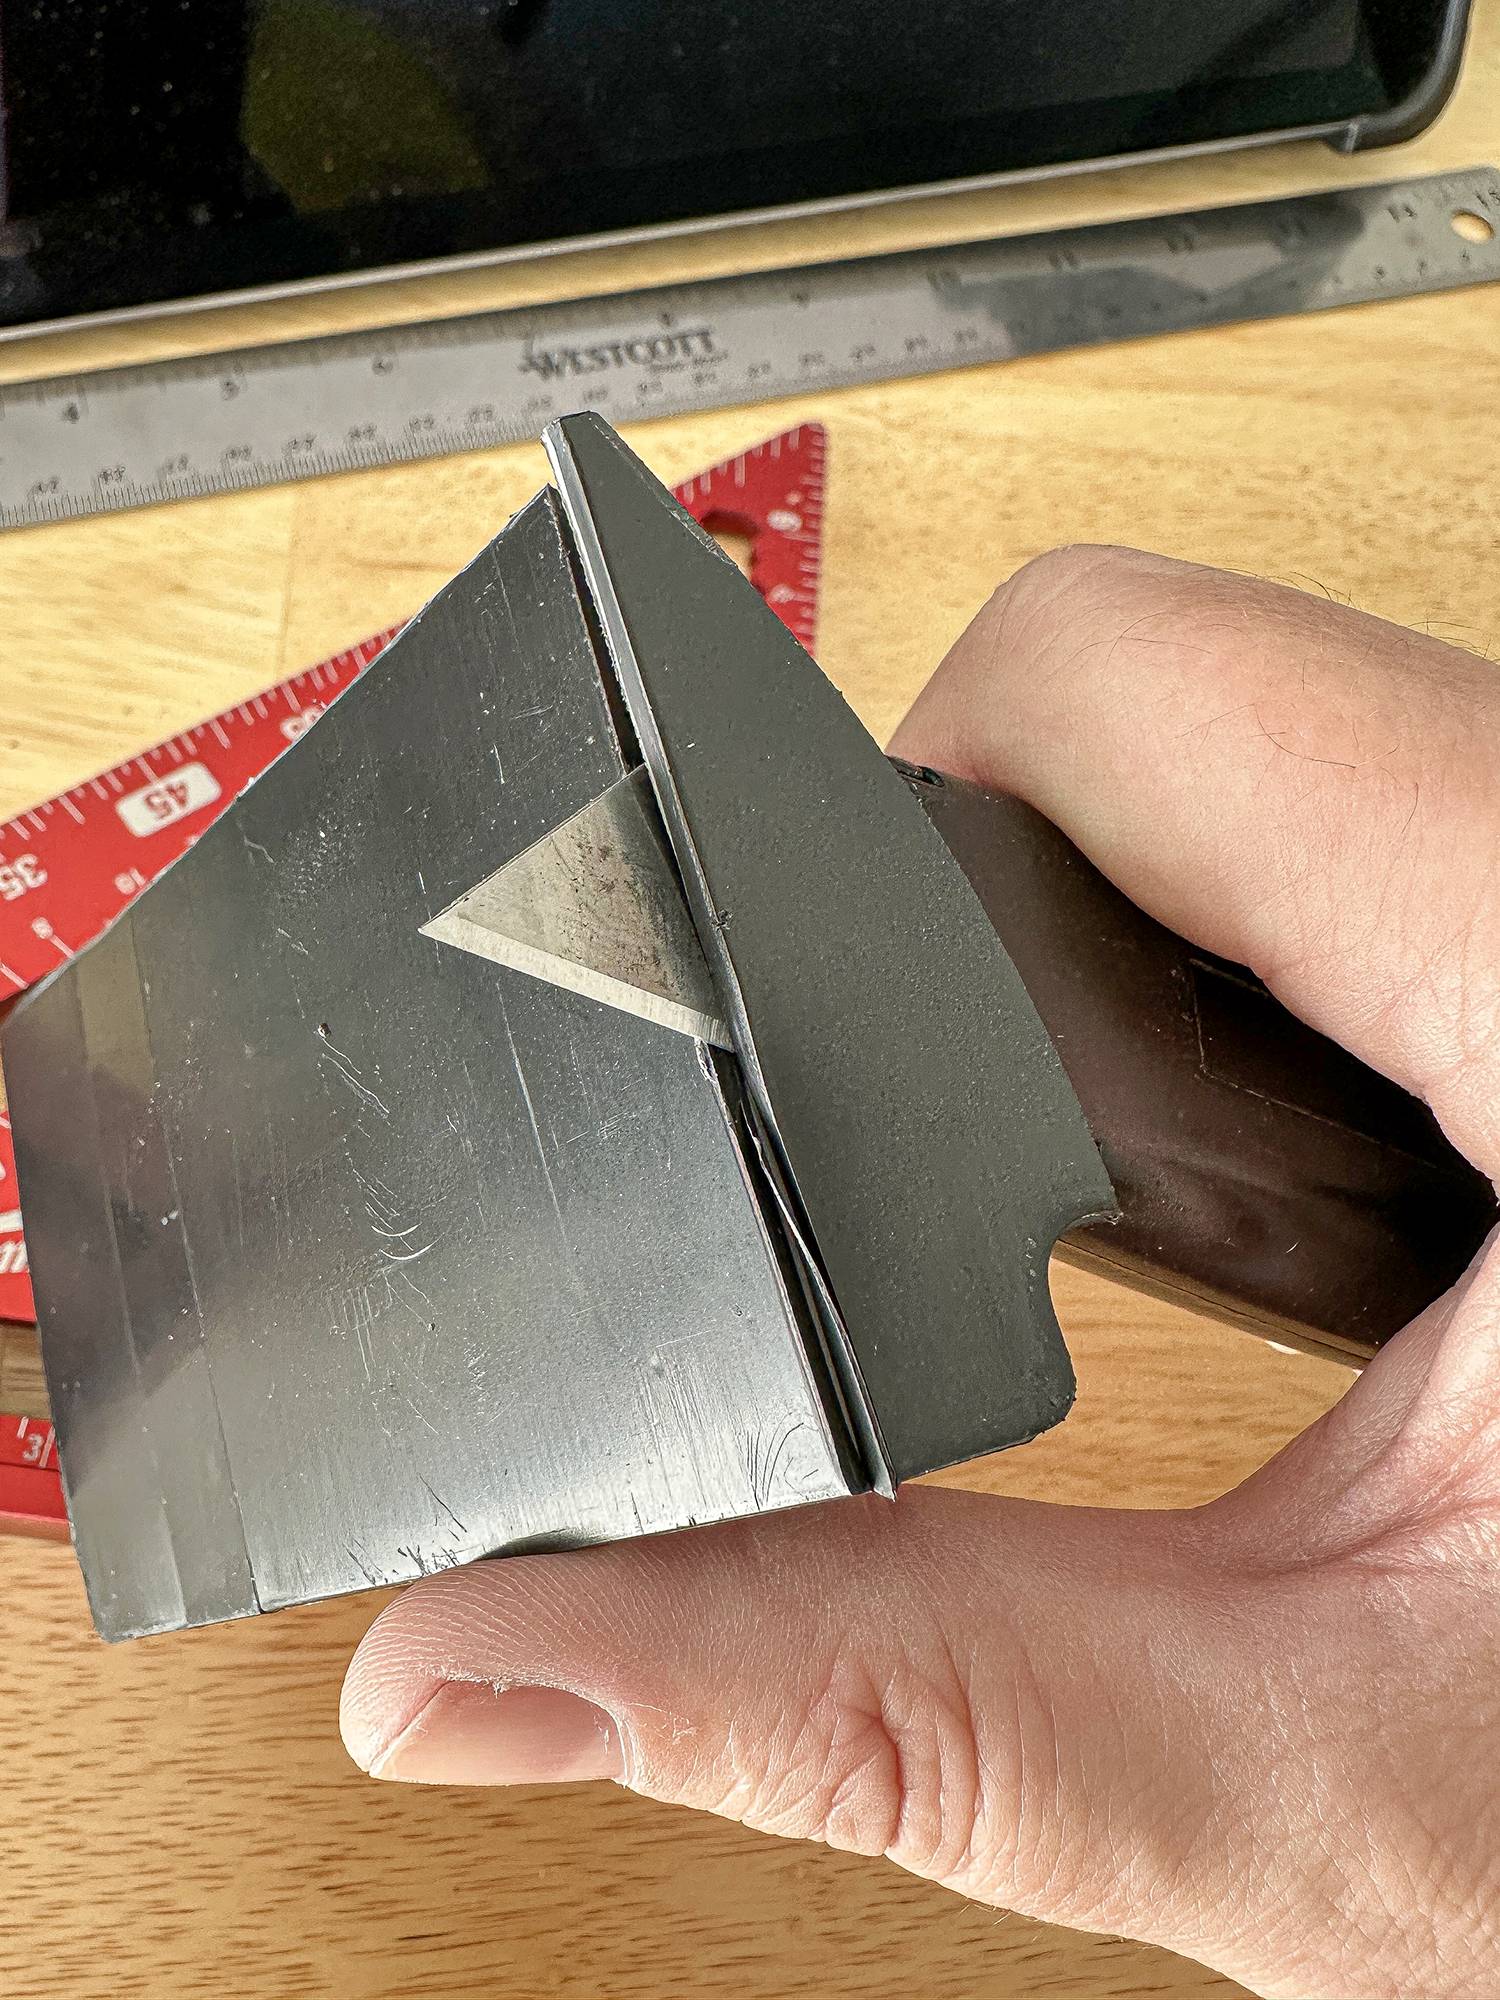
So, I got to work cutting the inside rough cut first. Then I cut the tool down to size. Next, I hit the bench grinder to get that custom concave shape that matched the molding where I'd be gluing it. Some final touches finish sanding it and then gluing and clamping it in place and I was done.
To start the project off I needed some sort of plastic, plexiglass, or other stock to raise the G Screen up a bit. Not having any luck at the hardware store, I decided to scrounge around my garage. And I found this. It's my palm sander case. It's abs plastic (or something) and it has a compartmentalized walls inside. I cut just as much as I needed and no more. I am still able to use this particular compartment to hold sanding discs.

This plastic bit was awesome; it was easy to work with. To cut it all I had to do was use a straight edge to score it then bend it back and slice it with a box cutter.
Turns out easy wasn't the way. This stuff was too thin. I thought I could just layer it like a laminate - but... I mean. I just don't have the skill to make it look like one seamless piece. BUT, as it turns out the solution was sitting right in front of me staring me right in the face the entire time.


I saw the trim tool - it was thick enough - I have plenty of them - I have (had) one really wide I've never used - and some are RED (bonus)
So, I got to work cutting the inside rough cut first. Then I cut the tool down to size. Next, I hit the bench grinder to get that custom concave shape that matched the molding where I'd be gluing it. Some final touches finish sanding it and then gluing and clamping it in place and I was done.
Sponsored