ExitLeft
Well-Known Member
- First Name
- Wes
- Joined
- Sep 5, 2018
- Threads
- 22
- Messages
- 616
- Reaction score
- 642
- Location
- Philly ‘burbs
- Vehicle(s)
- 2003 Jeep Wrangler TJ, 2024 Jeep Wrangler Willys 4 Door
- Vehicle Showcase
- 1
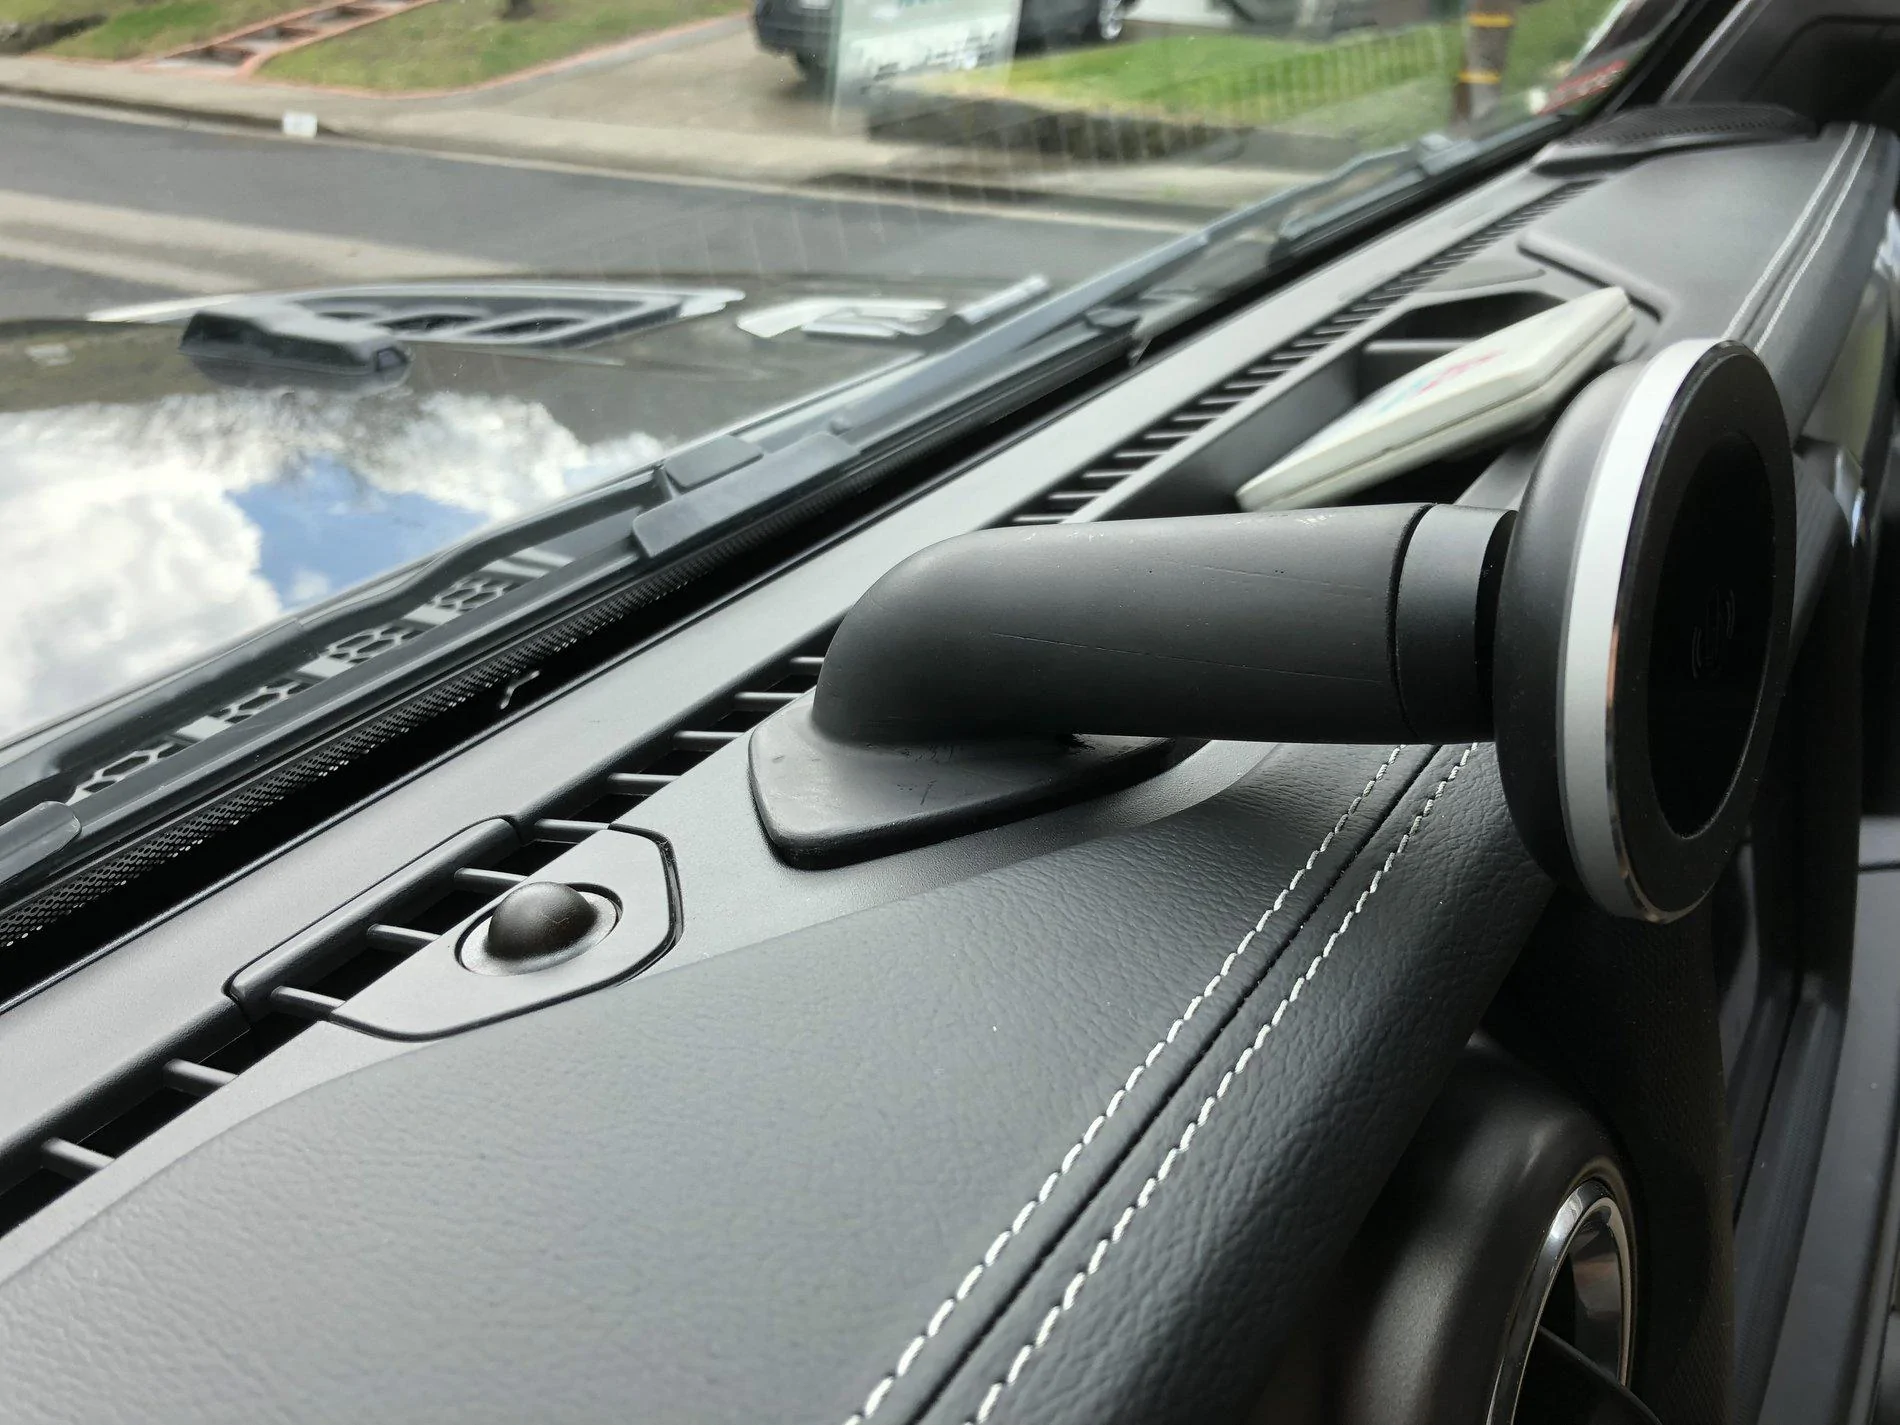
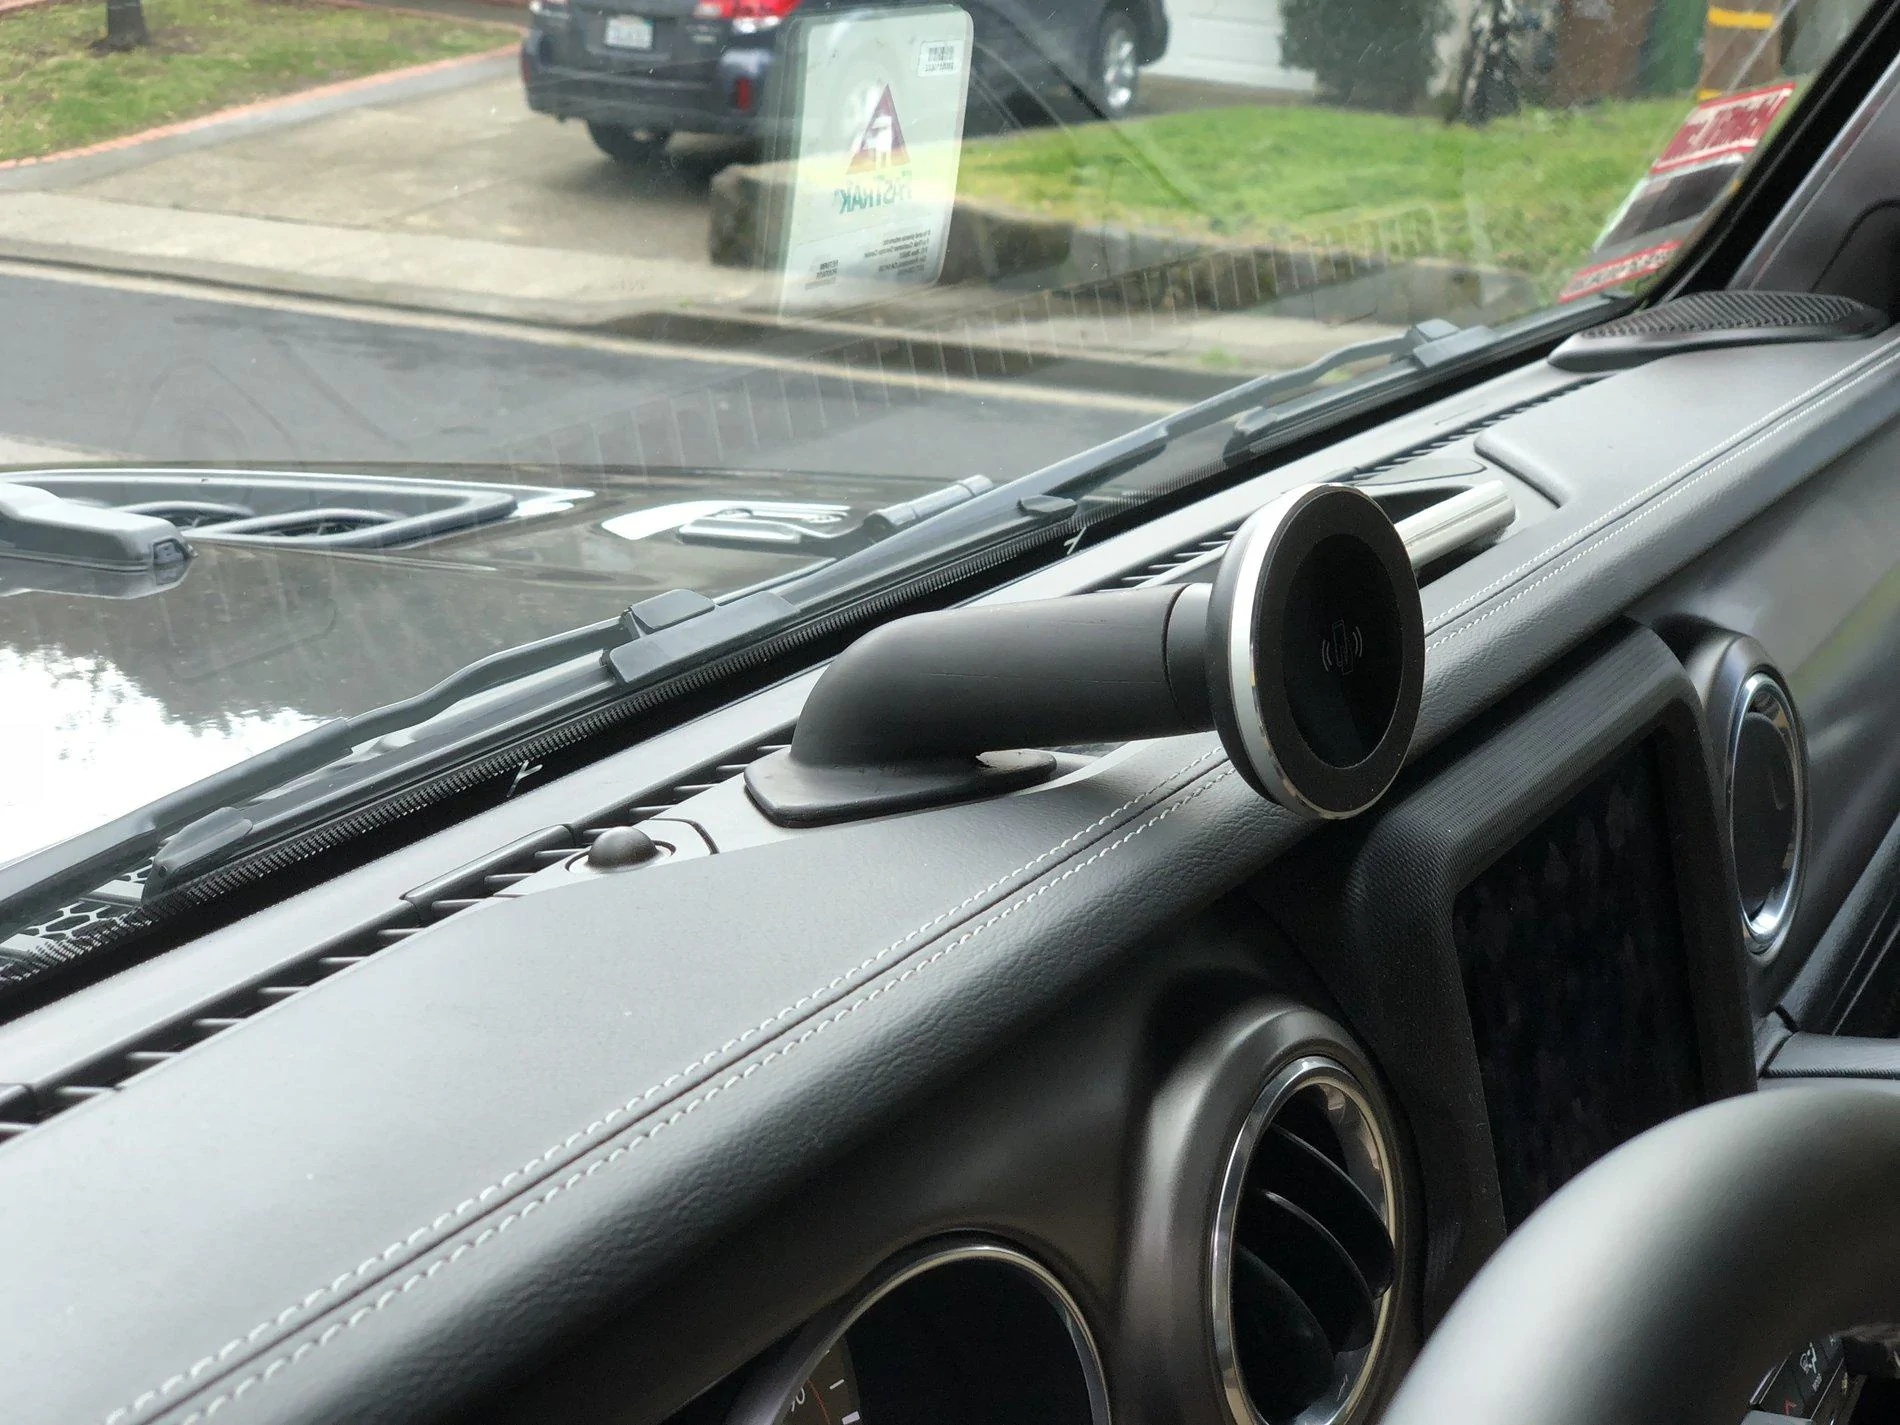
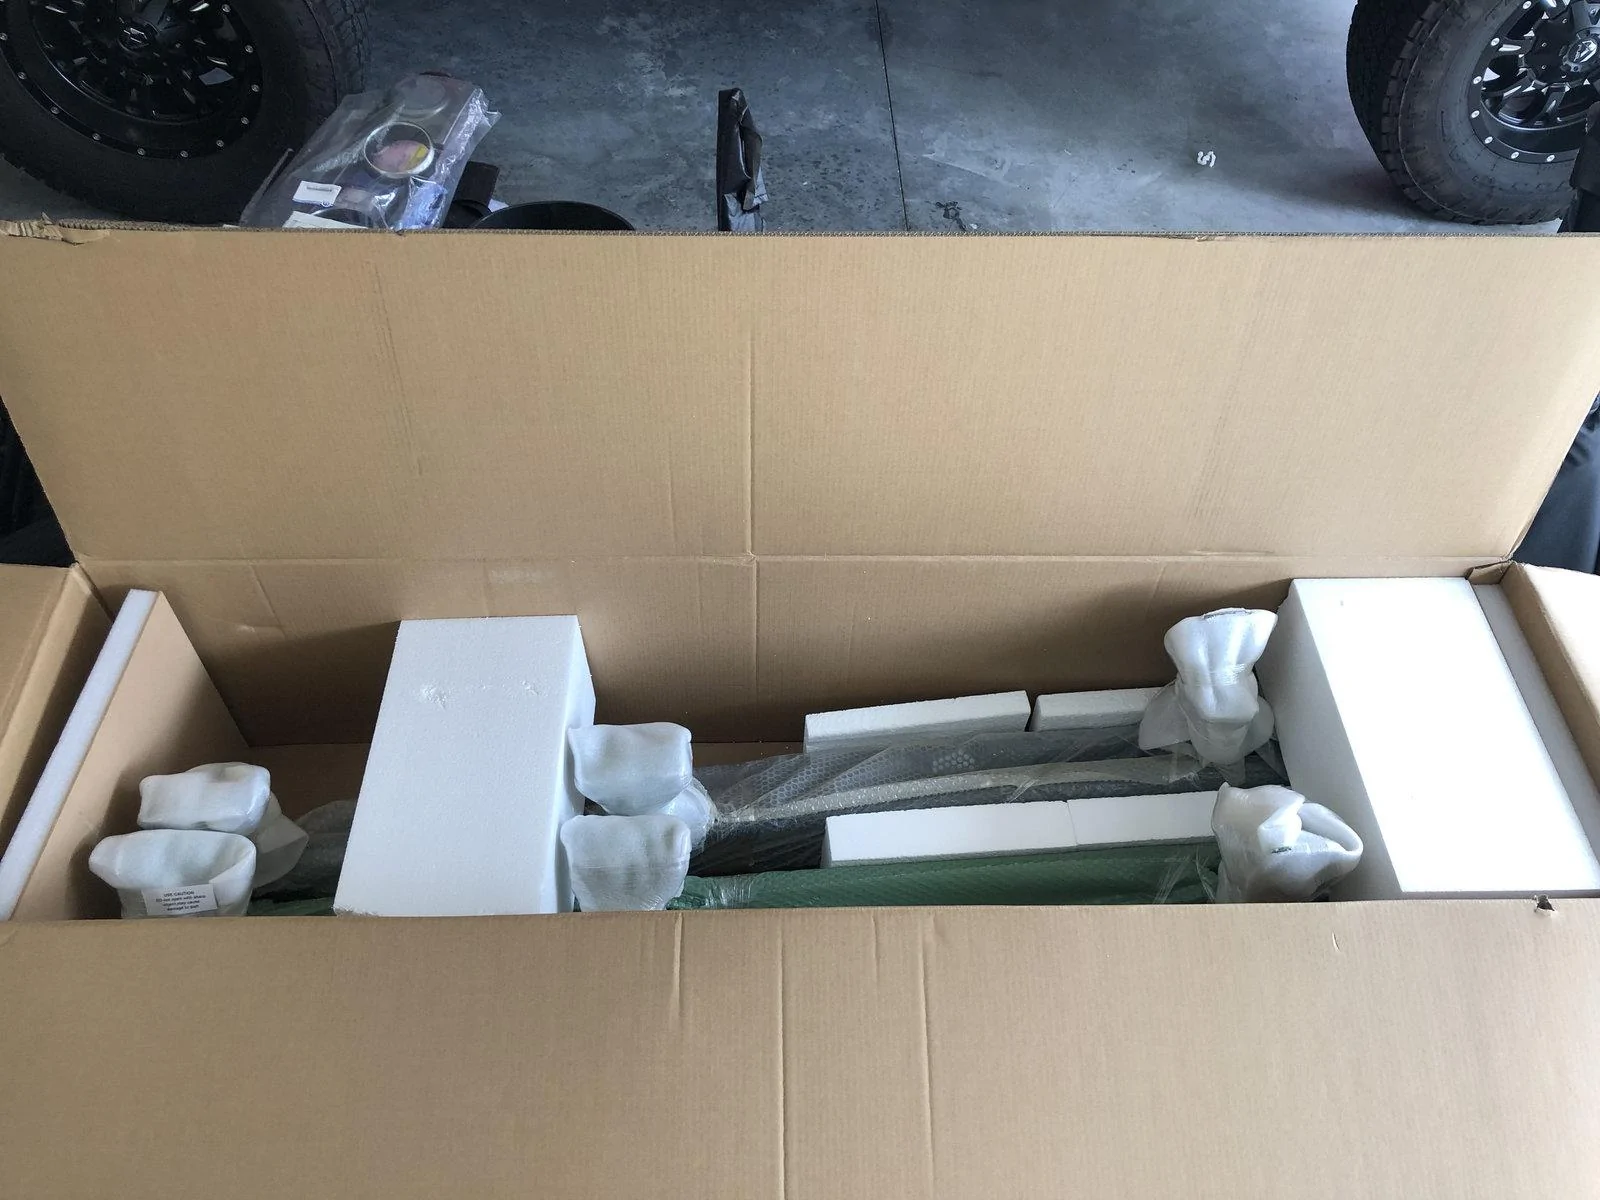
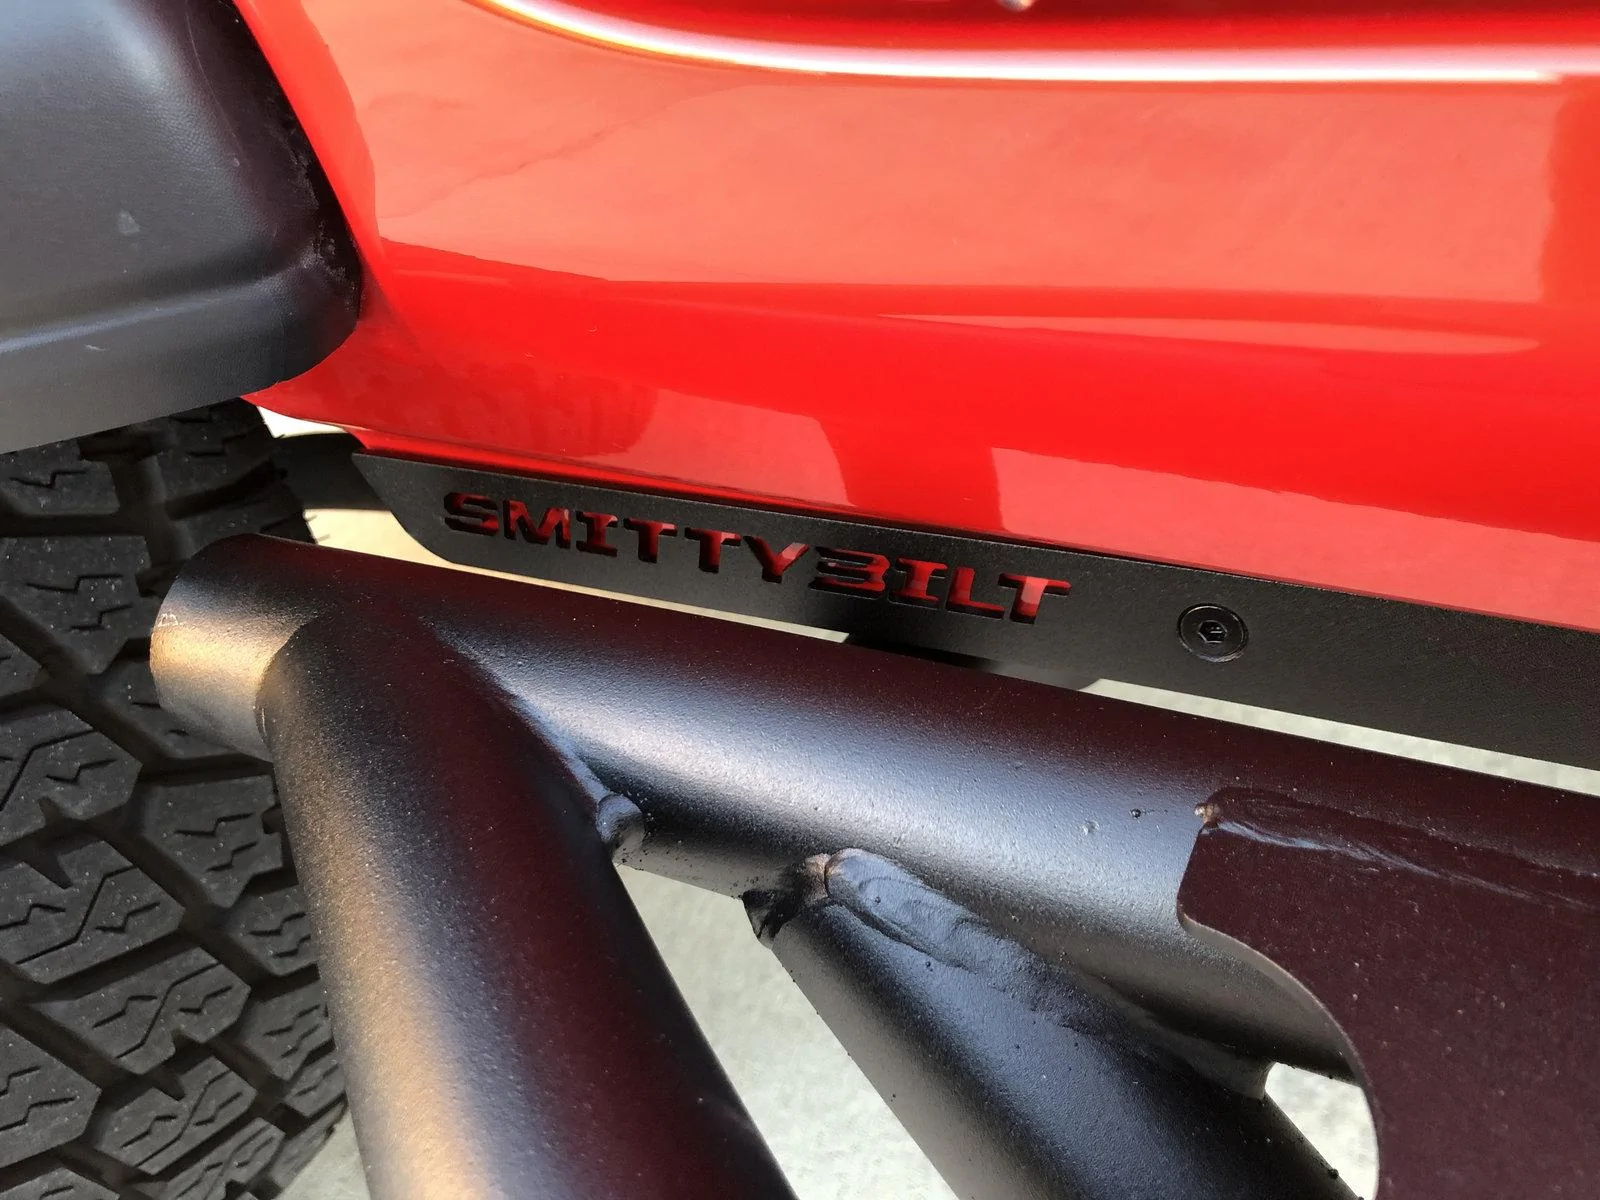
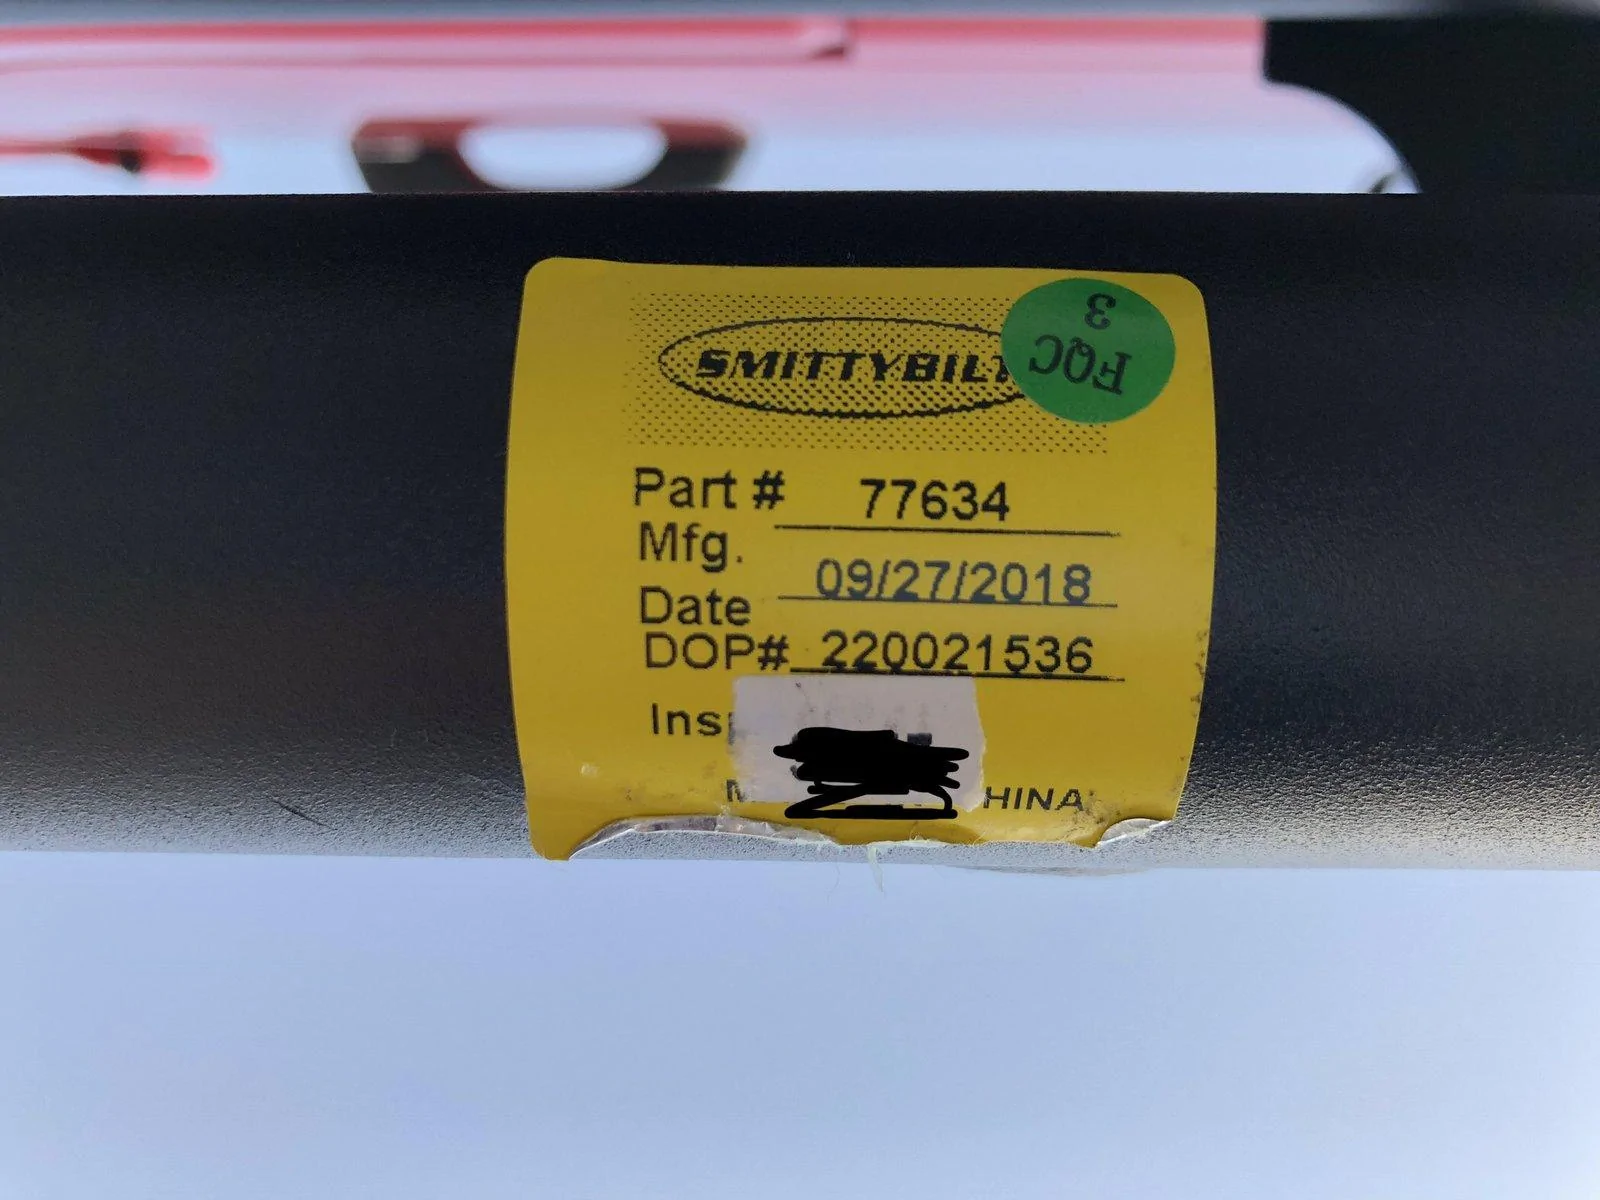
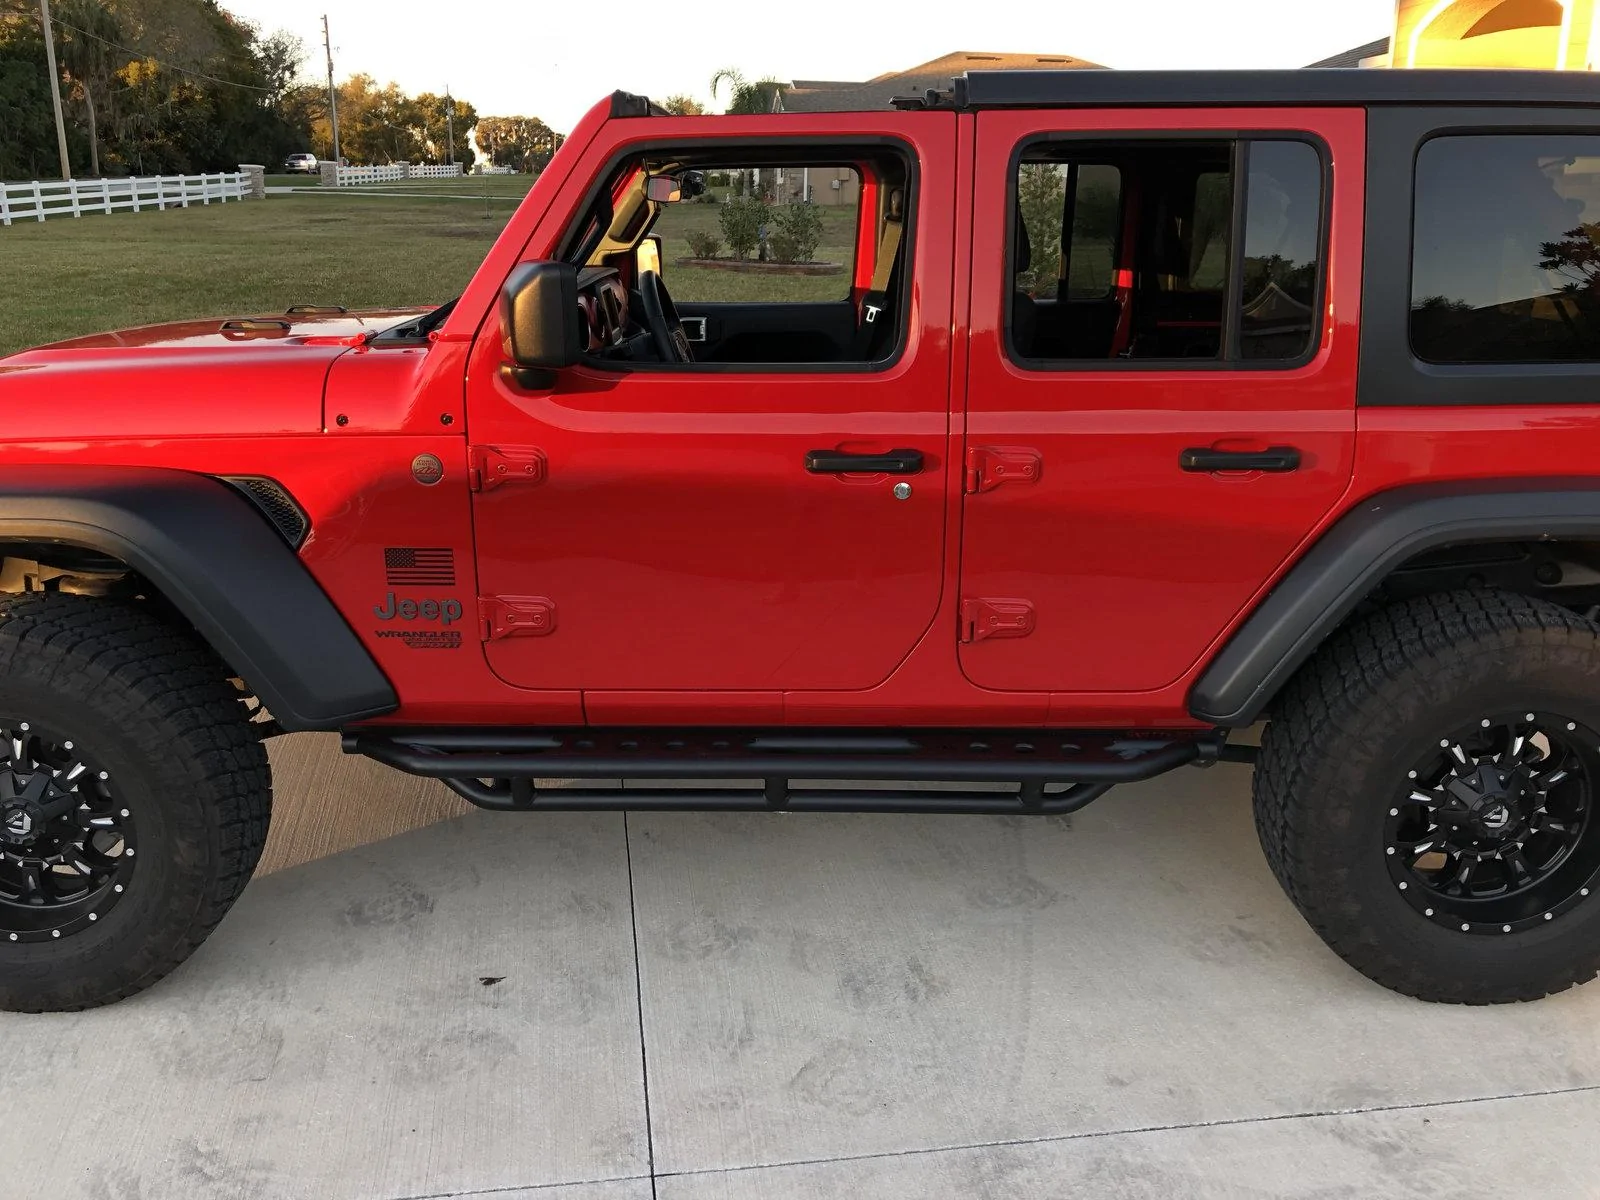
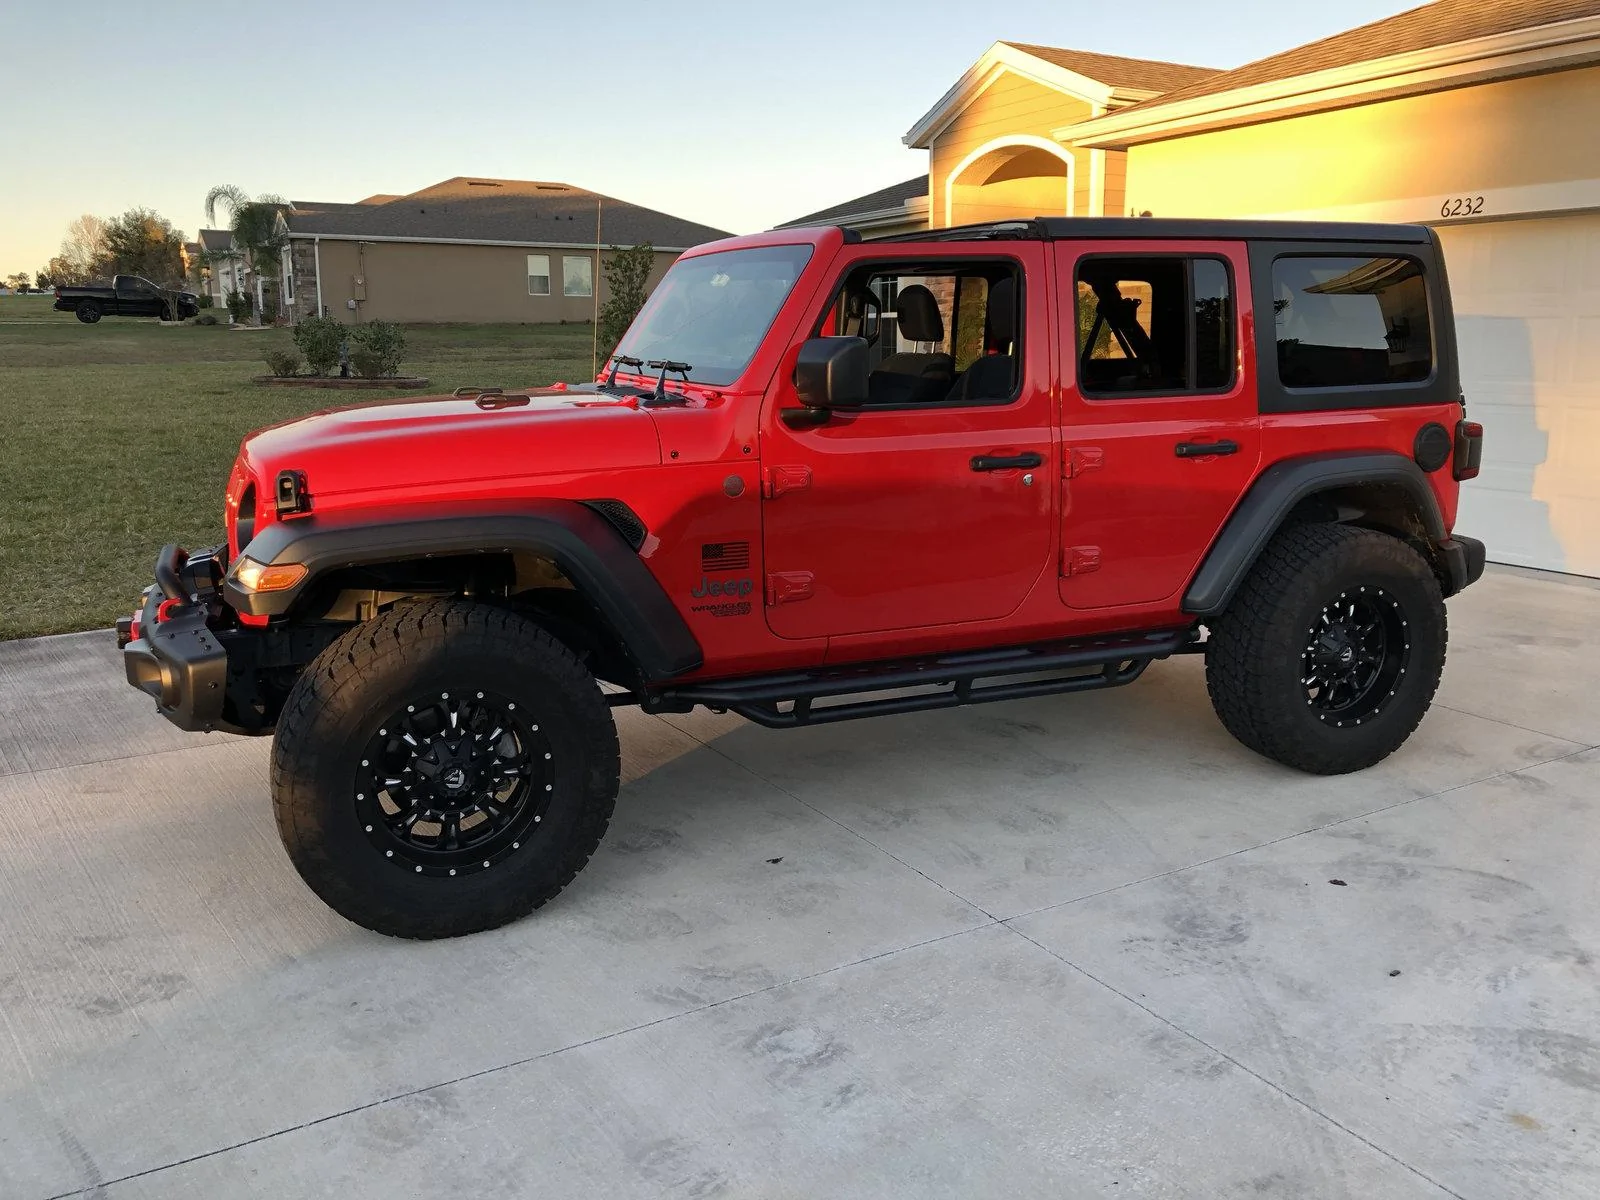
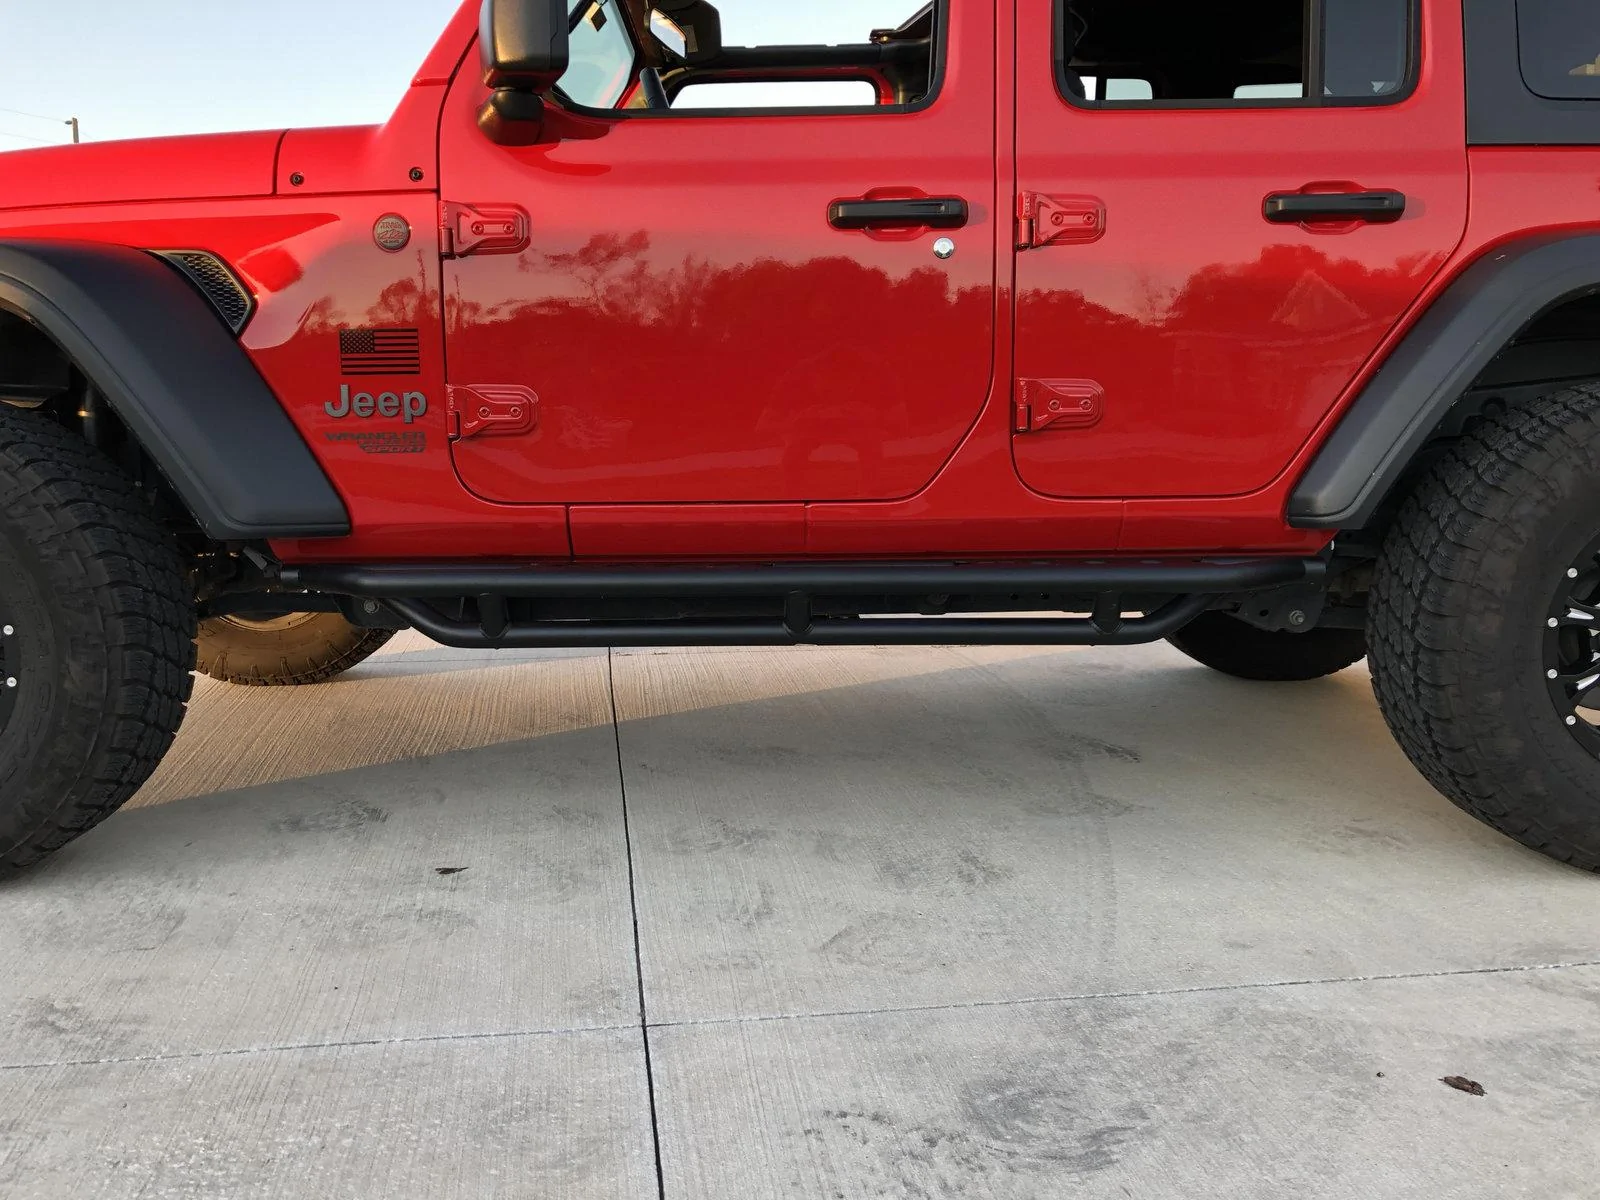
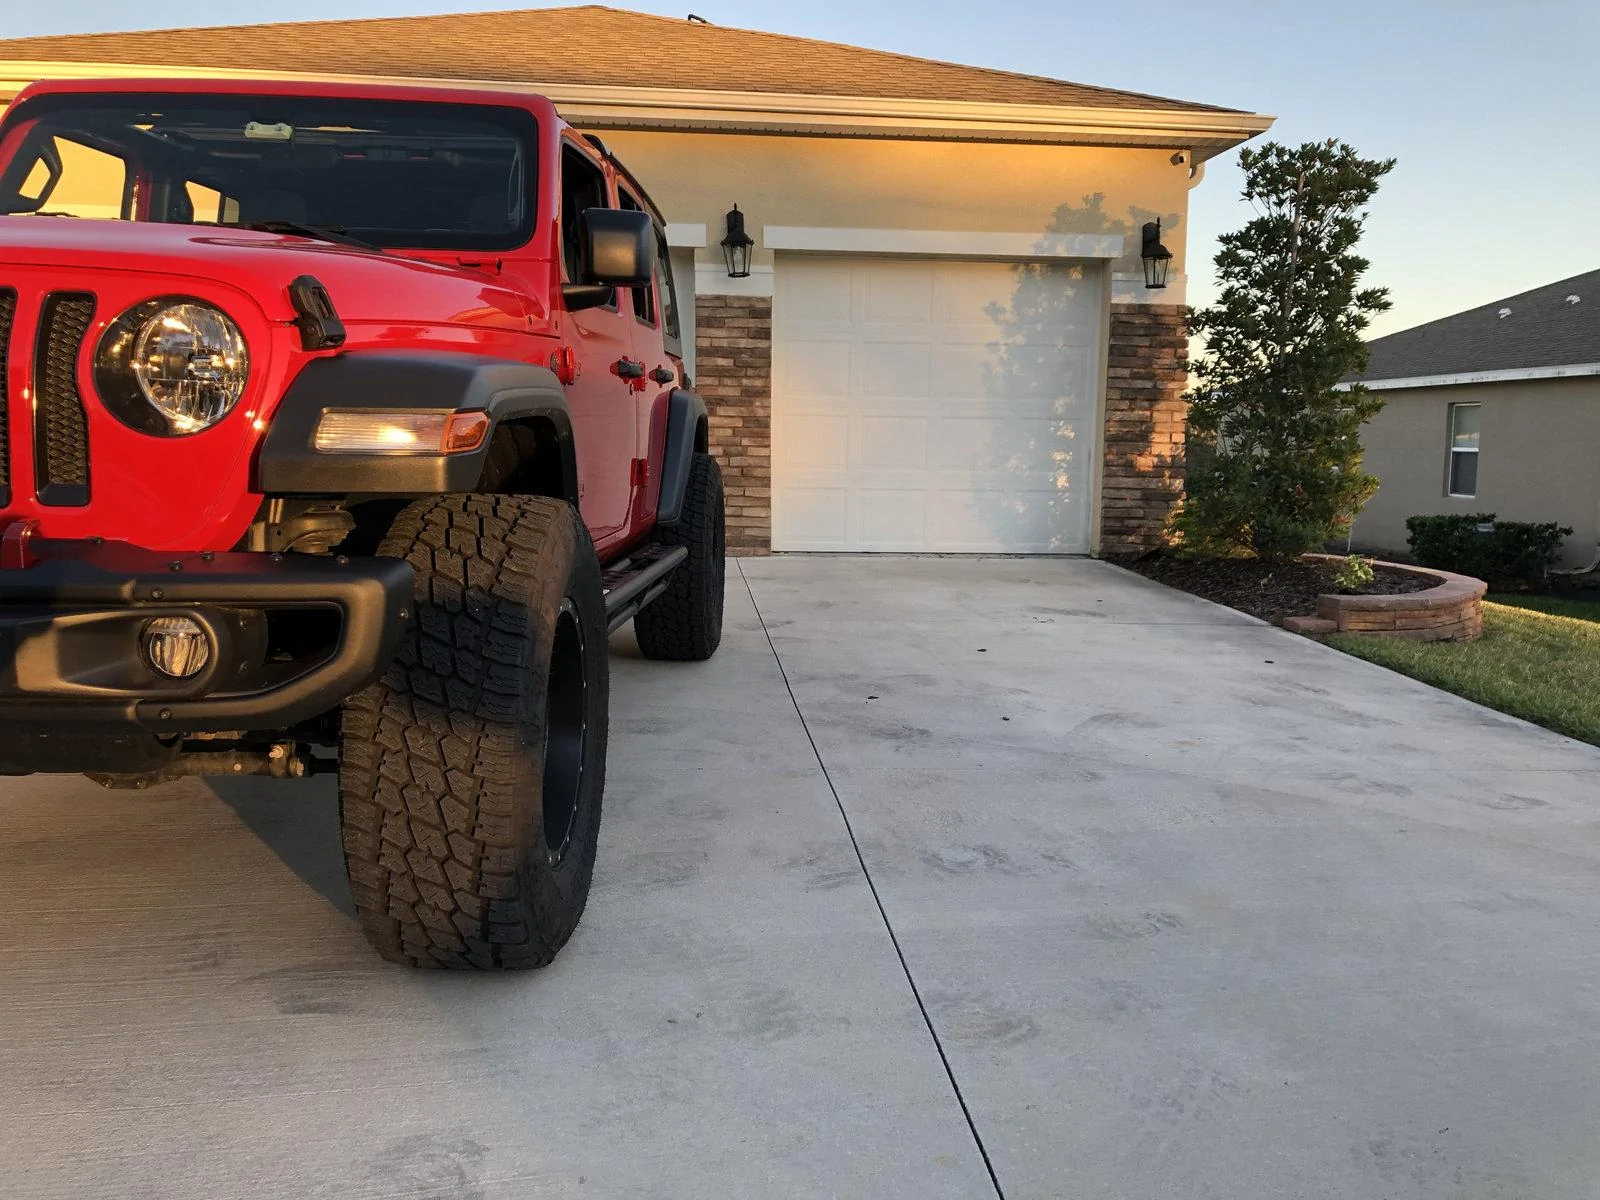
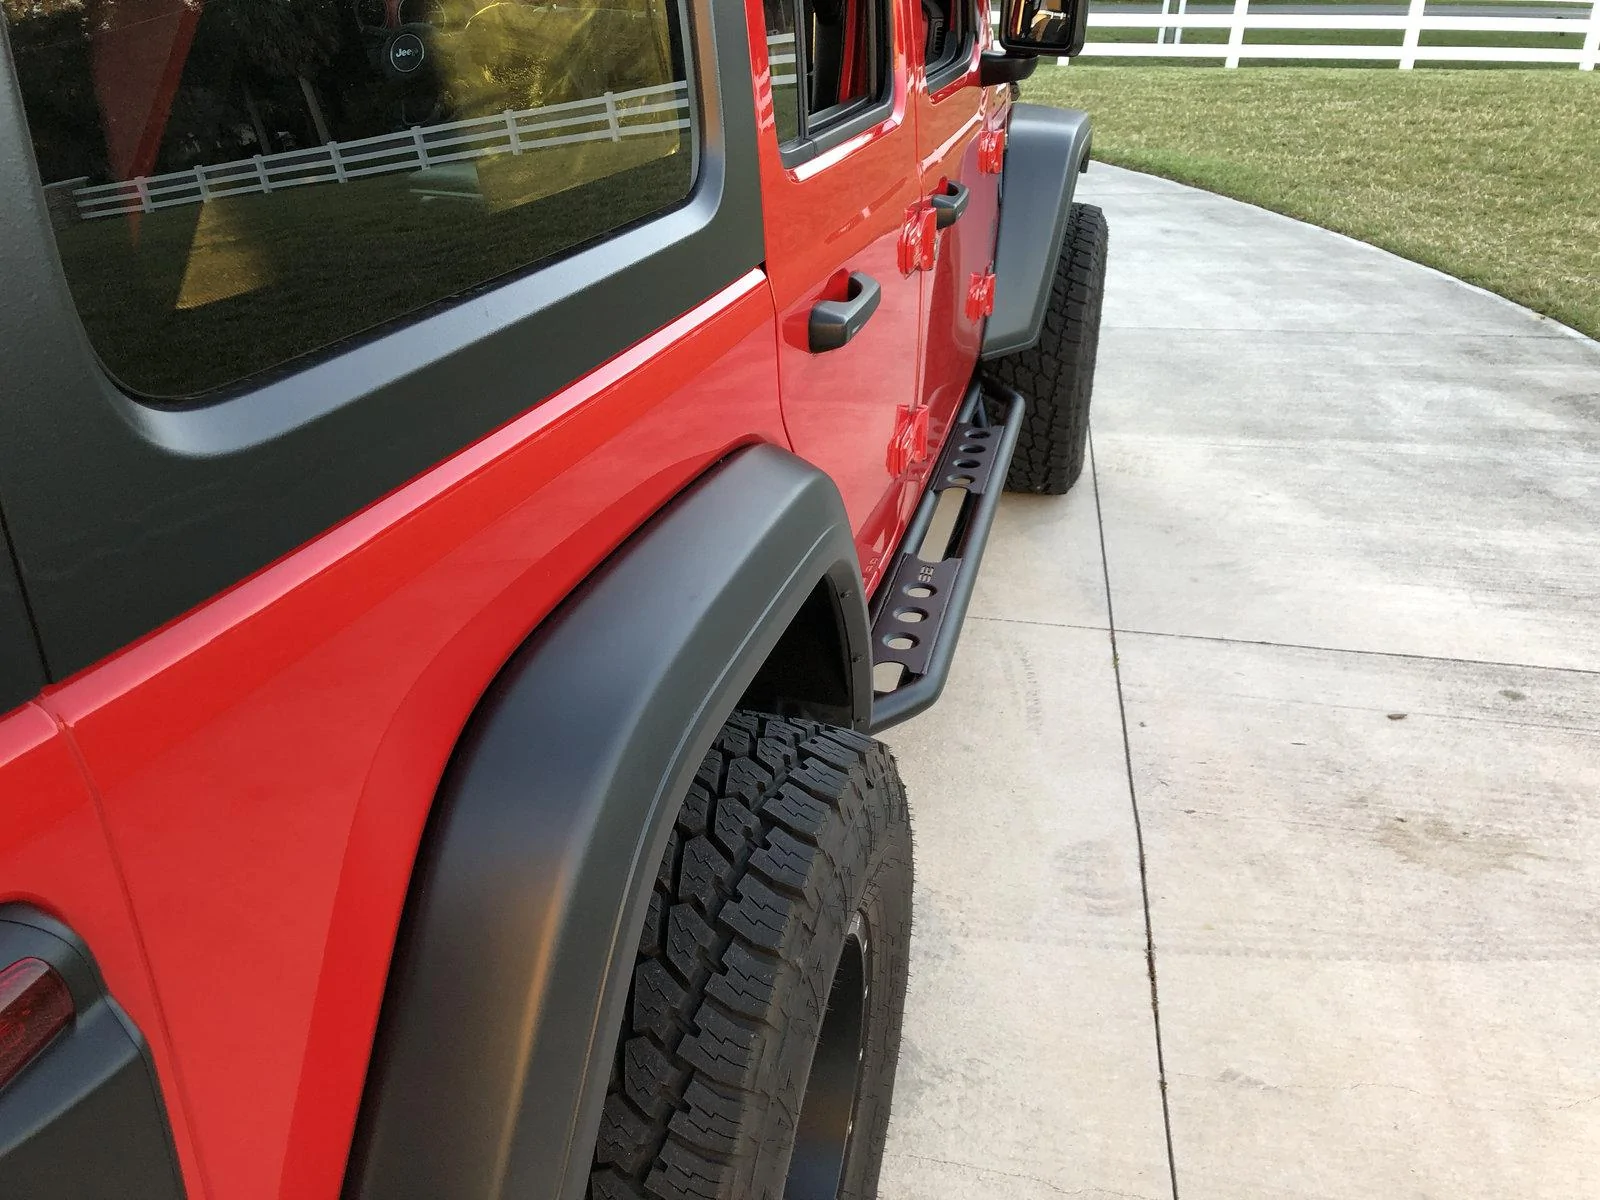
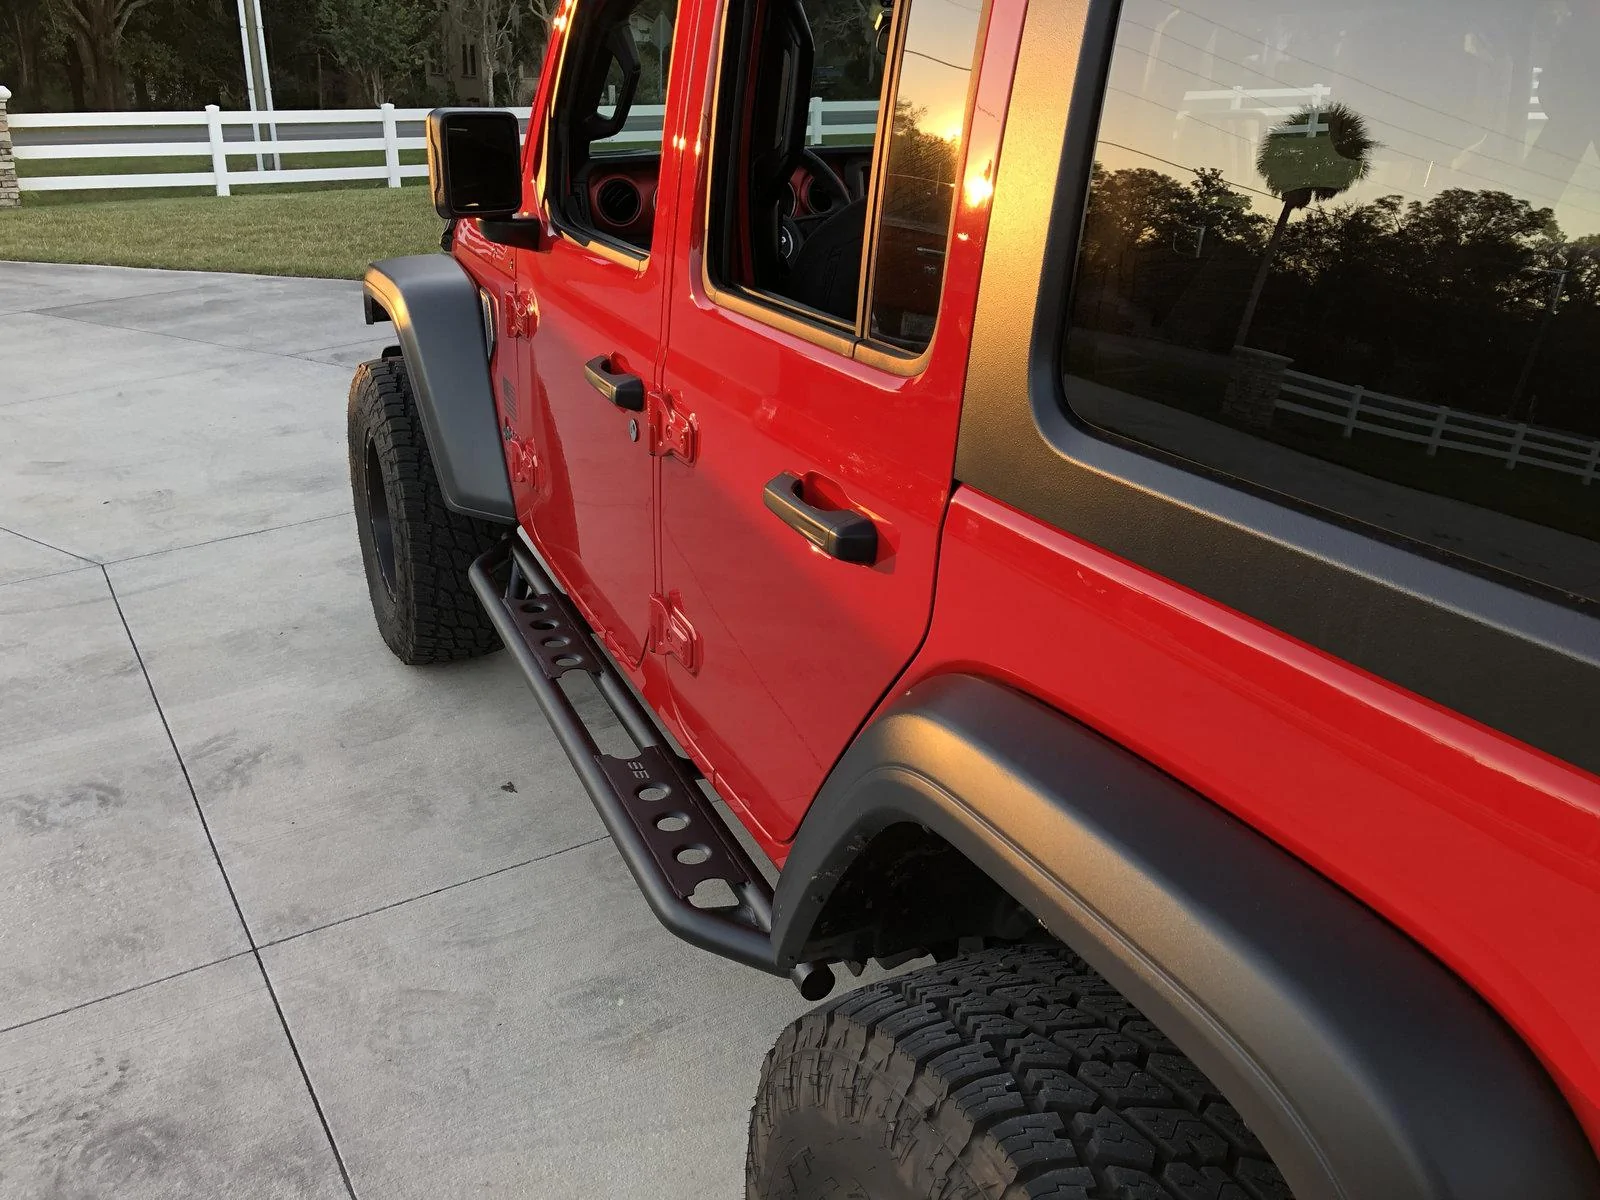
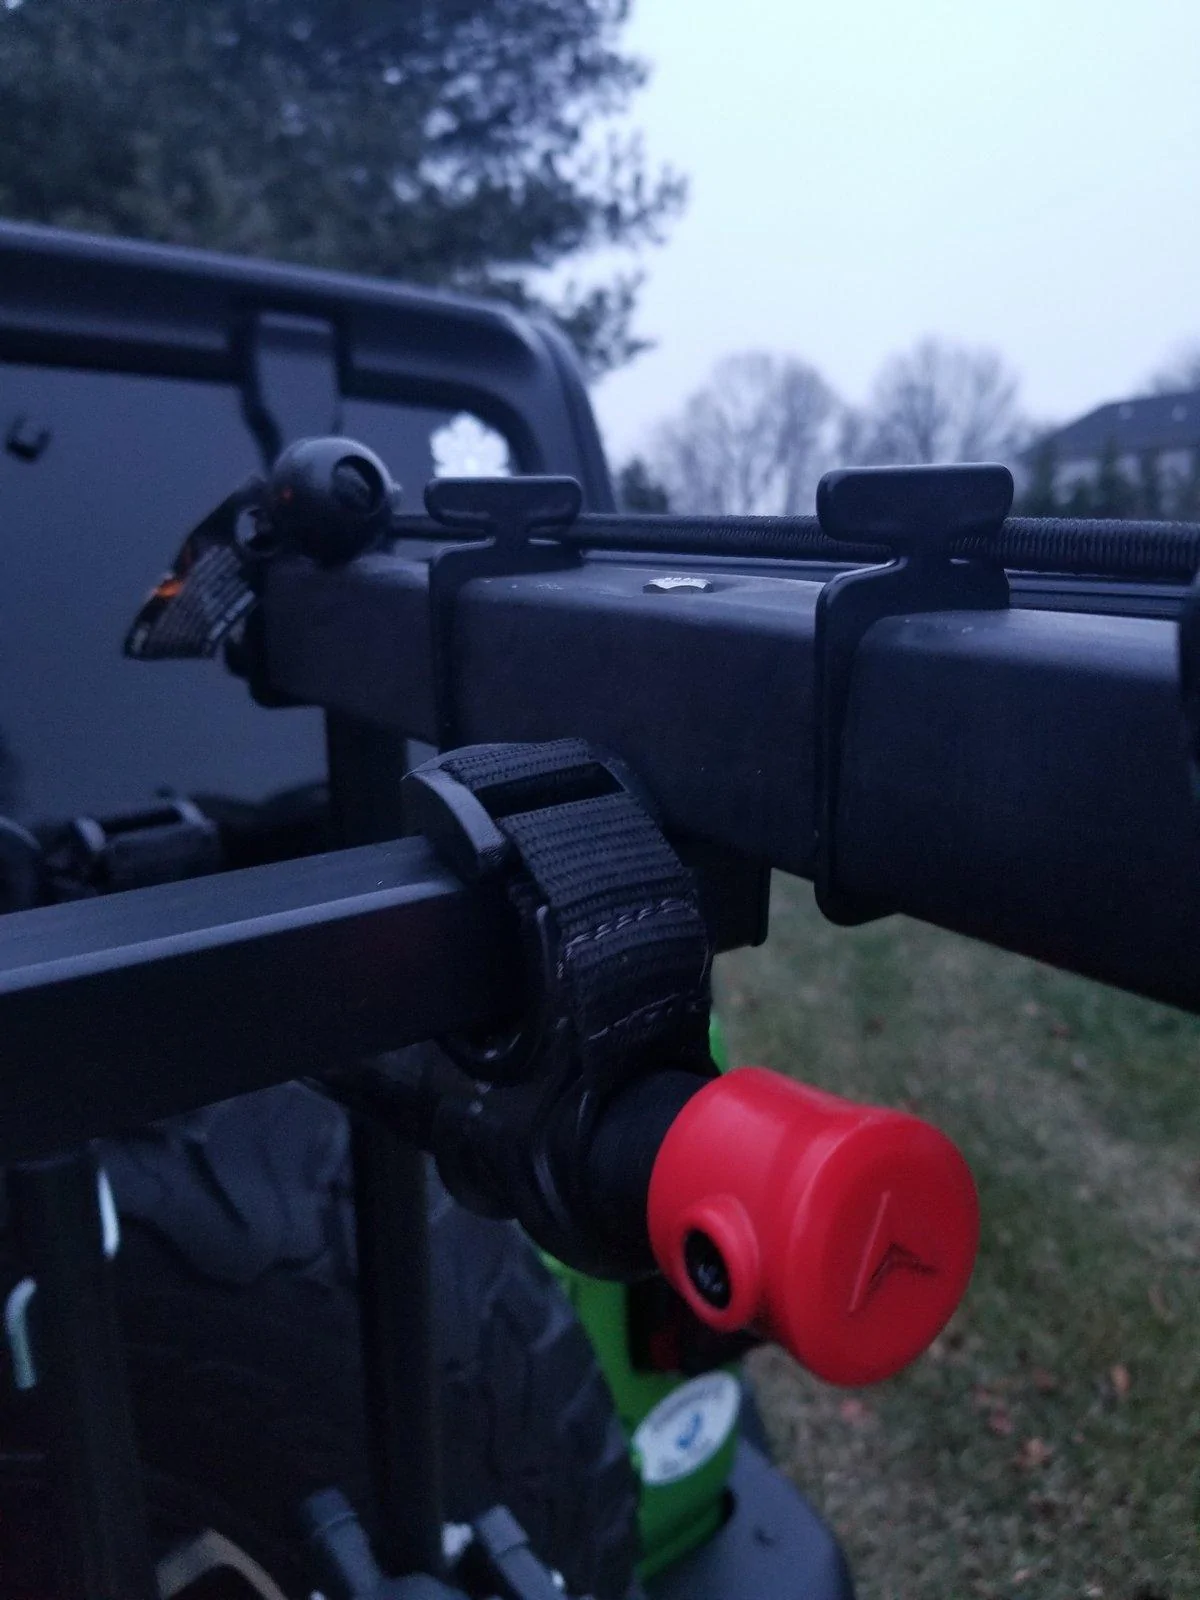
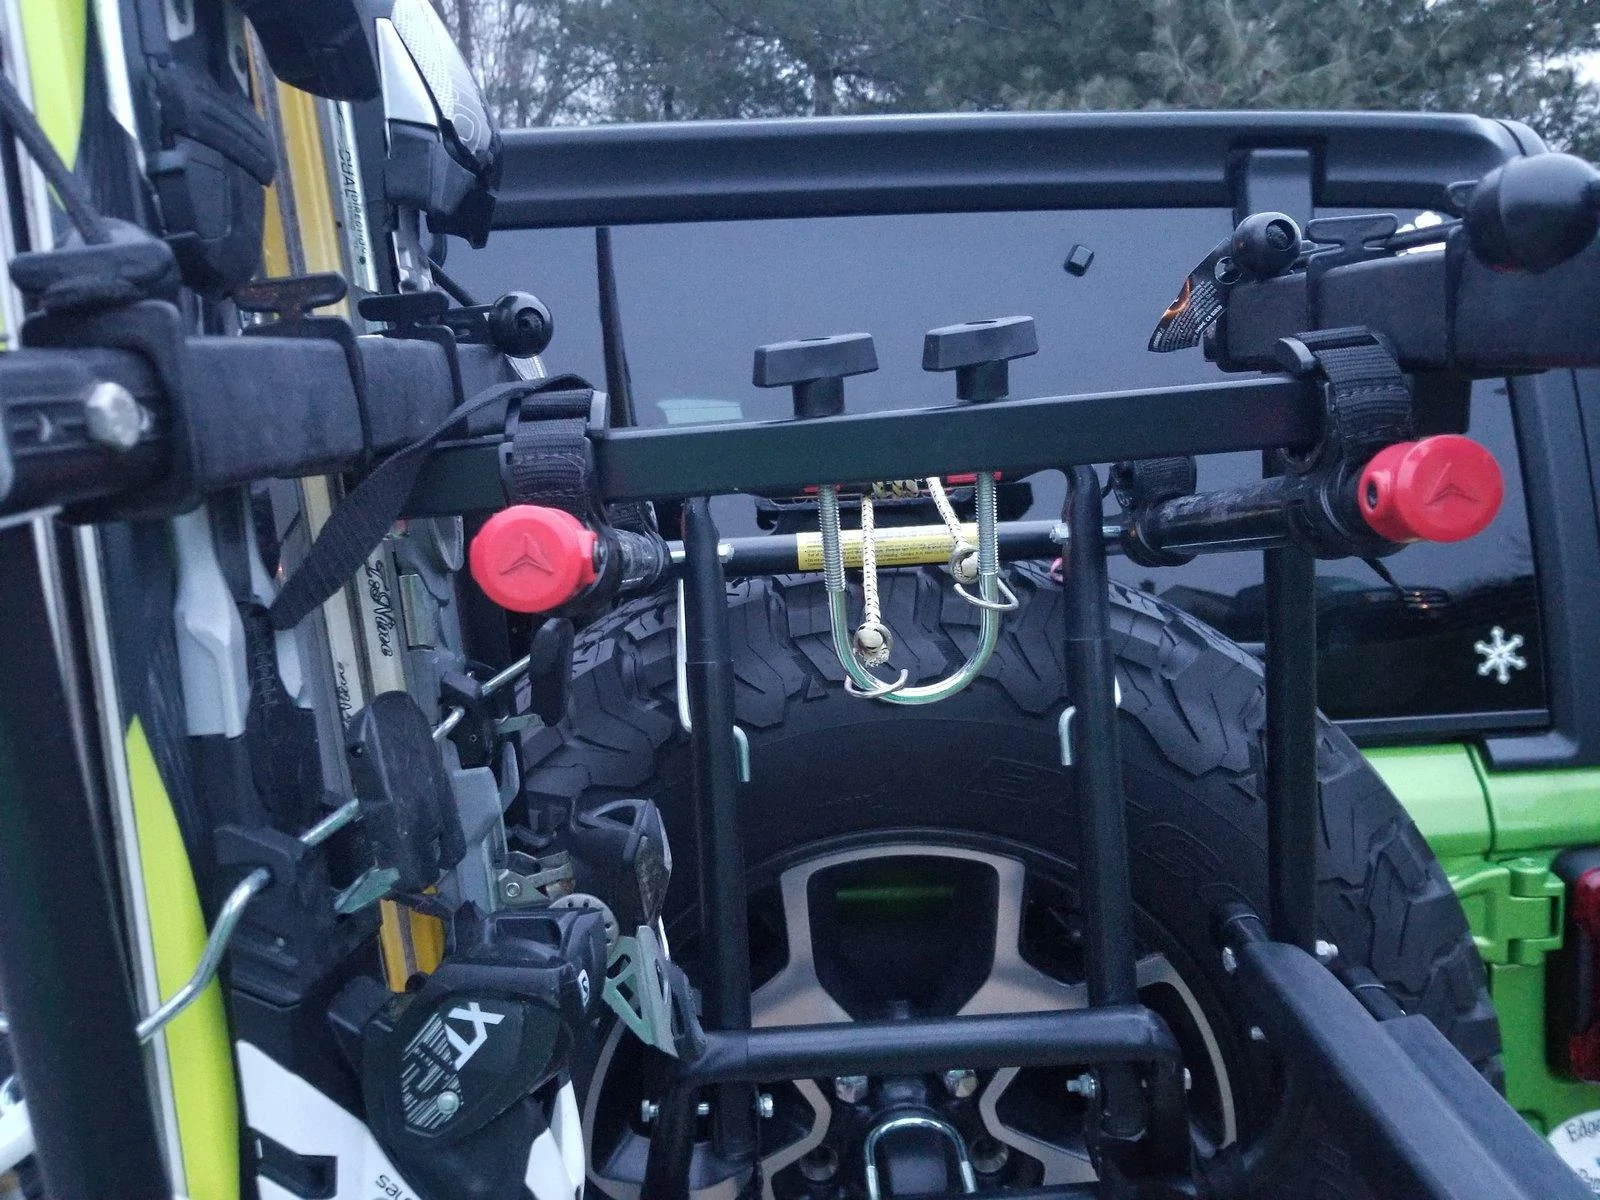
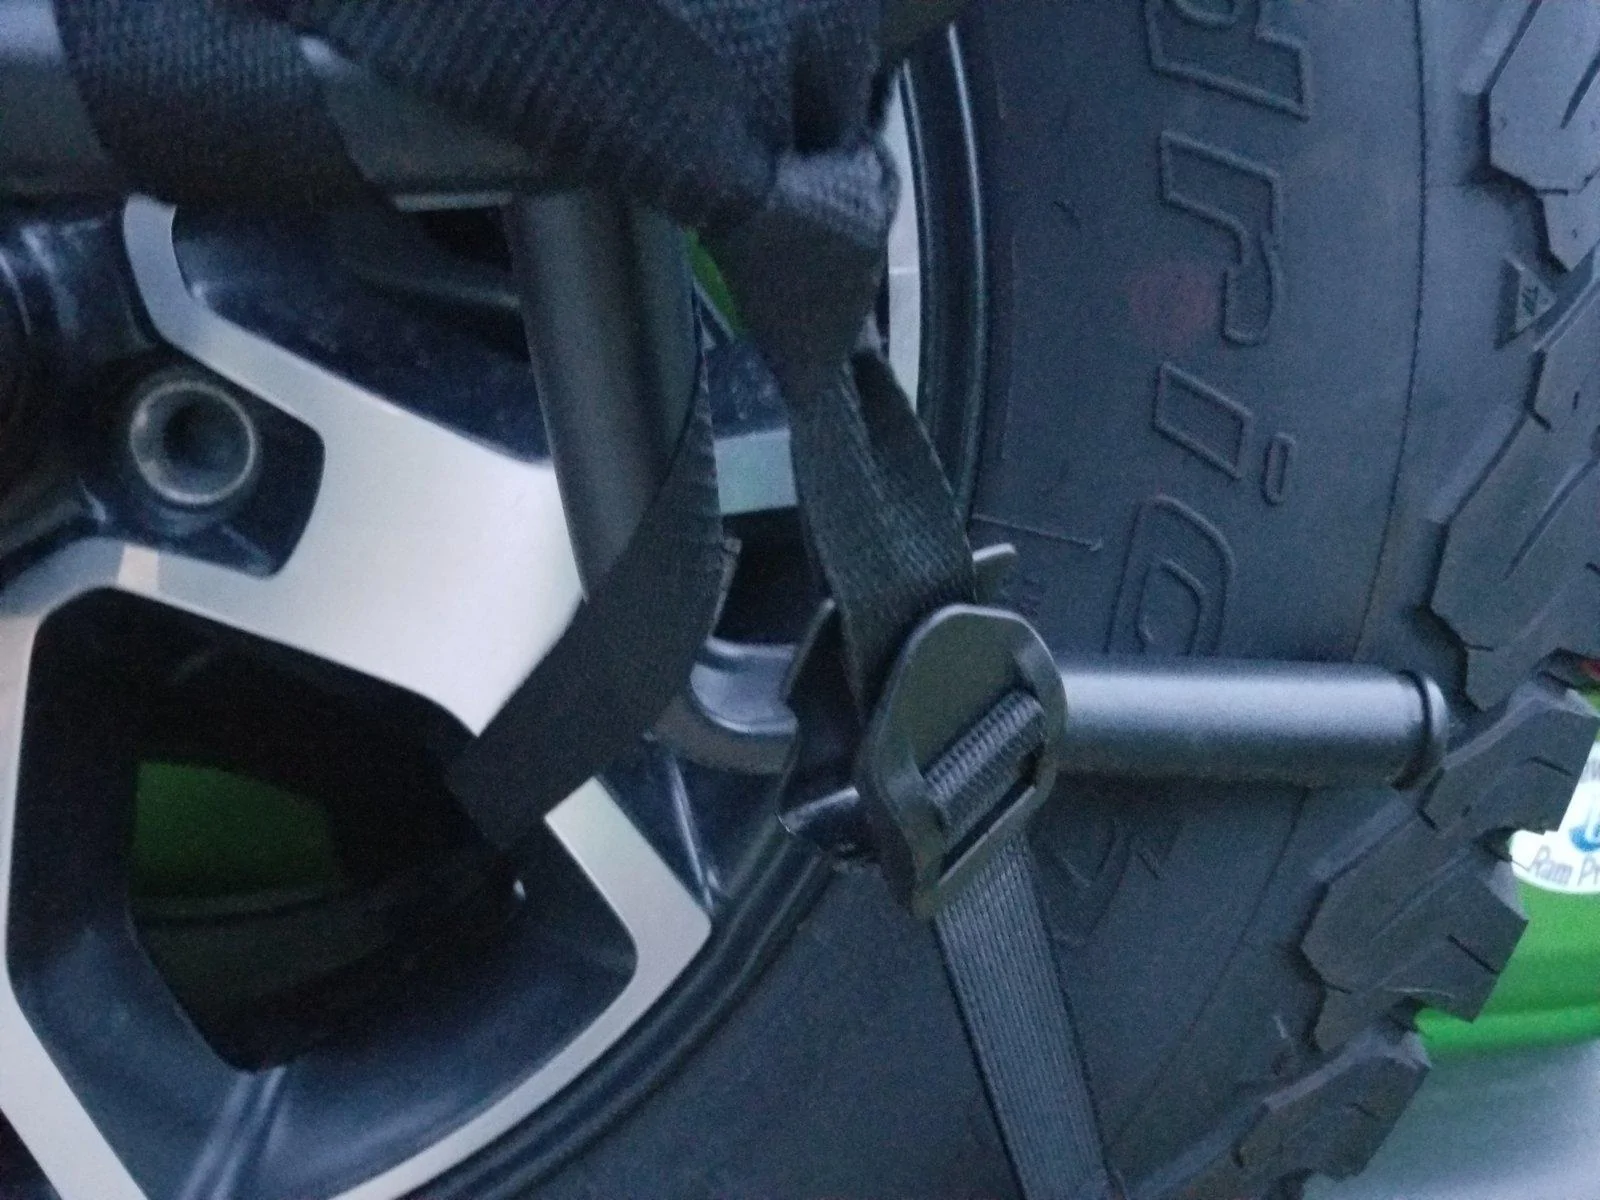
Looks fantastic. I'm curious how easily it is scrape it though? Also, did you clear coat it as well?I took everything off and sprayed them.. Not as hard or scary as it sounds.. theres a bunch of videos on youtube to help.. i used the mopar rattle cans and turned out perfect...
Thanks
Sponsored