TaiMc
Well-Known Member
- First Name
- Tai
- Joined
- Jun 23, 2018
- Threads
- 9
- Messages
- 2,051
- Reaction score
- 3,538
- Location
- Houston, TX
- Website
- www.instagram.com
- Vehicle(s)
- '18 JLU Sport Mojito!, 3.6L & '18 Ninja 400 KRT
- Occupation
- Communications Manager
- Vehicle Showcase
- 2
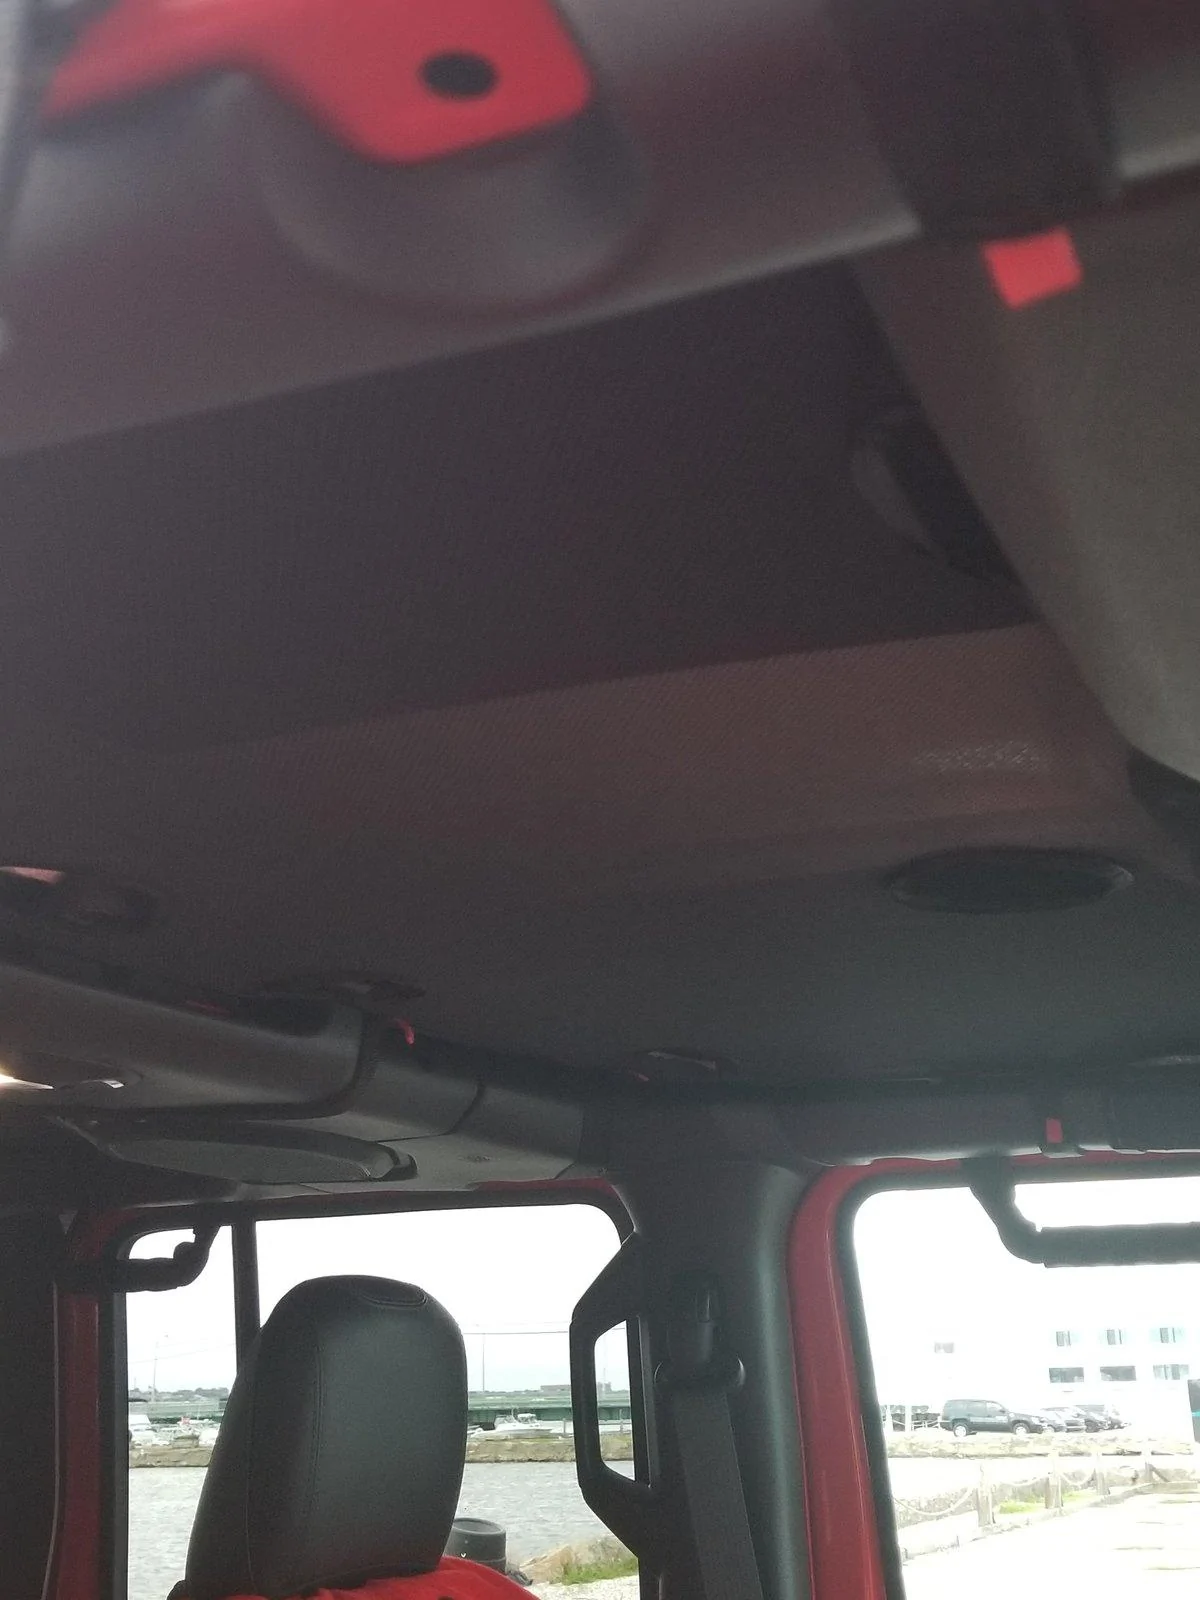
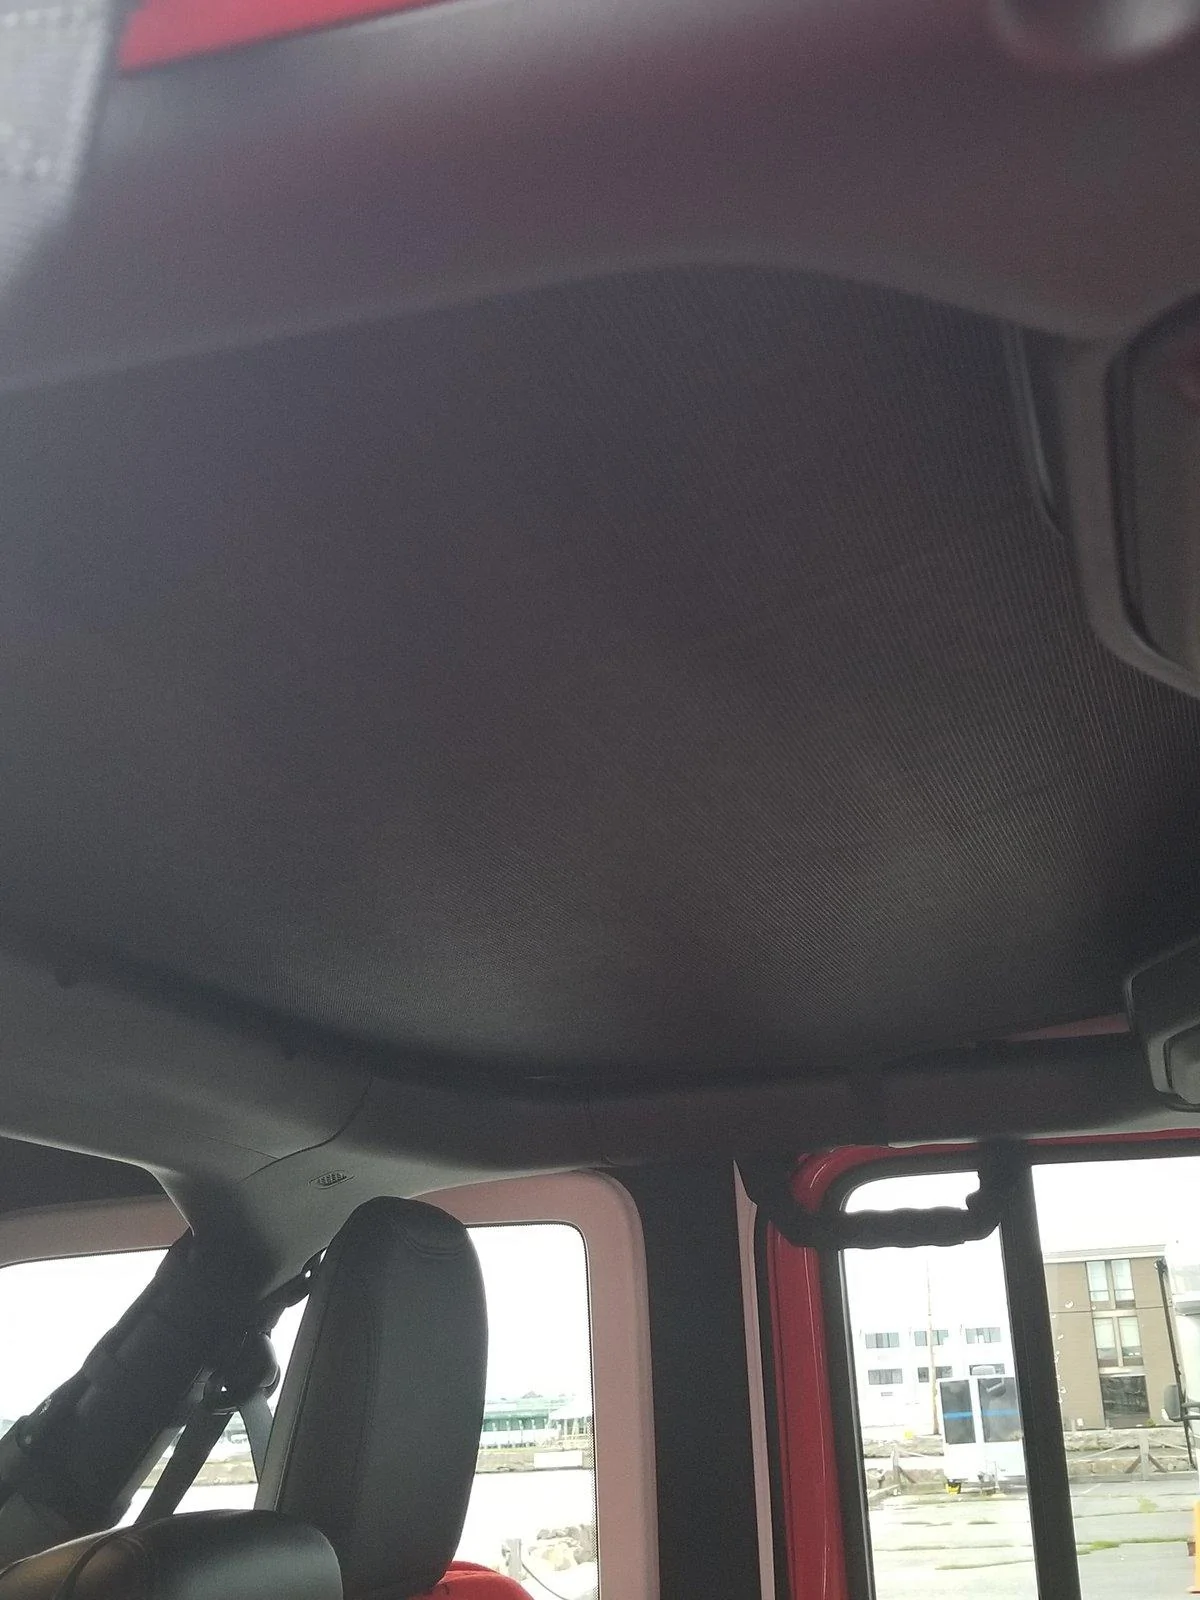
No pics...but used Meguiar's Mirror Bright Vinyl and Rubber treatment to fully wax my hard top. Great protection!
Sponsored