SoggyCashew
Member
- Thread starter
- #1
Hello, first off thanks @Portmod7 for the help and idea to do this instead of going through the lenghly AND expensive process of have a shop do the work and having them either send out the cluster to clone your milage. Origional thread HERE
EBAY - JD1 LCD LAM070G133A
OR
LCDQuote - JD1 LCD LAM070G133A
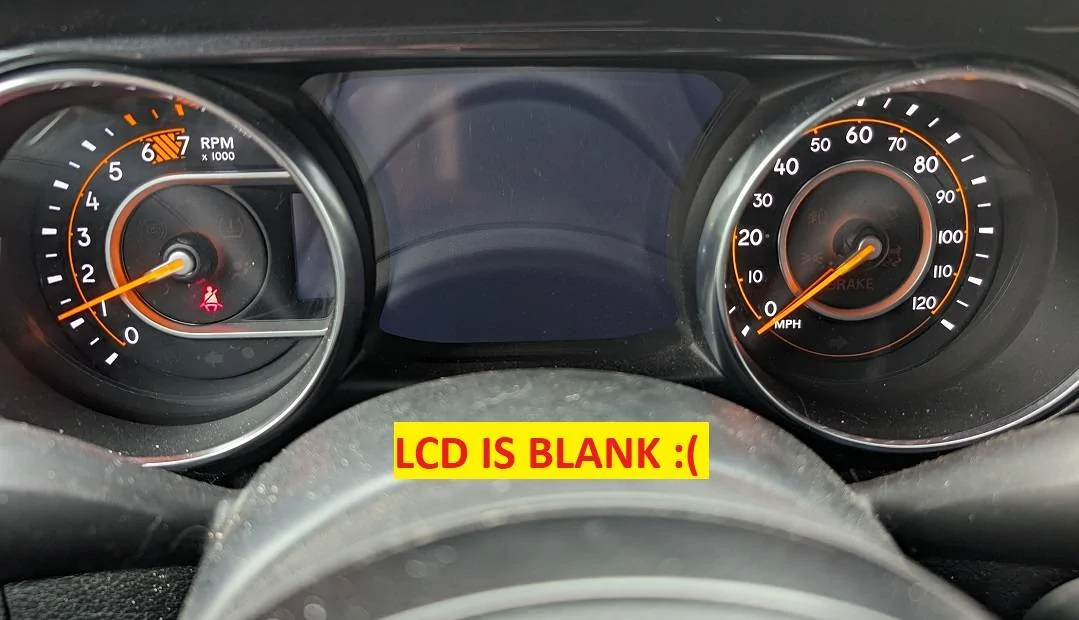
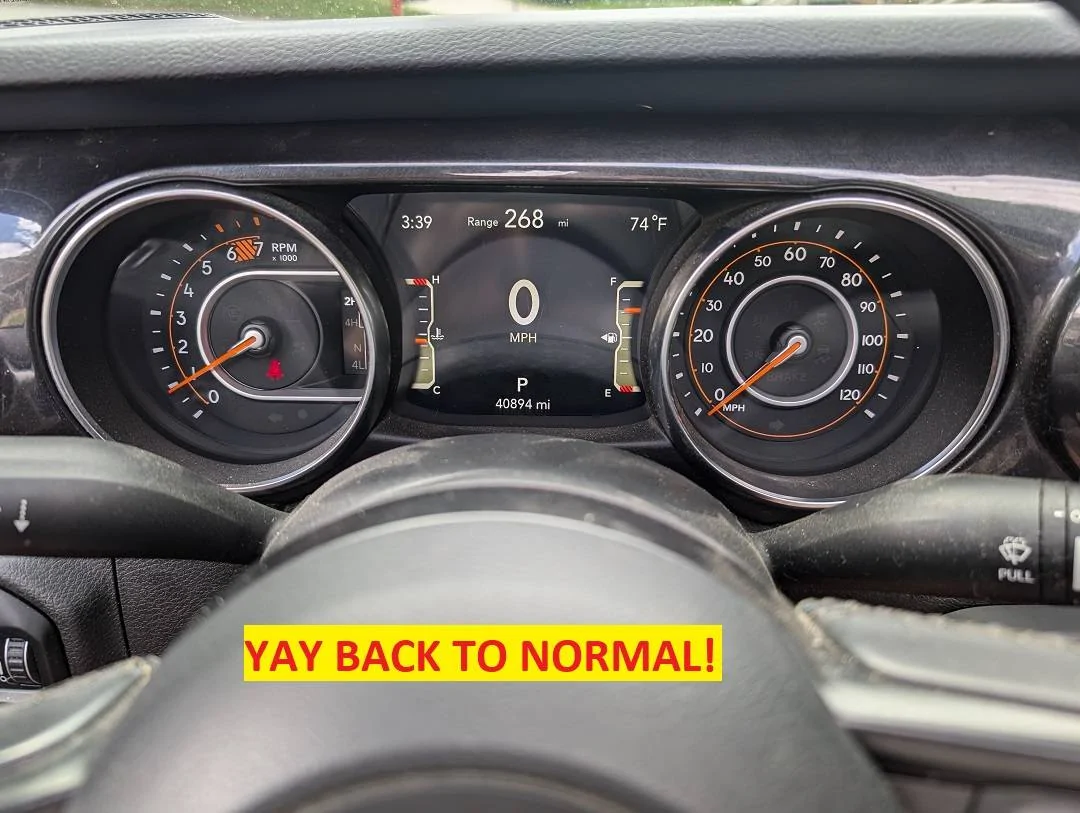
This method is just replacing the clusters LCD with not having to go threw the disaster of sending it in etc. and it took me a total of maybe an hour or so, The milage IS/MUST be kept on the clusters board so after changing your cluster it will be like it was before the LCD went out, your milage and dash settings will again appear.


EBAY - JD1 LCD LAM070G133A
OR
LCDQuote - JD1 LCD LAM070G133A
This method is just replacing the clusters LCD with not having to go threw the disaster of sending it in etc. and it took me a total of maybe an hour or so, The milage IS/MUST be kept on the clusters board so after changing your cluster it will be like it was before the LCD went out, your milage and dash settings will again appear.

- First, follow anyones videos on dash and cluster removal, I used this one How to change your Jeep JL Gauge Cluster.
- Next flip over your cluster and using a T10 remove the two screws marked in red
- Next remove the eight T8 torx screws marked in green.

- Next seperate the two pieces to remove the front clear plastic cover and set aside. There are four clips holding it on as shown in yellow.

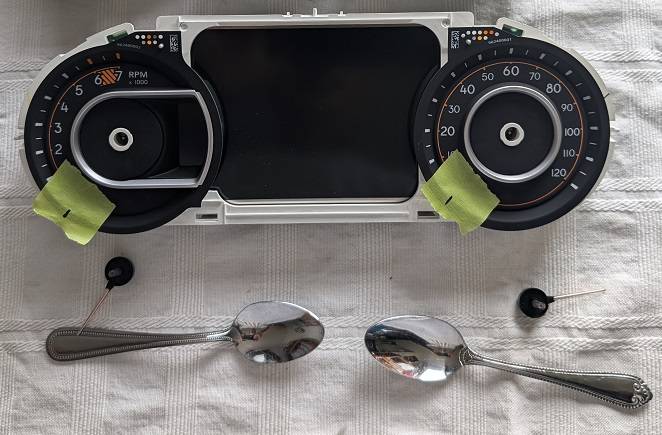
- Next, I used tape and marked the positions of the needles so when I put them back on they will be in same spot.
- Next remove the two needles, I used two spoons (One on each side) and pried upward to pop them off (Make sure you pry them straight up).

- Next, flip over the cluster and remove the five T10 screws that hold the heatsink AND LCD to the board.

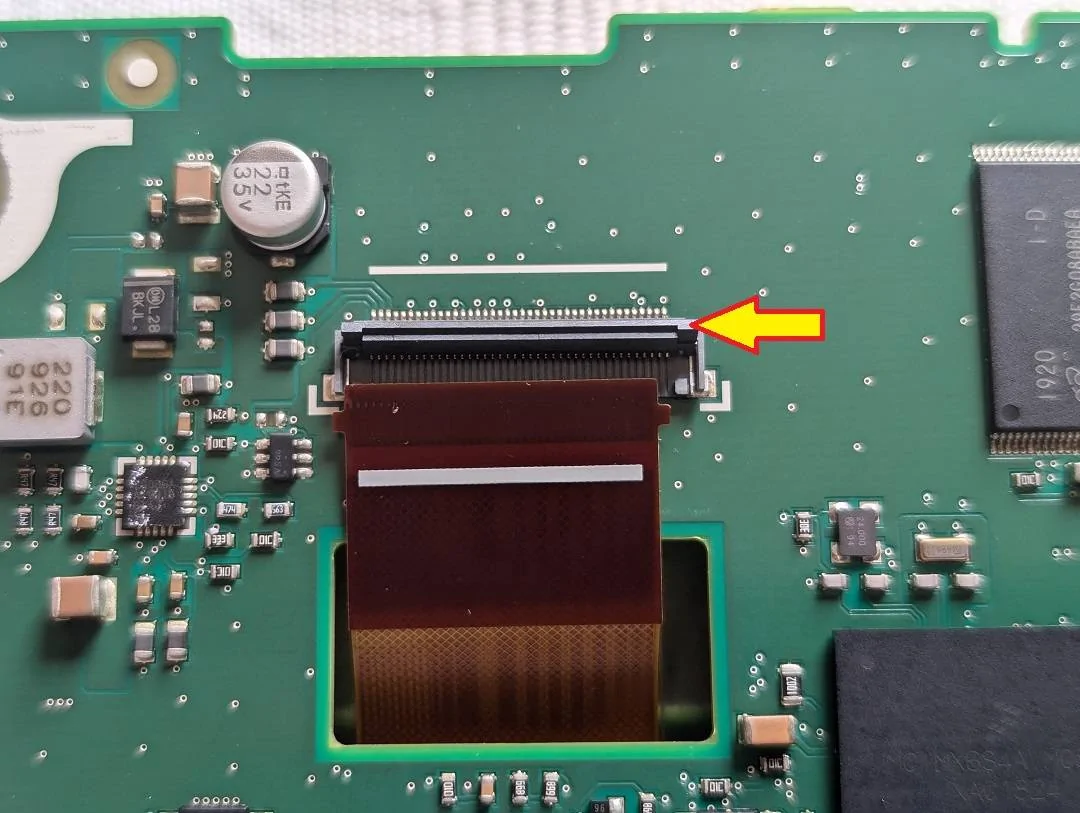
- Next, remove the ribbon that connects your LCD to the board. Just flip up the ribbon locking clip marked with an arrow and remove the ribbon.

- Now all there is to do is remove/replace the LCD.
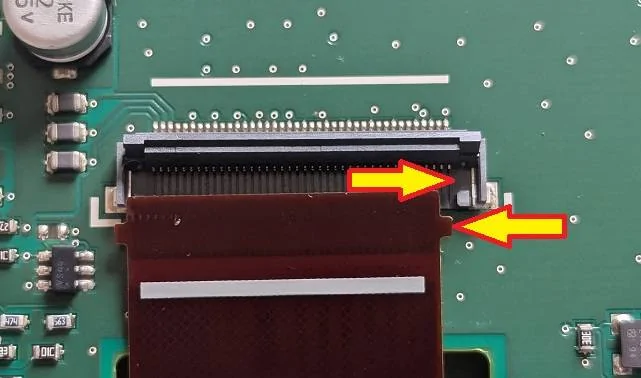
- Reinsert the ribbon making sure the ribbons tabs are in place, then pull down the ribbon lock to keep it in place.

- Lastly follow the directions in reverse.... When it comes to incerting the needles back in just take your time, I had to remove them several times untill I got them lined up with my markings.
- Now put your dash all back together and reconnect your battery.


Sponsored
Last edited:
 especially the spooning!!
