Sponsored

Transfer Case cable adjustment

Sgt Beavis

Well-Known Member
First Name
Rick and Miyako
Joined
Apr 16, 2018
Threads
60
Messages
1,194
Reaction score
1,620
Location
Colorado
Vehicle(s)
Wrangler JL Unlimited Sport S
Occupation
The Man, The Myth, The Legend. In my own mind.
Vehicle Showcase
5
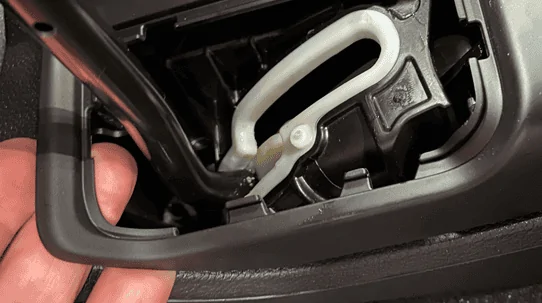
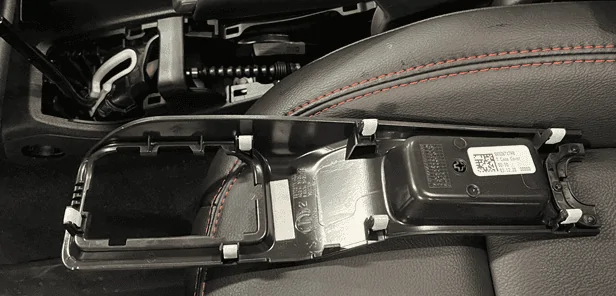
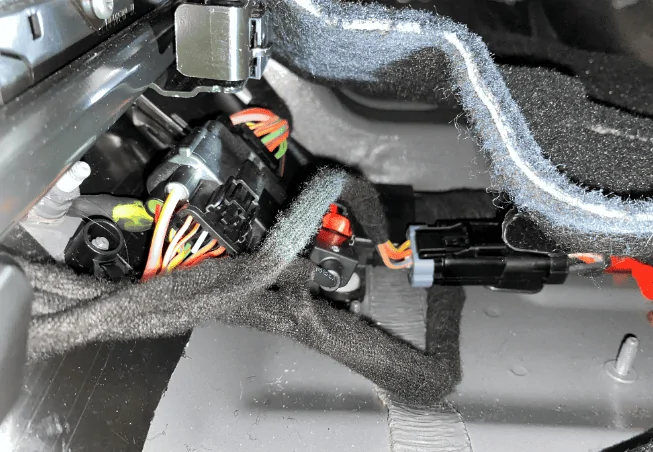
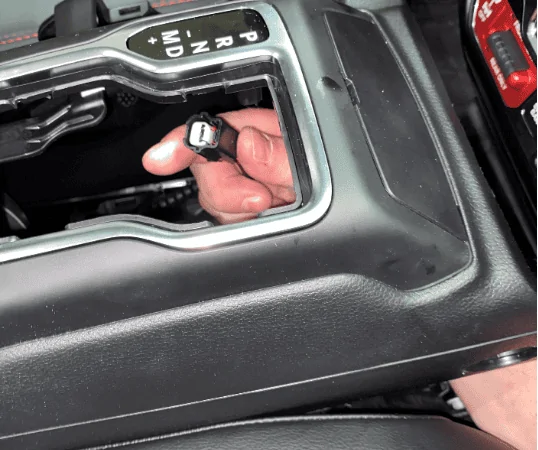
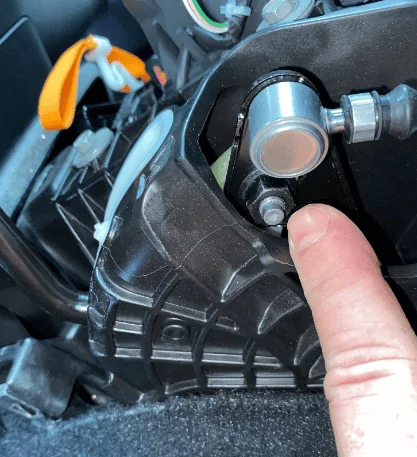
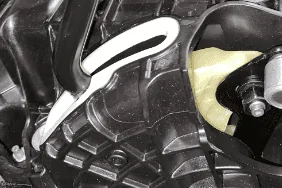
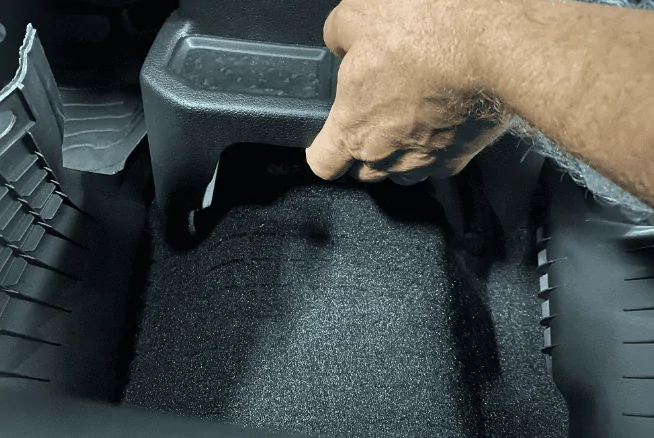
Great instructions. I found that I had 4 extra cables under the seat that had to be disconnected. However when pulling the console I think I found the culprit to my issues.. The cable looks damaged.

Jeep Wrangler JL Transfer Case cable adjustment 51121942271_c7c96fec24_c
Sponsored


Scubanickel

Member
First Name
Steve
Joined
Aug 23, 2019
Threads
0
Messages
6
Reaction score
2
Location
Annapolis, Maryland
Vehicle(s)
2018 Jeep Wrangler JL
I've been having issues with mine as well. I will have to give this another try. Mine doesn't stay in 4hi unless I hold the transfer case knob knob forward
 

Flybaby

Well-Known Member
First Name
Bob
Joined
Aug 21, 2022
Threads
4
Messages
61
Reaction score
50
Location
N. Canton, OH
Vehicle(s)
2020 Wrangler
Really appreciate the tips, I was having the same problem on our 2020 JLUR and it was driving me nuts. Back in the day I almost rolled a humvee on a really steep shale hill. I let off the gas for just a second and then back on it. Took me a sec to realize the engine was revving and we were rolling backwards. Anyways, didn't want a modern repeat on a trip we're planning soon and I don't have time to play "there is no problem" with the dealership. Using the info ya'll shared I did it and thought I'd plug in more pics with a step by step in case there is anyone else that is on the fence about tackling it themselves.

Drivers side, push seat back. I used a dental pick to pull the plug out but something plastic would work better. Insert and pry from the front. As mentioned - 10mm bolt underneath
1595129248776.webp


Pull the boot off the transfer case shifter. I just pulled on the leather and it came out nicely but I was worried I'd rip something. A plastic pry tool would probably work better.
1595129370969.webp


Back out the #20 Torx on the side of the shifter. You don't remove it completely.
1595129607699.webp


The bezel around the transfer case and parking brake handle pops up.
I was able to just pull on it and push up from the bottom where I could fit my fingers in.
1595129691027.webp

1595129711210.webp


Push drivers seat forwards, pry the cover off from the top, remove the 10mm from the back of the console. Move to the passenger seat forwards and from the rear remove the 10mm the same way.
1595130614688.webp


Move the passenger seat back, remove the 10mm bolt the same as before but pry from the 9 o'clock position. It's hard to see in the picture but the cover with its 3 clips on the underside are oriented opposite the one on the drivers side.
1595130790810.webp


Back out the #20 torx and push in the shift release button on the front so the handle will come off.
1595130975259.webp


Push the passenger seat forwards again, return to the rear seat and pull the carpet back to reveal three electrical connectors. The one in the middle is the type that has a sliding red lock, the other two are just squeeze and pull. You can lift the rear of the console up to help push the wires under the seat rail.
1595131191491.webp


Push the front passenger seat to the rear and lift the front of the console a bit so you can reach underneath and unplug the gear selector backlight.
1595131324489.webp


Pull the console out and go to the drivers seat. Just beneath the silver transfer case linkage is the nut that rides in the slot Abrice37 described.
1595131495076.webp


The first time I opened it up the nut was all the way to the right in the slot. I moved it all the way to the left which gave me a positive shift into 4-Lo but it started popping out of 4-Hi... =/

The second time loosened the nut, then pulled the transfer case into 4-Hi by the linkage. Then I stuck the dental pick into the track between the lever and the white track to give it a little slop. The pick is about 1/16th of an inch so tip of a screw driver or a tooth pick would probably work too. Pick not inserted in this picture but I put it in right under the bend in the shift lever.
1595131688017.webp


Reassembly is the reverse of above. Lifting the rear of the console made it a little easier to get the wires back under the rail. Pull the mud mats to the side before pushing it all the way down.
1595132069768.webp
BD in TX, Thanks for the follow up pics. After returning from The 2024 Bantam Festival in Butler P.A., I was looking for information to find out if any other Jeepers out there had similar problems. During the Festival trail rides, I found myself getting quite annoyed that that my 2020 JLU was not staying locked in 4 low. My son found your text and after reading it and looking at the pics we went to work. Within less than an hour, we had the jeep adjusted and tested on his lawn. Then we took it to a larger field with more hills and area to get up more speed. It went thru all phases, 2H, 4H, N, and 4L with no problems. All switches activated accordingly and the jeep never popped out of any gear. Thanks again for the detailed update. Also Thanks to jmduhh. We also did not have to remove the console. Best location for our jeep was positioning the nut in the slot just left of center of the slot looking from the driver side. We also paint dotted it to see if it moves over time. Also, to access the nut (13mm), the shift lever needs to be in 4H.
Sponsored


Top