Jzapatajr
Member
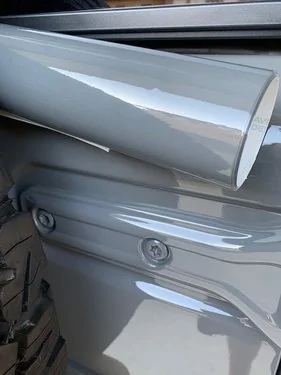
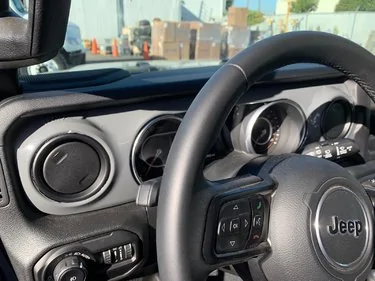
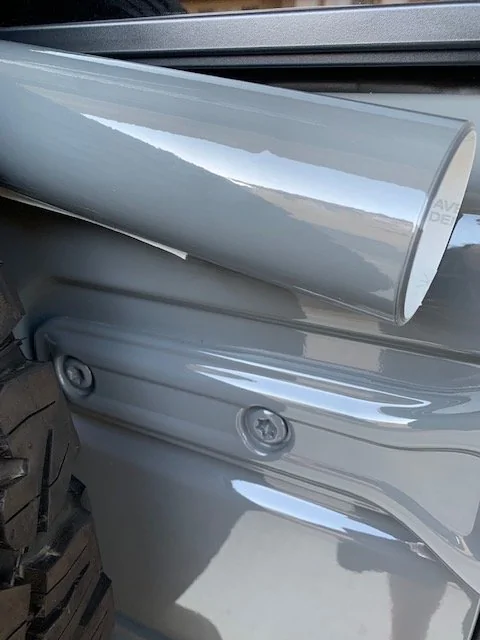
Hey, so I was just curious... Did you try using a heat gun at all when applying the wrap? I plan on trying this this weekend...I have removed the dash panels so that they can be wrapped. I used what I believe what was just called "Gloss Gray" by Avery. Its very close to Sting Gray in color as shown in the first pic. I used pics/instructions from what @Code IV has on this forum. Mine was a little different however so Im wondering if his Jeep was built earlier and changes were made? Anyway with his thread and this one maybe it can help anyone in the future should they want to wrap or paint the panels.
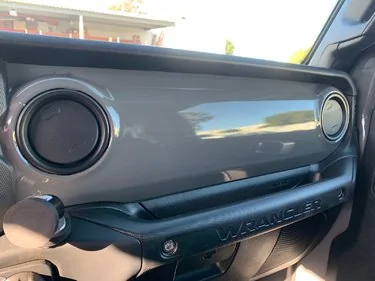
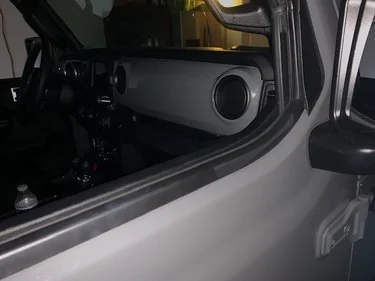
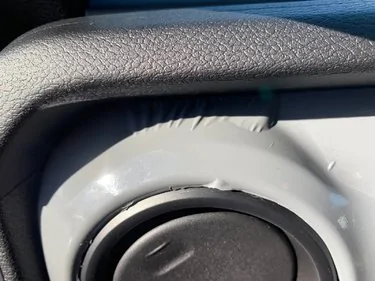
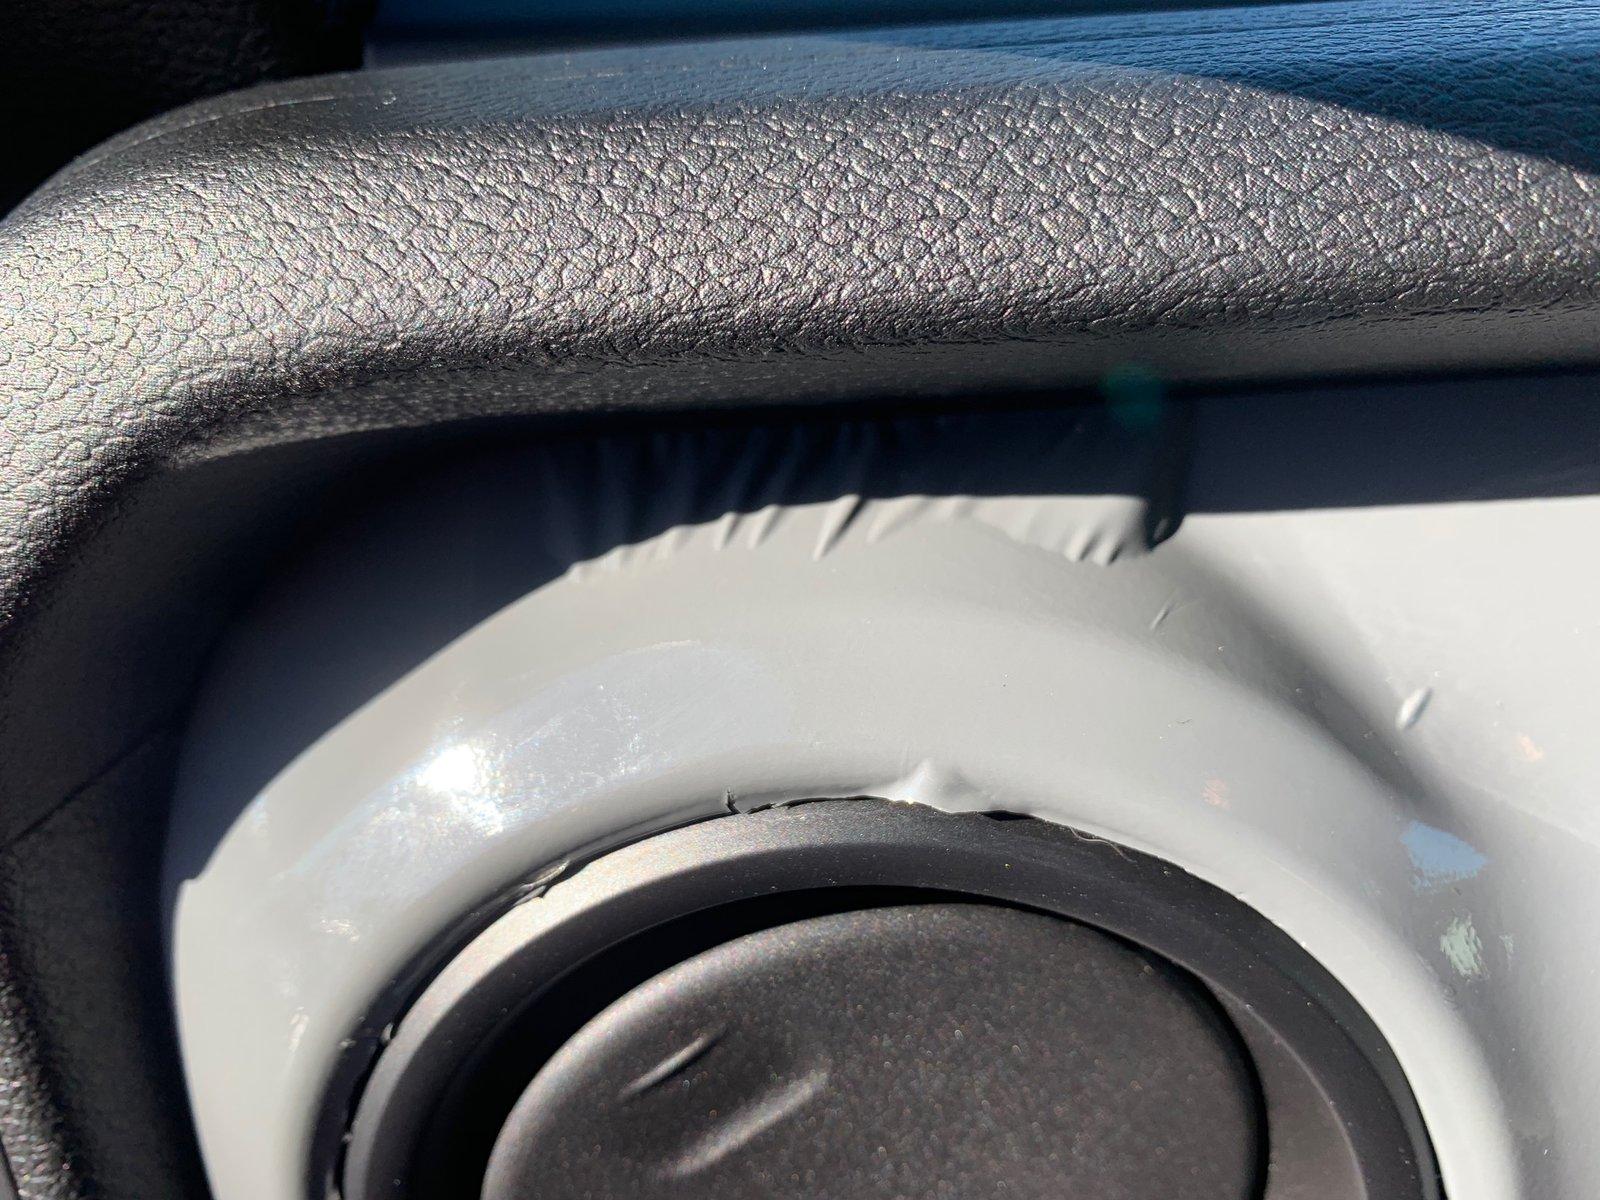
All that being said, I am going to take the wrap off. It did not come out as clean as I had hoped and as @Goin2drt said in a thread before, the wrap can be hard to get around the angles/round sections of the panels. My problem was the vents. As the holes for the vents form as you know they kind of bubble out of the panels if you will. (They aren't flat with the panels). This caused an issue for me and I don't like the results. I'm sure there is better technique and all that but this being my first real wrap job, It came out like crap. This should be done by an experienced wrapper or painted. And honestly, it gave the dash too much pop imo. Though the Rubicon red on the dashes look good, maybe because its offset by all the little red accents in the cab with those models.
I apologize in advance that all these pic will be at the end of the thread as well probably. I cant figure out how to just have them show up after each instruction.
Anyway, here's the DIY..
Wrap alongside the Jeep.Looks to match quite well..

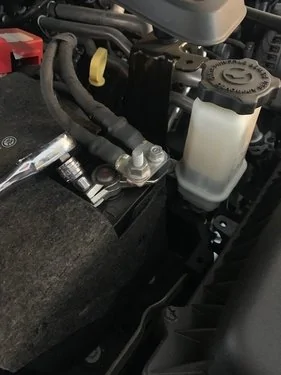
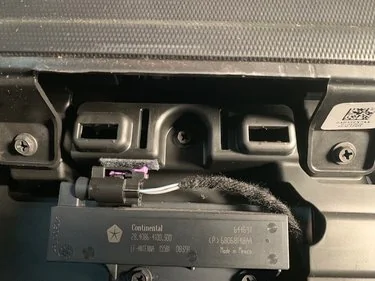
2. Remove negative battery cables with a 10mm.
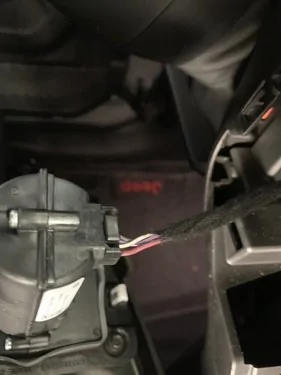
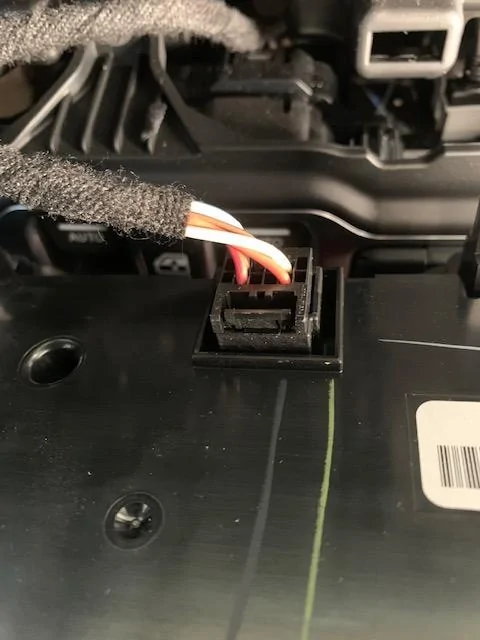
3.Remove the center panel with A/C controls, start button etc.. Unplug the wiring harnesses for A/C and start button. These are easy, no harness locking mechanism or anything.

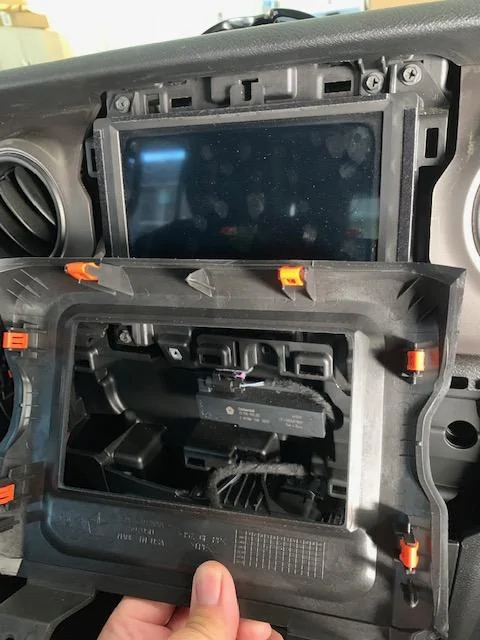
3. Remove the 2 phillips screws that hold the radio bezel in place.
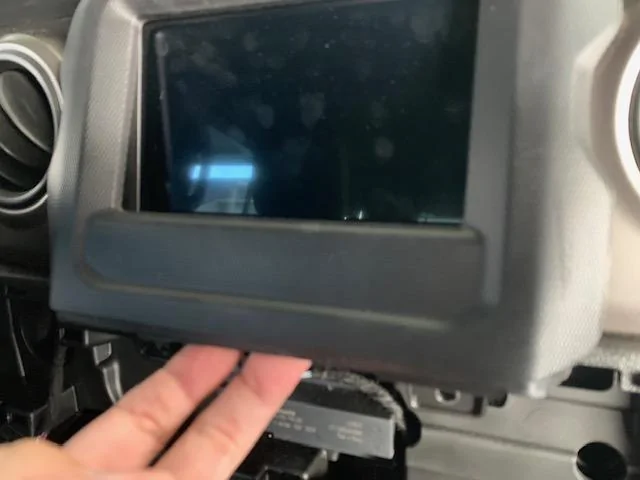
4. Start at the bottom and unclip bezel until its off.
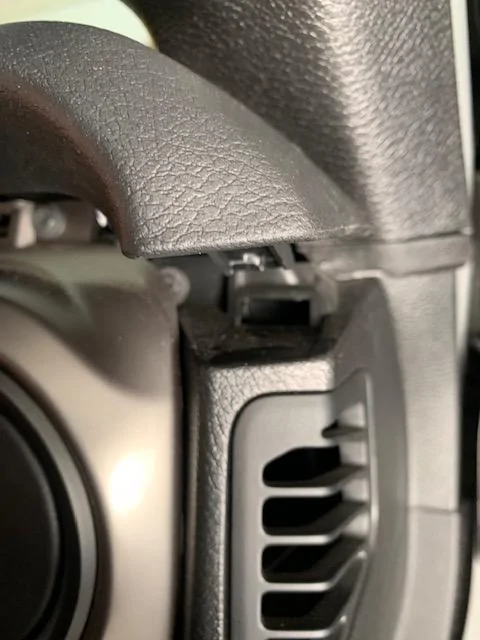
5. Unscrew Phillips screw for the top dash piece (screw on the left in pic)
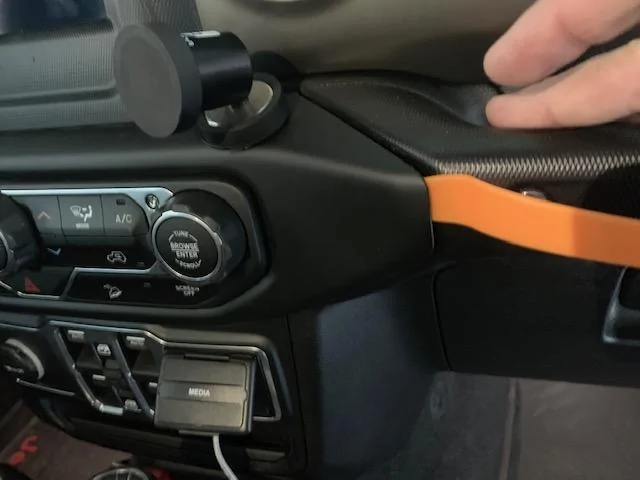
6. Begin popping out top dashboard piece. You will want to pull toward you, not up. This will undo the clips and possibly leave some in the clip holes. Mine did that and even after reattaching them when I put the dash back on, I could still hear clips falling off and falling back behind the dash/console. Hopefully you wont have this problem.
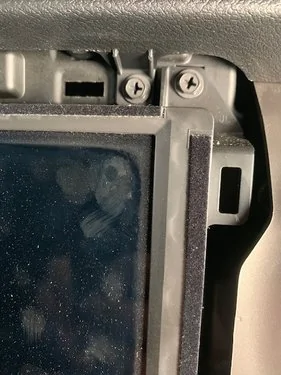
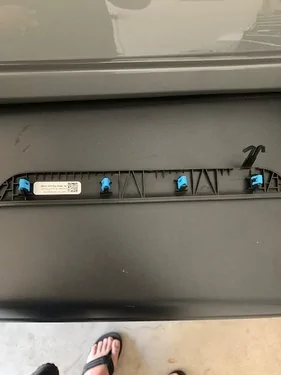
7. Guess I didn't get a pic of this, but just unscrew the Phillips screws that hold the panels on. I believe there are 4 on the drivers side and 4 on the passenger side. These all run along the top of the panels.
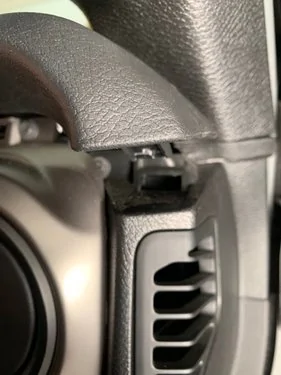
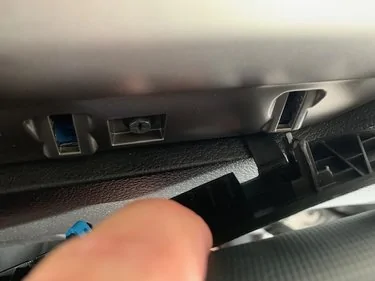
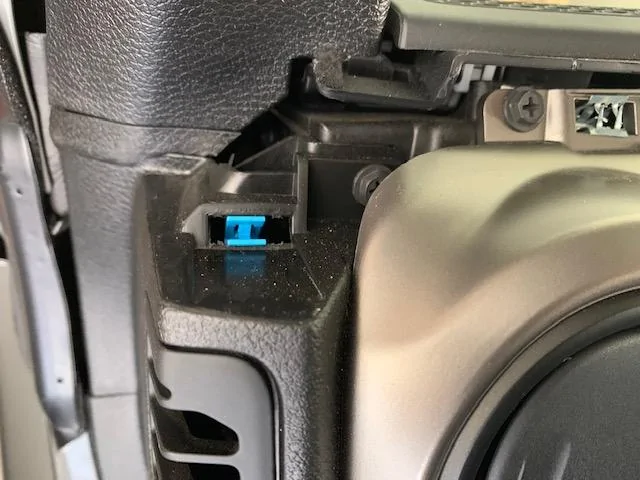
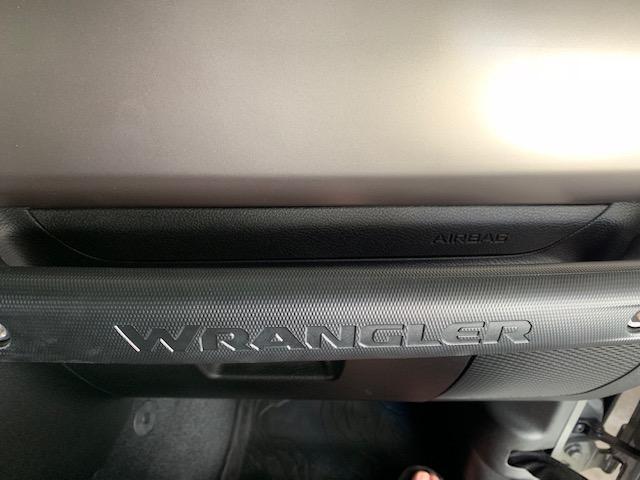
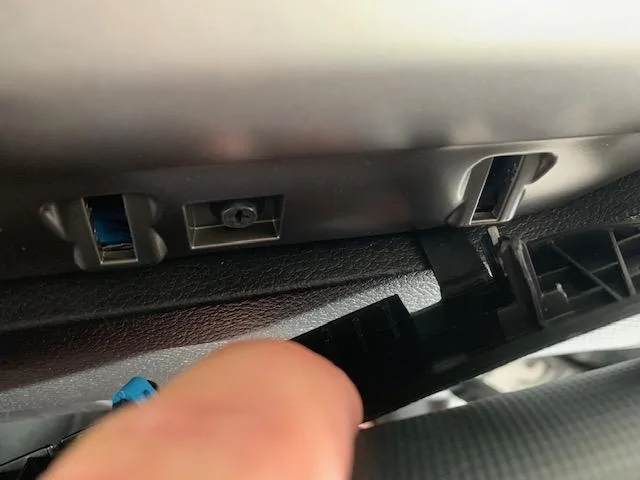
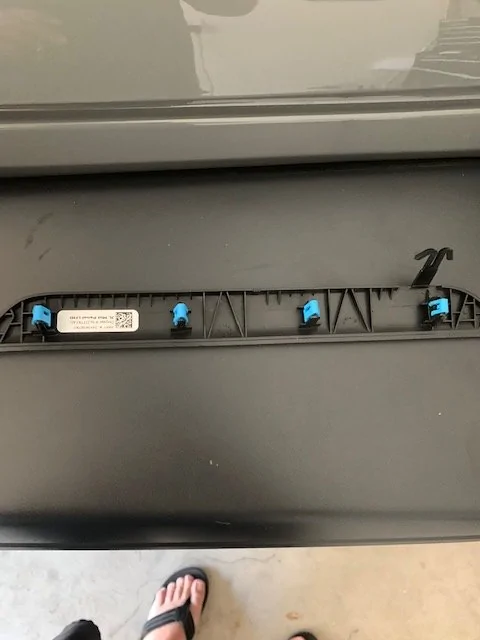
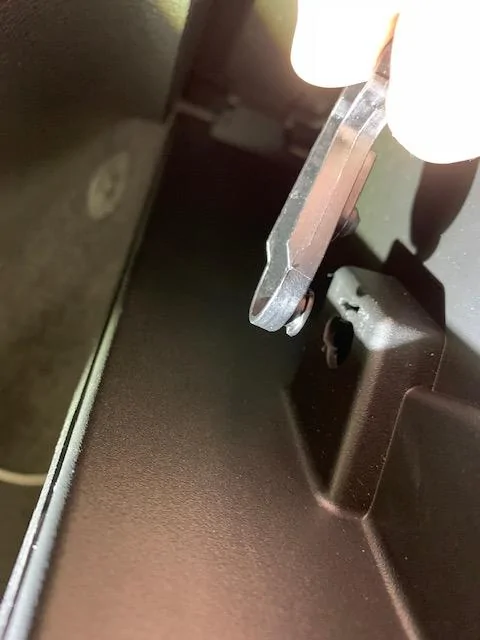
8. Take off the airbag bezel thats behind the grab bar. Code IV had a zip tie and 3 clips I believe, I have 4 clips and no zip tie, but did have a plastic pice that goes into a tab on the lower right of the bezel. I'm assuming just hold the bezel there if the air bag goes off? For the screws, I luckily had a little 90° screw driver. Once cracked loose, I used a 7mm socket, by itself not with ratchet, to back off the screws until it hit the grab bar. They will be plenty hand loose by now so just take them out by hand at this point.
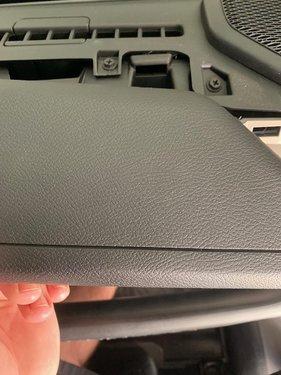
9. Remove glov box. On the left side of the box is where the arm is that hold the glove box The arm just slides a little bit in the "key hole" to a larger hole to come off the glove box. The glove box "stopper" can just be pulled forward to clear the tab on the glove box itself. Then just remove the glove box from the 2 tabs at the bottom.
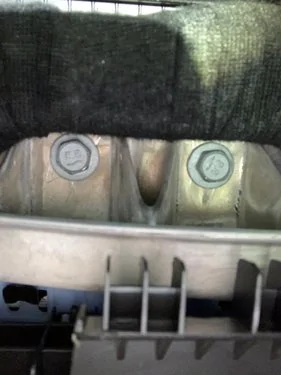
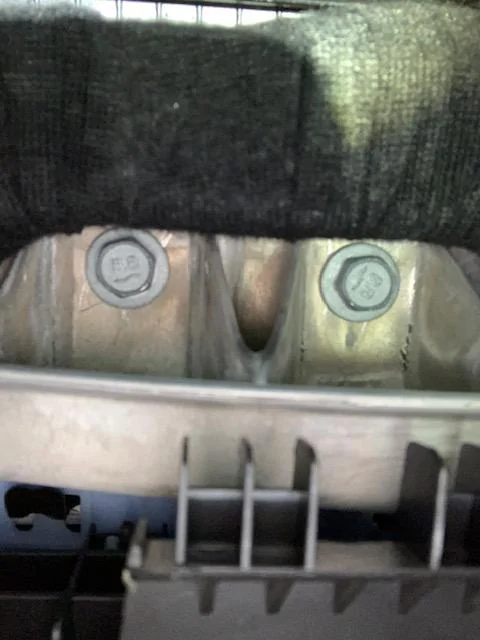
10. Remove the 2 bolts at the underside of the dash at the air bag. You might need to contort your way underneath to see the bolts. These bolts are 13mm. I used a ratchet and extension.
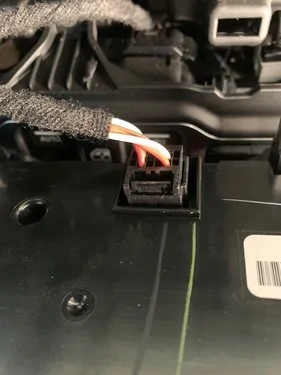
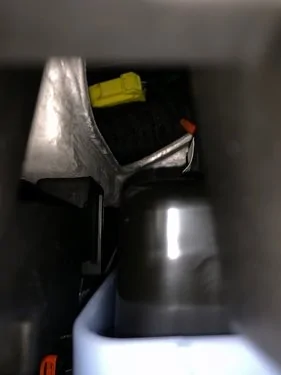
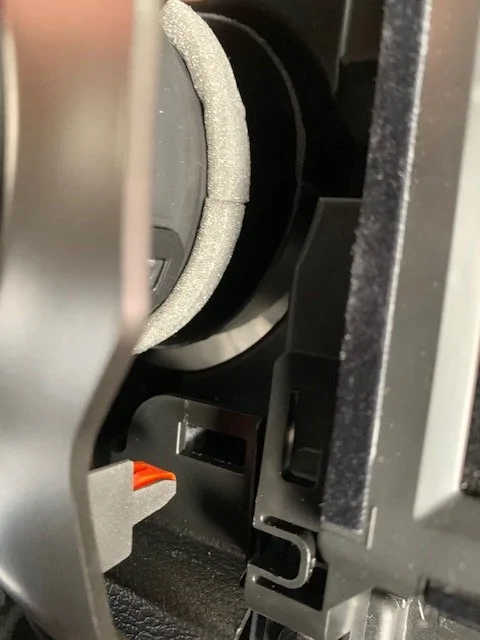
11. Looking straight down from the top, there is a yellow harness for the airbag. Try and hold one end and unclip the other end. Just a "push down tab and pull out" harness. The left female part of the harness sits on a plastic piece. Mine does anyway.
11. You can now begin popping the panels off.
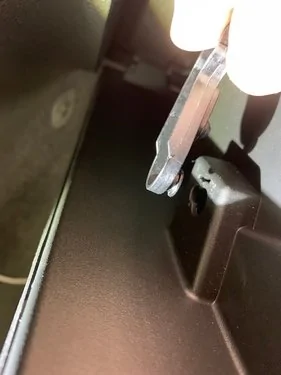
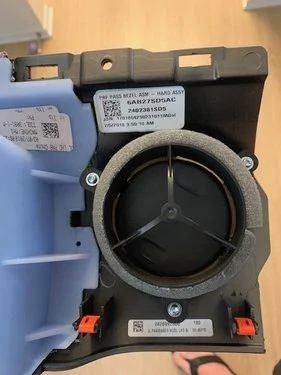
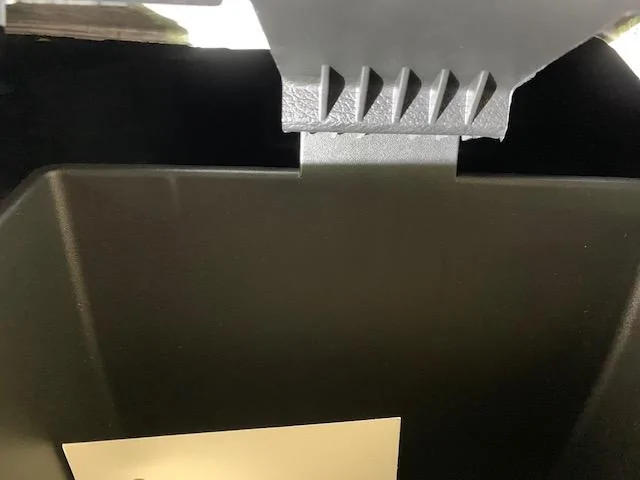
12. To remove the vents, use a T-10 to remove the 3 screws per vent. This is typical for both panels.
I did not take the air bag assembly off nor the plastics off the driver side. I just attempted to wrap around the plastics on the driver side. After about 5-6 hours the wrap was complete and I was not happy with the results But here are some pics.


Sponsored