Thrillhouse28
New Member
- Thread starter
- #1
Howdy JL community! I was pretty active on JK boards back when I was in the modding phase of my 2014 JK. I’ve been lurking here for a few months and bought my 2019 JL about a month ago. I’m going to write the review/install guide I wish I would have read before battling with this install.
I’m not sure why, but I don’t remember coming across DV8 when modding my JK, so I didn’t know much about the company. Of course, after falling in love with the look and function of the DV8 FS-25 and ordering my bumper, I came across this thread of DV8 horror stories.
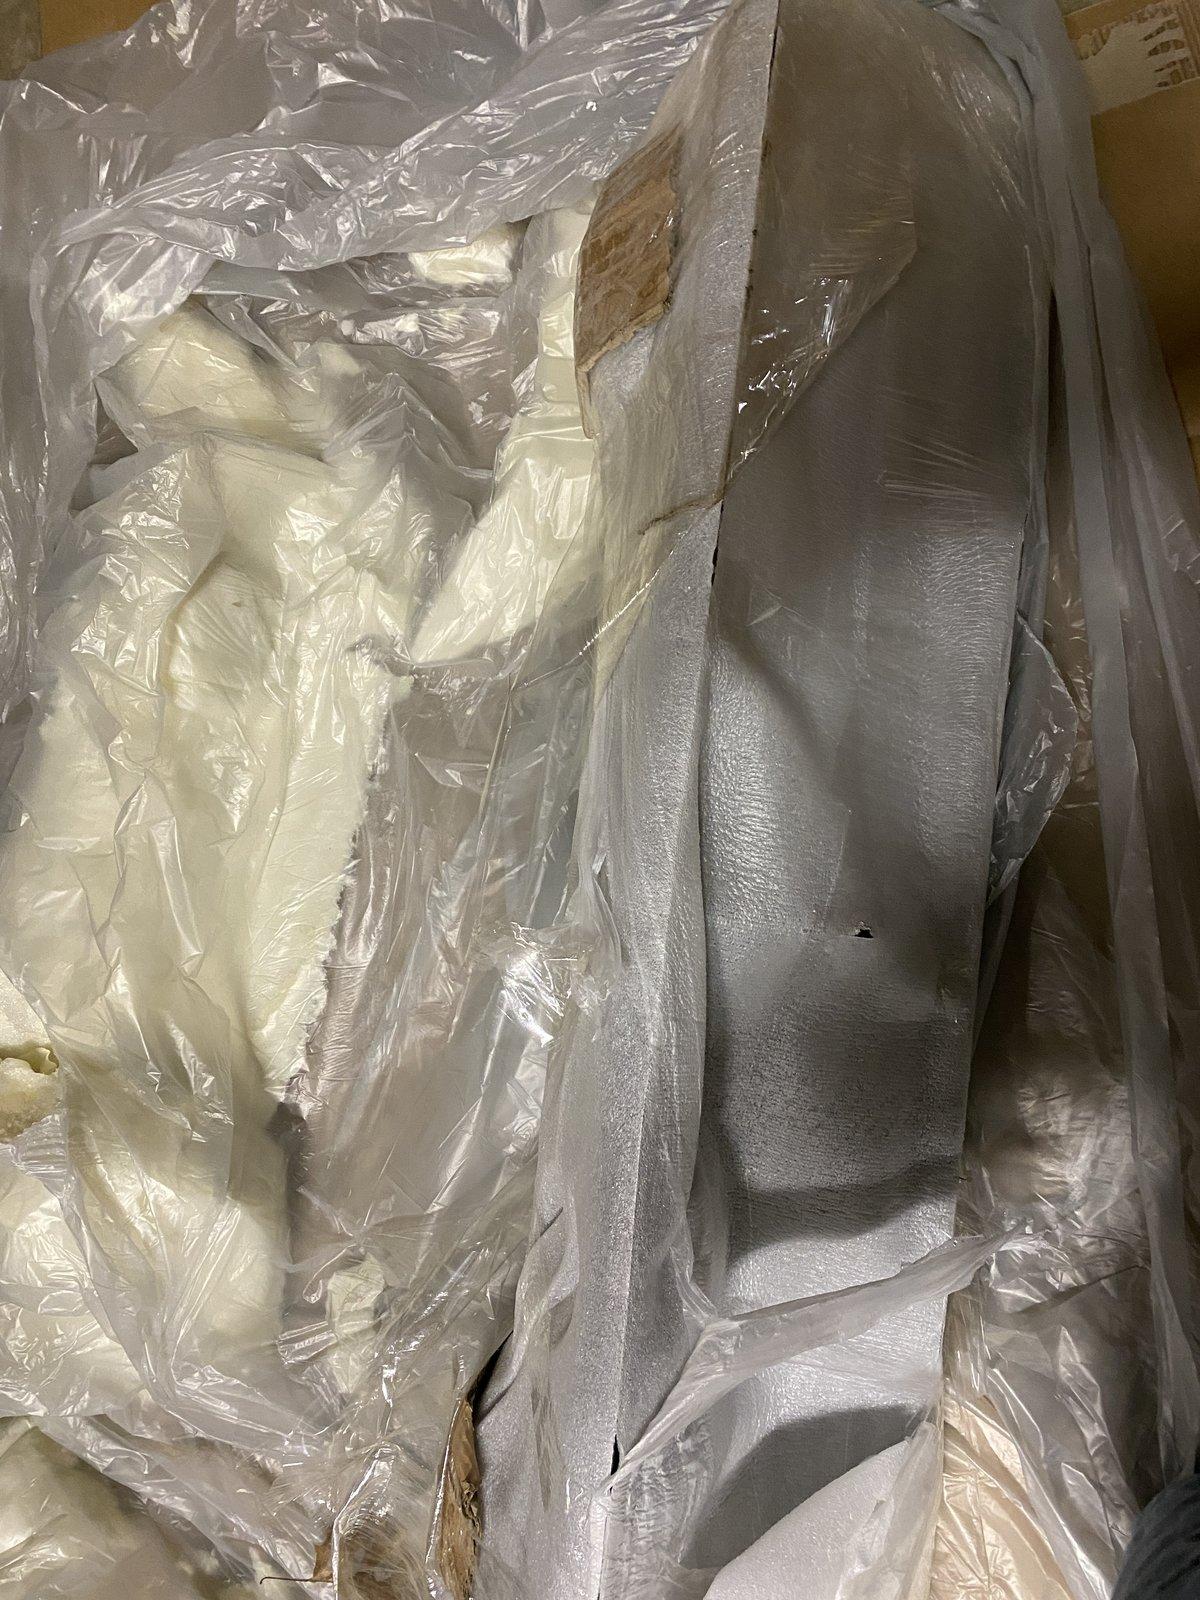
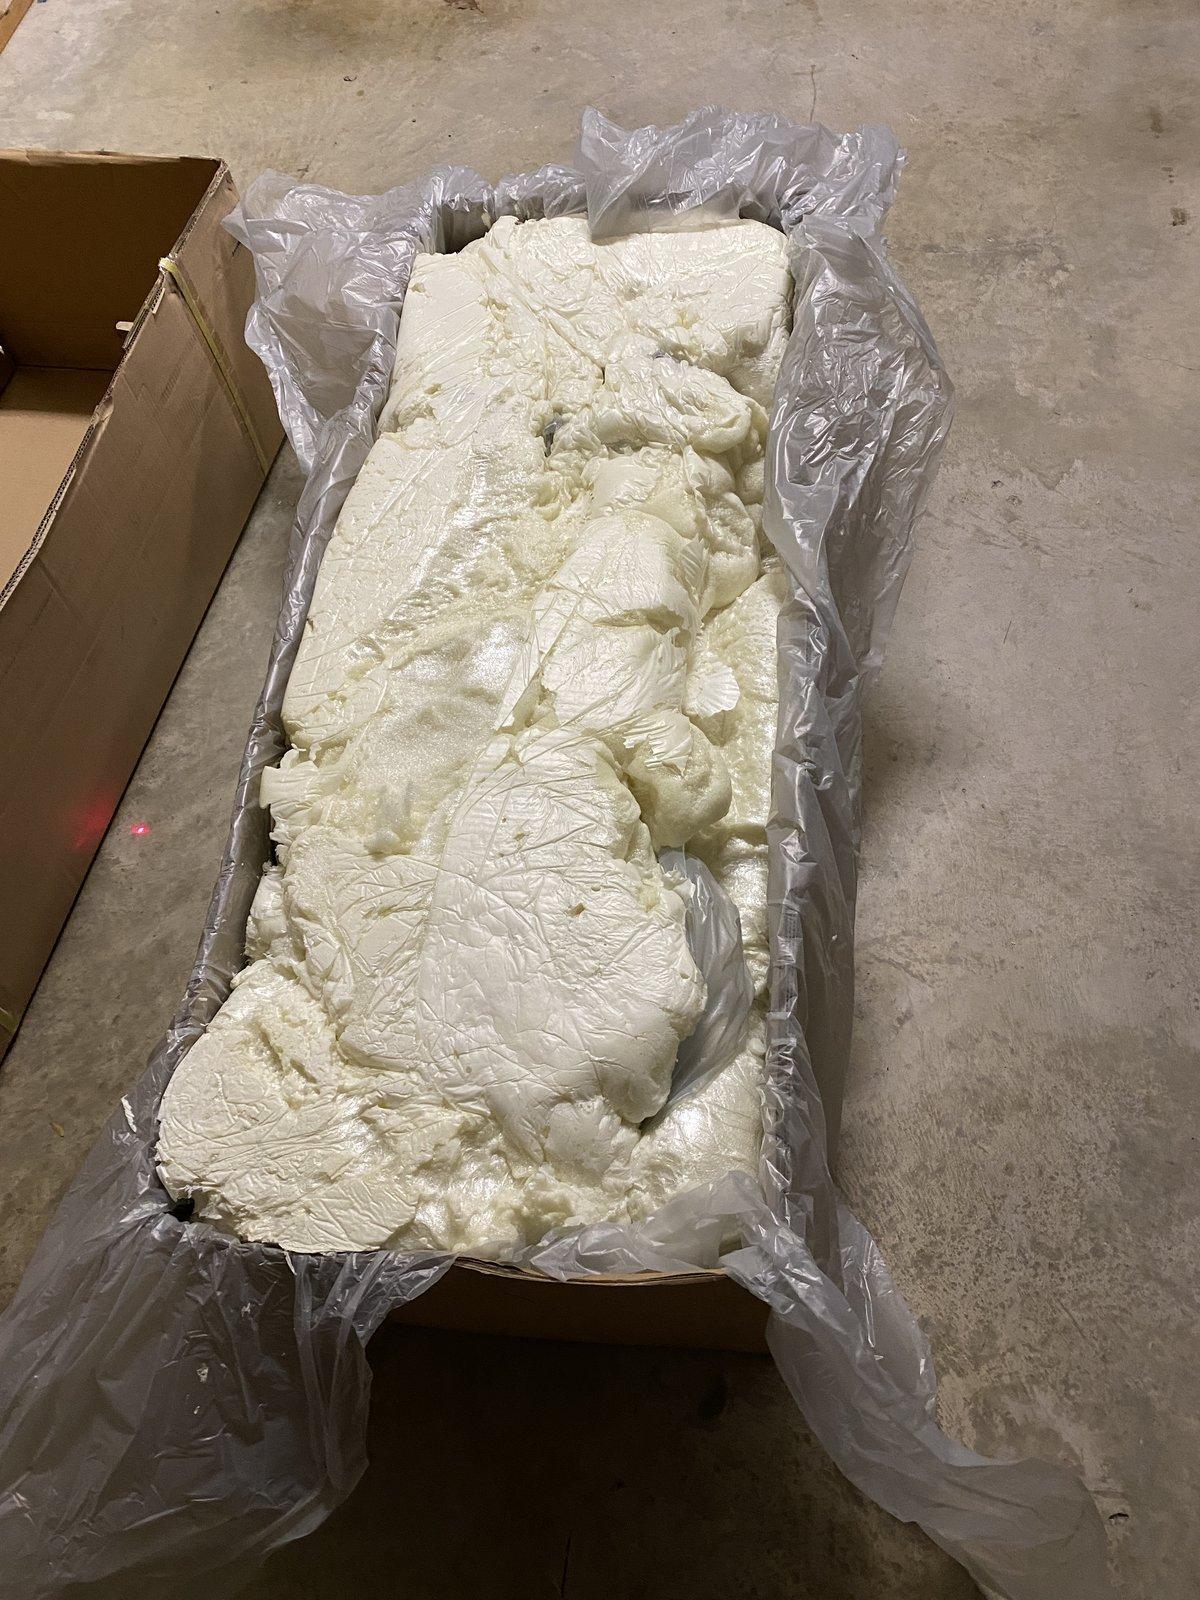
When I opened the box, I literally laughed out loud thinking “DV8 heard the complaints and over corrected.” The box was pristine, filled to the brim with (almost too much) foam sprayed to fill every bit of space in the box. Then, the parts were also wrapped in quality foam wrap. The parts’ finish looked flawless.

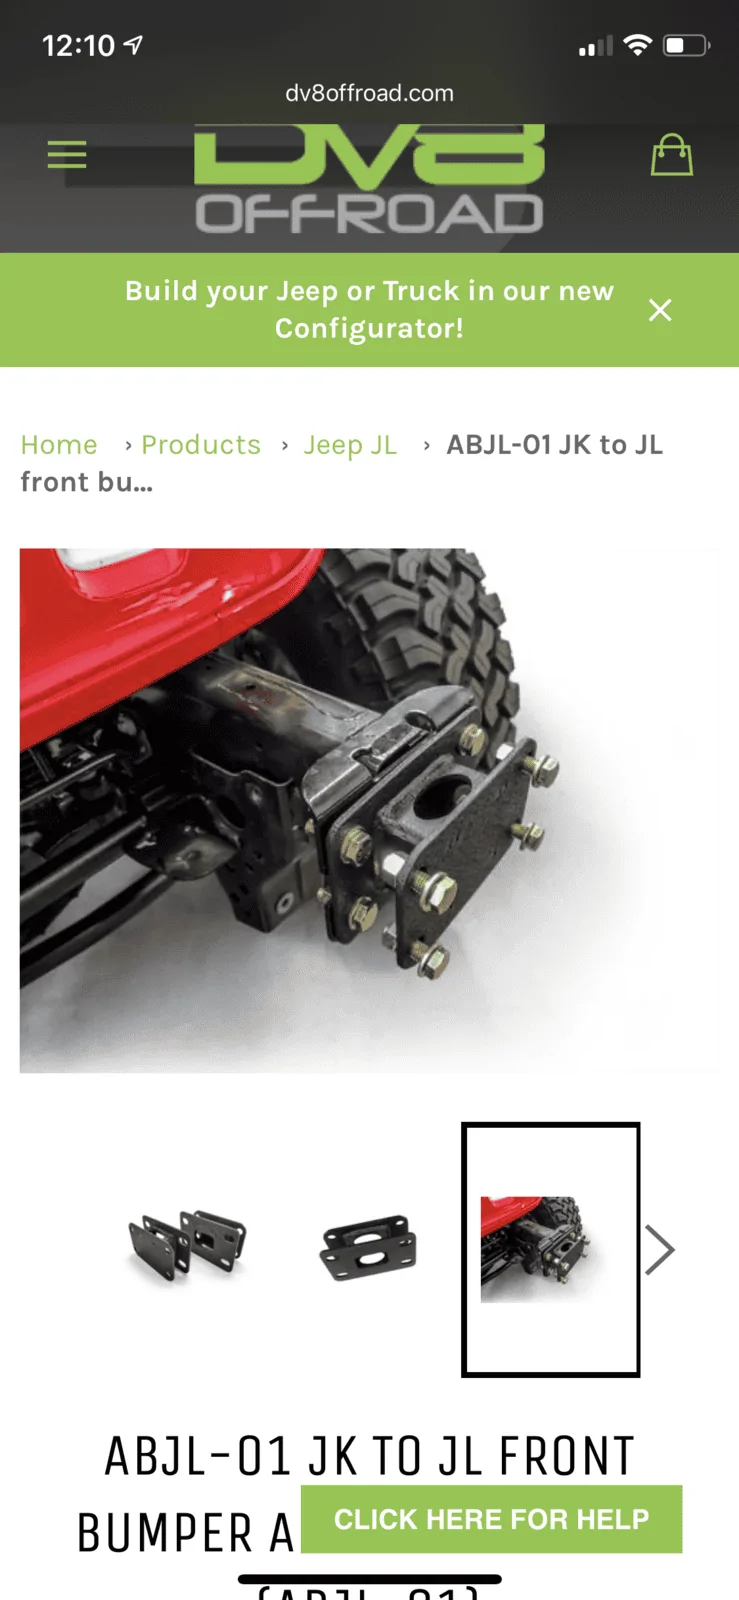
In addition to the FS-25, I also got the ABJL-01 JK TO JL FRONT BUMPER ADAPTER BRACKET and DV8’s 20inch Slim lightbar that fits in the bumper. Both were also nicely packaged and had flawless finishes.
Nothing came with instructions and the online manuals missed many crucial unique factors of this bumper. I read as much as I could and watched this video a few times before and during the install
The light bar into the bull bar:
The light bar has screws and washers that go into the end ends of the light. Then, the bull bar has a zigzag slot inside the bull bar that allows the light bar to slide into place. I was a little skeptical of how this would hold, but ultimately it is great. The problem is tightening the screws once you slide the light bar into place. My allen wrench set was too long to fit in and put the final torques on the light bar. By chance, my wife has a cheapo “indoor” tool kit that has a smaller set of allen wrenches that work. It was a bit tedious, but fine. The problem I have is that the bumper has no system to account for the cord of the light bar. The bull bar is hollow, so you can run it in there, but there is no way of getting it back to the Jeep. DV8 could easily add a hole where the bumper meets with the bull bar aside from the mounting holes. I will probably end up drilling that hole, but it sucks on something clearly designed for the light to not have a plan for it. Also, FYI, the light bar comes with about 18 inches of wire connected to it and that’s it.
The bull bar to the bumper:
This was the first sign that maybe the negative reviews of DV8 were valid. The bull bar has 6 bolts built into it, three on each side. They go into the main bumper and are secured with nuts on the inside of the bumper. Despite jimmying and really torquing the nuts, the bull bar does not sit flush on the bumper. I’m not sure if it’s because of the alignment of the holes on the bumper with the bolts of the bull bar or if the bull bar doesn’t end flat. Again, it’s not bad at all, just not perfect.
Fog lights to bumper:
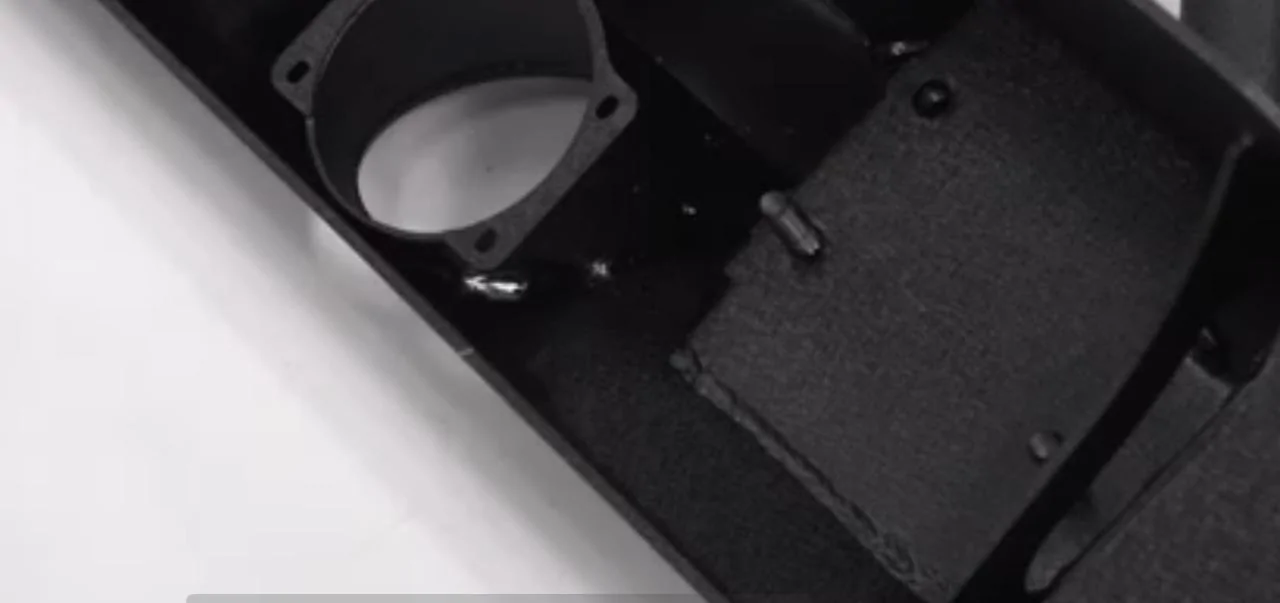
I have the LED lighting group and had a plastic bumper from factory. Based on my research, the type of factory bumper and type of factory fogs could cause issues. My fogs fit fine using the clips and screws provided - no issues. The wiring harnesses were plug and play. The length generous and I had plenty of length to play with and ziptied the excess between the two lights.
Bumper to the frame:
Arg!!! I’m still pissed about how frustrating this was.
The lay of the land:
The adapter brackets came with 8 bolts, nuts, and washers. On the inside of the bumper, there are 6 bolts built in, 3 on each side. Nuts and washers are provided. Inside the bumper, each side there is a threaded hole that a loose bolt fits into. I’m not sure why, but each side has one built in bolt that is a smaller bolt/nut. I also don’t understand why one bolt would be loose while 3 would be built into the bumper. I’m sure a fabricator/engineer has a really good reason.


Take 1: “Maybe I’ll get lucky”
I tried tossing the bumper straight onto the frame with no adapter. Nope, holes wouldn’t align with bolts from bumper.
Take 2: “Adapter to Frame, Bumper to Adapter”
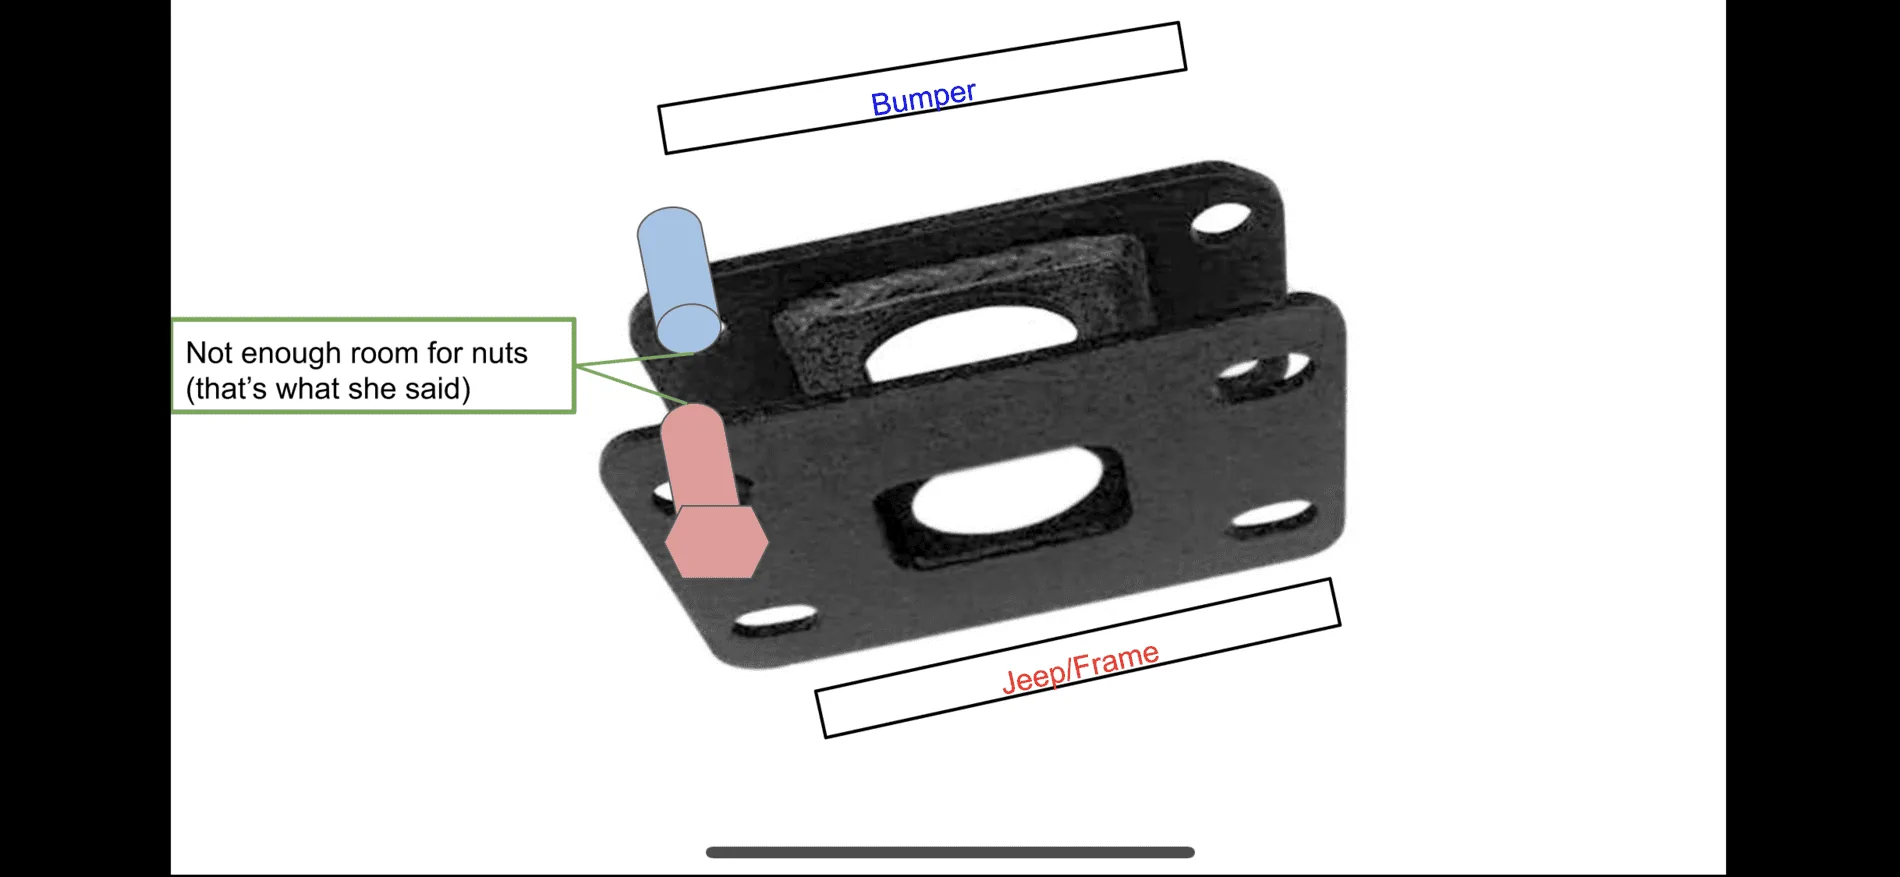
This is what is pictured on photos of the adapter, so mounted each adapter to the frame with 4 bolts. Then, I slide the bumper into the holes on the adapter. The problem here is that there is not enough room to fit the nuts between the bolts to the frame and the bolts from the bumper.

Take 3: “F’ it, let’s drill on this thing”
I used a dremel and a drill to elongate the holes on the frame. I used the holes on the after market brackets as my guide, since I new the bolts could fit into the brackets. It took a couple hours , but I was able to get all 4 holes in the frame to match the holes in the adapters. The new problem was that the holes in the frame were too low because the bolt/nuts that hold the bull bar to the bumper prevented the bumper from sliding on where it needed to be.
Take 4: “1/6 of a turn at a time”
My last ditch effort was to install the adapters to the bumper, then mount the bumper/adapters to the frame. Ultimately, this worked...mostly. Once you get the adapter in place, inside the bumper, there is zero room to maneuver.
Remember, each side has three different connections- 1 is a loose bolt that goes into the bumper in a pre-threaded hole. This one is the best case. After you get that bolt 2/3 in by twisting by hand and using a crescent wrench to turn 1/6 of a turn at a time past tough parts, you have a small win. You can actually fit a socket into the adapter and over the bolt. Then, you have to add your socket extension that can go all the way through the adapter. 1/4 there!
The bottom two attachment points on each side are large diameter bolts that come off the bumper and threads though the adapter. My socket can’t fit under the bracket and over the bolt. I could get my crescent wrench in there, but only enough to turn it 1/6 of a turn at a time. It was a total PITA to do this 4 times, but it worked.
On the top outside corner of both sides of the bumper is a smaller diameter bolt that comes off the bumper and threads though the adapter. You have no chance at getting to this. Your socket can’t fit under the bracket and over the bolt. Your crescent has no angle. I’m not sure what the plan was supposed to be here. Maybe some sockets are skinny enough to fit here and that’s why it’s a smaller diameter. Mine didn’t fit. That logic doesn’t make sense because the designers didn’t have this dumb aapter in mind. Anyways, 6 bolts is enough...right?! What could go wrong with 12,000 lbs of winching on 6 bolts instead of 8?...
With a lovely helper, I was able to get bolts through the frame, but getting the nuts between the bolts from the bumper and enough length to take weight of me holding the bumper was too precarious.
Take 4.5 “1/6 of a turn at a time halfway out and back in again”
I took the bumper back to the ground and backed the hardware out half way so that the adapter could move about 3/4 of an inch. Lifting the brackets away from the bumper, I could fit the bolts that would go through the frame into the adapter facing out. With those bolts in place, I retorqued all 6 functioning bolts/nuts holding the adapter into the bumper.
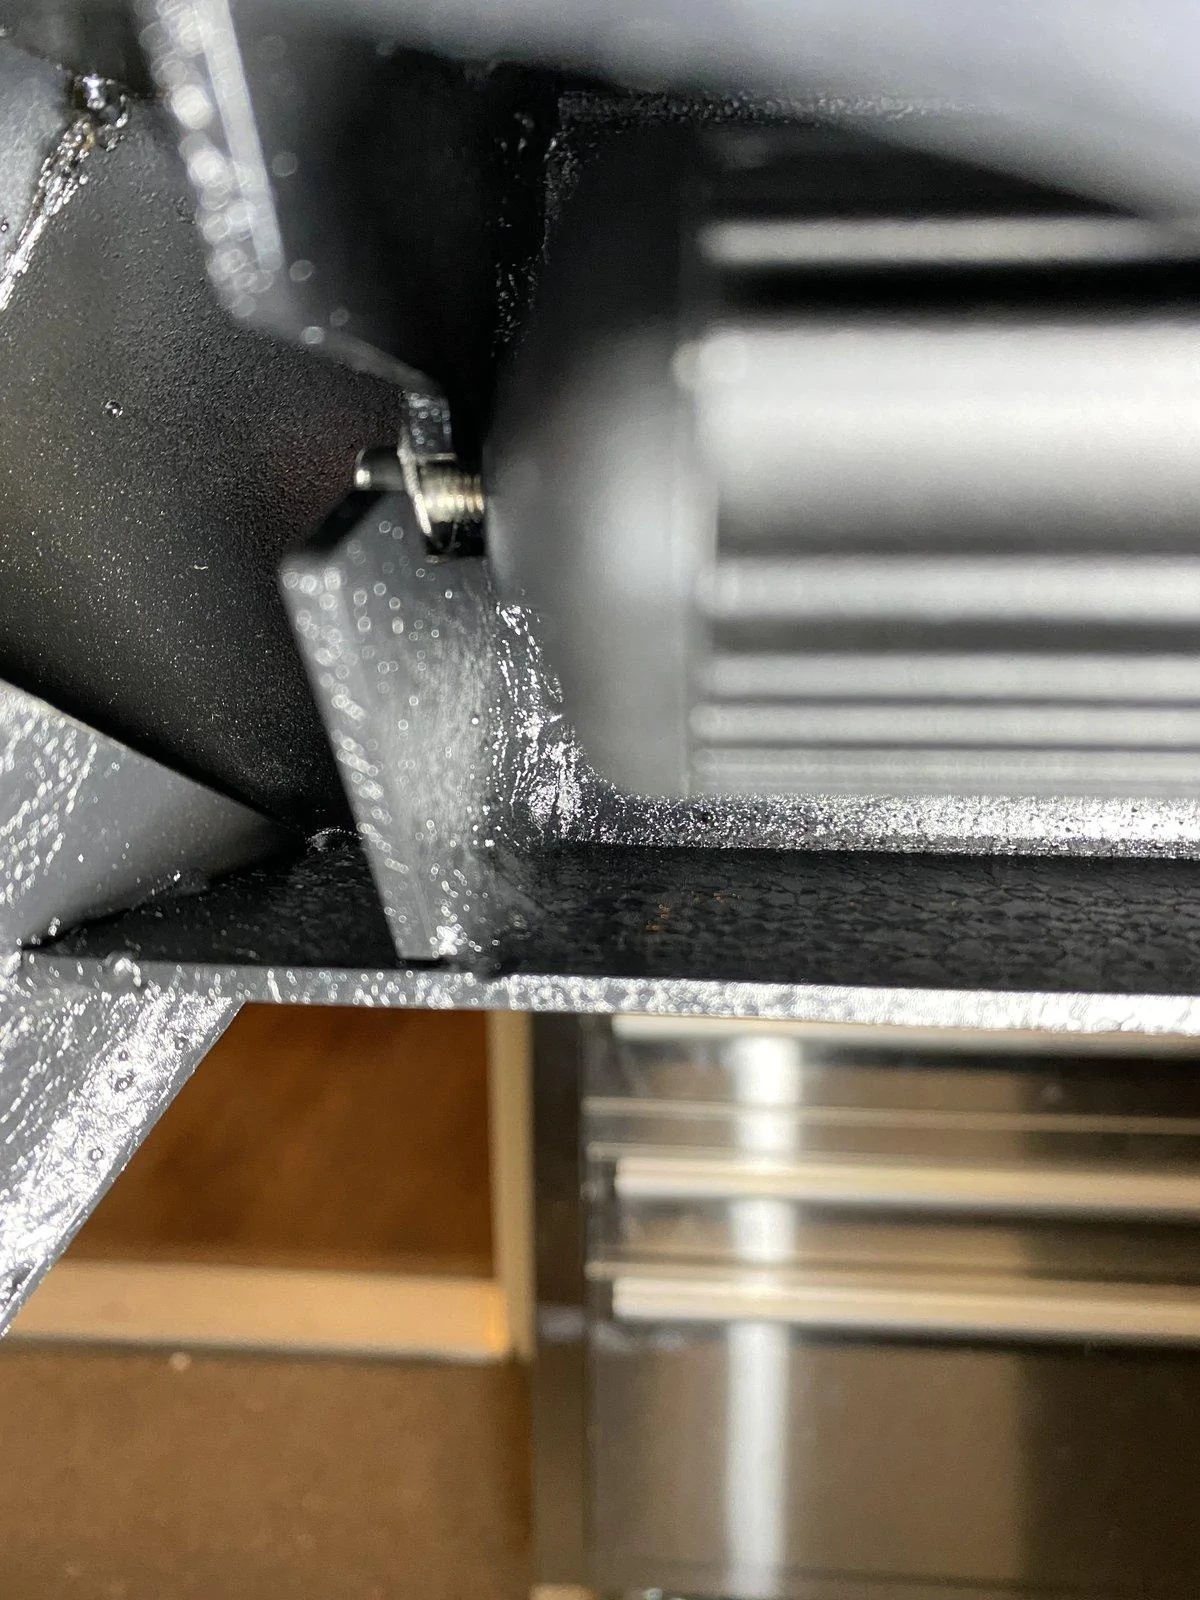
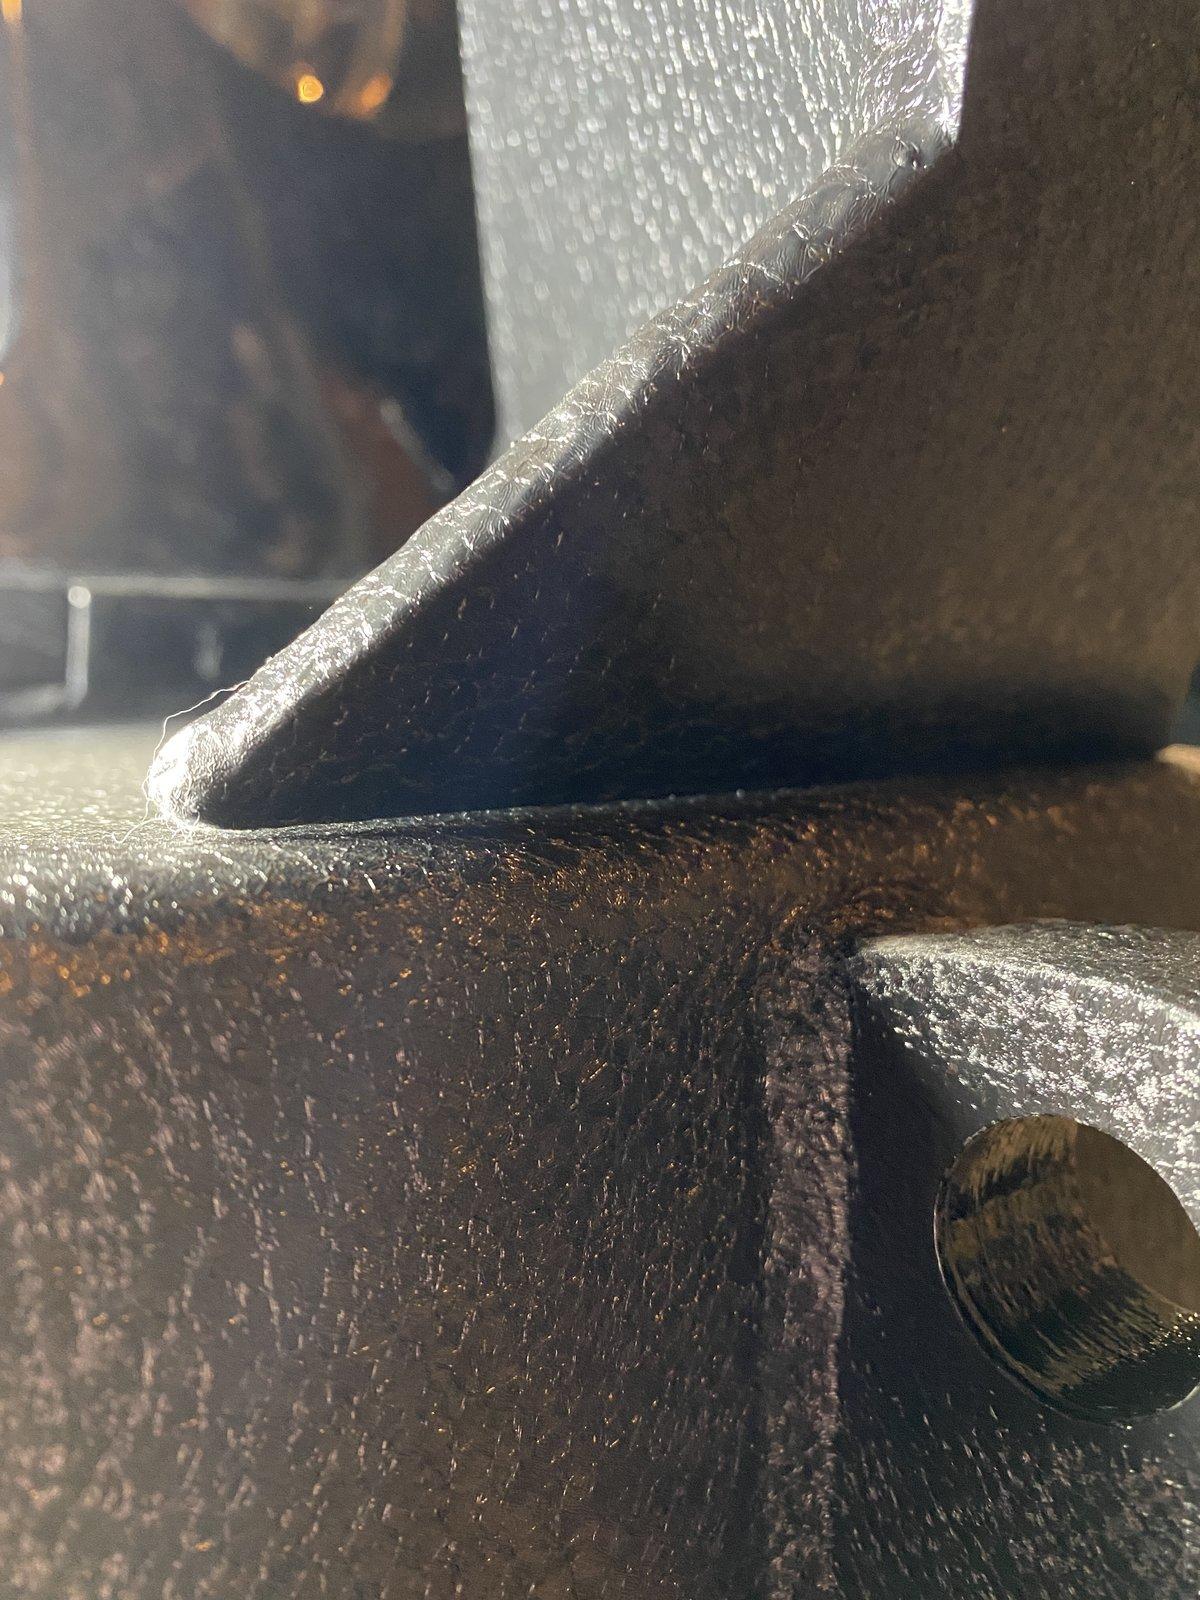
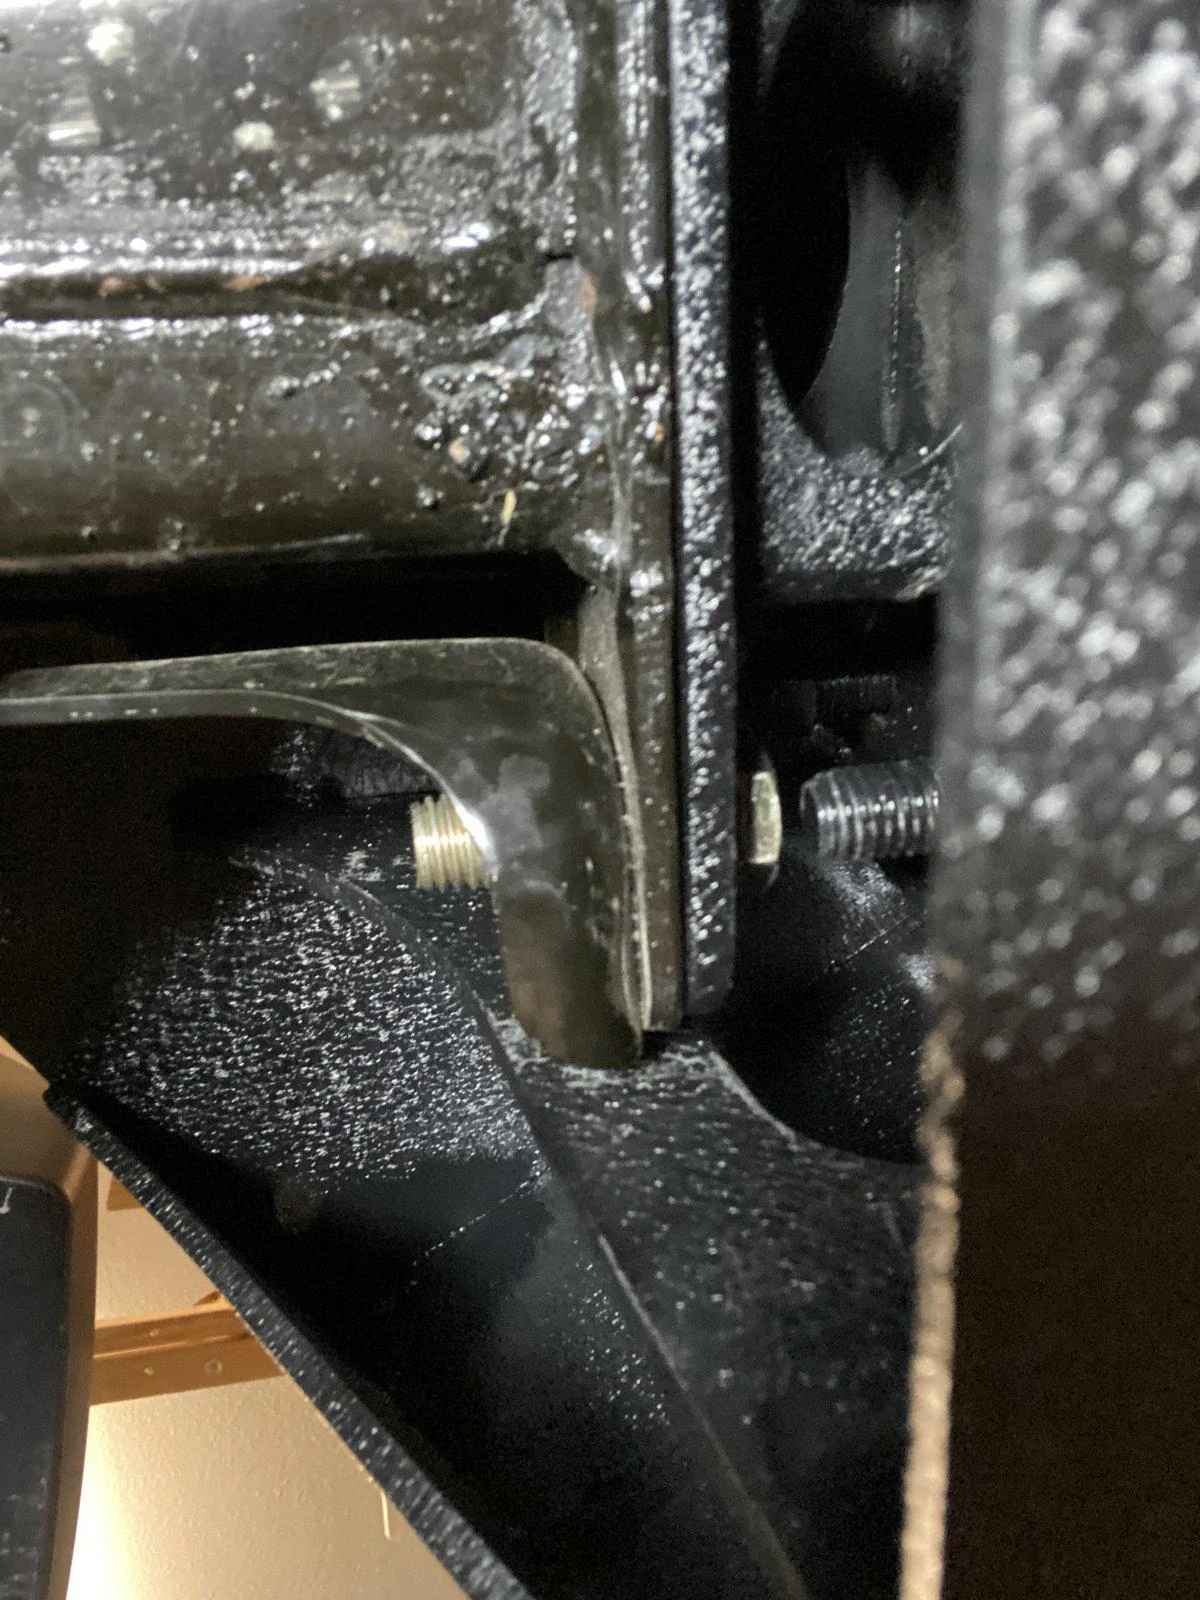
From here, we were able to align bolts through the frame and get nuts/washers on. It was a bit awkward getting the crescent wrench in place to the bolts to make sure they weren’t free spinning while tightening nuts, but after getting the adapters mounted, this was nothing.(you can see how tight those bolts fit together in the adapter)
Success!!!
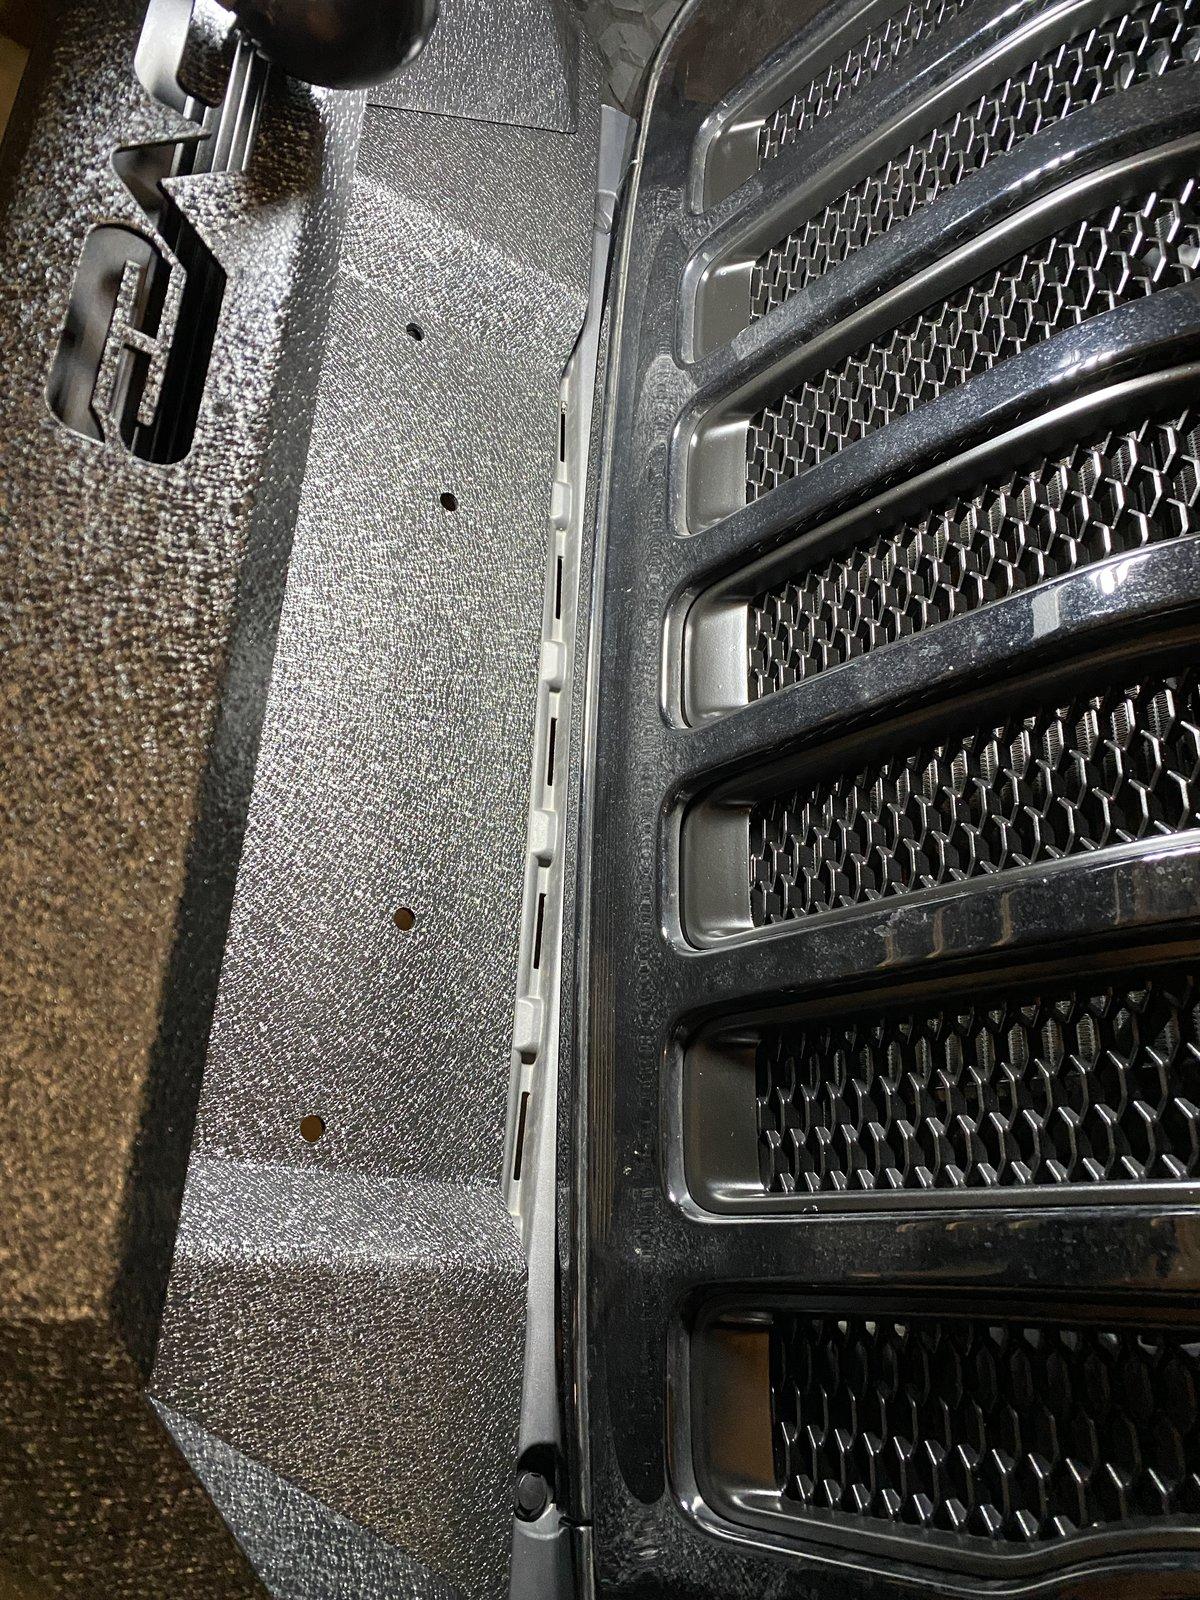
With the bumper installed using the adapters, the gap between the grille and the bumper was pretty close to 1.5 inches. It was going to bug me, but not terribly. I was able to grab a plastic piece from the factory bumper that I cut down to fit the length of the stubby bumper to mask the gap.
Conclusion:
If you learn from my mistakes, or perhaps from someone else that jumps on here to give better guidance, I think this bumper can be pretty reasonable to install. The two drawbacks as my bumper sits is that I am only anchored by 6 bolts instead of 8 and no wiring route for the lightbar.
I hope this helps someone out there. If not, it was therapeutic to write.
Cheers!
I’m not sure why, but I don’t remember coming across DV8 when modding my JK, so I didn’t know much about the company. Of course, after falling in love with the look and function of the DV8 FS-25 and ordering my bumper, I came across this thread of DV8 horror stories.
When I opened the box, I literally laughed out loud thinking “DV8 heard the complaints and over corrected.” The box was pristine, filled to the brim with (almost too much) foam sprayed to fill every bit of space in the box. Then, the parts were also wrapped in quality foam wrap. The parts’ finish looked flawless.

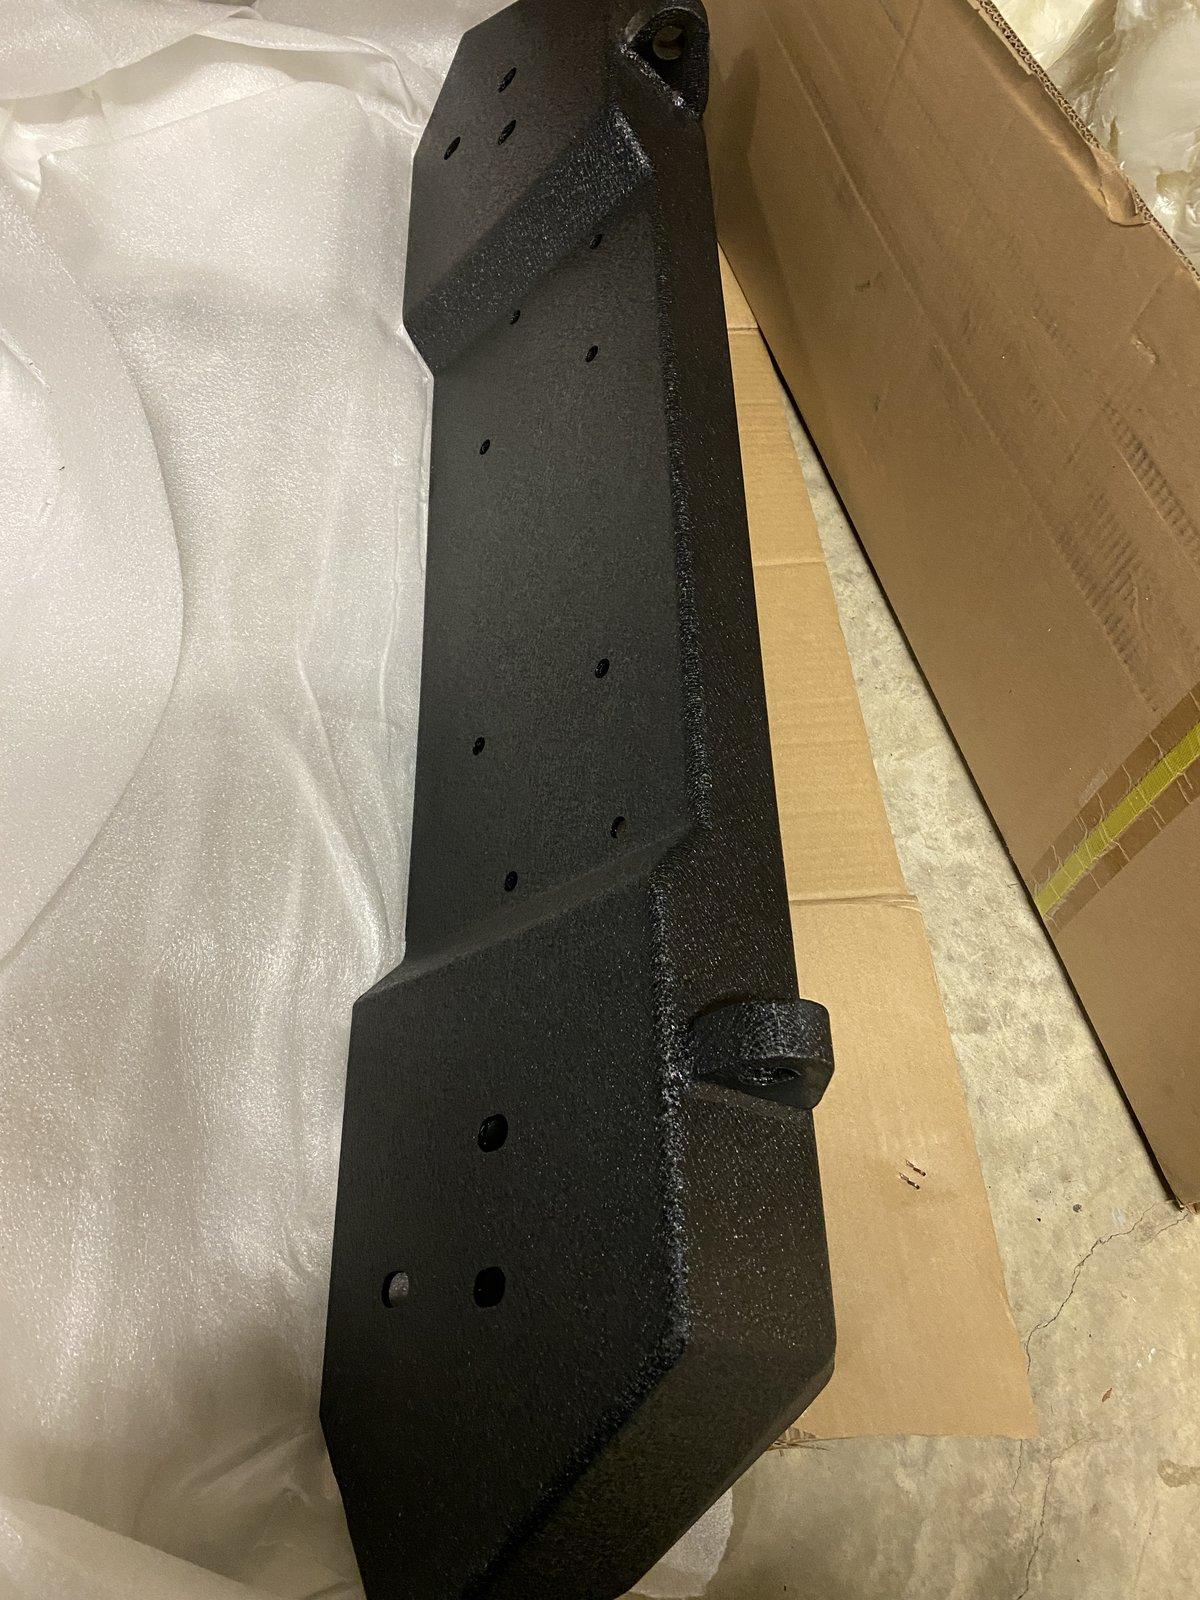
In addition to the FS-25, I also got the ABJL-01 JK TO JL FRONT BUMPER ADAPTER BRACKET and DV8’s 20inch Slim lightbar that fits in the bumper. Both were also nicely packaged and had flawless finishes.
Nothing came with instructions and the online manuals missed many crucial unique factors of this bumper. I read as much as I could and watched this video a few times before and during the install
The light bar into the bull bar:
The light bar has screws and washers that go into the end ends of the light. Then, the bull bar has a zigzag slot inside the bull bar that allows the light bar to slide into place. I was a little skeptical of how this would hold, but ultimately it is great. The problem is tightening the screws once you slide the light bar into place. My allen wrench set was too long to fit in and put the final torques on the light bar. By chance, my wife has a cheapo “indoor” tool kit that has a smaller set of allen wrenches that work. It was a bit tedious, but fine. The problem I have is that the bumper has no system to account for the cord of the light bar. The bull bar is hollow, so you can run it in there, but there is no way of getting it back to the Jeep. DV8 could easily add a hole where the bumper meets with the bull bar aside from the mounting holes. I will probably end up drilling that hole, but it sucks on something clearly designed for the light to not have a plan for it. Also, FYI, the light bar comes with about 18 inches of wire connected to it and that’s it.
The bull bar to the bumper:
This was the first sign that maybe the negative reviews of DV8 were valid. The bull bar has 6 bolts built into it, three on each side. They go into the main bumper and are secured with nuts on the inside of the bumper. Despite jimmying and really torquing the nuts, the bull bar does not sit flush on the bumper. I’m not sure if it’s because of the alignment of the holes on the bumper with the bolts of the bull bar or if the bull bar doesn’t end flat. Again, it’s not bad at all, just not perfect.
Fog lights to bumper:
I have the LED lighting group and had a plastic bumper from factory. Based on my research, the type of factory bumper and type of factory fogs could cause issues. My fogs fit fine using the clips and screws provided - no issues. The wiring harnesses were plug and play. The length generous and I had plenty of length to play with and ziptied the excess between the two lights.
Bumper to the frame:
Arg!!! I’m still pissed about how frustrating this was.
The lay of the land:
The adapter brackets came with 8 bolts, nuts, and washers. On the inside of the bumper, there are 6 bolts built in, 3 on each side. Nuts and washers are provided. Inside the bumper, each side there is a threaded hole that a loose bolt fits into. I’m not sure why, but each side has one built in bolt that is a smaller bolt/nut. I also don’t understand why one bolt would be loose while 3 would be built into the bumper. I’m sure a fabricator/engineer has a really good reason.
Take 1: “Maybe I’ll get lucky”
I tried tossing the bumper straight onto the frame with no adapter. Nope, holes wouldn’t align with bolts from bumper.
Take 2: “Adapter to Frame, Bumper to Adapter”
This is what is pictured on photos of the adapter, so mounted each adapter to the frame with 4 bolts. Then, I slide the bumper into the holes on the adapter. The problem here is that there is not enough room to fit the nuts between the bolts to the frame and the bolts from the bumper.
Take 3: “F’ it, let’s drill on this thing”
I used a dremel and a drill to elongate the holes on the frame. I used the holes on the after market brackets as my guide, since I new the bolts could fit into the brackets. It took a couple hours , but I was able to get all 4 holes in the frame to match the holes in the adapters. The new problem was that the holes in the frame were too low because the bolt/nuts that hold the bull bar to the bumper prevented the bumper from sliding on where it needed to be.
Take 4: “1/6 of a turn at a time”
My last ditch effort was to install the adapters to the bumper, then mount the bumper/adapters to the frame. Ultimately, this worked...mostly. Once you get the adapter in place, inside the bumper, there is zero room to maneuver.
Remember, each side has three different connections- 1 is a loose bolt that goes into the bumper in a pre-threaded hole. This one is the best case. After you get that bolt 2/3 in by twisting by hand and using a crescent wrench to turn 1/6 of a turn at a time past tough parts, you have a small win. You can actually fit a socket into the adapter and over the bolt. Then, you have to add your socket extension that can go all the way through the adapter. 1/4 there!
The bottom two attachment points on each side are large diameter bolts that come off the bumper and threads though the adapter. My socket can’t fit under the bracket and over the bolt. I could get my crescent wrench in there, but only enough to turn it 1/6 of a turn at a time. It was a total PITA to do this 4 times, but it worked.
On the top outside corner of both sides of the bumper is a smaller diameter bolt that comes off the bumper and threads though the adapter. You have no chance at getting to this. Your socket can’t fit under the bracket and over the bolt. Your crescent has no angle. I’m not sure what the plan was supposed to be here. Maybe some sockets are skinny enough to fit here and that’s why it’s a smaller diameter. Mine didn’t fit. That logic doesn’t make sense because the designers didn’t have this dumb aapter in mind. Anyways, 6 bolts is enough...right?! What could go wrong with 12,000 lbs of winching on 6 bolts instead of 8?...
With a lovely helper, I was able to get bolts through the frame, but getting the nuts between the bolts from the bumper and enough length to take weight of me holding the bumper was too precarious.
Take 4.5 “1/6 of a turn at a time halfway out and back in again”
I took the bumper back to the ground and backed the hardware out half way so that the adapter could move about 3/4 of an inch. Lifting the brackets away from the bumper, I could fit the bolts that would go through the frame into the adapter facing out. With those bolts in place, I retorqued all 6 functioning bolts/nuts holding the adapter into the bumper.
From here, we were able to align bolts through the frame and get nuts/washers on. It was a bit awkward getting the crescent wrench in place to the bolts to make sure they weren’t free spinning while tightening nuts, but after getting the adapters mounted, this was nothing.(you can see how tight those bolts fit together in the adapter)

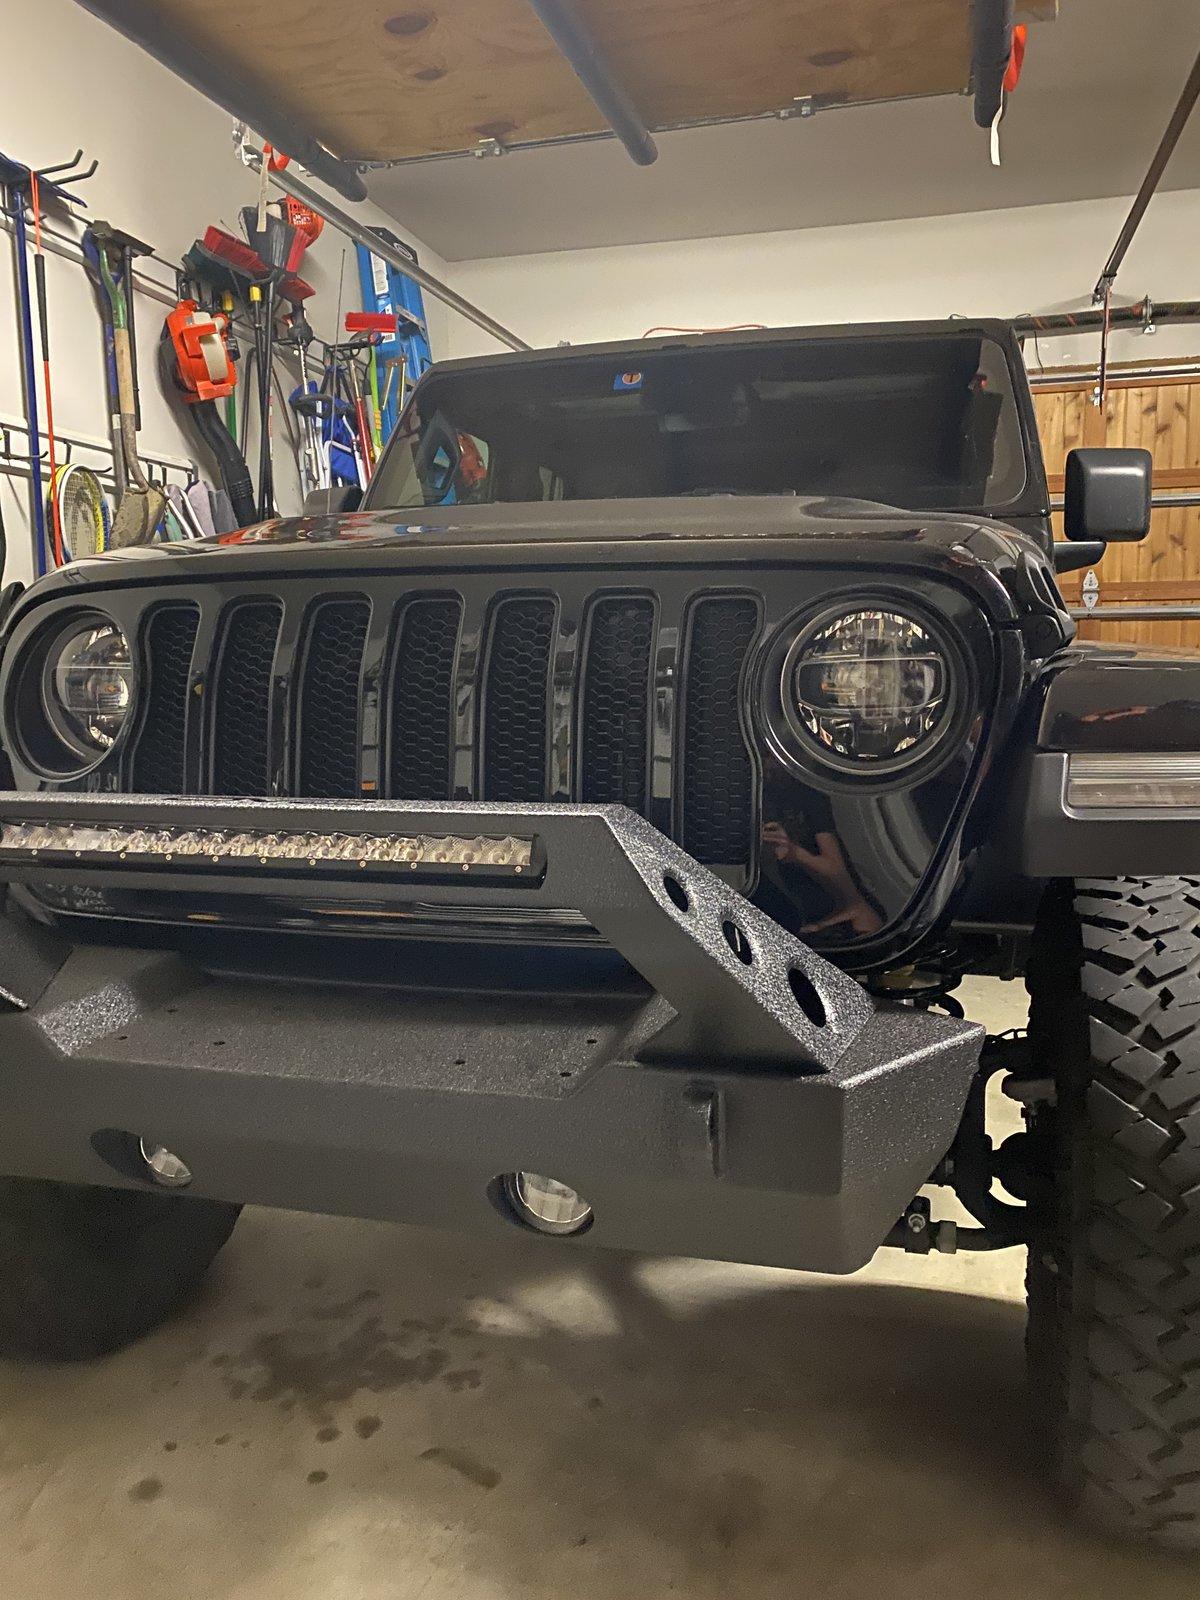
Success!!!
With the bumper installed using the adapters, the gap between the grille and the bumper was pretty close to 1.5 inches. It was going to bug me, but not terribly. I was able to grab a plastic piece from the factory bumper that I cut down to fit the length of the stubby bumper to mask the gap.
Conclusion:
If you learn from my mistakes, or perhaps from someone else that jumps on here to give better guidance, I think this bumper can be pretty reasonable to install. The two drawbacks as my bumper sits is that I am only anchored by 6 bolts instead of 8 and no wiring route for the lightbar.
I hope this helps someone out there. If not, it was therapeutic to write.
Cheers!
Sponsored