Sheepjeep
Well-Known Member
- Thread starter
- #1
So long story short when I put on my new wheels and tires I did not properly tighten my lug nuts on my rear passenger side wheel. I just zipped them on with a cordless impact and didn't hand check them. This resulted in 4 lugs nuts to back out and 1 stud breaking off.
So 100% my fault so no shop or factory to yell at, so it is on me to replace the wheel Studs. Figured I was probably one of the first people to this on a JL so might as well do a write up. Over all the job is easy to do, took me less than a hour to do all 5 on the rear pas anger side.
Thing to note this was done on a Rubicon, but the steps should be the same or close to a sport or Sahara, nothing special if you have ever replaced studs before.
For the work I did it all with hand tools as it was too cold int he garage and battery for the cordless impact gun was not happy.
Tools needed:
Parts:

Steps:
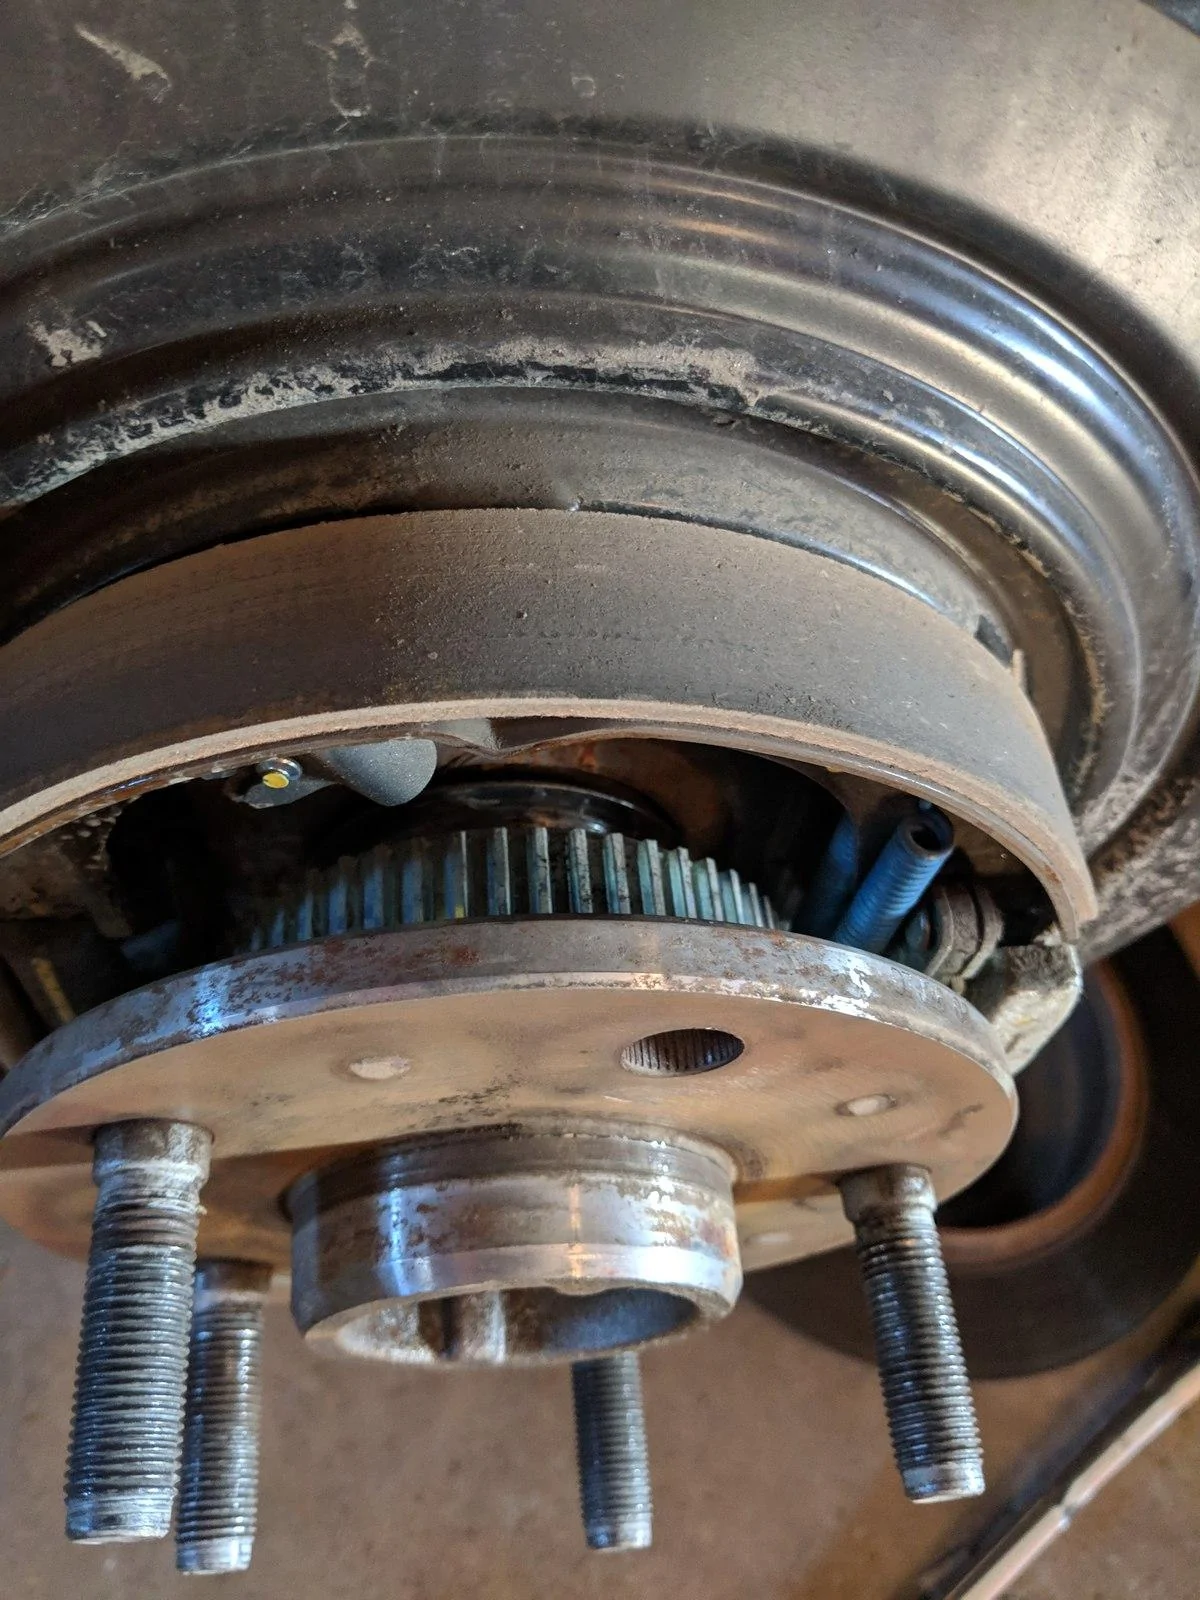
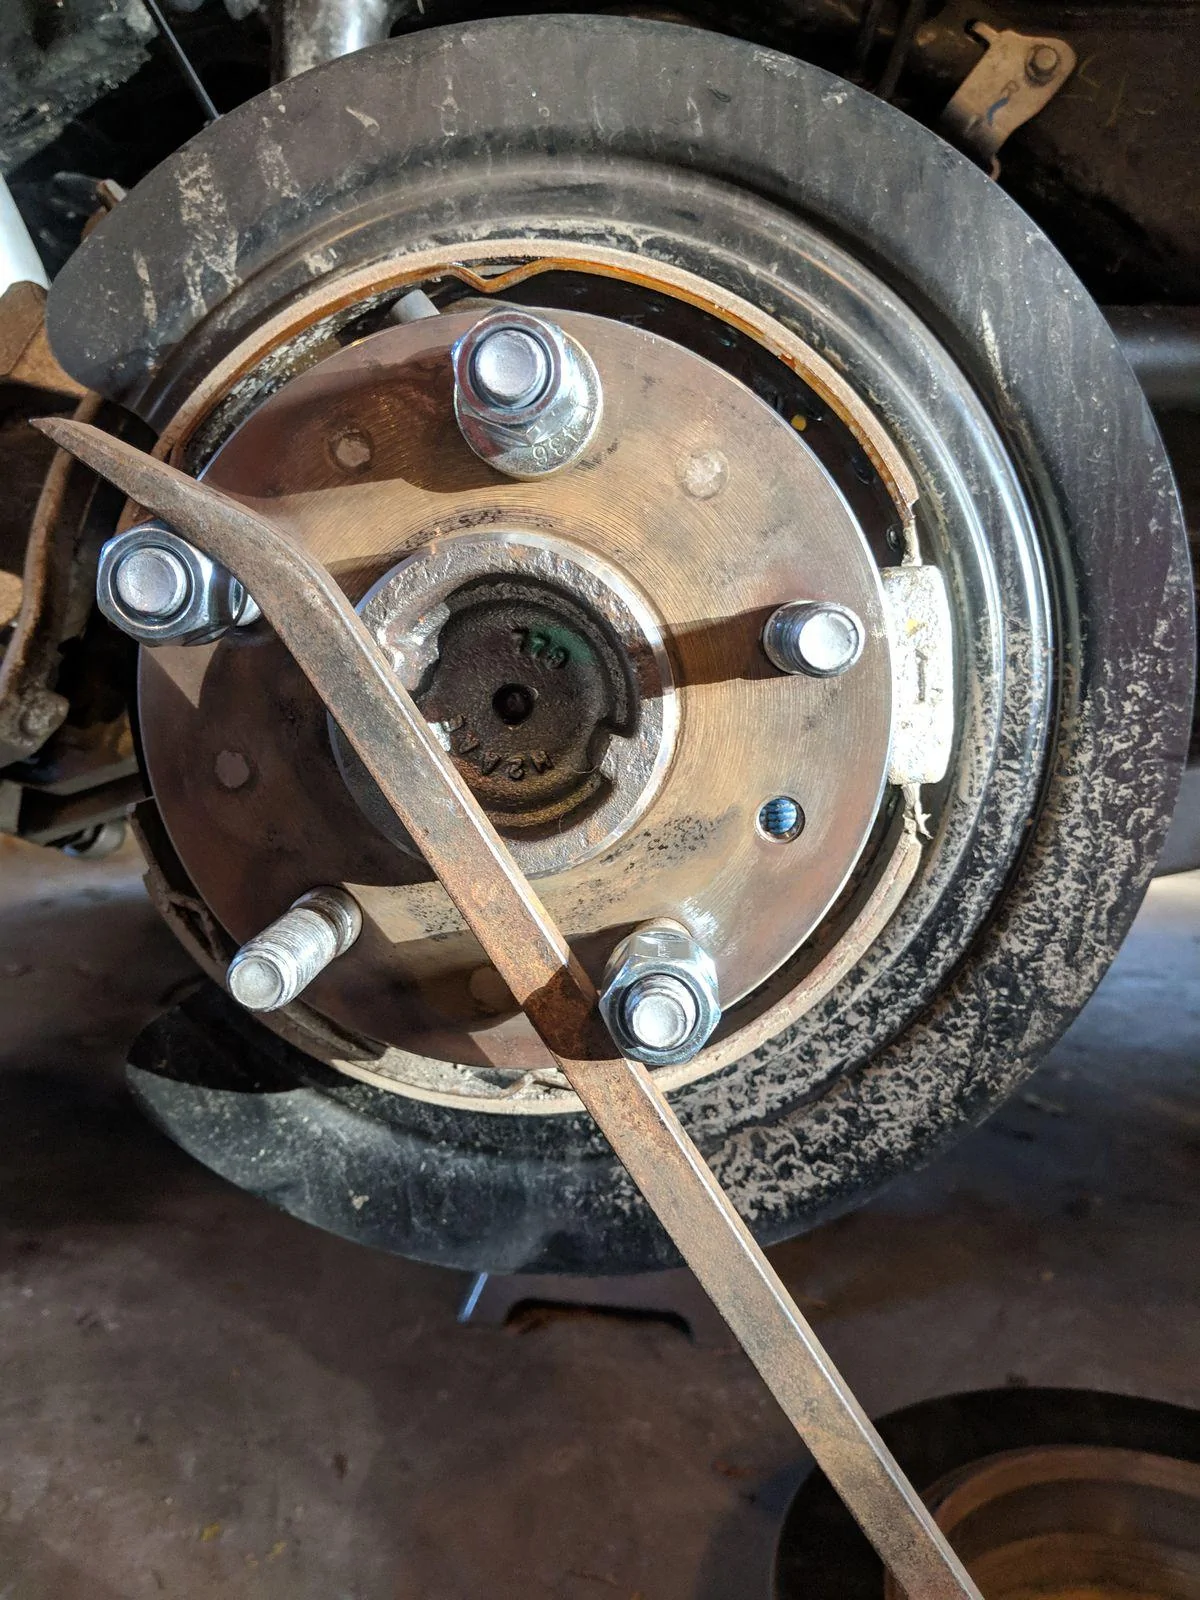
1. Jack up the rear and remove tire and rest jeep on jack stands
2. Take the pry bar and reseat the caliper by prying on the caliper and the mounting bracket
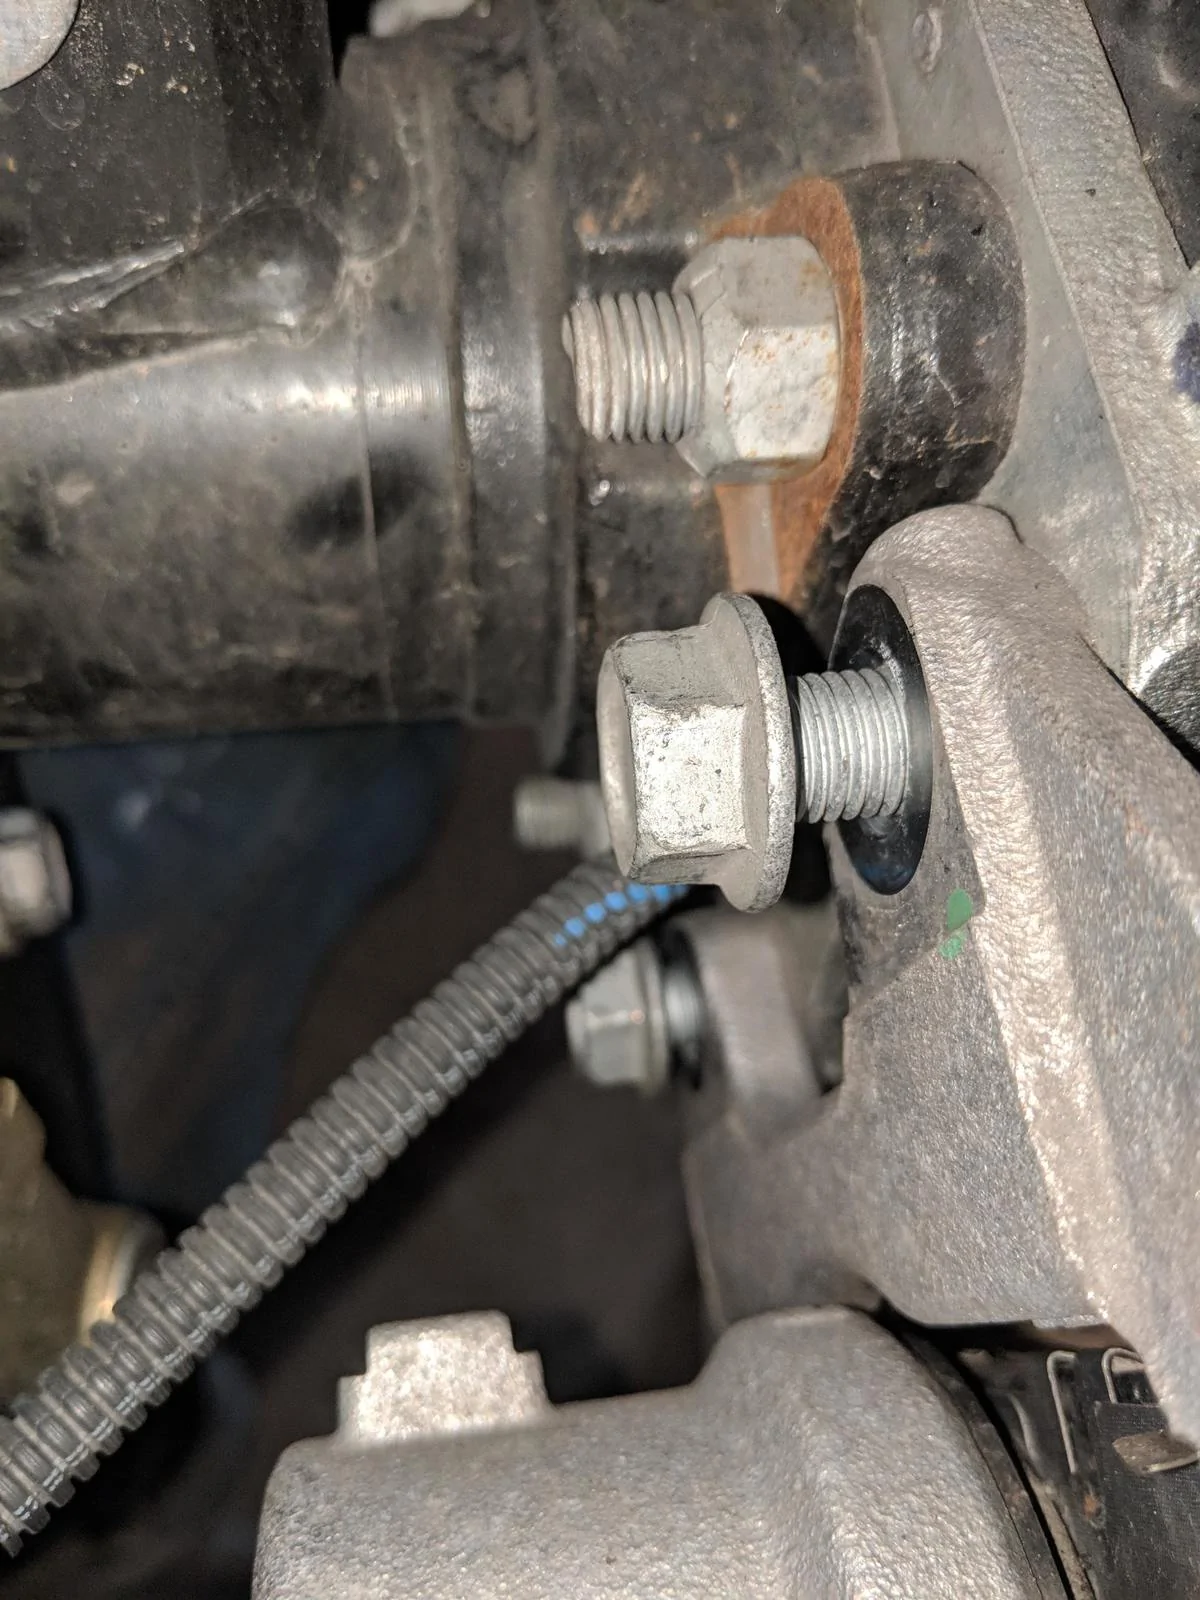
3. Use the 18 mm socket and remove the 2 caliper bracket bolts on the back (see loose bolts in photo)
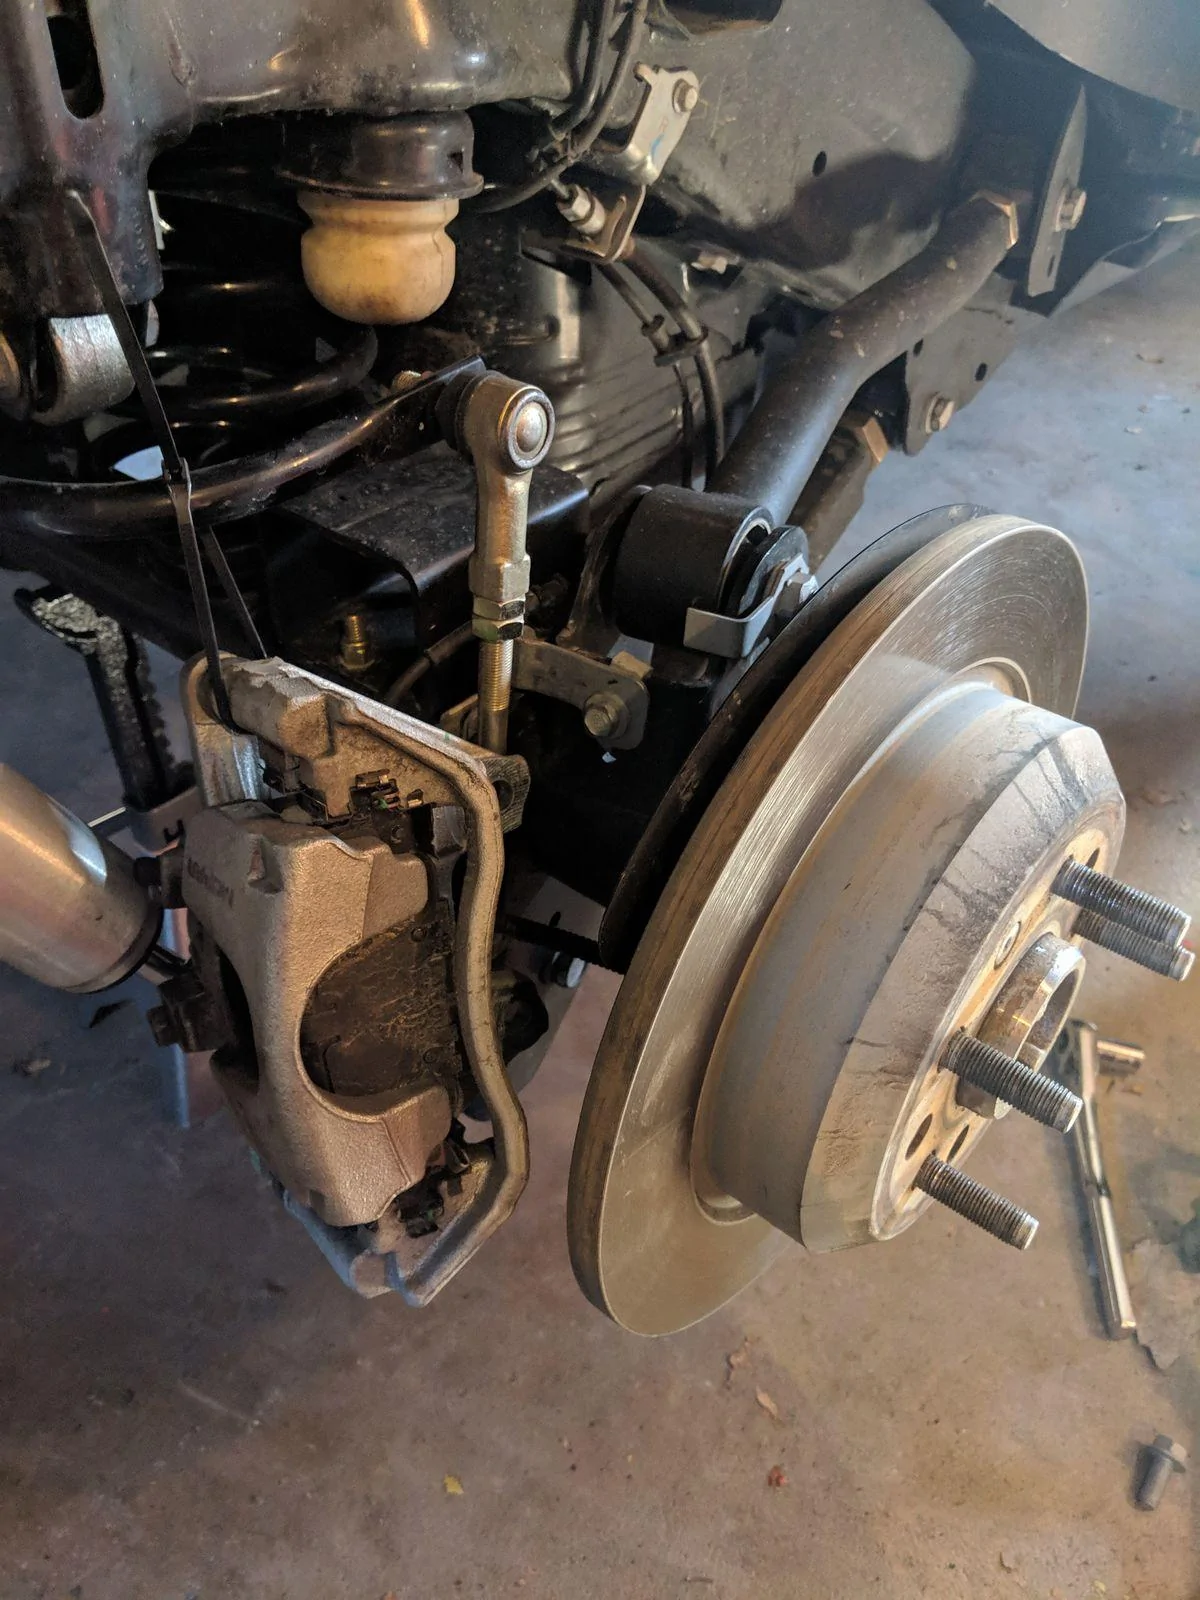
4. Remove caliper and hook it up to the frame, i just zip tired it to the sway bar
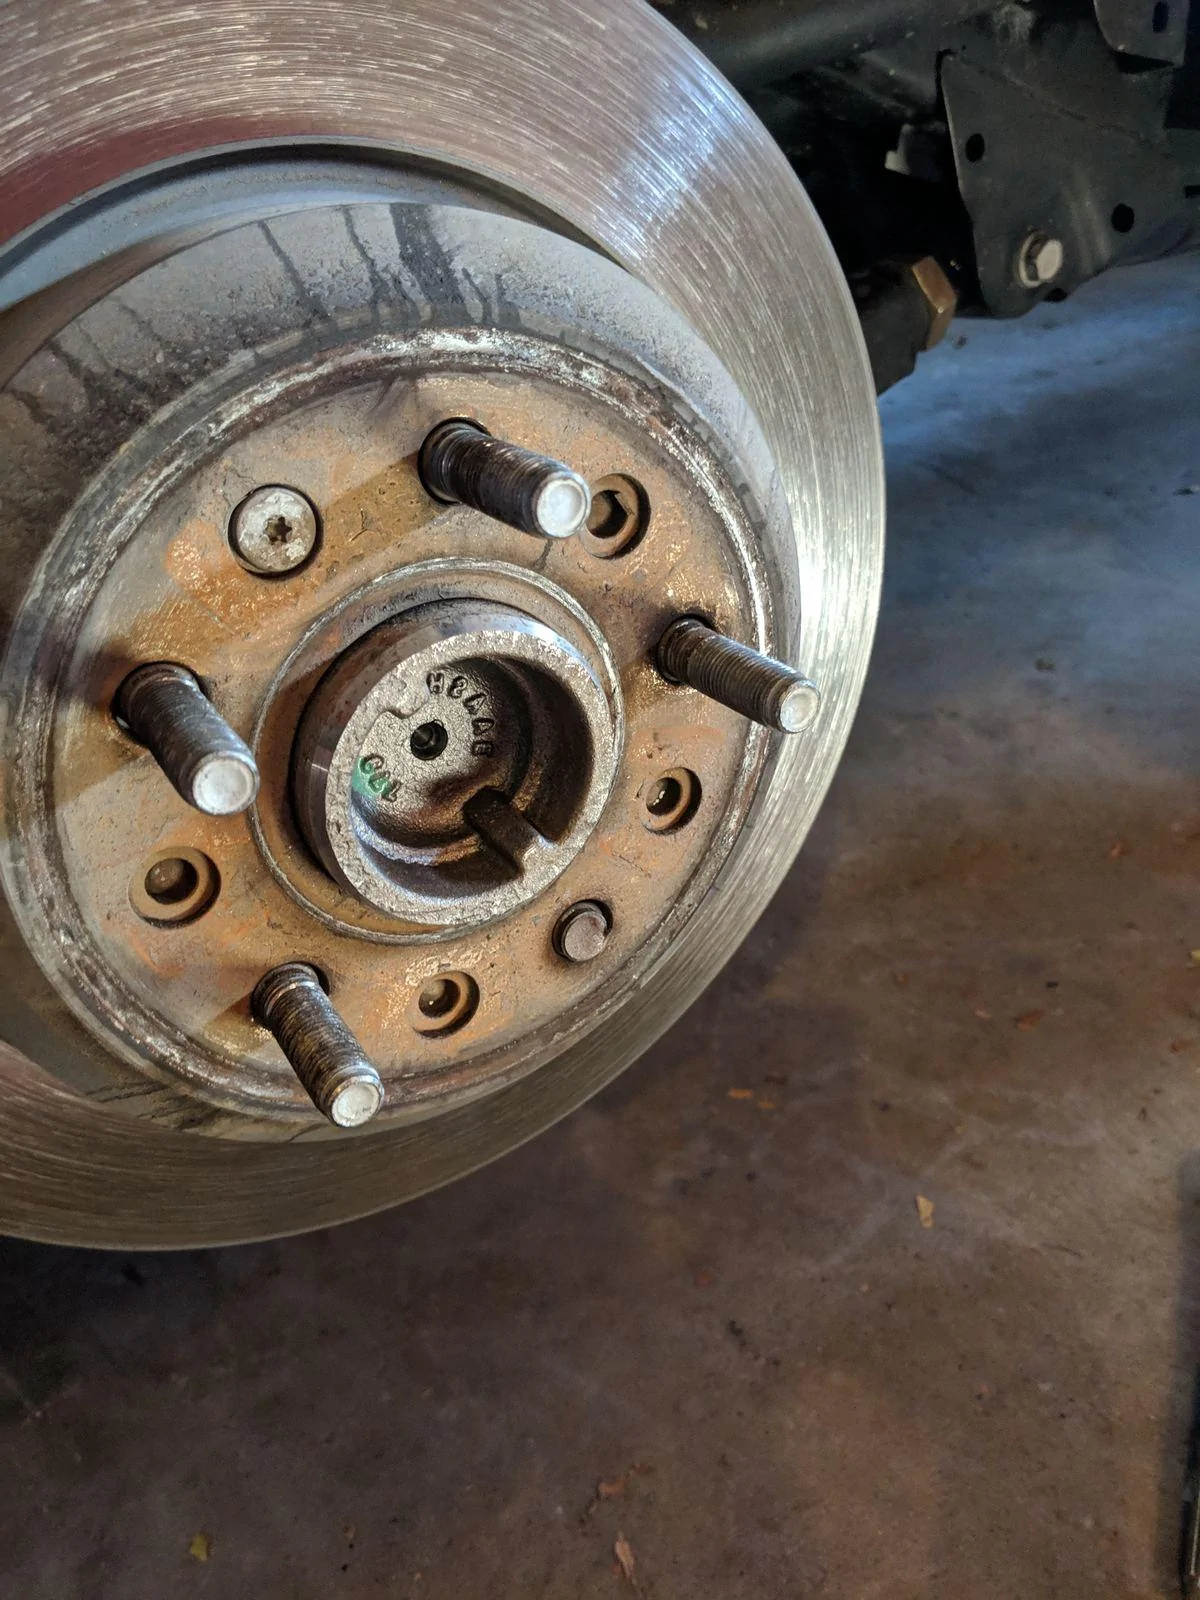
5. Use the t30 torx and remvoe the retaining screw on the disk, and remove the disk. Make sure the E-Brake is off
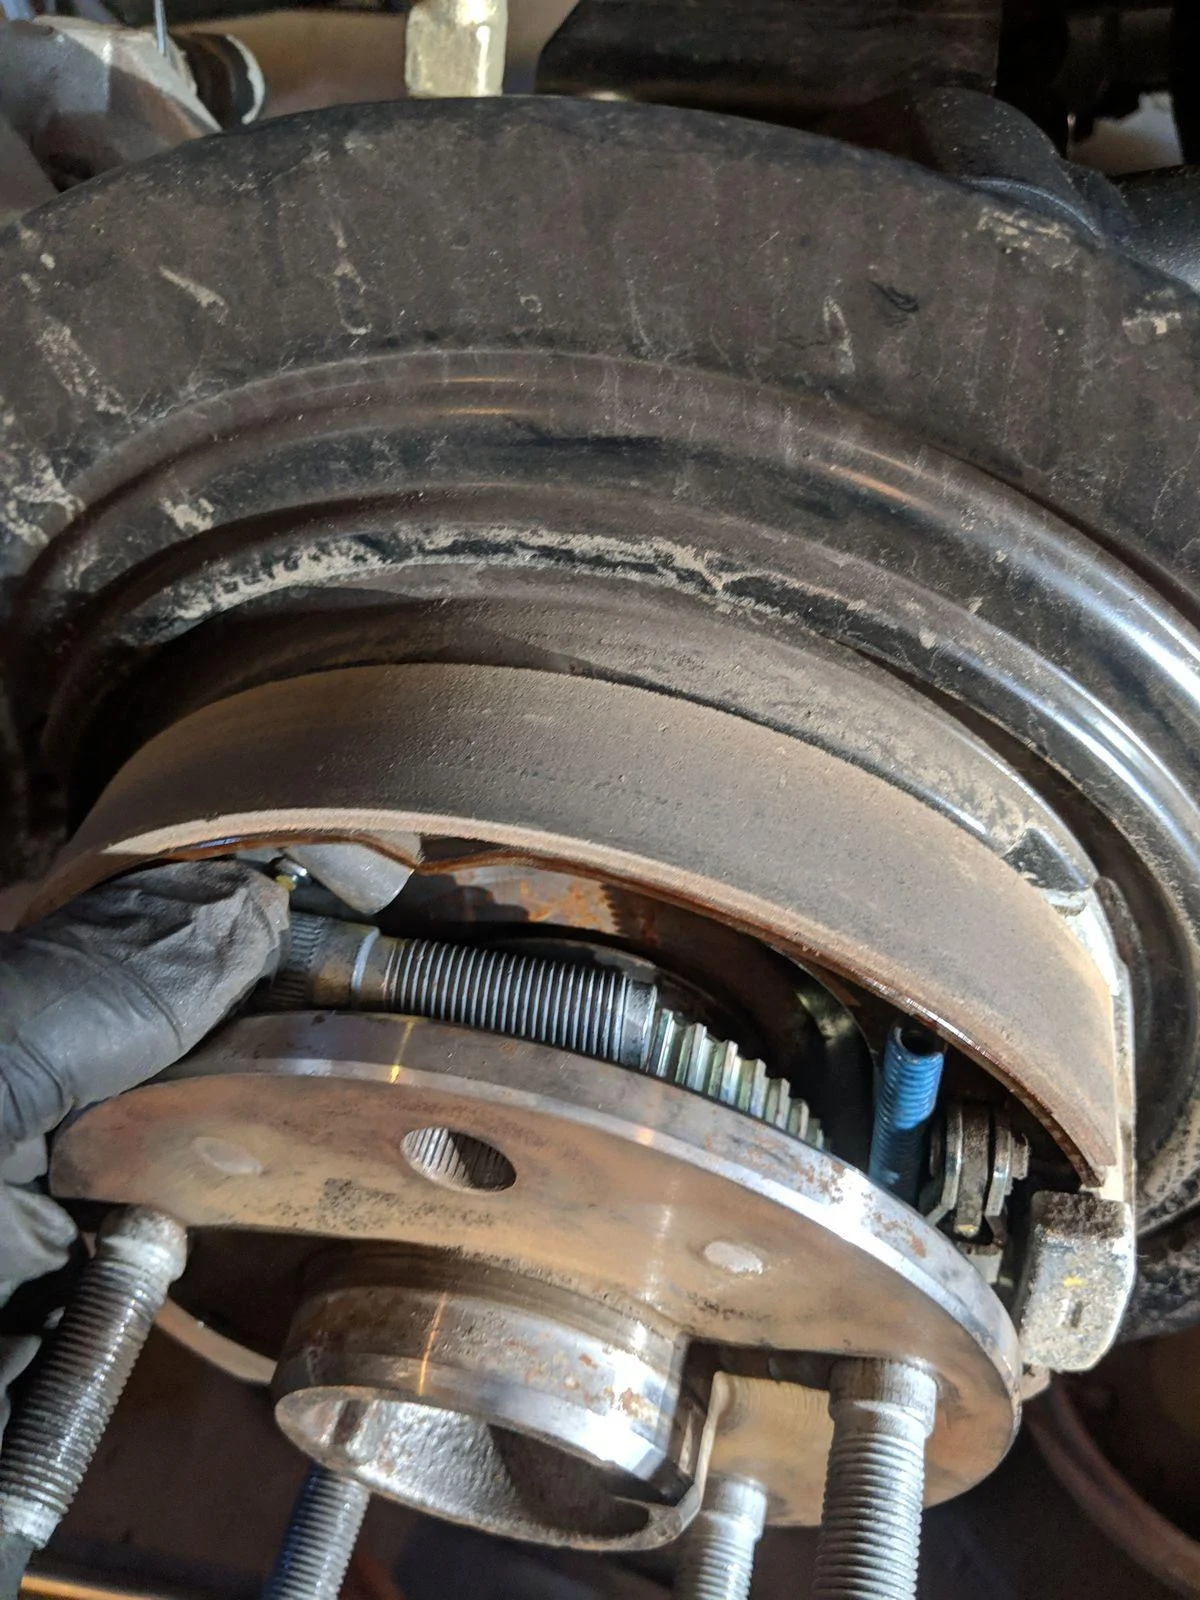
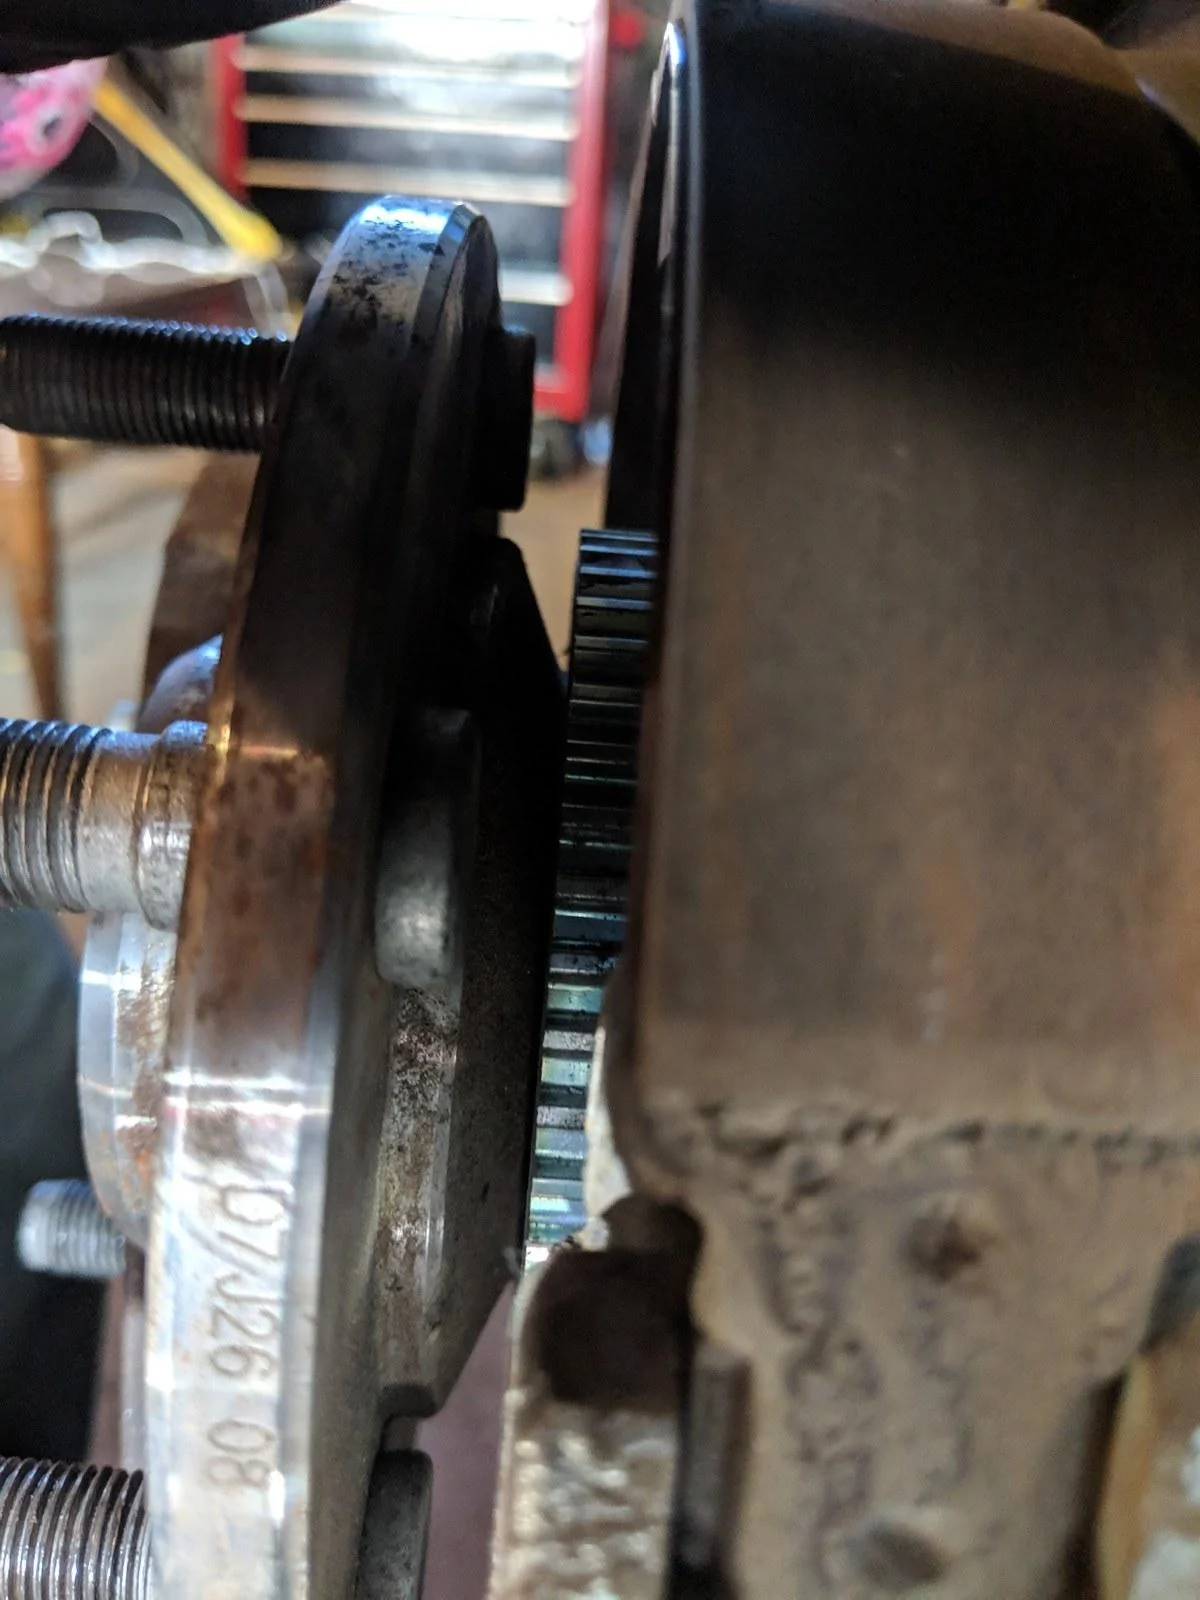
6. Rotate the axle shaft so that the stud to be removed is in the 1 o'clock position, then use the hammer a and drive the stud out, you may need to use a punch to help tap it out. There is a lot of stuff behind the axle flange, like the e brake springs and stuff and the abs sensor. So I found plenty of safe space around the 1 o'clock to drive out and slide in the new studs.
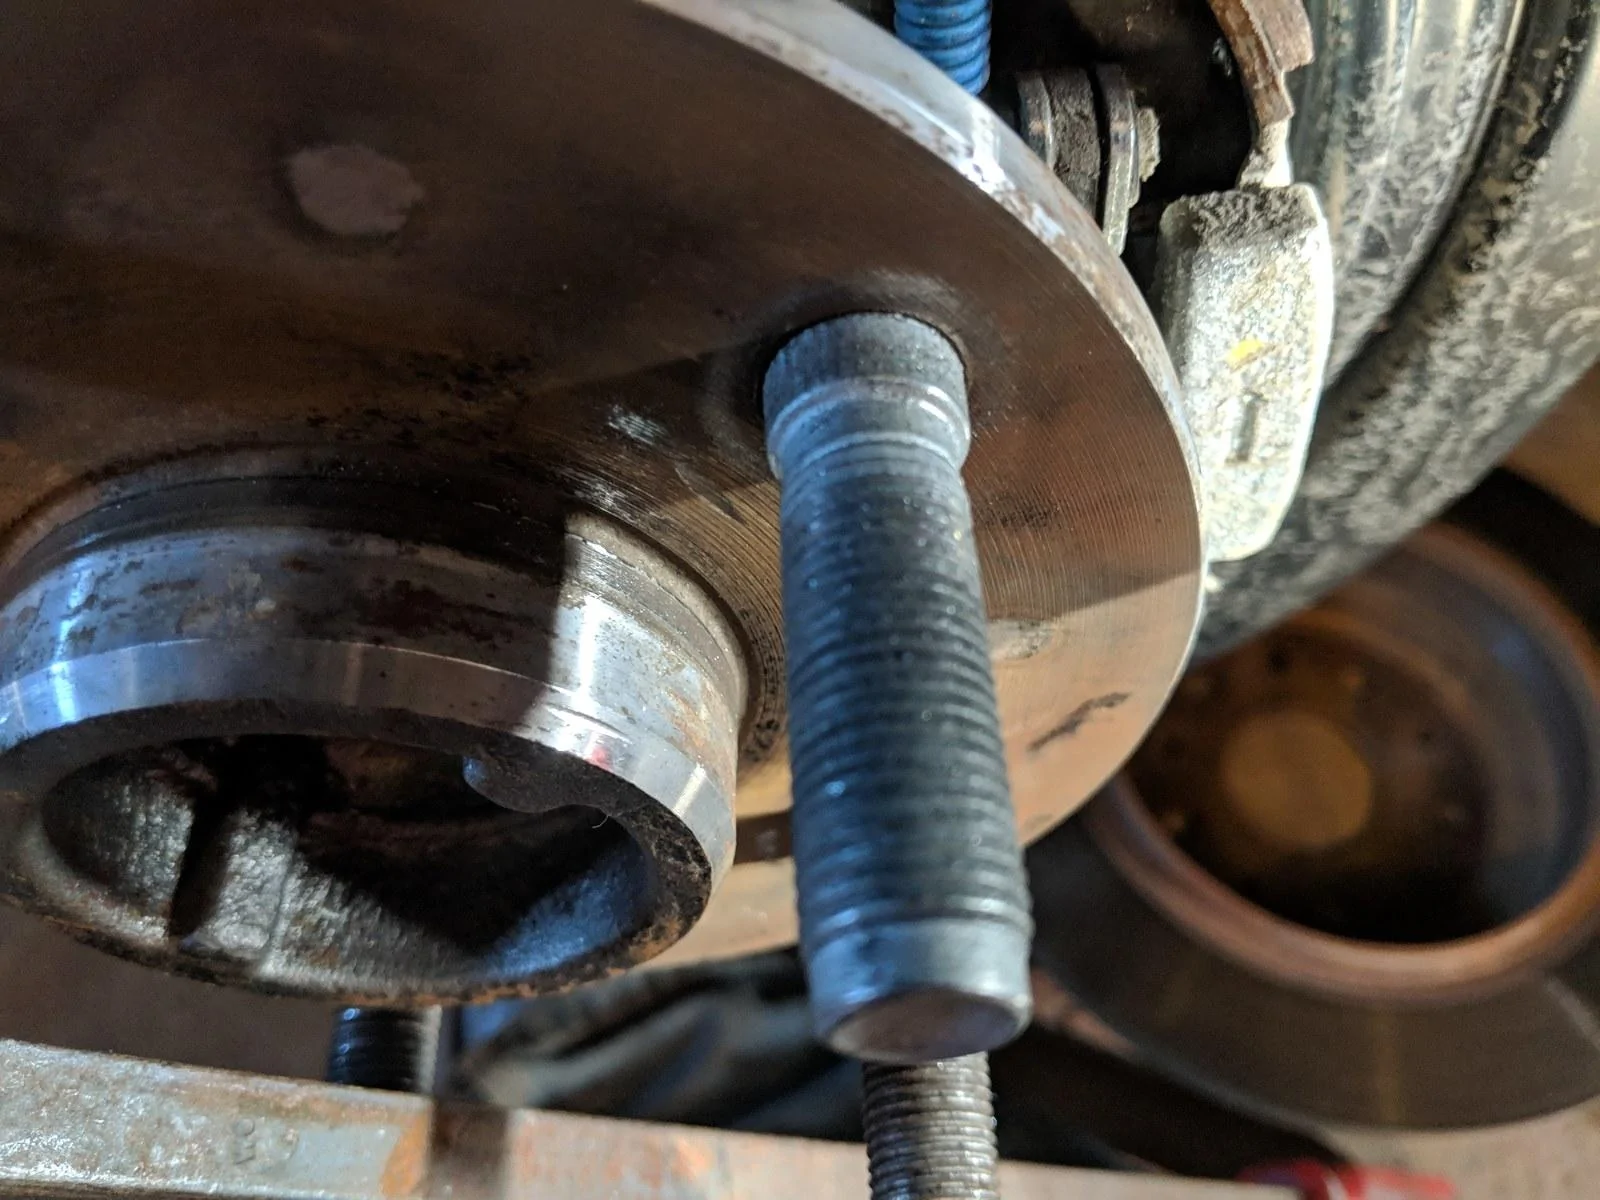
7. Slide in the stud sideways between the axle and the e brake and then you can rotate it and get the in the hole
8. Put on the washer stack and thread on the lug nut you don't care about
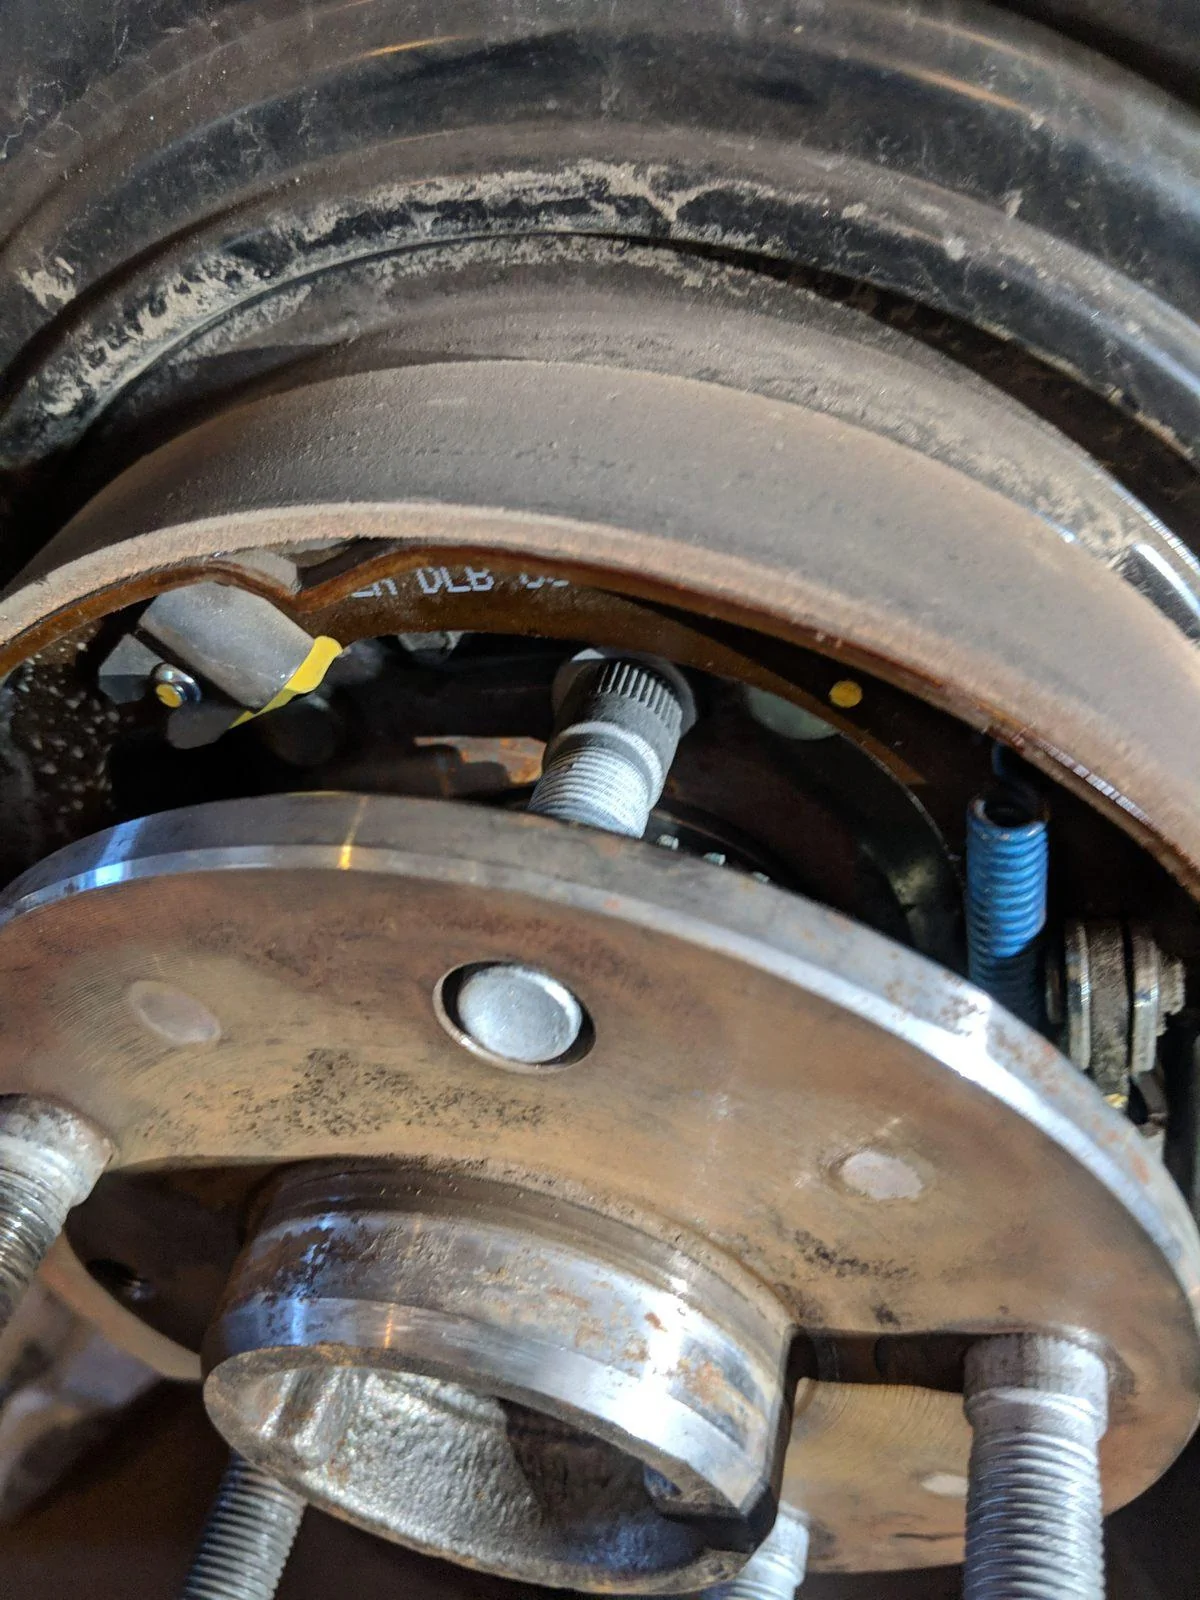
9. Use the pry bar and 2 other lug nuts and just it to jam up the axle using the floor, and use a breaker bar and tighten up the stud, important to note that you want to keep the stud near the top so it does not hit any of the sensor ans stuff as you tighten
10. Keep tightening the stud until it stops pressing in and the stud is flat with the axle flange, flip the pry bar around so you can use it to back the lug nut off

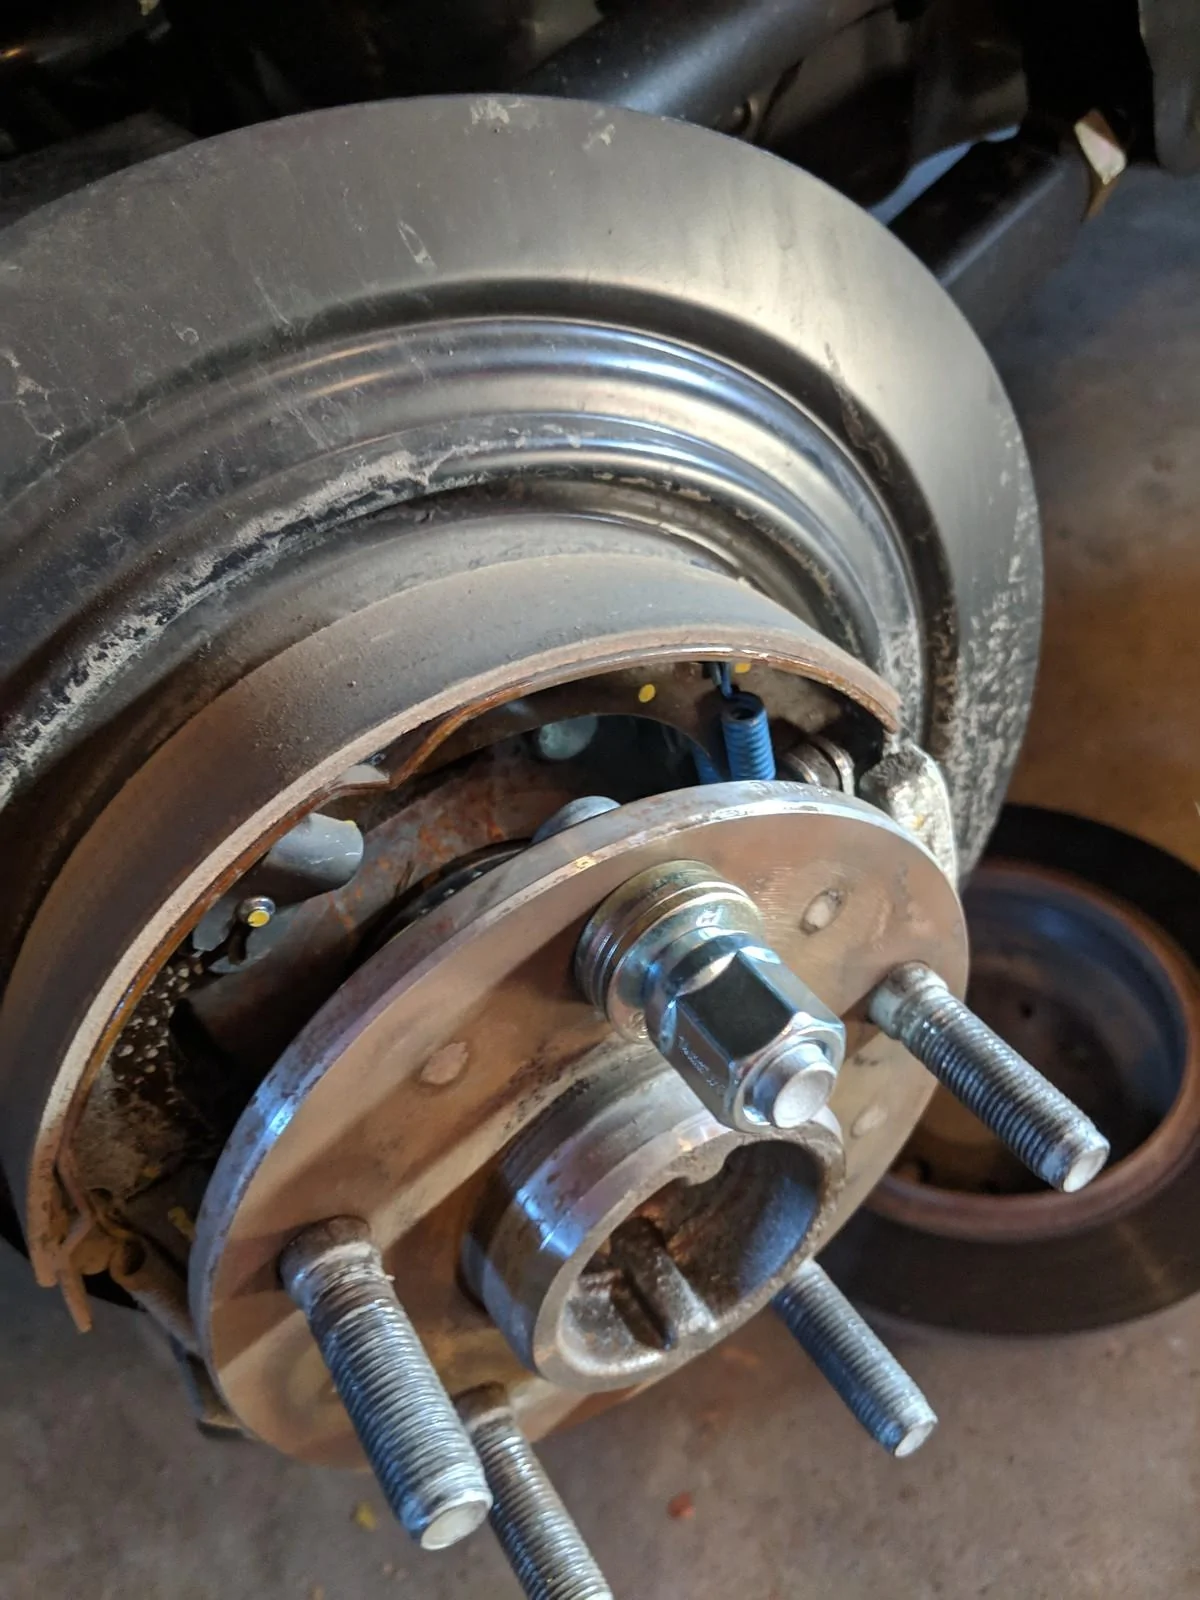
11. Repeat steps 6-10 for next stud
12. Put back the rotor and the retaining screw
13. Put back the the caliper and make sure the screws are on tight
14. Put back wheel and tighten and drop to the ground
So 100% my fault so no shop or factory to yell at, so it is on me to replace the wheel Studs. Figured I was probably one of the first people to this on a JL so might as well do a write up. Over all the job is easy to do, took me less than a hour to do all 5 on the rear pas anger side.
Thing to note this was done on a Rubicon, but the steps should be the same or close to a sport or Sahara, nothing special if you have ever replaced studs before.
For the work I did it all with hand tools as it was too cold int he garage and battery for the cordless impact gun was not happy.
Tools needed:
- Breaker bar
- 18 mm short socket (box wrench can work as well
- Big pry bar
- T30 Torx
- Hammer
- Zip ties, coat hanger, bungee cord, really anything that you can use to hang the caliper on the frame
- Stack of washers to sacrifice, need to be pull the stud all the way through
- 3 lug nuts (one will need to be sacrificed)
- floor jack
- jack stands
Parts:
- Mopar part #: 68325126AA
Steps:
1. Jack up the rear and remove tire and rest jeep on jack stands
2. Take the pry bar and reseat the caliper by prying on the caliper and the mounting bracket
3. Use the 18 mm socket and remove the 2 caliper bracket bolts on the back (see loose bolts in photo)
4. Remove caliper and hook it up to the frame, i just zip tired it to the sway bar
5. Use the t30 torx and remvoe the retaining screw on the disk, and remove the disk. Make sure the E-Brake is off
6. Rotate the axle shaft so that the stud to be removed is in the 1 o'clock position, then use the hammer a and drive the stud out, you may need to use a punch to help tap it out. There is a lot of stuff behind the axle flange, like the e brake springs and stuff and the abs sensor. So I found plenty of safe space around the 1 o'clock to drive out and slide in the new studs.
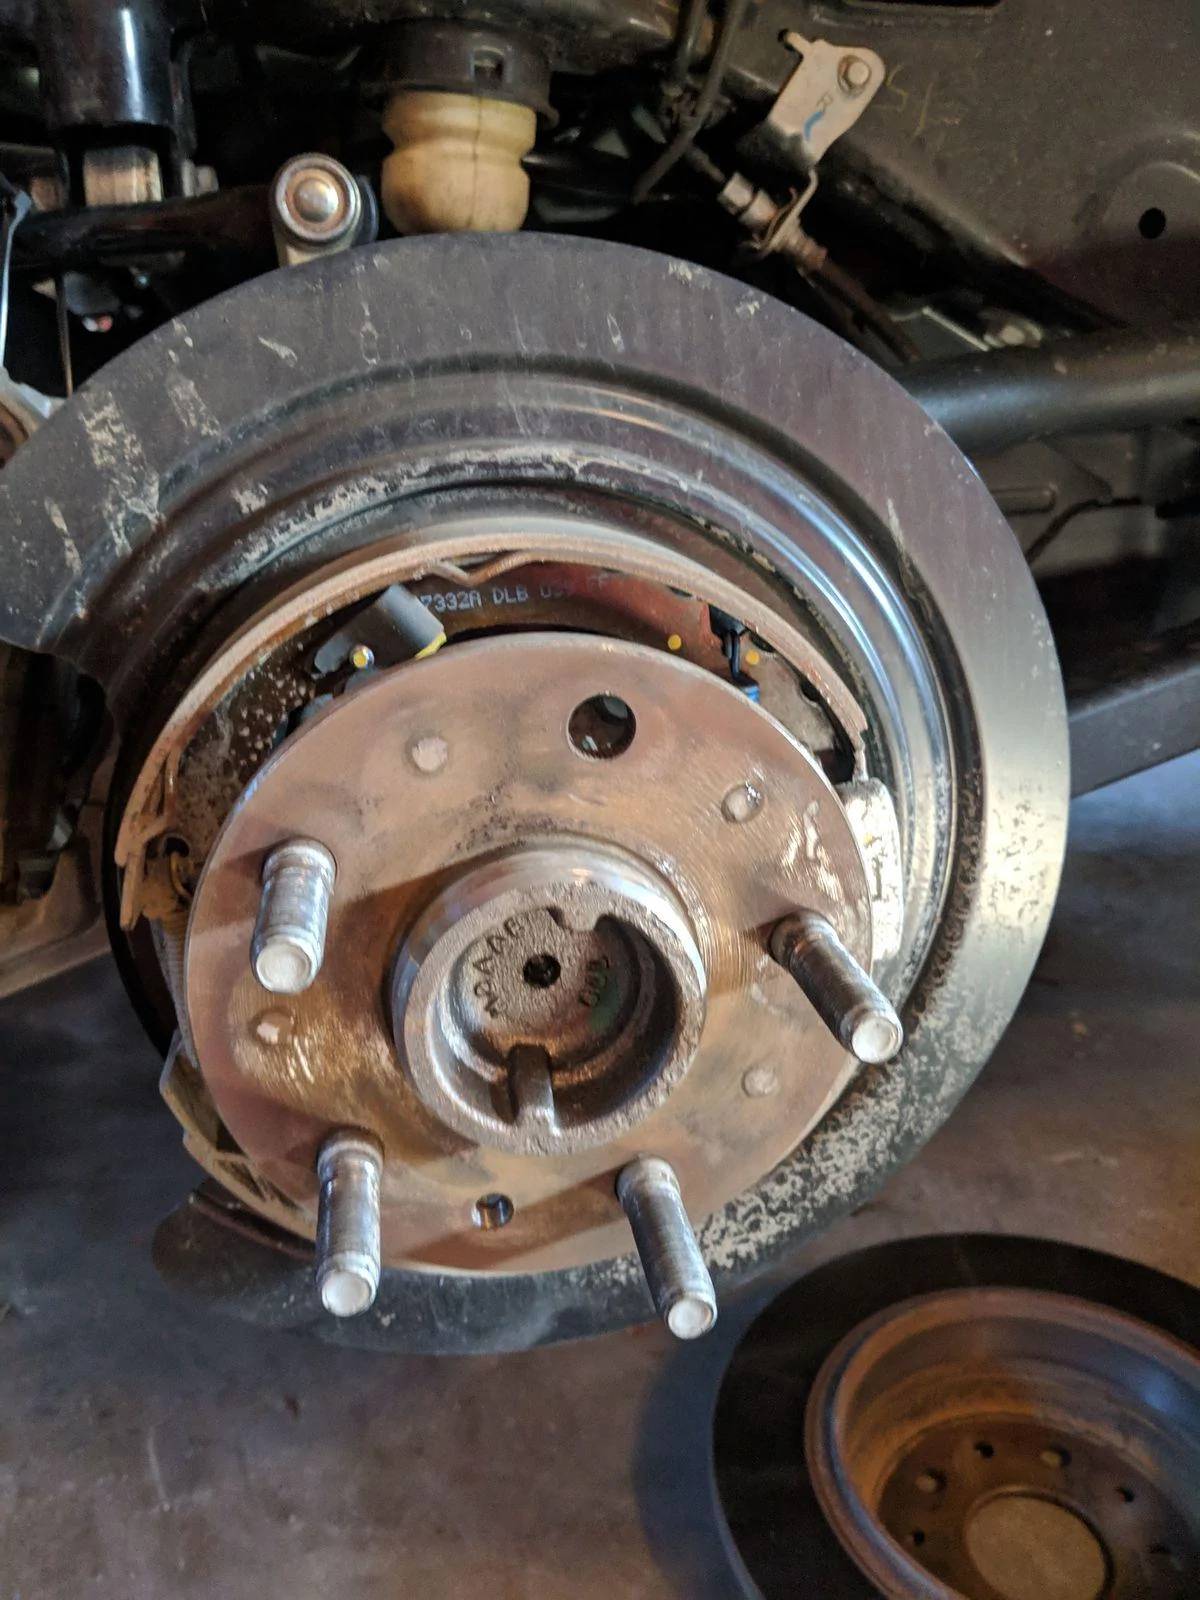
7. Slide in the stud sideways between the axle and the e brake and then you can rotate it and get the in the hole
8. Put on the washer stack and thread on the lug nut you don't care about
9. Use the pry bar and 2 other lug nuts and just it to jam up the axle using the floor, and use a breaker bar and tighten up the stud, important to note that you want to keep the stud near the top so it does not hit any of the sensor ans stuff as you tighten
10. Keep tightening the stud until it stops pressing in and the stud is flat with the axle flange, flip the pry bar around so you can use it to back the lug nut off
11. Repeat steps 6-10 for next stud
12. Put back the rotor and the retaining screw
13. Put back the the caliper and make sure the screws are on tight
14. Put back wheel and tighten and drop to the ground
Sponsored