
wjcubellis
Well-Known Member
- Thread starter
- #1
Thanks to those that have blazed a trail to share their plug and play experiences:
SunburntJeeper (https://www.jlwranglerforums.com/fo...dio-upgrade-sanity-check.126723/#post-2651311) and
KewJEEP33 (https://www.jlwranglerforums.com/fo...-acoustic-and-kicker-hs10-powered-sub.116009/)
I wanted to upgrade on a budget so I am not going with adding amps. The main take-aways I have observed to this point,
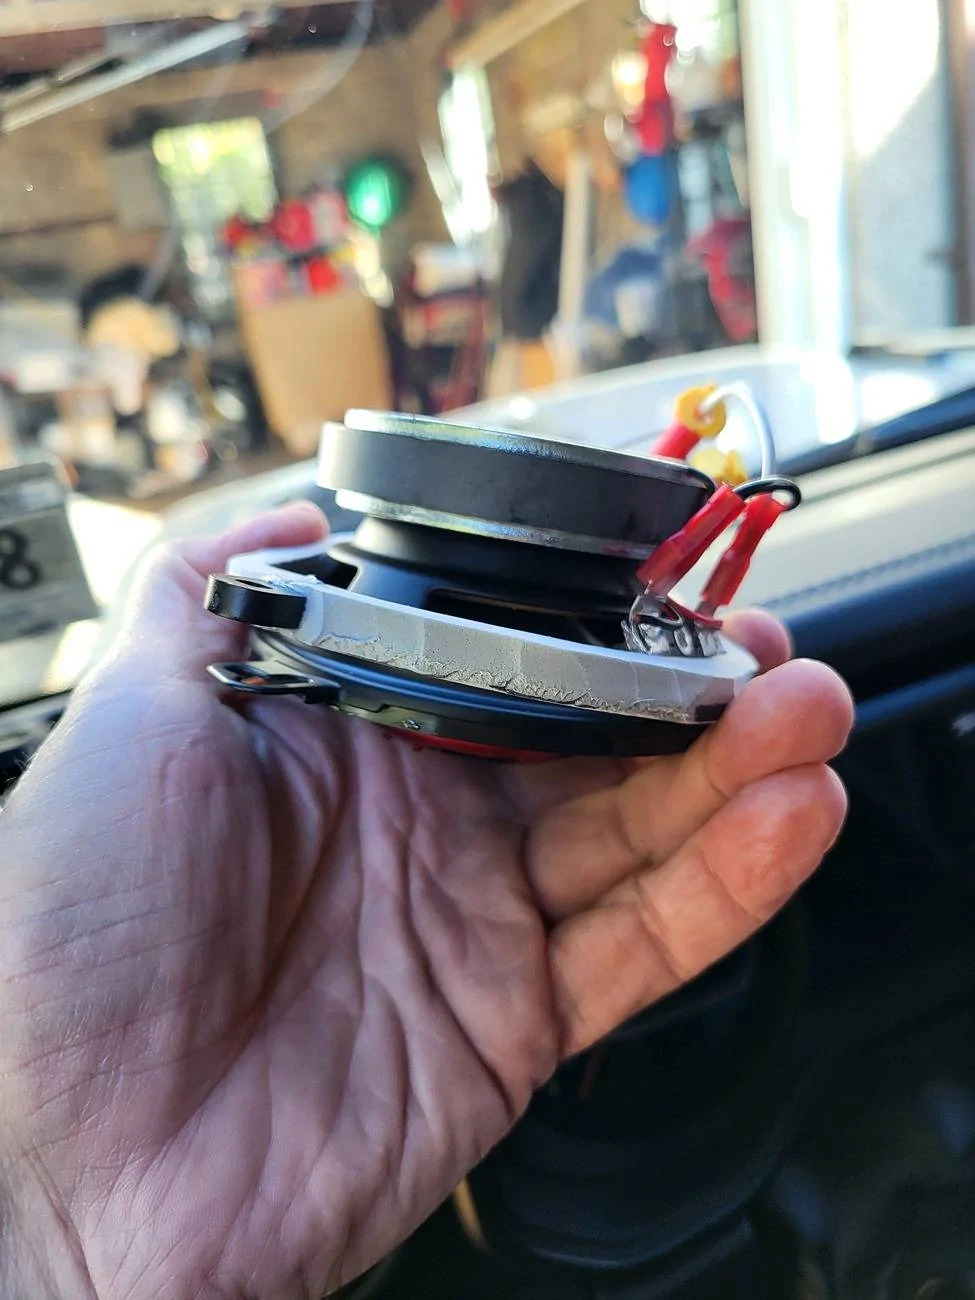
The install of the dash tweeters started with removing the speaker covers and the speakers. The connector adapters are important here. With Kicker KSC350 recommended by SunburntJeeper noted above, it should be plug and play. With the MB Quart XK2-108 speakers that I bought, I had to create a foam and plastic spacer to raise the speaker slightly. While on the tweeters, the polarity of the wires is reversed based on battery and volt meter testing. I used a cheapo polarity checker to check the knee mid-range speakers and it was not clear what they were. Jebiruph Confirmed in a Jul 14, 2024 post on the “Sanity Check” thread that the knee speakers are negative polarity (reversed), therefore, I will keep the polarity reversed at the tweeters (as he did).
Powered Sub Woofer:
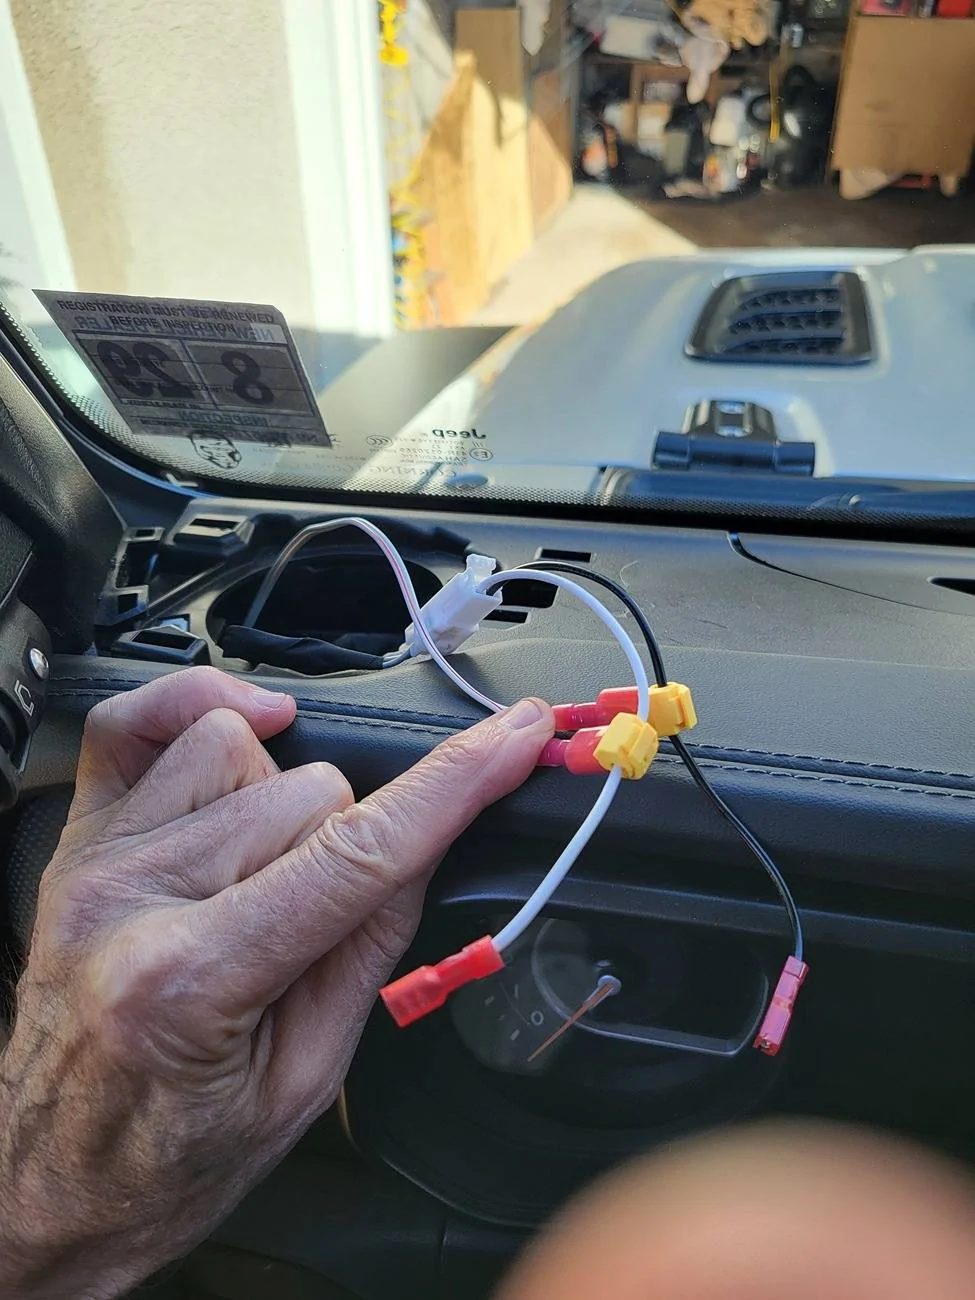
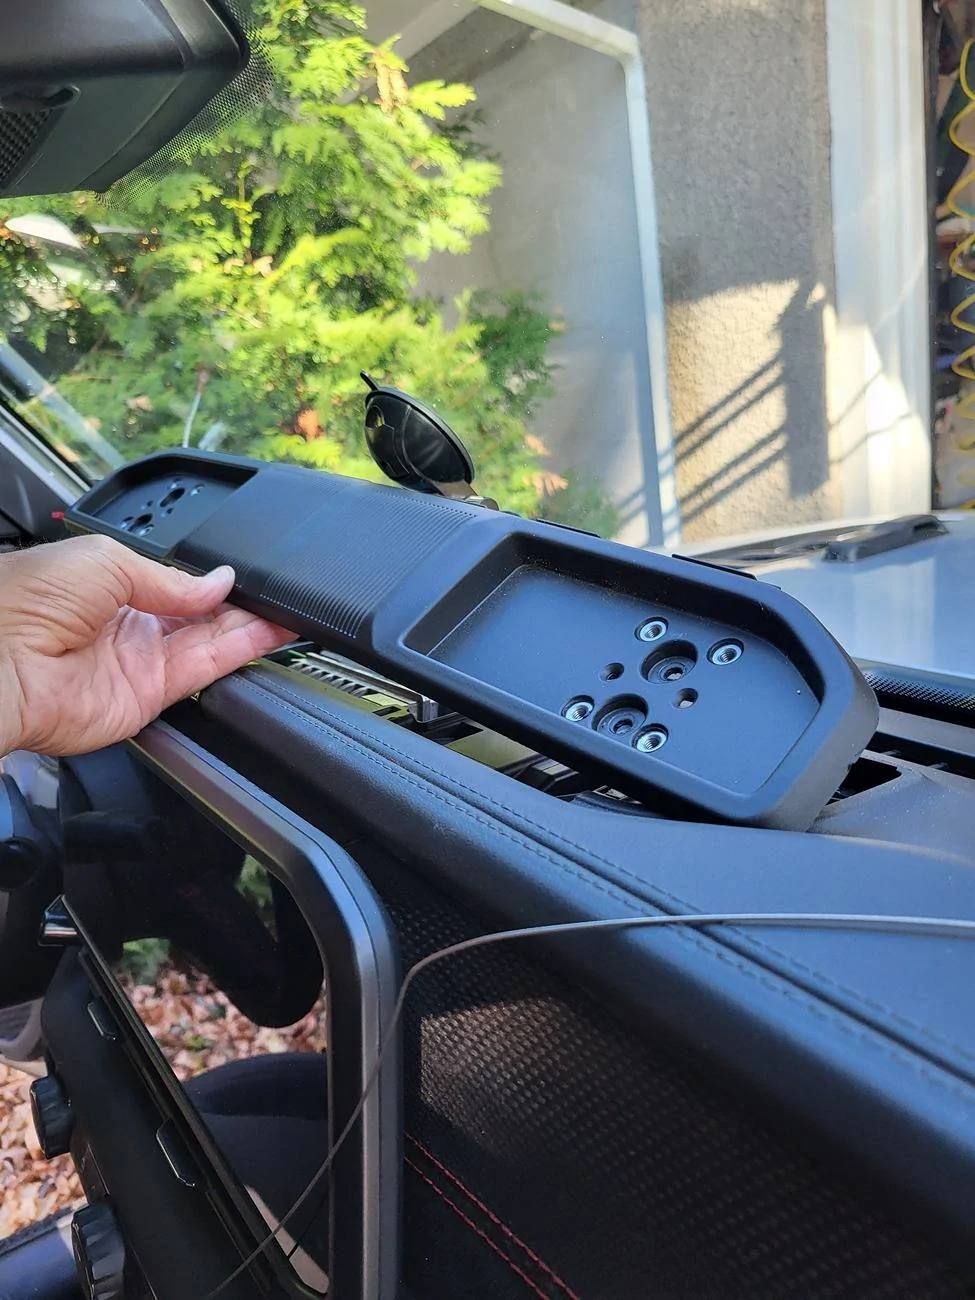
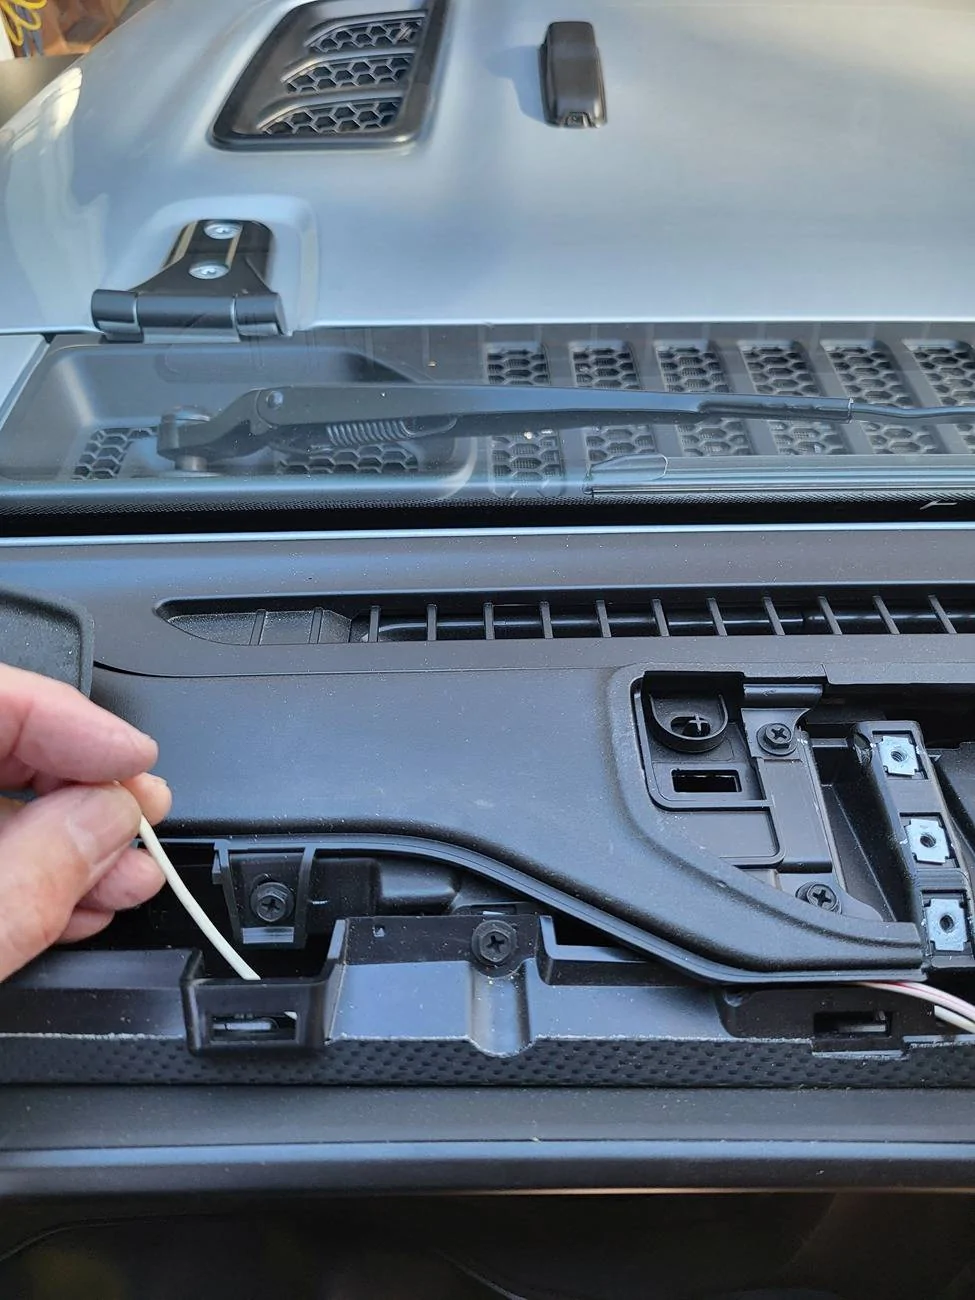
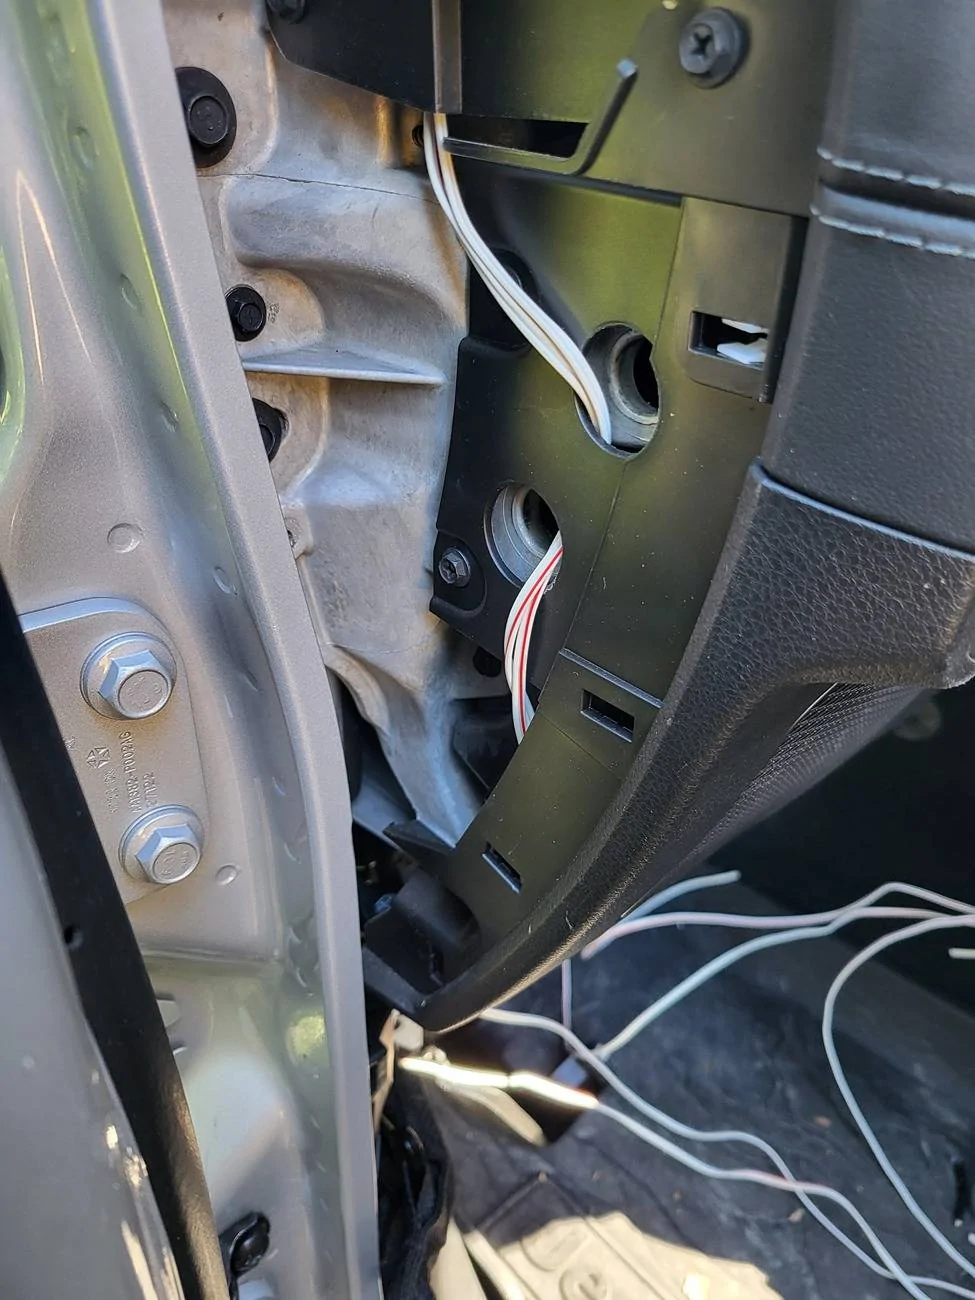
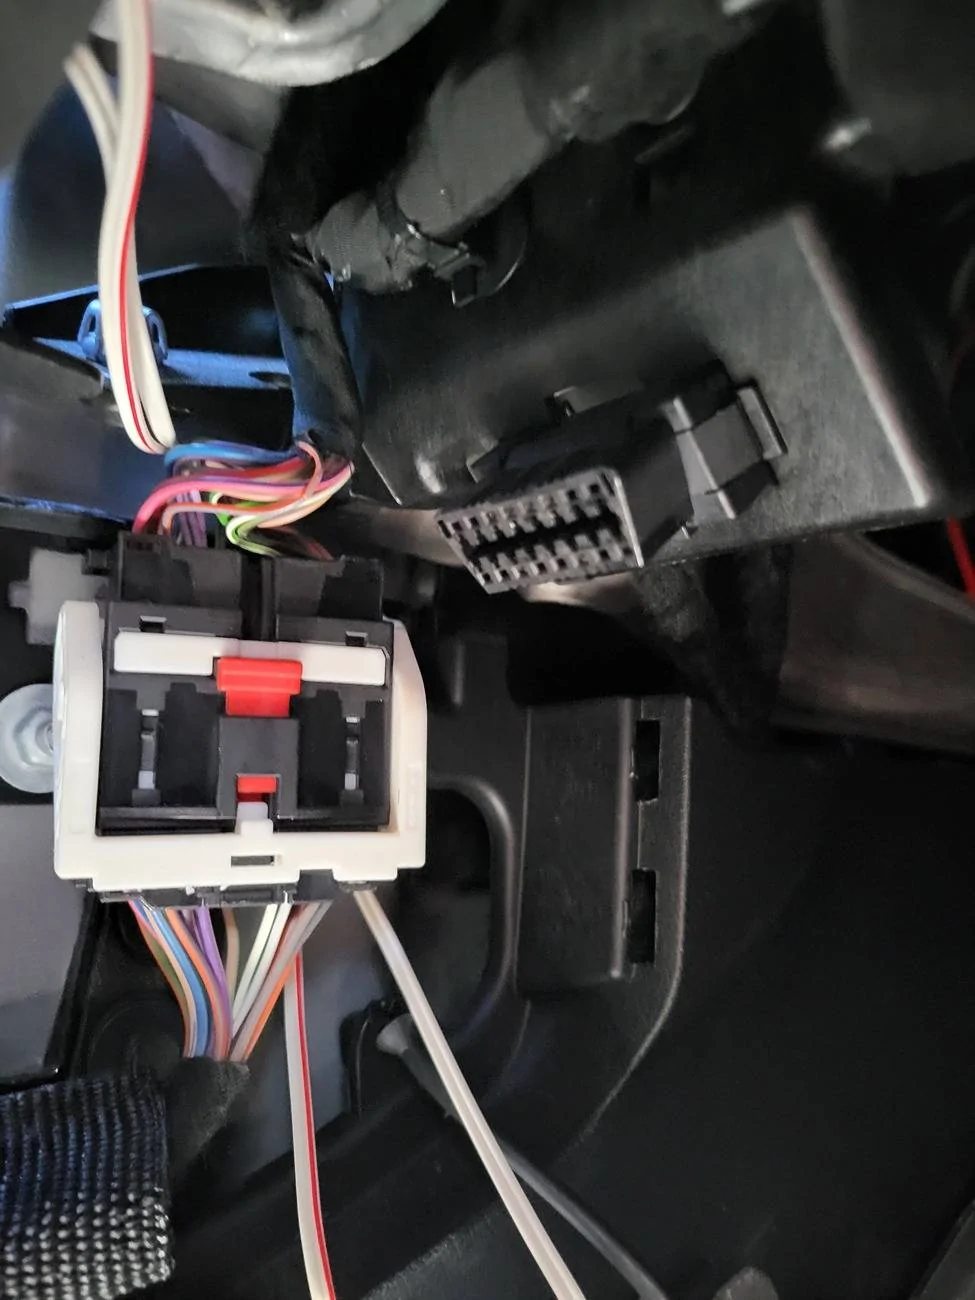
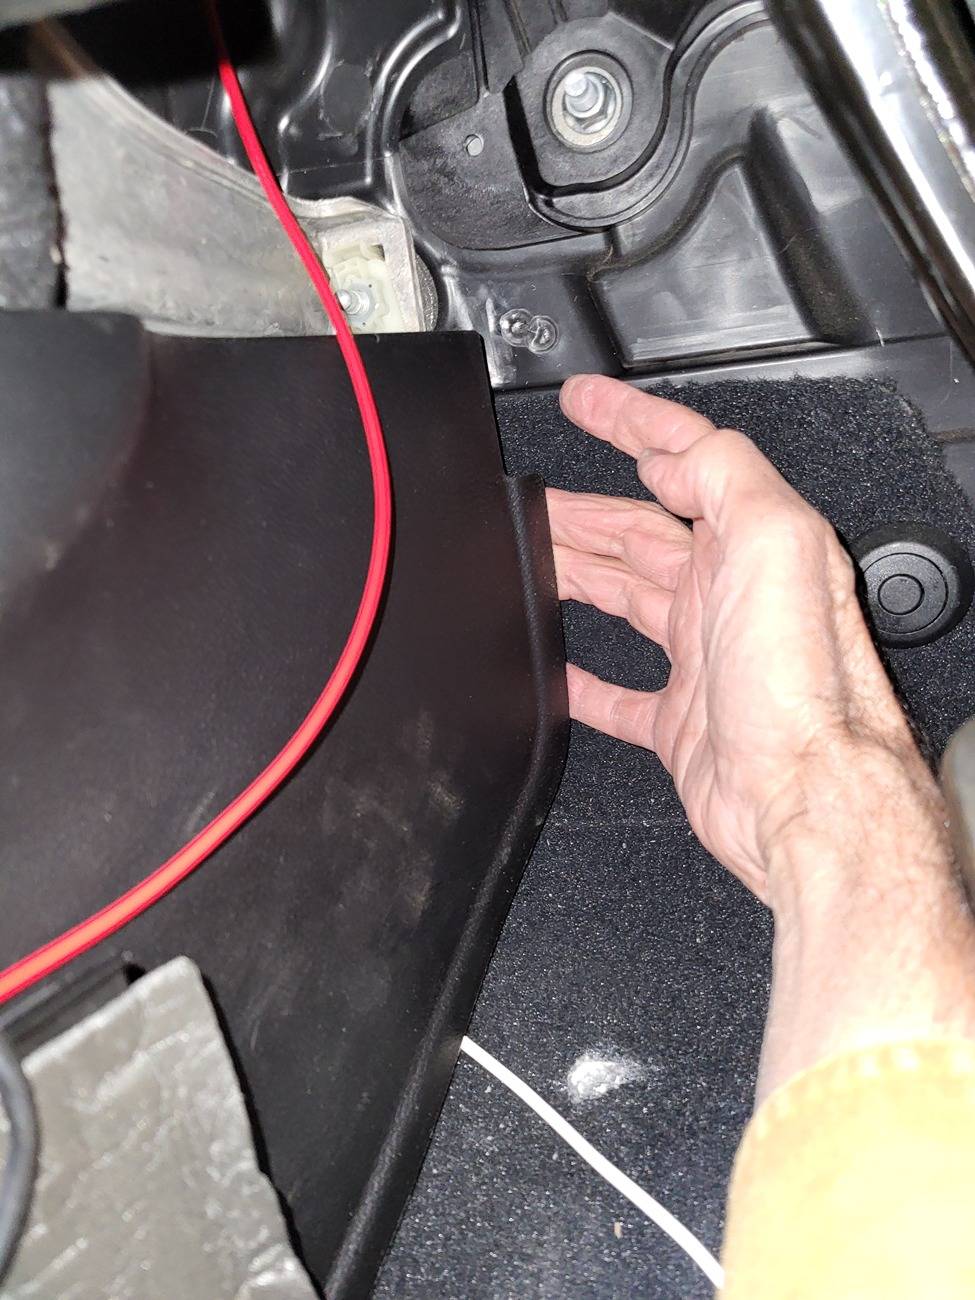
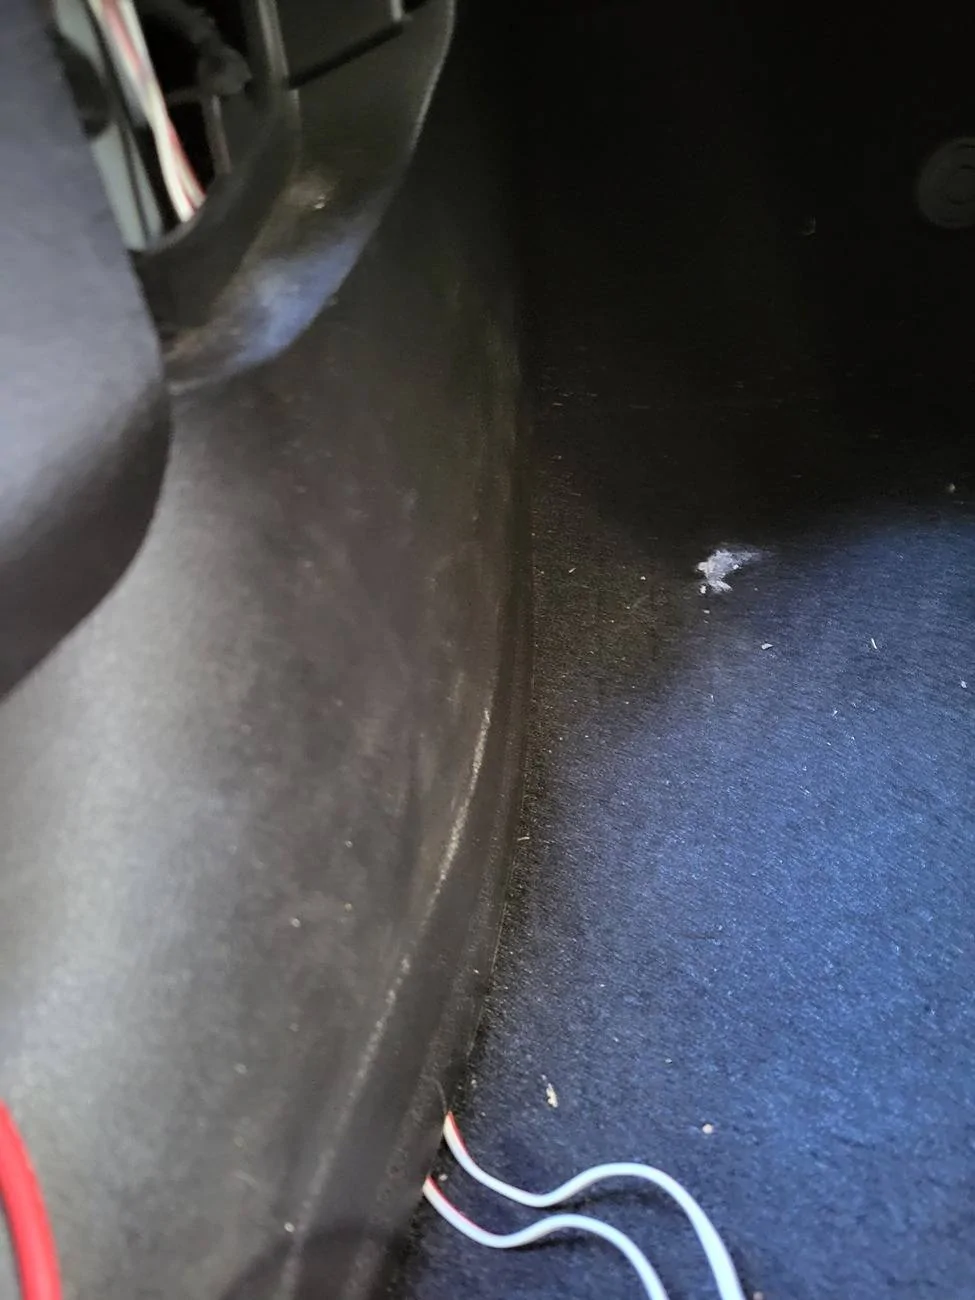
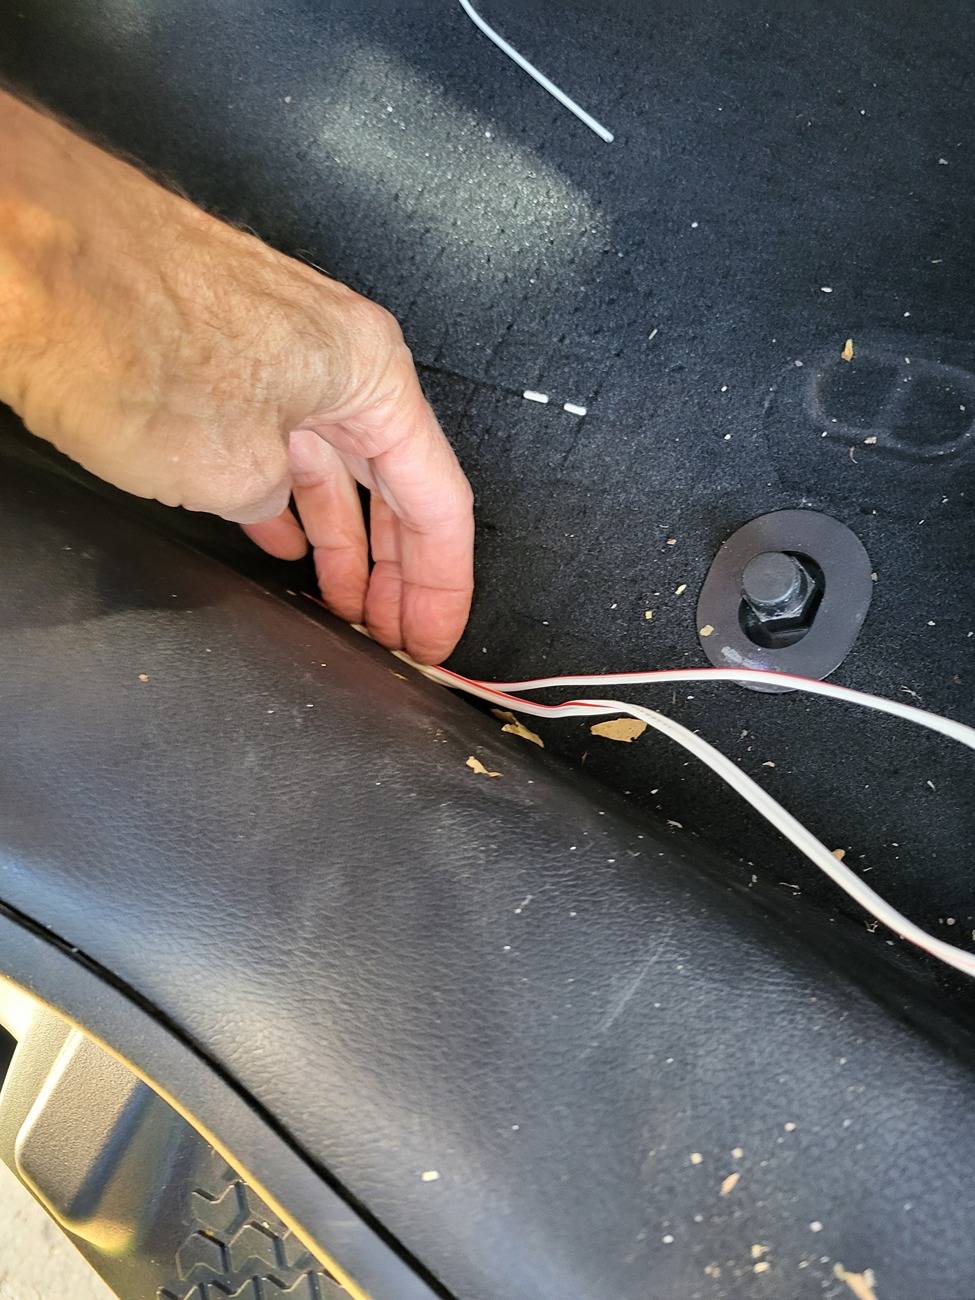
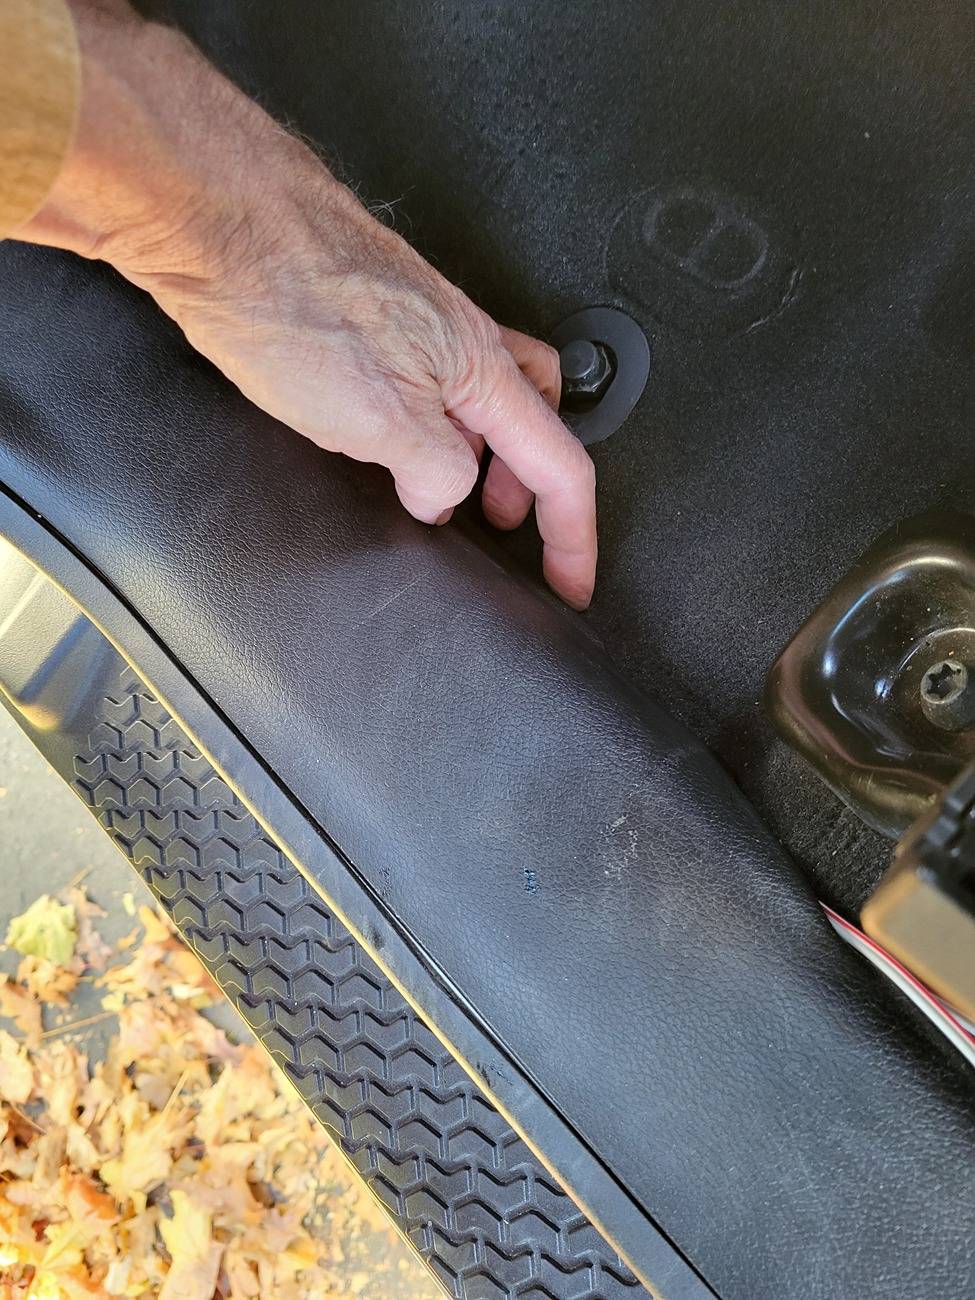
I decided to T-tap the dash speakers for the sub signal. I figured I had them exposed and it is clear which wires are which. Also, this eliminated having to open and tap the B pillar wires later. I routed the right T-tap tweeter speaker signal across the dash to the left T-tap. This required removing the dash center piece and the top trim piece. Jeep Cred has a good video on removing these . Once open, I fished the speaker wire through openings from the right tweeter to the left tweeter opening in the spaces closest to me. Once the right tweeter T-tap wire was fished to the left tweeter opening, I fished them down below the A pillar and along the rocker panel trim. One of the hardest things was getting the cable from the door disconnect compartment opening down (I avoided removing the lower plastic trim piece this way). I found that feeding them all the way forward (toward the firewall) allowed me to pull the trim piece out enough to grab the wires. Once through there, it’s easy to push them under the trim piece toward the seat. There was one point where there is less space to push the wire under, but if you pull the wire back and for (like flossing teeth) it should slip under.
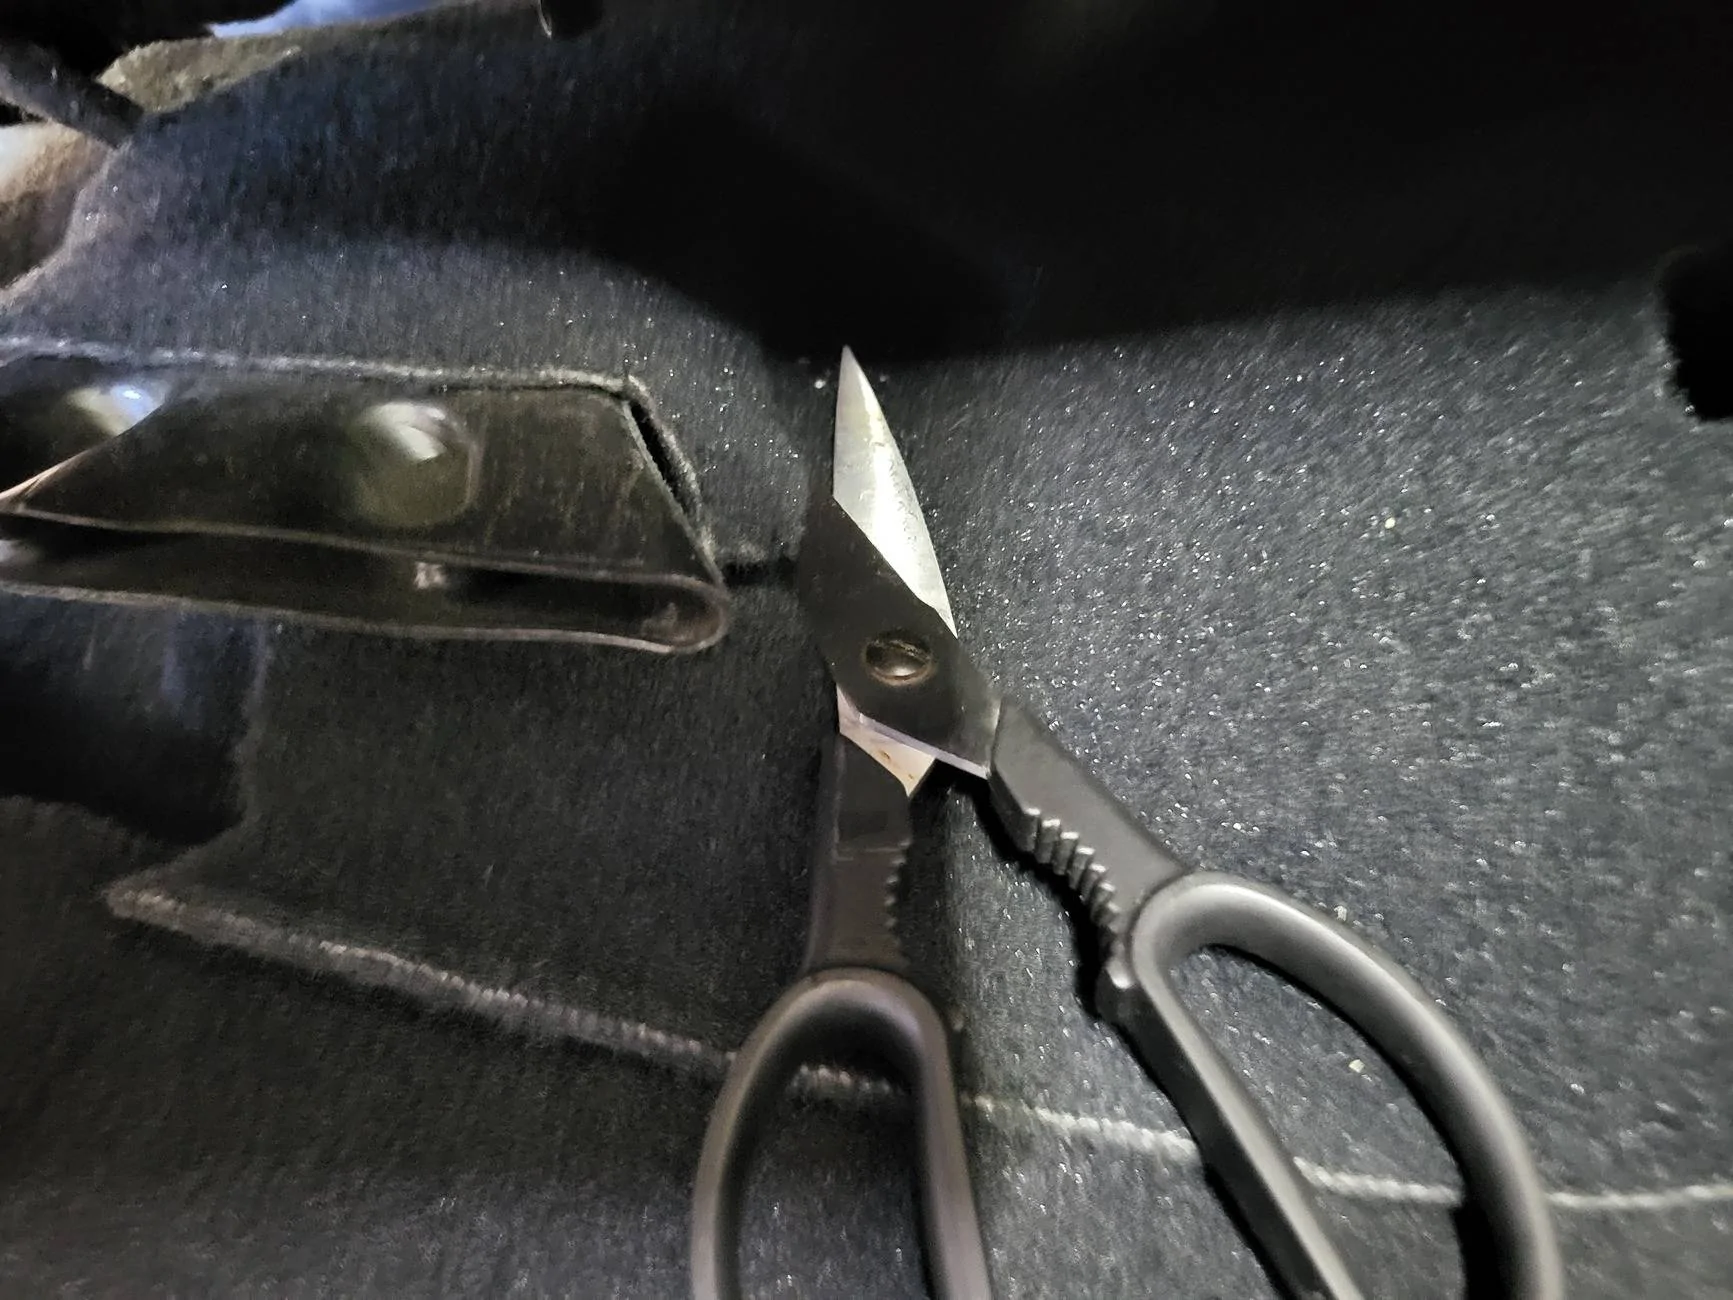
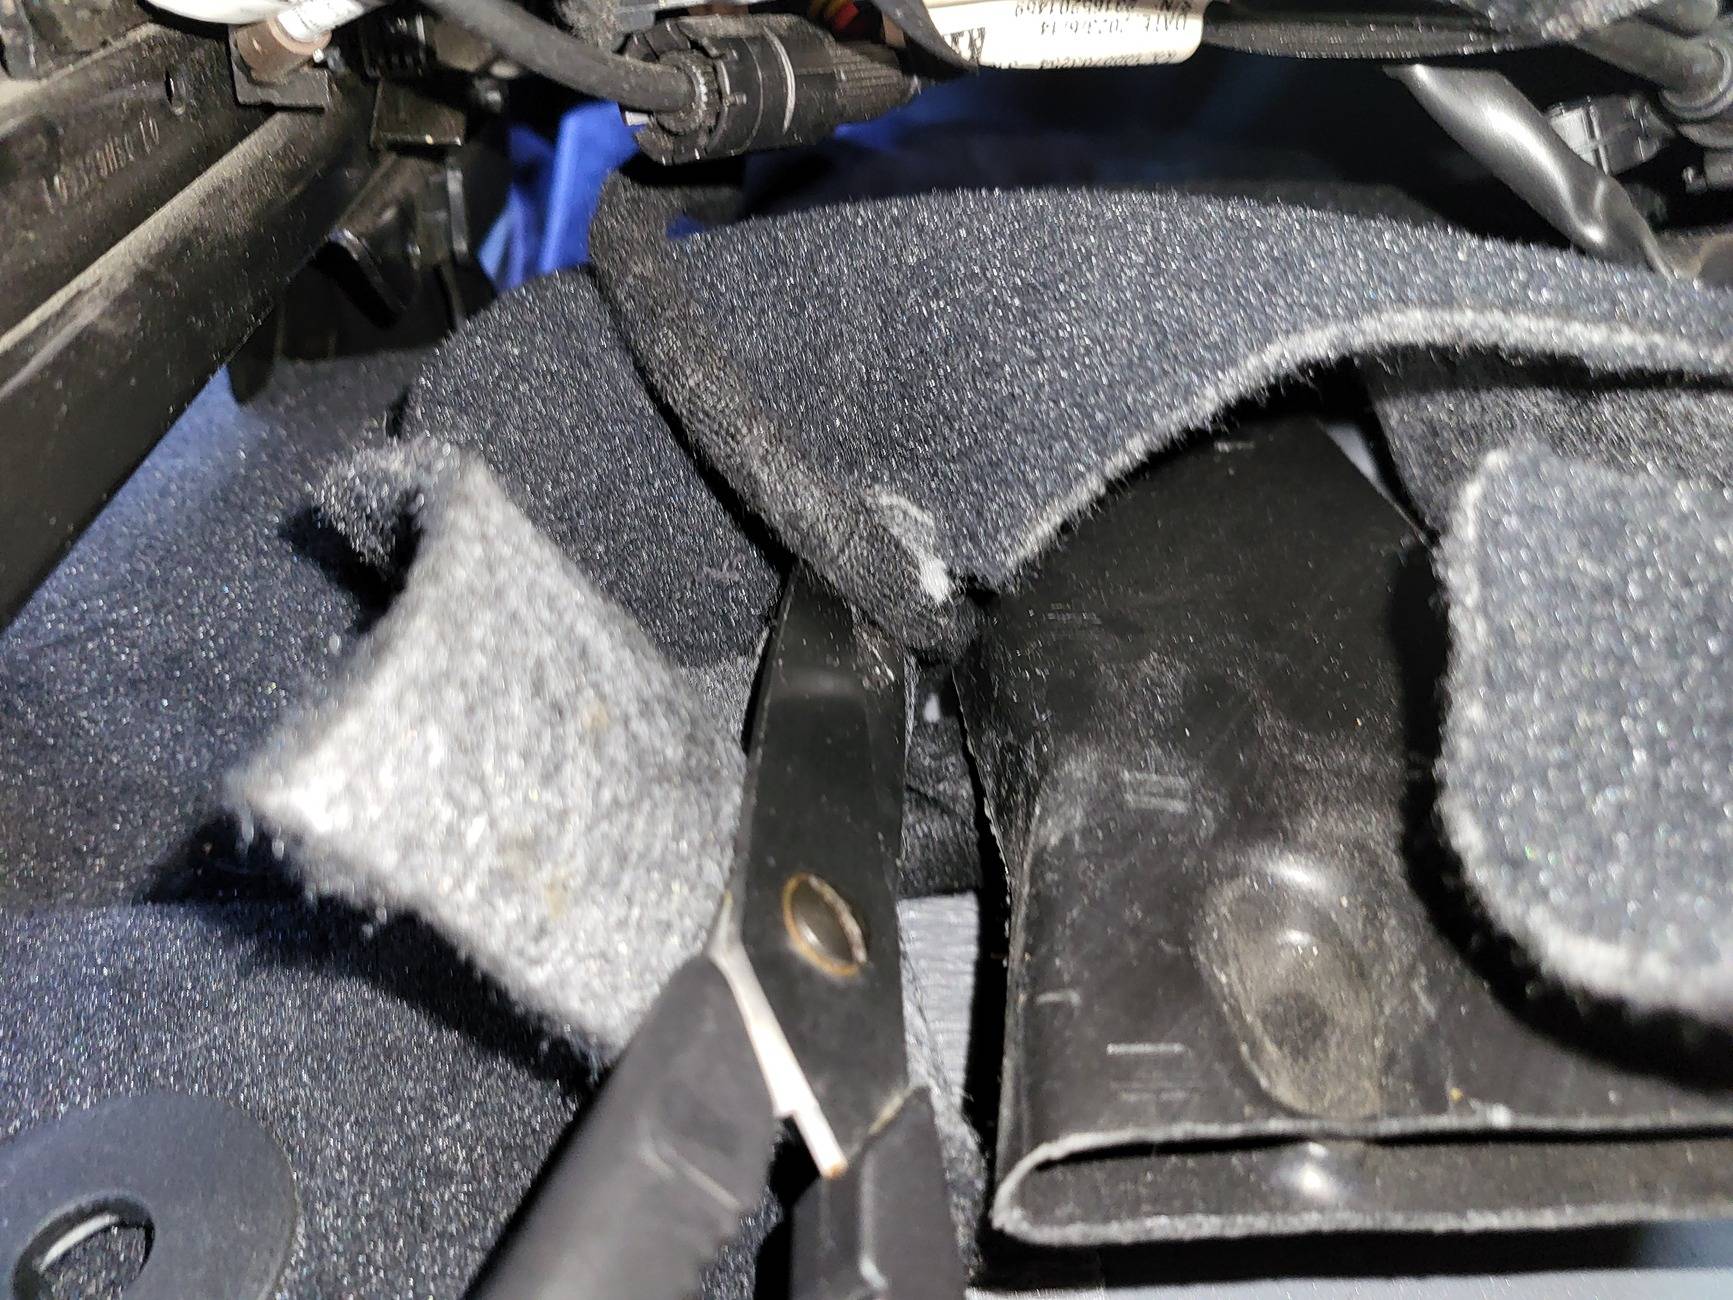
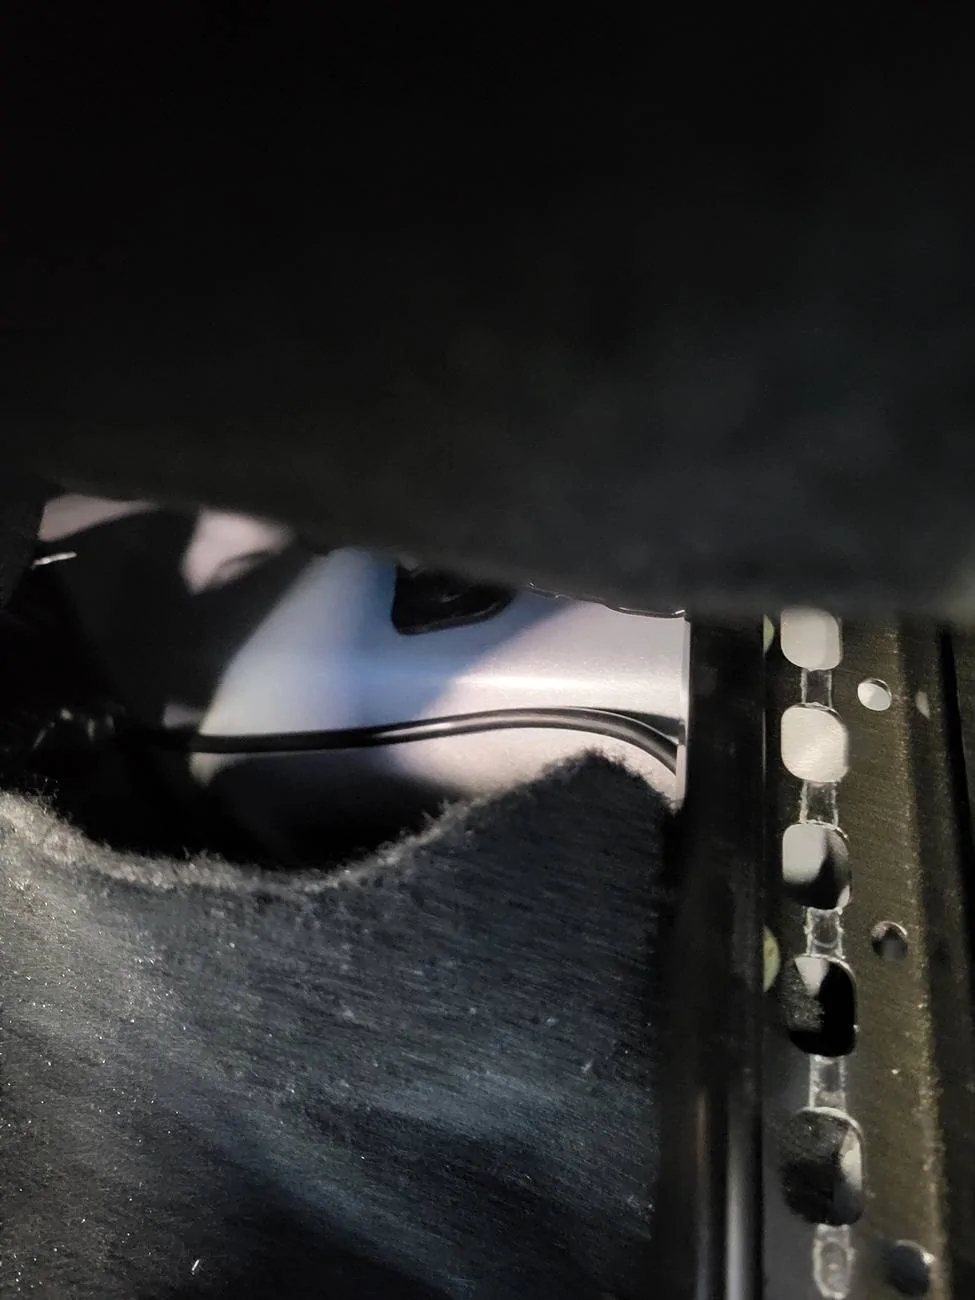
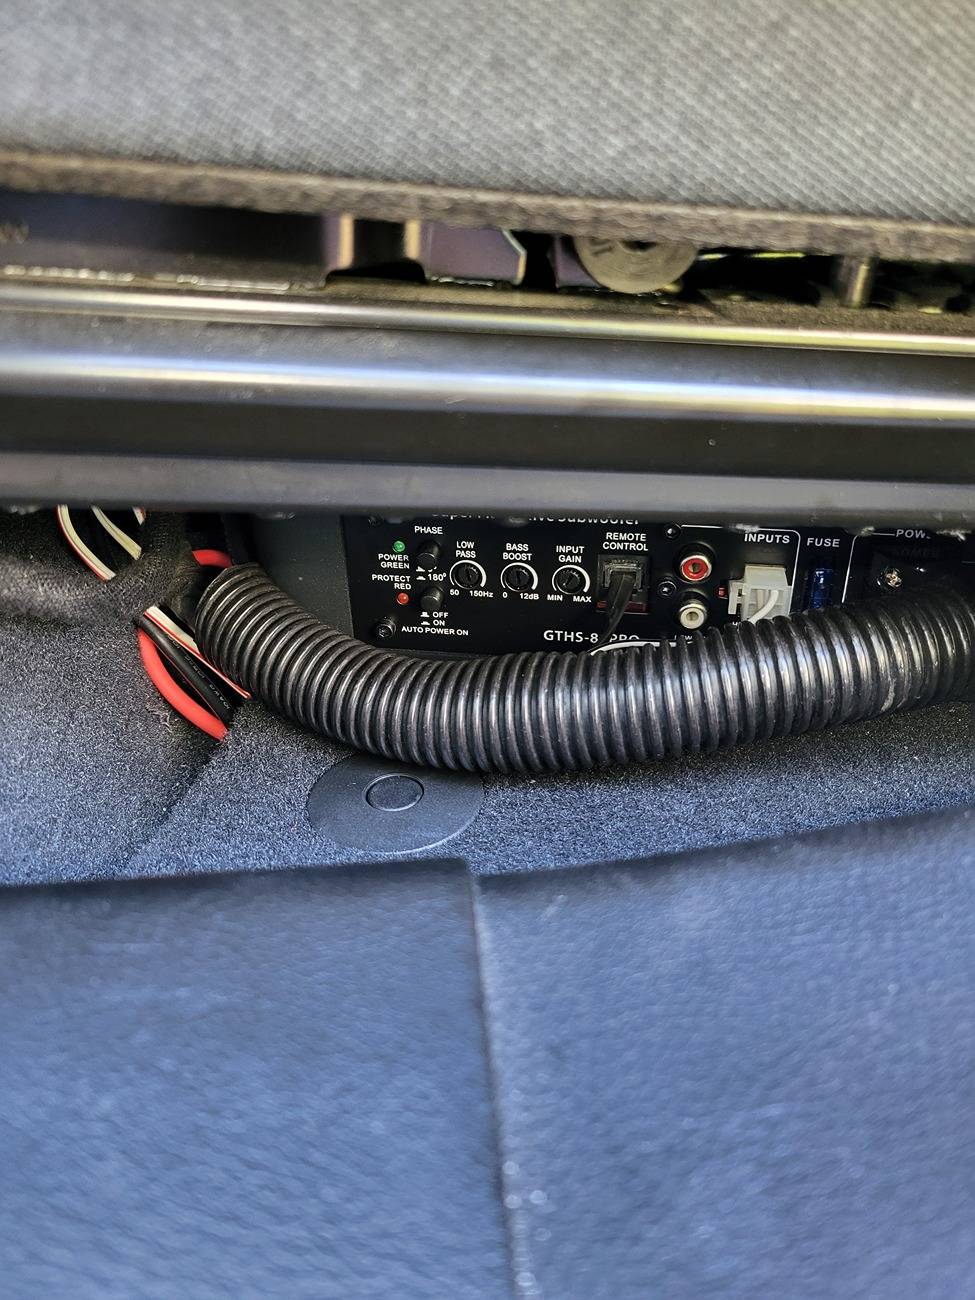
The BLAUPUNKT GTHS81PRO 8" Amplified Subwoofer did not fit well under the passenger seat. The Kicker HS10 shown in KewJEEP33’s thread seems to fit better. It did fit better under the driver seat reasonably well when angles slightly (seat electrical connectors are positioned differently). In addition, if getting in/out of the back seat, I would generally use the passenger seat. By putting it under the driver seat I feel like it’s less in the way. Both subs can use the speaker signal to trigger power vs having to run a remote lead. I trimmed the under-seat carpet on both sides of the heater vent. This allows the heater vent to be raised up over the sub so the sub would slide further under. I also stopped up the vent with foam and sealed with duct tape to prevent warm air flow through the vent. I rarely use AC as the doors are off spring to fall.
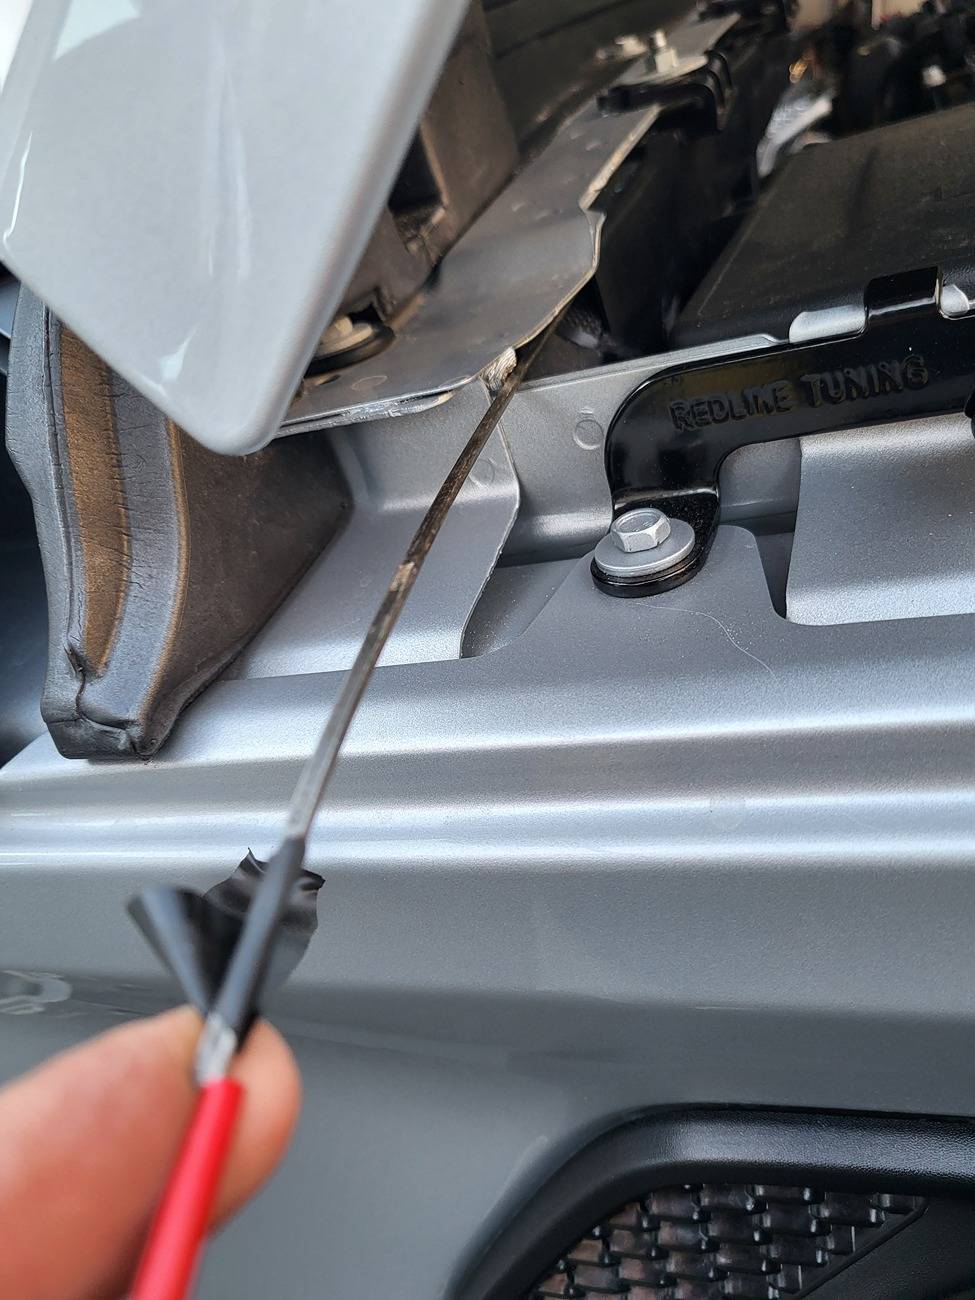
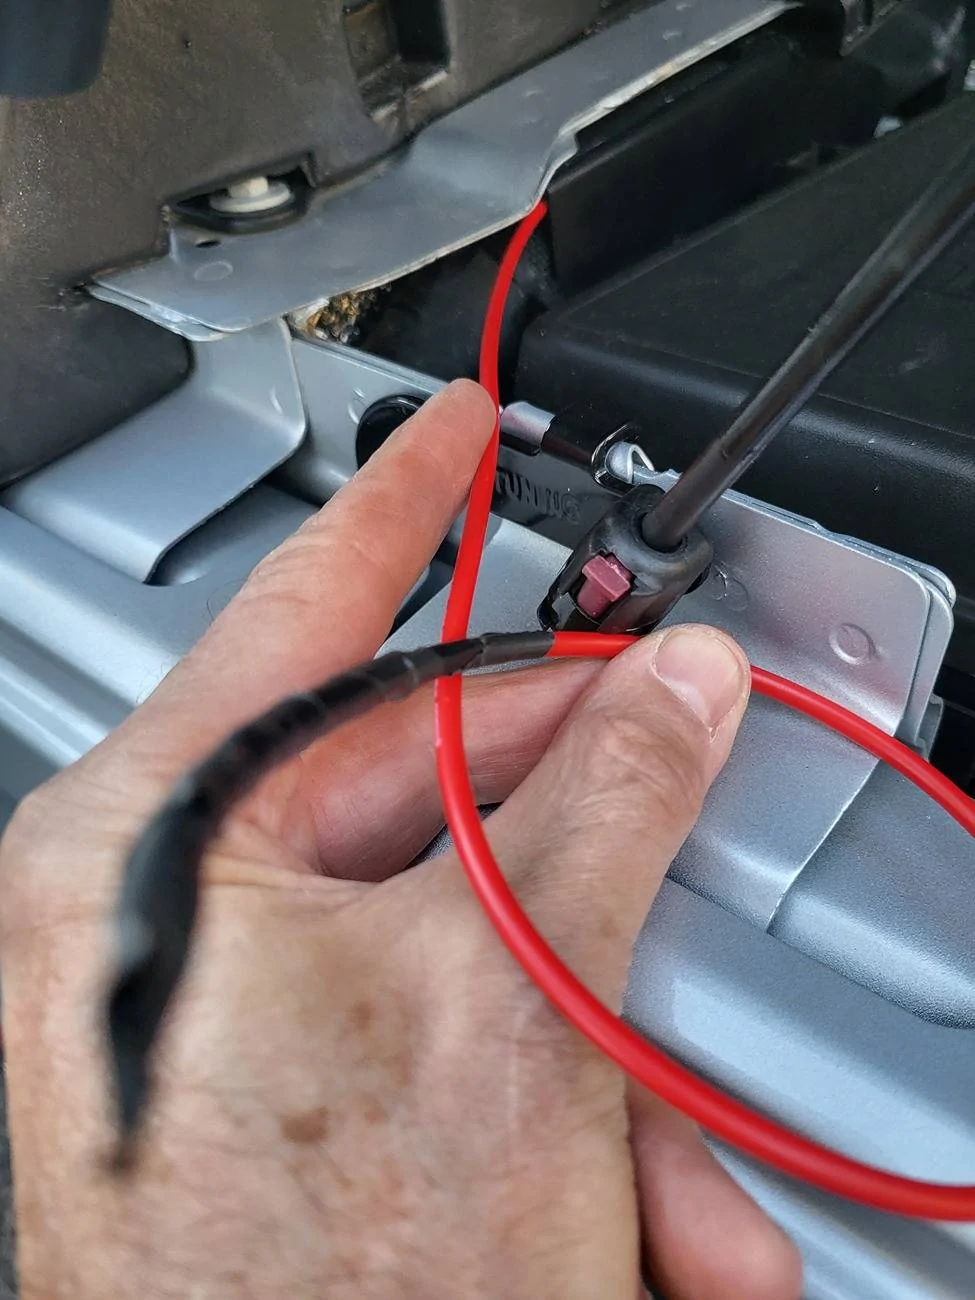
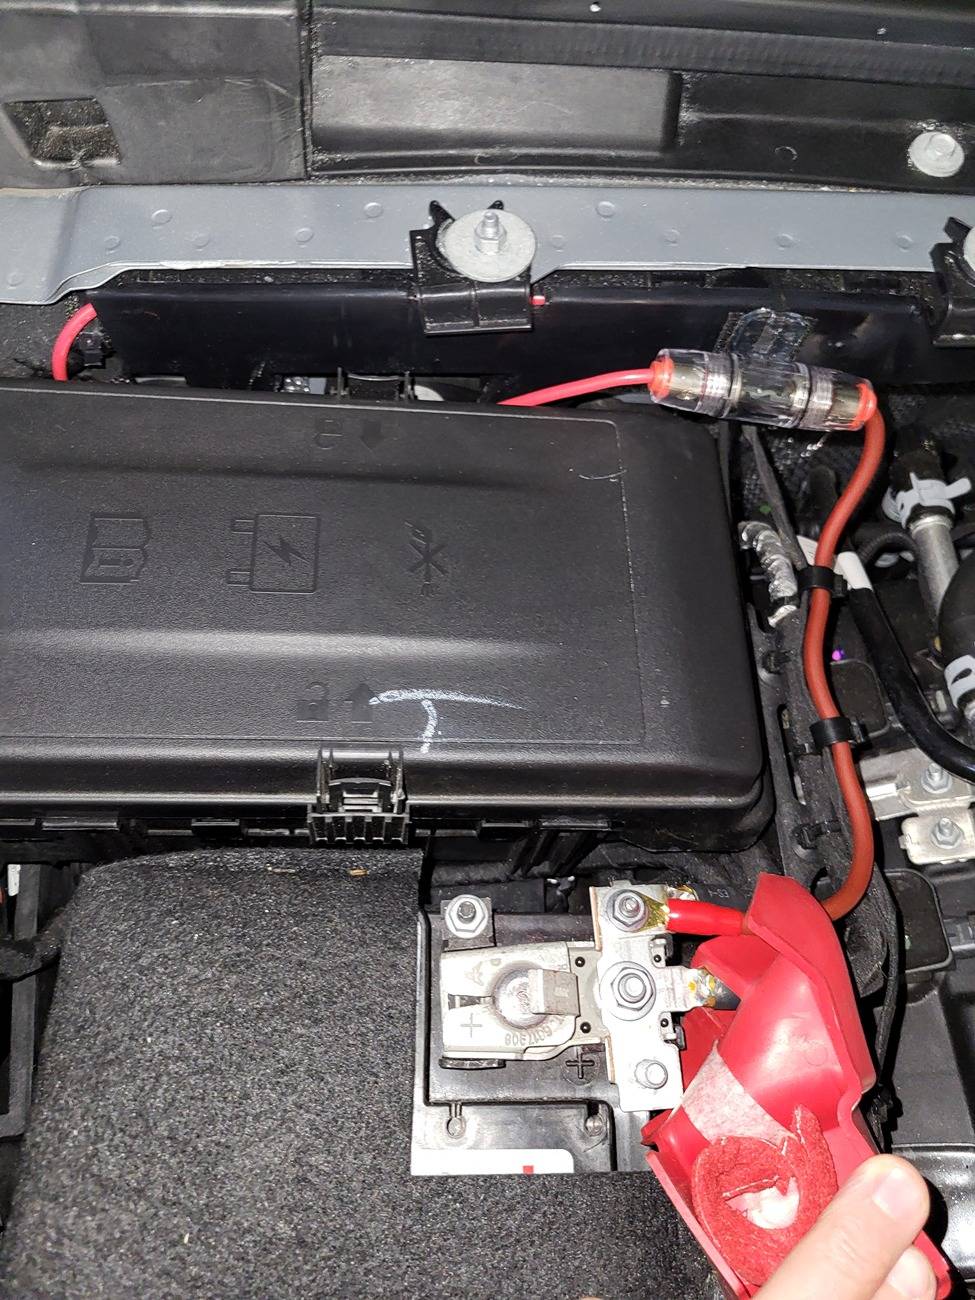
I used this fuse to tap the battery and tie into the 10 gauge supply https://www.amazon.com/gp/product/B0CBS1KSSQ/ref=ppx_yo_dt_b_search_asin_title?ie=UTF8&th=1 I was able to run the power supply through the wiring bus housing inside the engine compartment (that goes across the top/rear of the engine compartment to the driver side fire wall.
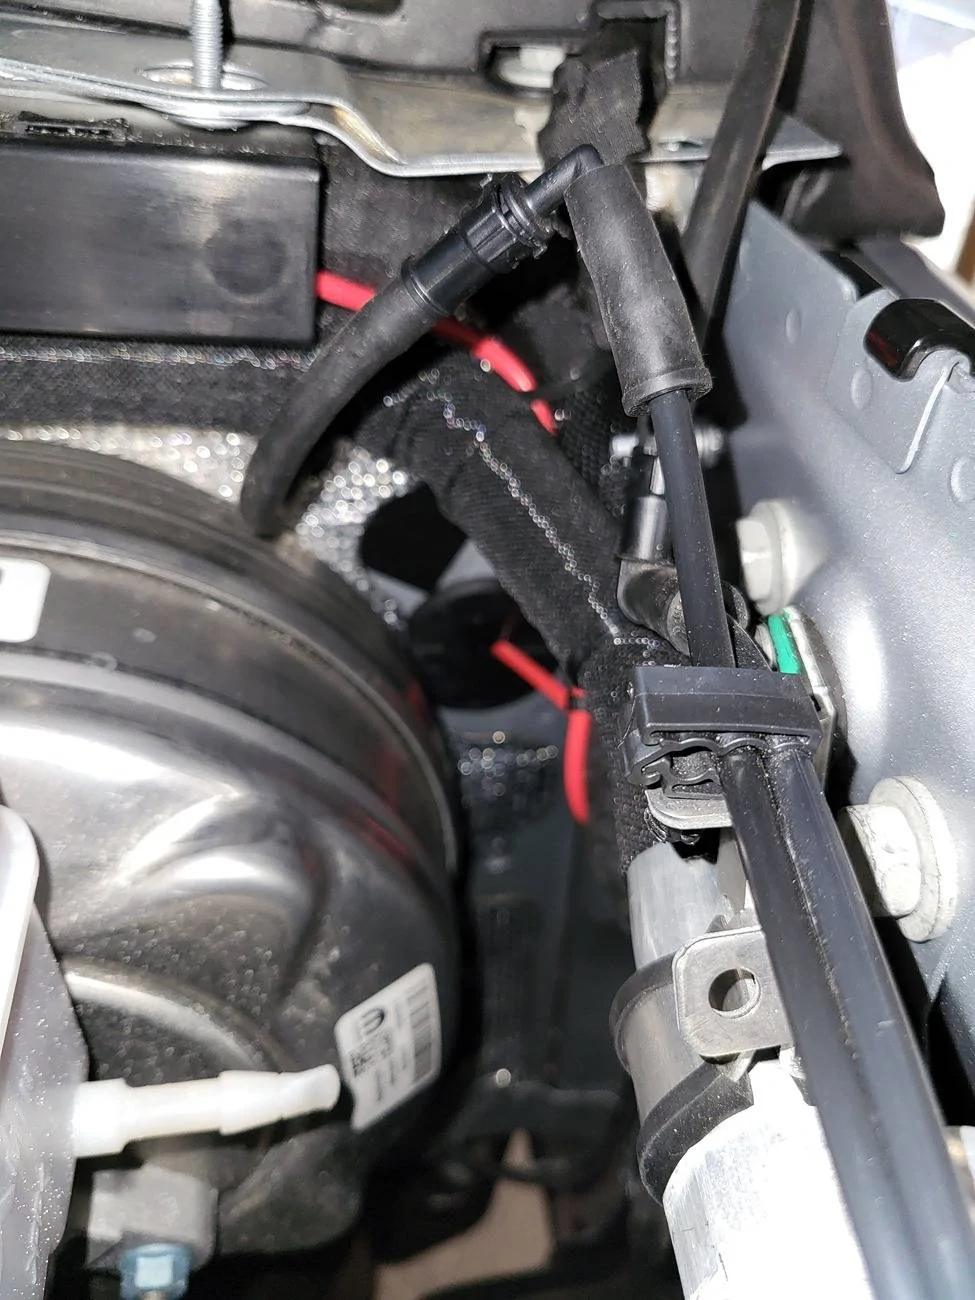
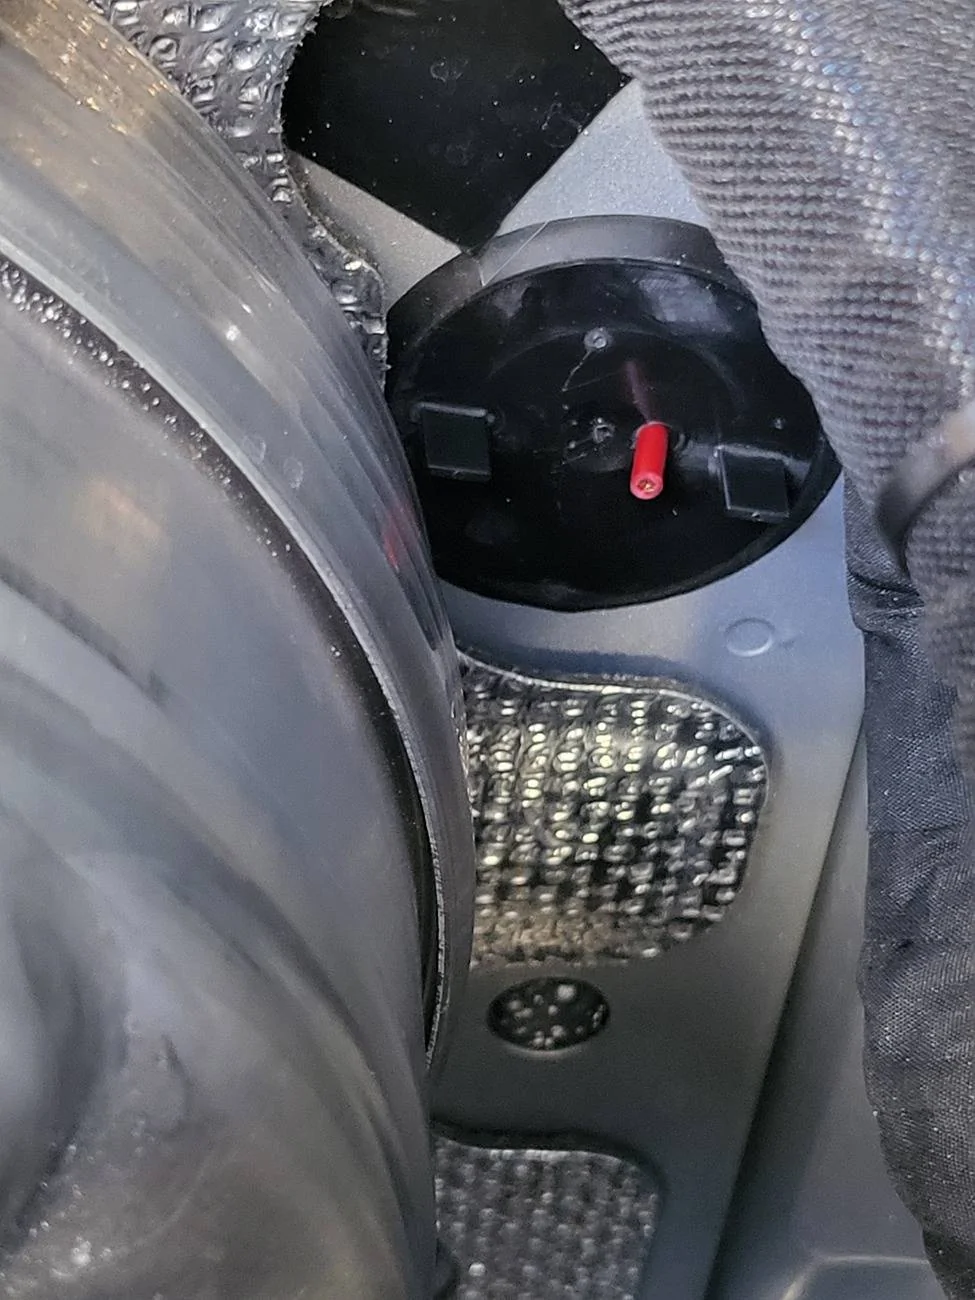
I drilled a hole in the plastic filler grommet just below the brake booster. I sized the drill bit to fit snug and I silicone sealed it. Getting it through the plastic wiring bus housing was tough. I first used a heavy-duty wire fish with 14-gauge wire that went through OK. I then decided to go with 10-gauge power supply wire due to many things I read. I opted for 10 gauge (vs 8) because I was not sure if 8 gauge would fit. I now think that 8 gauge would fit. I grounded to a screw inboard near the drive tunnel (there are a few).
Once in the cabin, I routed the same as the speaker wires. From there I cleaned up the ends, made the connections, hooked up the remote control and fired it up.


SunburntJeeper (https://www.jlwranglerforums.com/fo...dio-upgrade-sanity-check.126723/#post-2651311) and
KewJEEP33 (https://www.jlwranglerforums.com/fo...-acoustic-and-kicker-hs10-powered-sub.116009/)
I wanted to upgrade on a budget so I am not going with adding amps. The main take-aways I have observed to this point,
- The 4 stock tweeters are not good. This or the sub are the 1st things I recommend changing. I did a side by side and the stock tweeters were noticeably unclear and scratchy (and I don’t have a great ear). If you go this way you want these connectors to make them plug and play. https://www.amazon.com/dp/B0C3QVSD4R?ref=ppx_yo2ov_dt_b_fed_asin_title&th=1
- For the dash tweeters I went with MB Quart XK2-108 3.5-Inch because the frequency response was high and the cost was low. https://www.amazon.com/dp/B0DB4G12XZ?ref=ppx_yo2ov_dt_b_fed_asin_title
- I’m very happy with them BUT they don’t fit because they hit the air vent. I had to construct a foam/plastic spacer ring to raise them up around 1/4”.
- For the sound bar tweeters I went with the KICKER 51KSC2704, 2.75" as suggested by SunburntJeeper.
- For the sub I went with the BLAUPUNKT GTHS81PRO 8" Amplified Subwoofer because it seemed to be one of the smallest and cheapest. After installing the sub, this may be the best 1st step vs. the tweeters. Link to the sub: https://www.amazon.com/dp/B0CNF16988?ref=ppx_yo2ov_dt_b_fed_asin_title That said, the Kicker seems to fit better based on KewJEEP33’s install.
The install of the dash tweeters started with removing the speaker covers and the speakers. The connector adapters are important here. With Kicker KSC350 recommended by SunburntJeeper noted above, it should be plug and play. With the MB Quart XK2-108 speakers that I bought, I had to create a foam and plastic spacer to raise the speaker slightly. While on the tweeters, the polarity of the wires is reversed based on battery and volt meter testing. I used a cheapo polarity checker to check the knee mid-range speakers and it was not clear what they were. Jebiruph Confirmed in a Jul 14, 2024 post on the “Sanity Check” thread that the knee speakers are negative polarity (reversed), therefore, I will keep the polarity reversed at the tweeters (as he did).
Powered Sub Woofer:
I decided to T-tap the dash speakers for the sub signal. I figured I had them exposed and it is clear which wires are which. Also, this eliminated having to open and tap the B pillar wires later. I routed the right T-tap tweeter speaker signal across the dash to the left T-tap. This required removing the dash center piece and the top trim piece. Jeep Cred has a good video on removing these . Once open, I fished the speaker wire through openings from the right tweeter to the left tweeter opening in the spaces closest to me. Once the right tweeter T-tap wire was fished to the left tweeter opening, I fished them down below the A pillar and along the rocker panel trim. One of the hardest things was getting the cable from the door disconnect compartment opening down (I avoided removing the lower plastic trim piece this way). I found that feeding them all the way forward (toward the firewall) allowed me to pull the trim piece out enough to grab the wires. Once through there, it’s easy to push them under the trim piece toward the seat. There was one point where there is less space to push the wire under, but if you pull the wire back and for (like flossing teeth) it should slip under.
The BLAUPUNKT GTHS81PRO 8" Amplified Subwoofer did not fit well under the passenger seat. The Kicker HS10 shown in KewJEEP33’s thread seems to fit better. It did fit better under the driver seat reasonably well when angles slightly (seat electrical connectors are positioned differently). In addition, if getting in/out of the back seat, I would generally use the passenger seat. By putting it under the driver seat I feel like it’s less in the way. Both subs can use the speaker signal to trigger power vs having to run a remote lead. I trimmed the under-seat carpet on both sides of the heater vent. This allows the heater vent to be raised up over the sub so the sub would slide further under. I also stopped up the vent with foam and sealed with duct tape to prevent warm air flow through the vent. I rarely use AC as the doors are off spring to fall.
I used this fuse to tap the battery and tie into the 10 gauge supply https://www.amazon.com/gp/product/B0CBS1KSSQ/ref=ppx_yo_dt_b_search_asin_title?ie=UTF8&th=1 I was able to run the power supply through the wiring bus housing inside the engine compartment (that goes across the top/rear of the engine compartment to the driver side fire wall.
I drilled a hole in the plastic filler grommet just below the brake booster. I sized the drill bit to fit snug and I silicone sealed it. Getting it through the plastic wiring bus housing was tough. I first used a heavy-duty wire fish with 14-gauge wire that went through OK. I then decided to go with 10-gauge power supply wire due to many things I read. I opted for 10 gauge (vs 8) because I was not sure if 8 gauge would fit. I now think that 8 gauge would fit. I grounded to a screw inboard near the drive tunnel (there are a few).
Once in the cabin, I routed the same as the speaker wires. From there I cleaned up the ends, made the connections, hooked up the remote control and fired it up.





Sponsored