Bryce919er
Well-Known Member
- Thread starter
- #1
Figured I would post a thread for the Mopar hitch & wiring install I just did on a 2024 Sahara. Alot of the information & videos out there are outdated. There are several variables that make it confusing if you are new to the scene including:
3 different stock bumpers
Sport style
Sahara / Rubicon style
Steel
2 different Mopar hitches
With 2 nuts welded on 68251844AB
With 4 nuts welded on 68240905AA
Plus an "accessory" version that includes the bolts & receiver cap for almost 3x the money 82215209
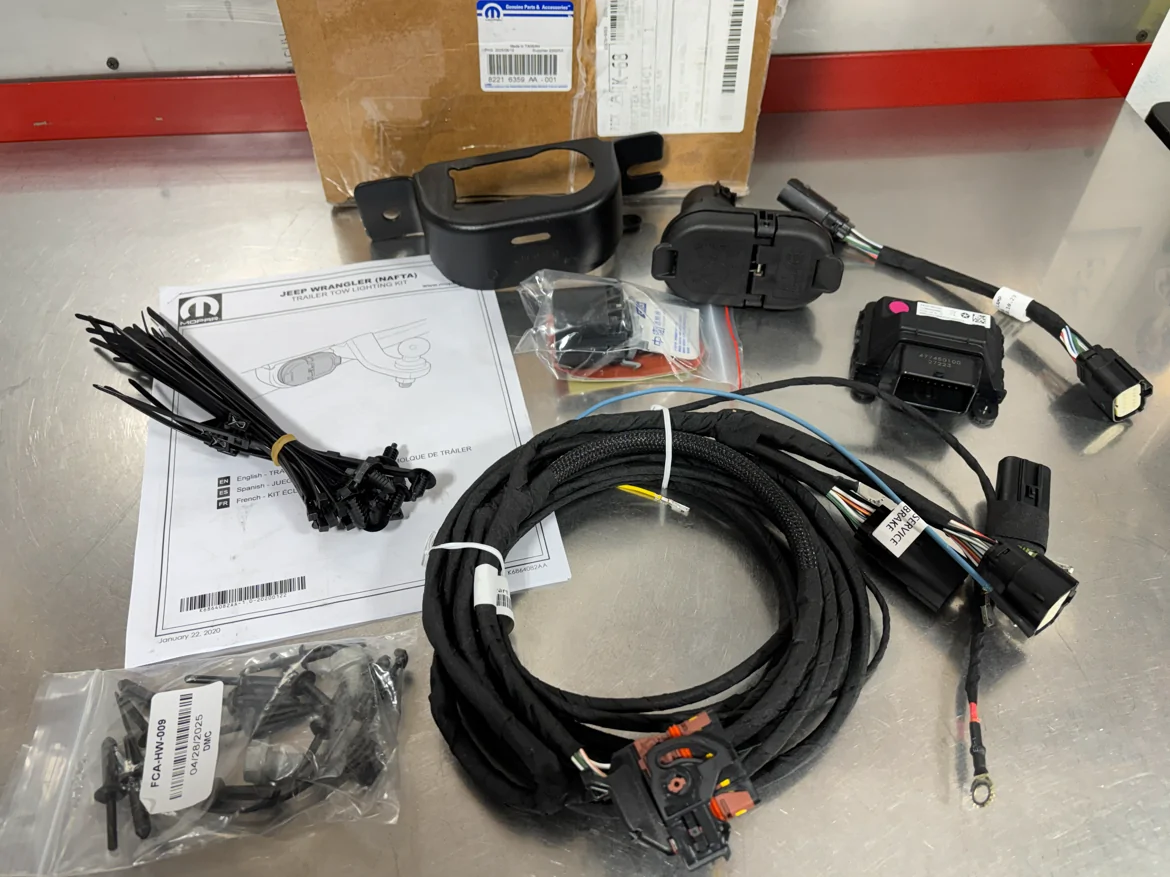
2 different Mopar wiring kits
Thru the interior 82215398AB / 82215896 (Discontinued)
Along the exterior 82216359AA
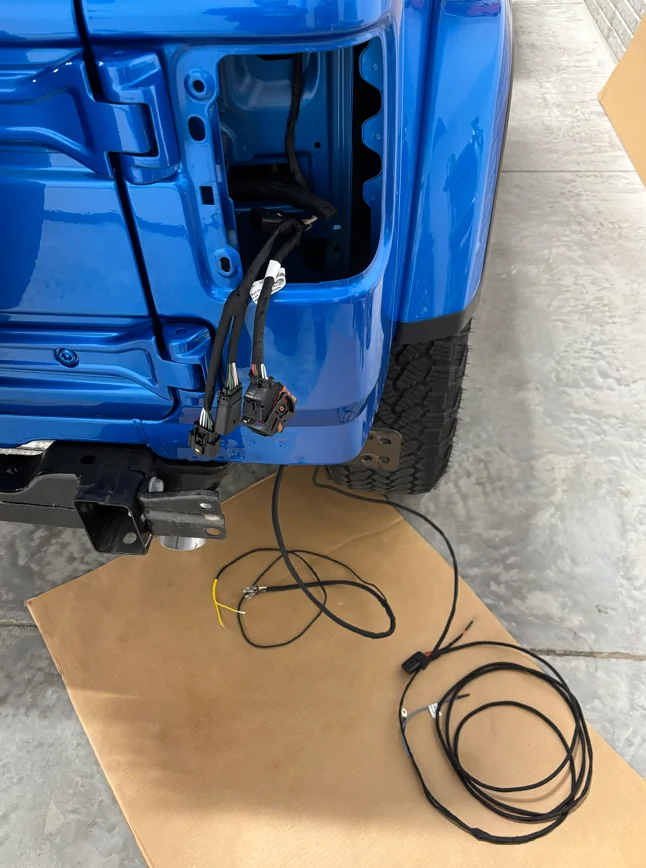
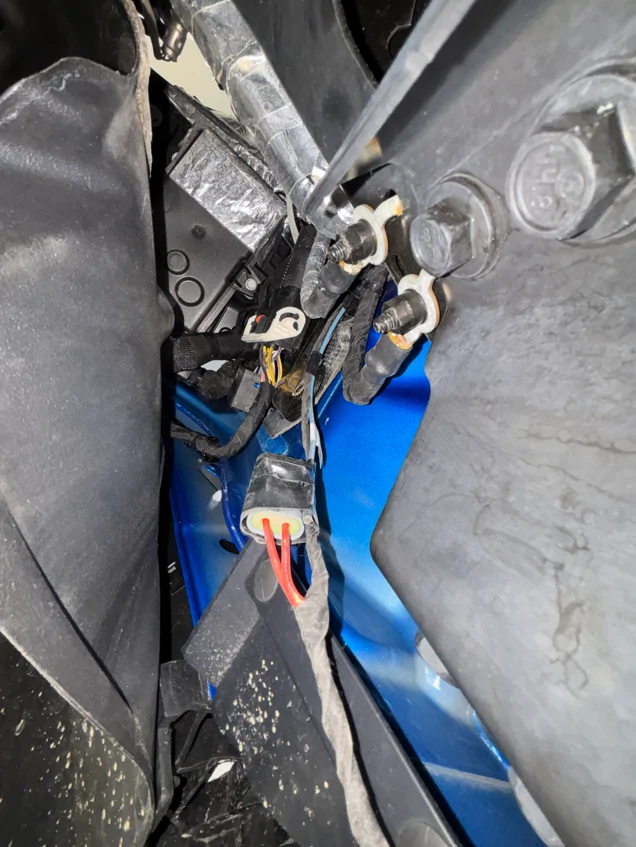
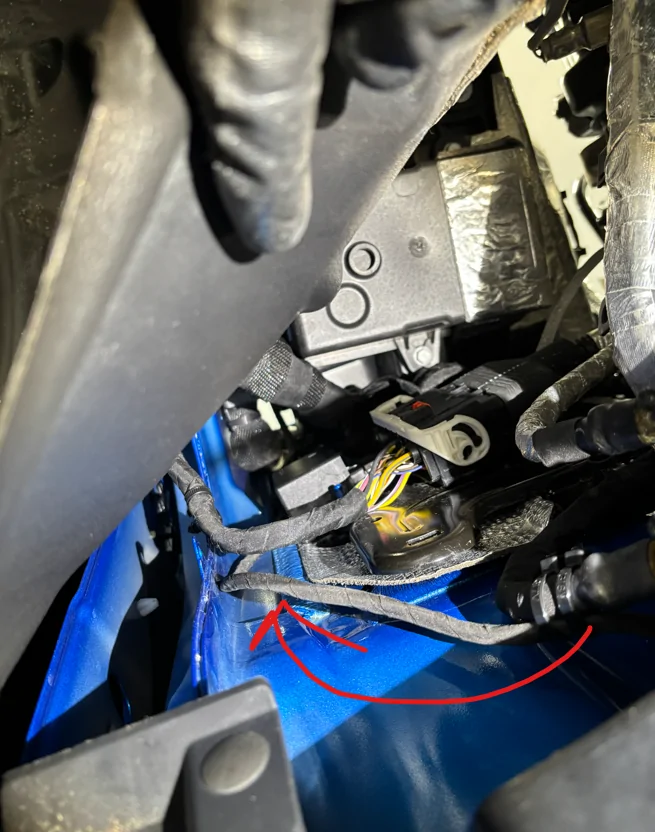
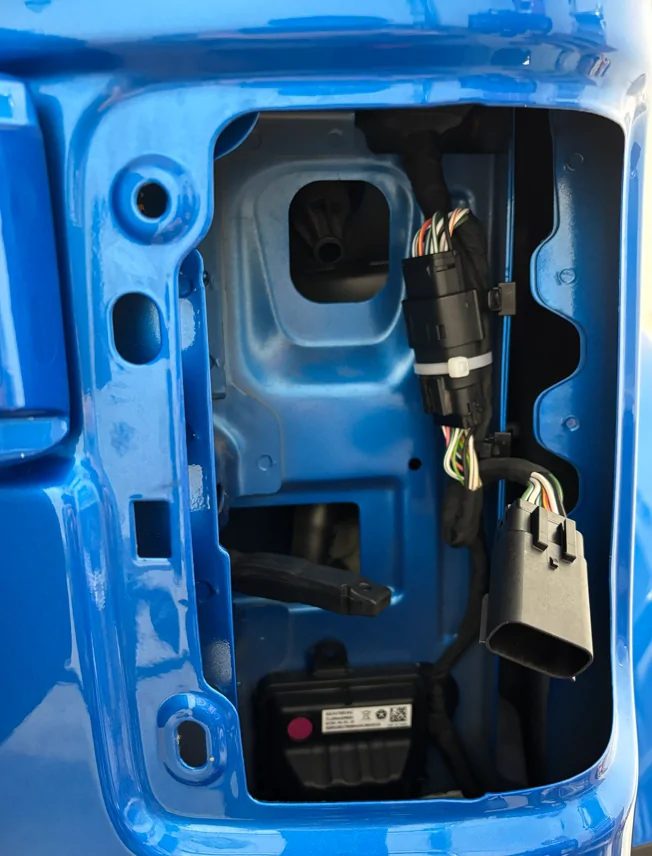
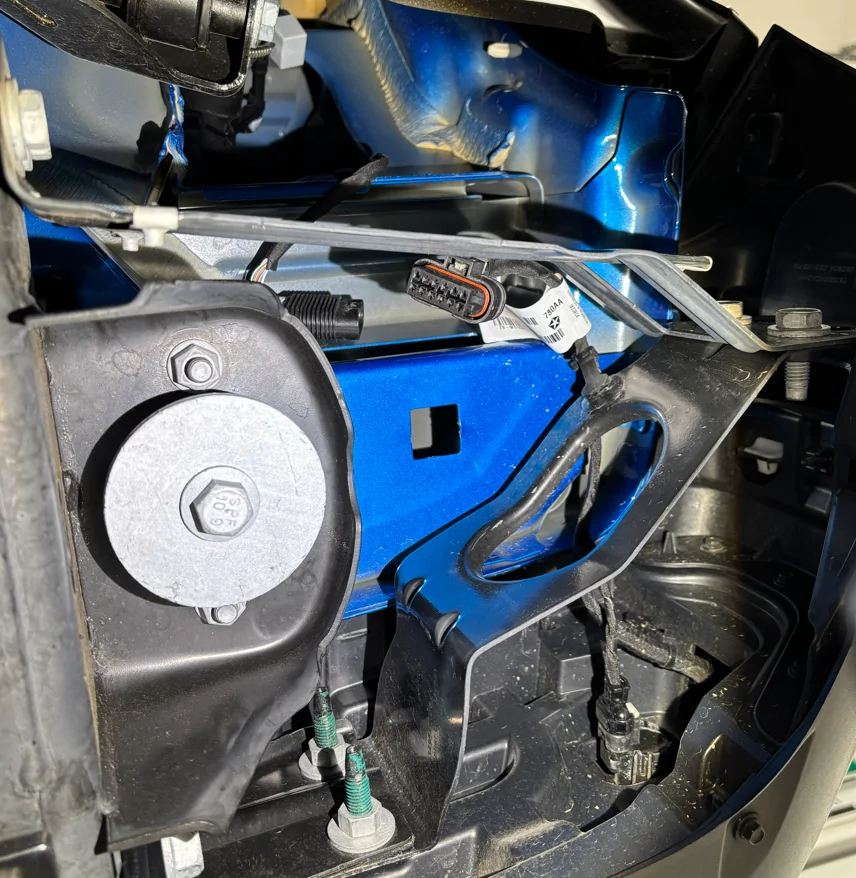
I removed the entire rear bumper because it is easy enough to do & wanted to for wiring purposes anyway, although not necessary for the hitch only. Remove the small plastic guards at the rear of each rear wheel well that cover the bumper ends (3 bolts each with 8mm heads). Unplug the wiring to the bumper in rear driver wheel well; slide the gray tab on the connector up then press down on the black tab to release the connector.

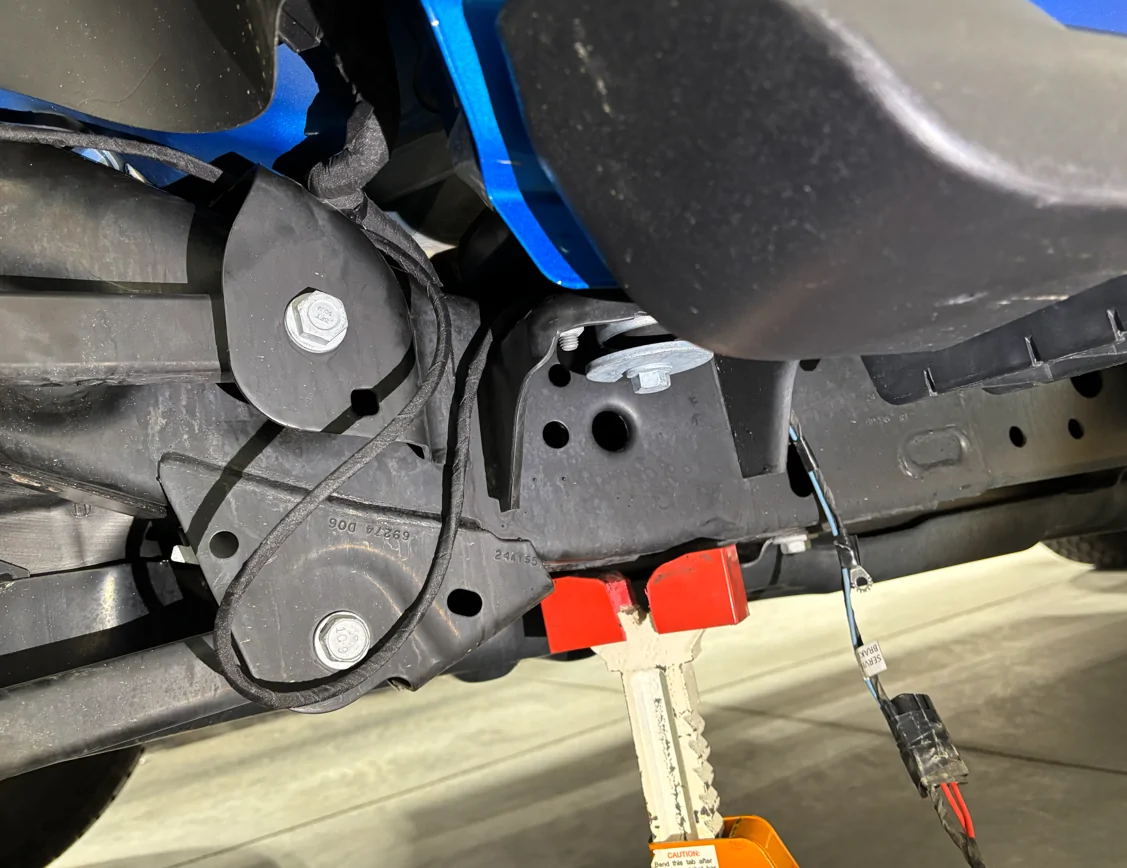
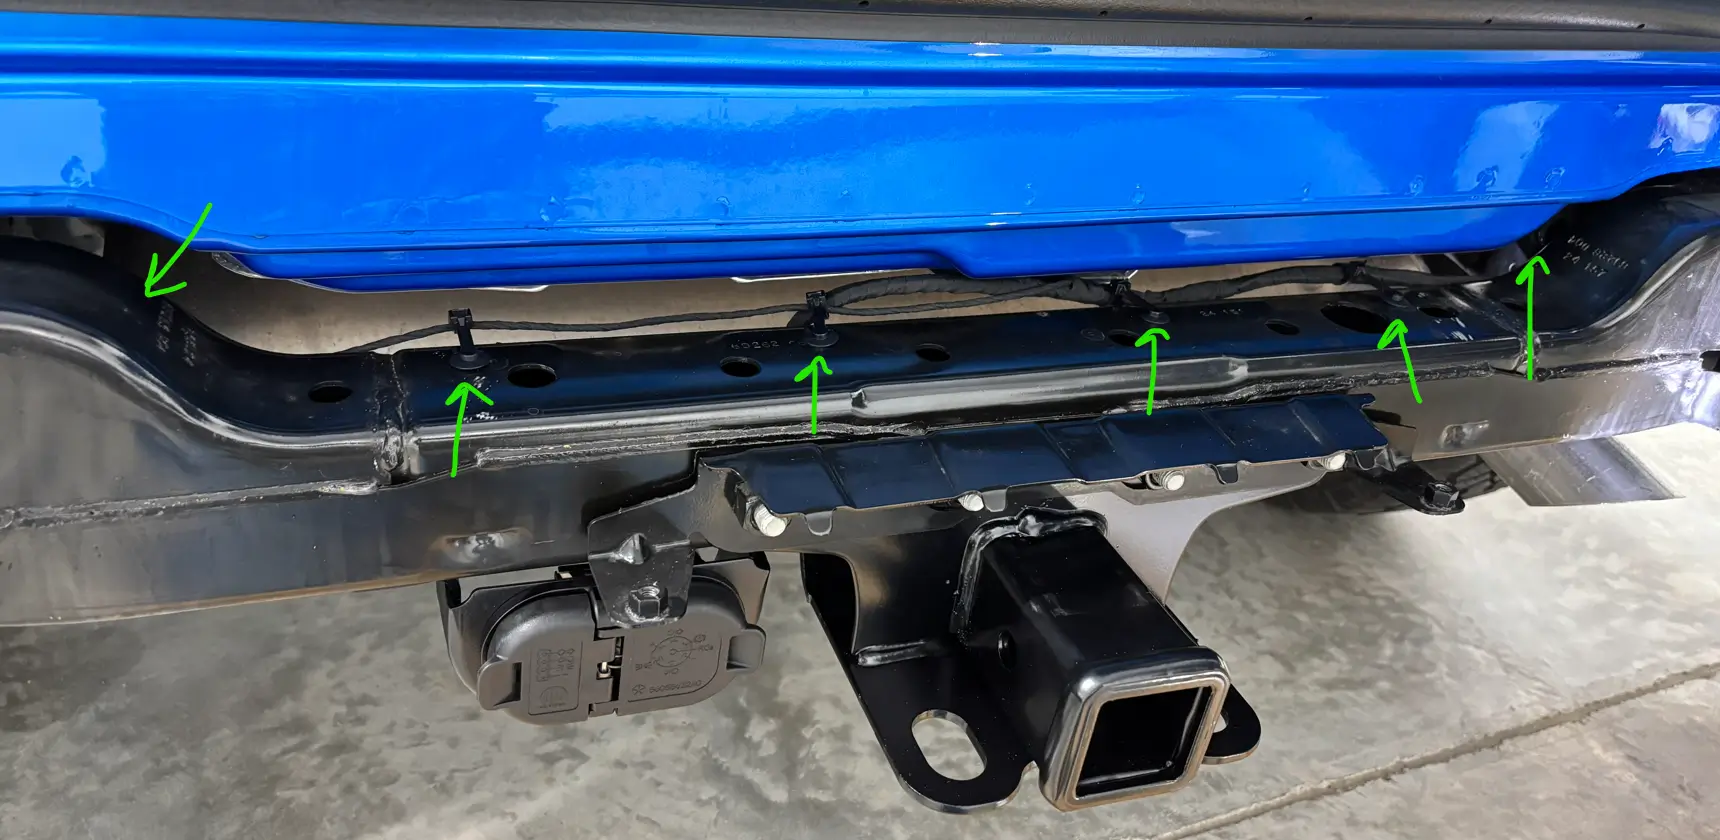
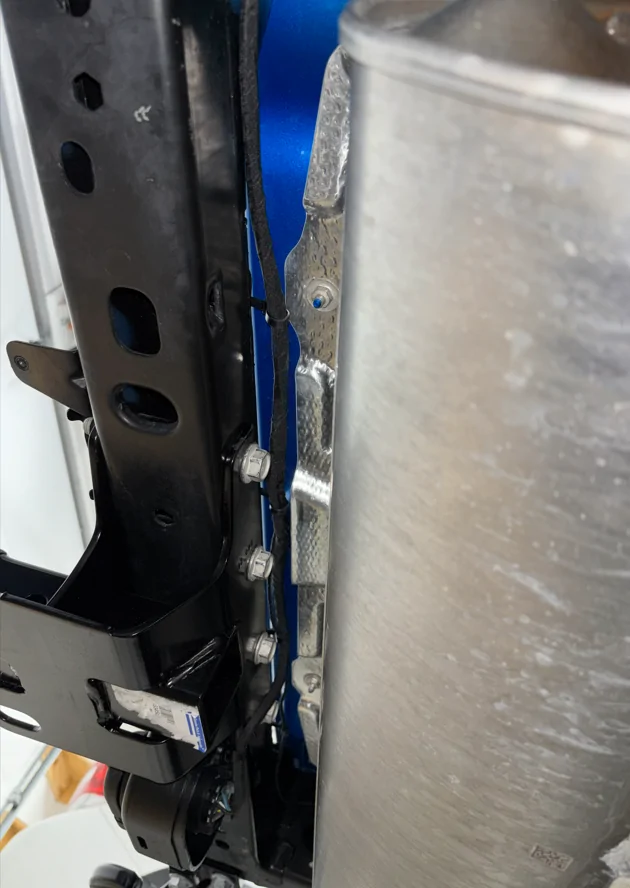
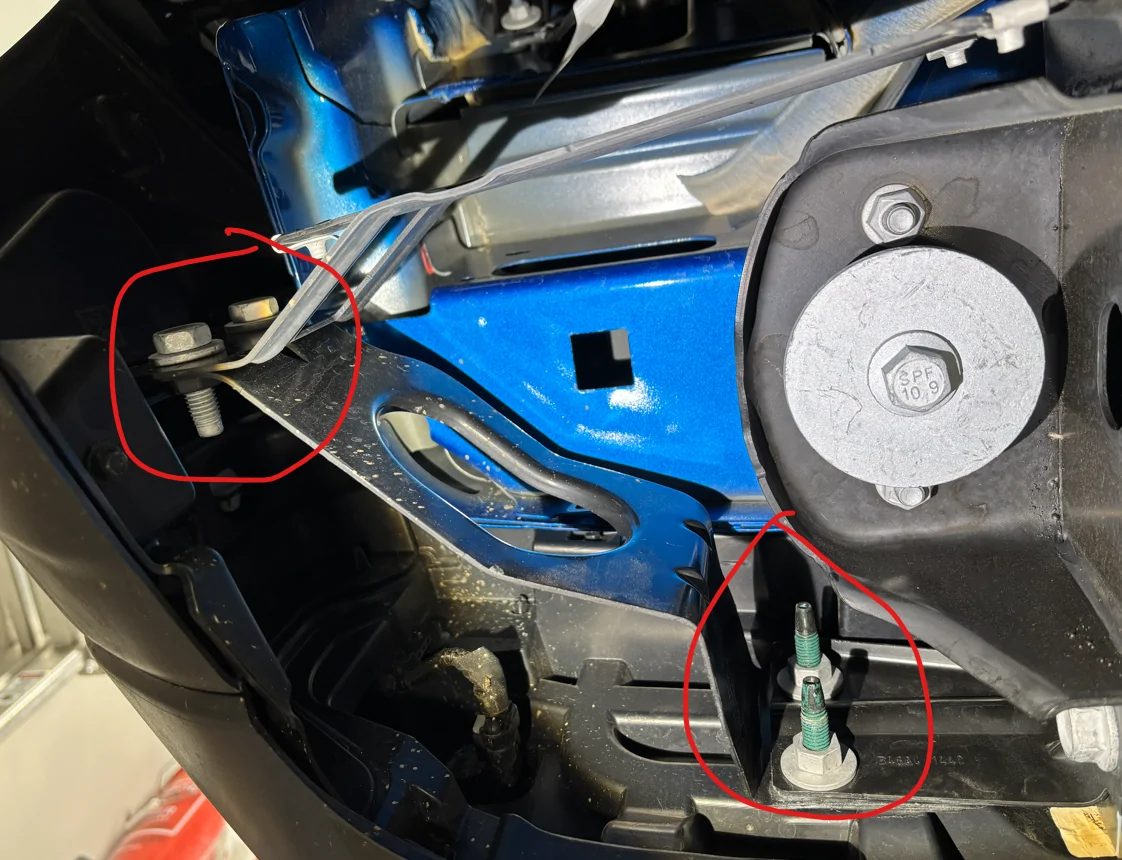
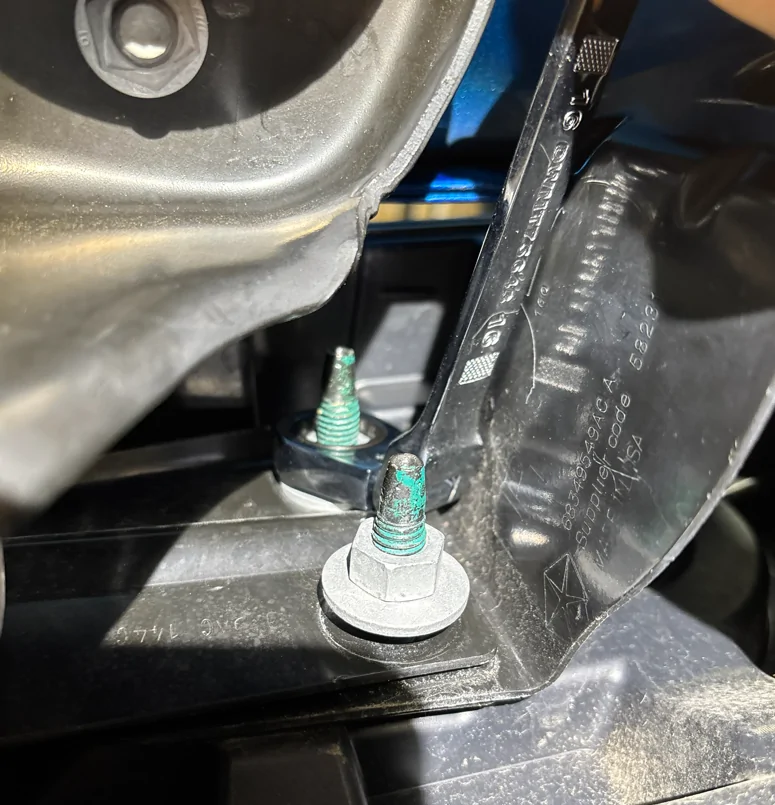
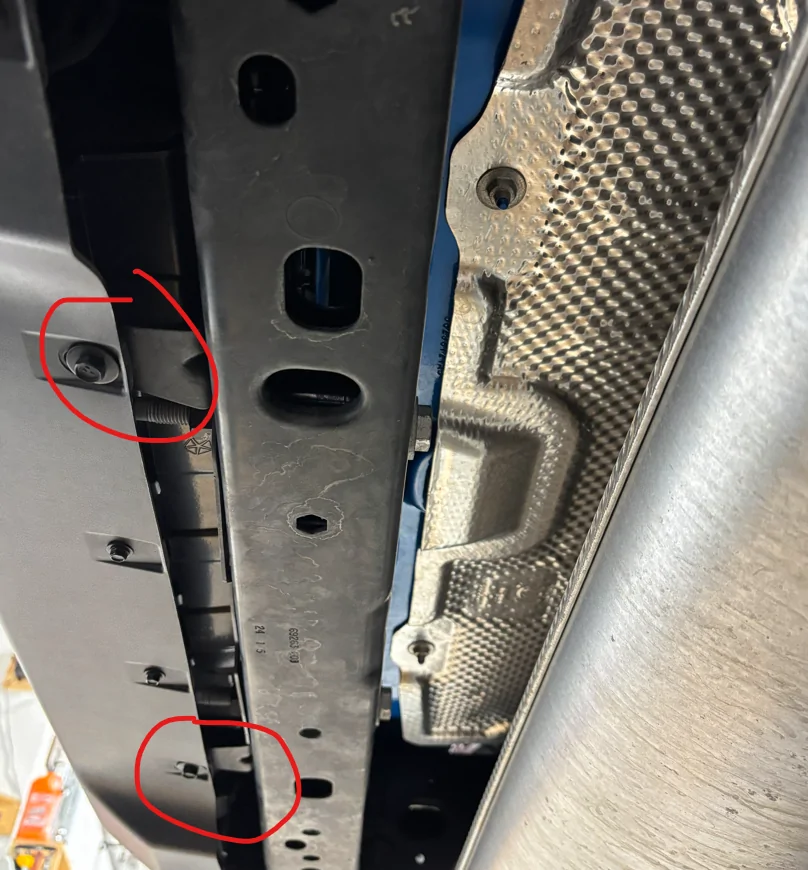
Remove the (2) hex head bolts & (2) nuts on each end of the bumper circled below with 16mm tools. This is another difference / change. Several videos show the inner fasteners as bolts while my style bumper, in 2024, had studs & nuts. The studs make it more difficult as the only way I found to get at the nuts was a ratcheting, flex head wrench.


On the Sahara / Rubicon style plastic bumper remove the two bolts with 10mm heads that hold the bumper to the center bracket. The bolts with 8mm heads do not need to be removed.

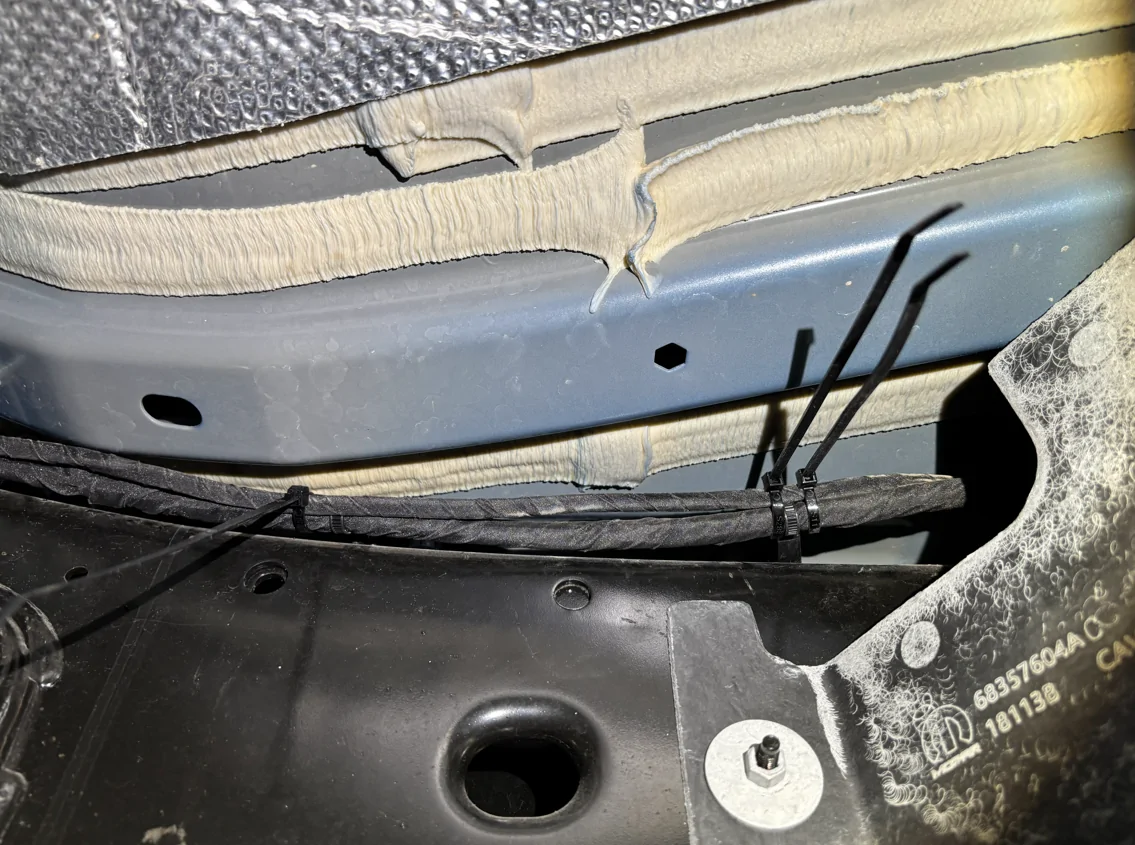
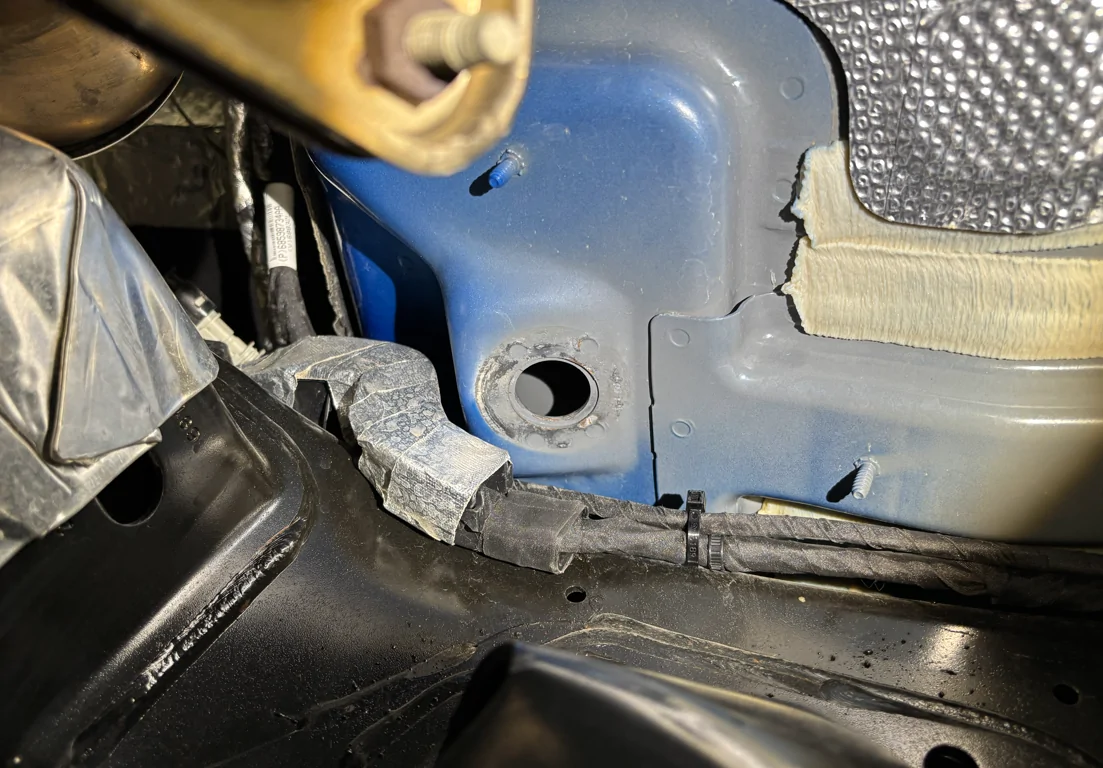
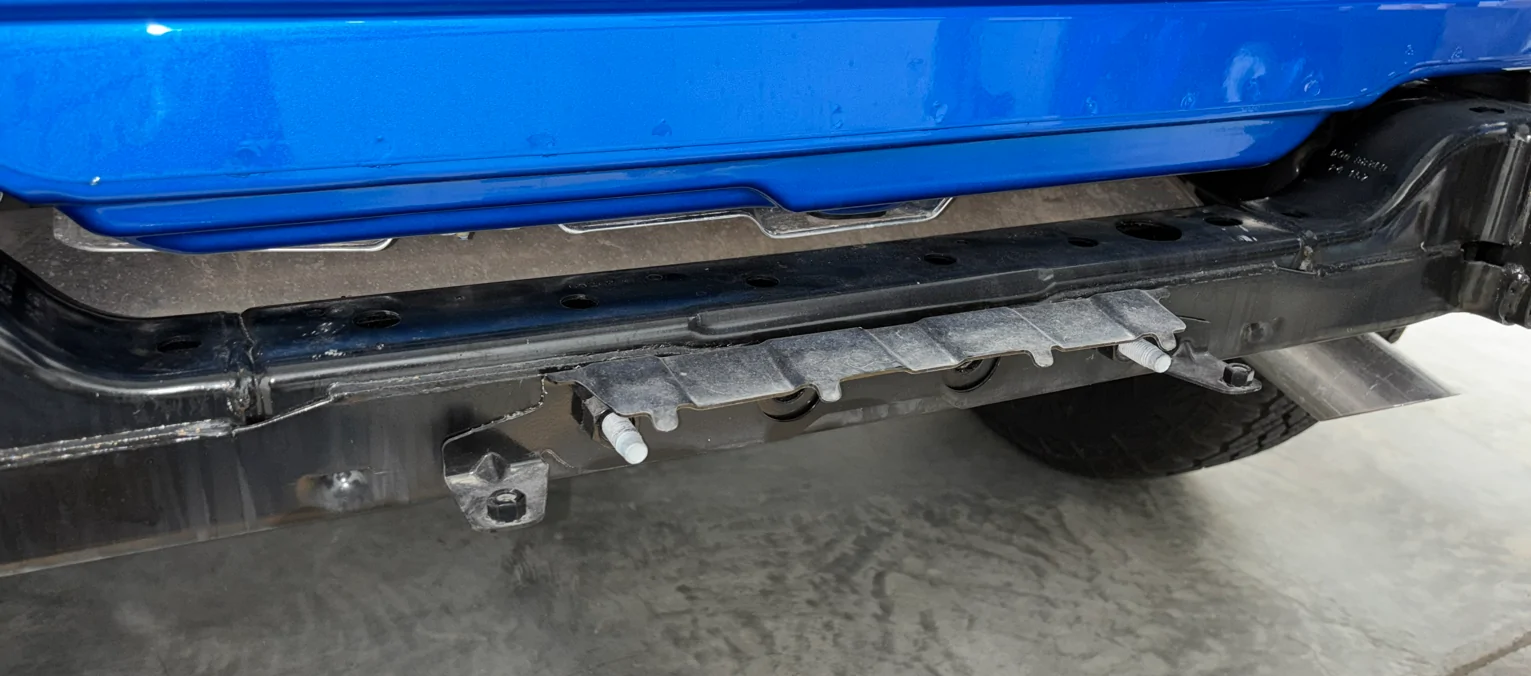
Then pull the bumper (easier if you open the tail gate first to get the spare out of the way) & you will see the center bracket still attached to the Jeep with (2) huge M12 bolts. Remove it last.

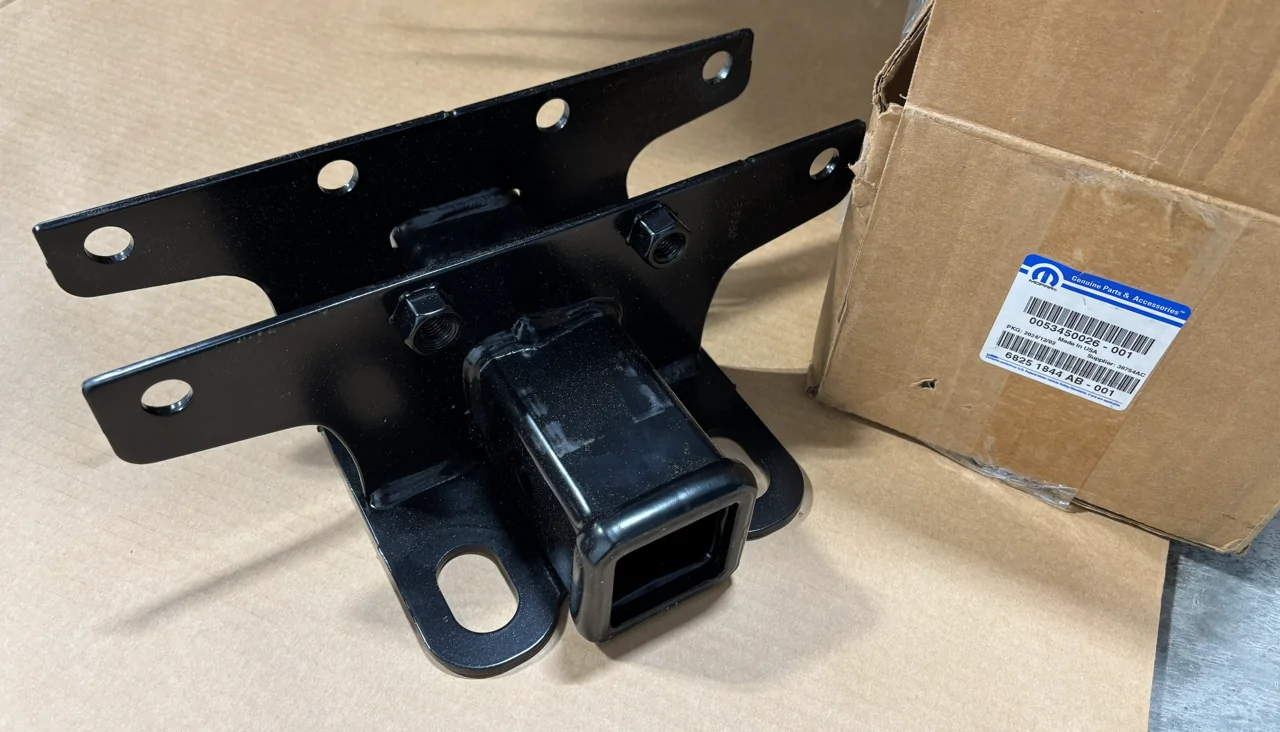
I used the hitch 68251844AB that has two nuts welded on intended for the Sahara / Rubicon style plastic bumper. The Sport style would technically call for the 4 weld nut version but no reason this one could not be used with some loose nuts. Same with the steel bumper. If you are unsure what style to get select this style; it will work on all with extra loose nuts while the 4 weld nut version won't fit Sahara / Rubicon style plastic bumpers without tossing the stock center bracket.

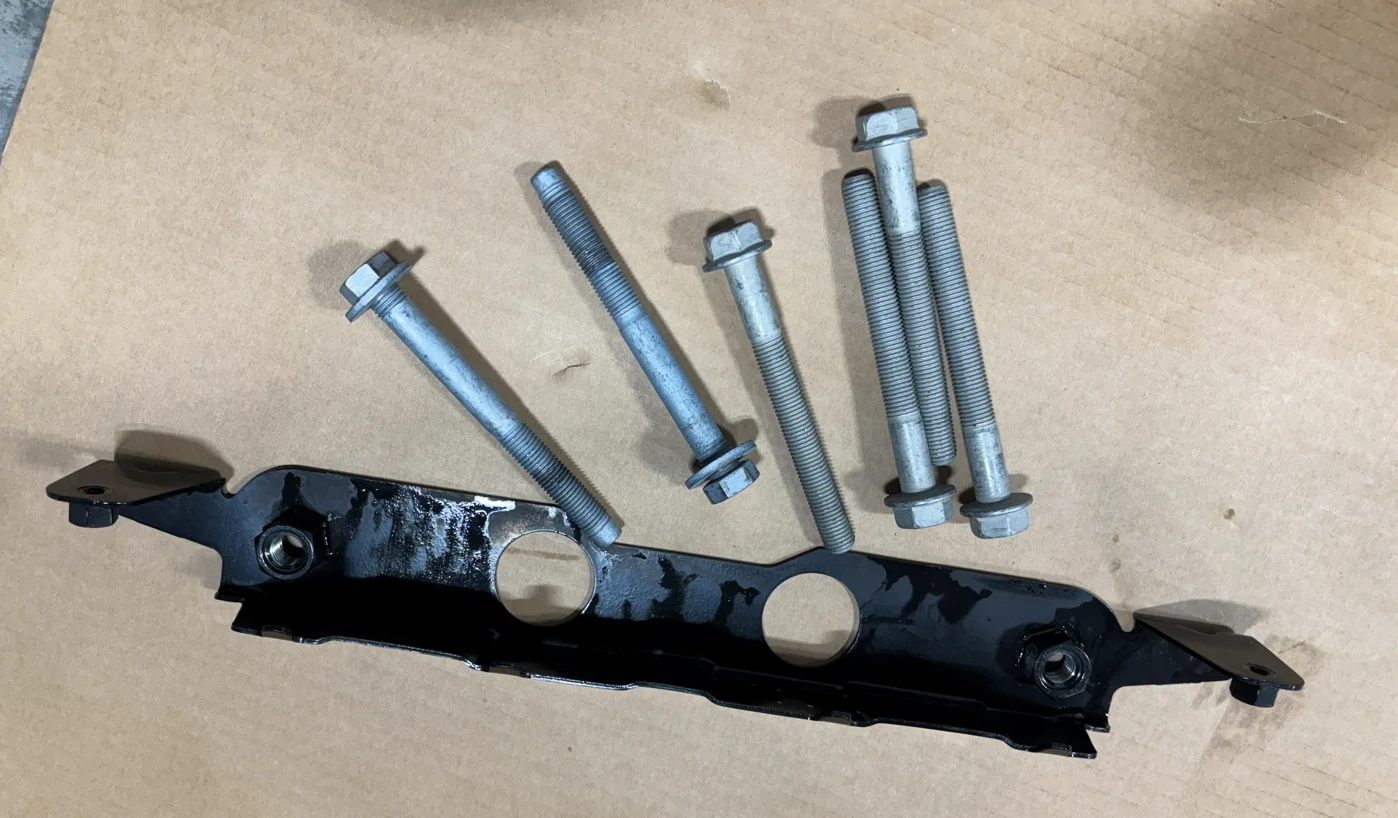
The Sahara / Rubicon style plastic bumper uses a center bracket held on with two huge M12 bolts you can also reuse with the hitch. If you do not get the kit with included bolts you will need (2) Mopar 06104246AA bolts (M12x1.75x110) that they want nearly $30 each for. I found a set of (4) cheap on eBay to avoid the hardware store. Below is the (4) new 06104246AA I used along with the (2) stock bolts & the center bracket. Note there is a difference in that the (4) bolts the hitch calls for uses hex flange heads while the (2) stock bracket bolts have a loose retained washer at the head. I would think either is fine.

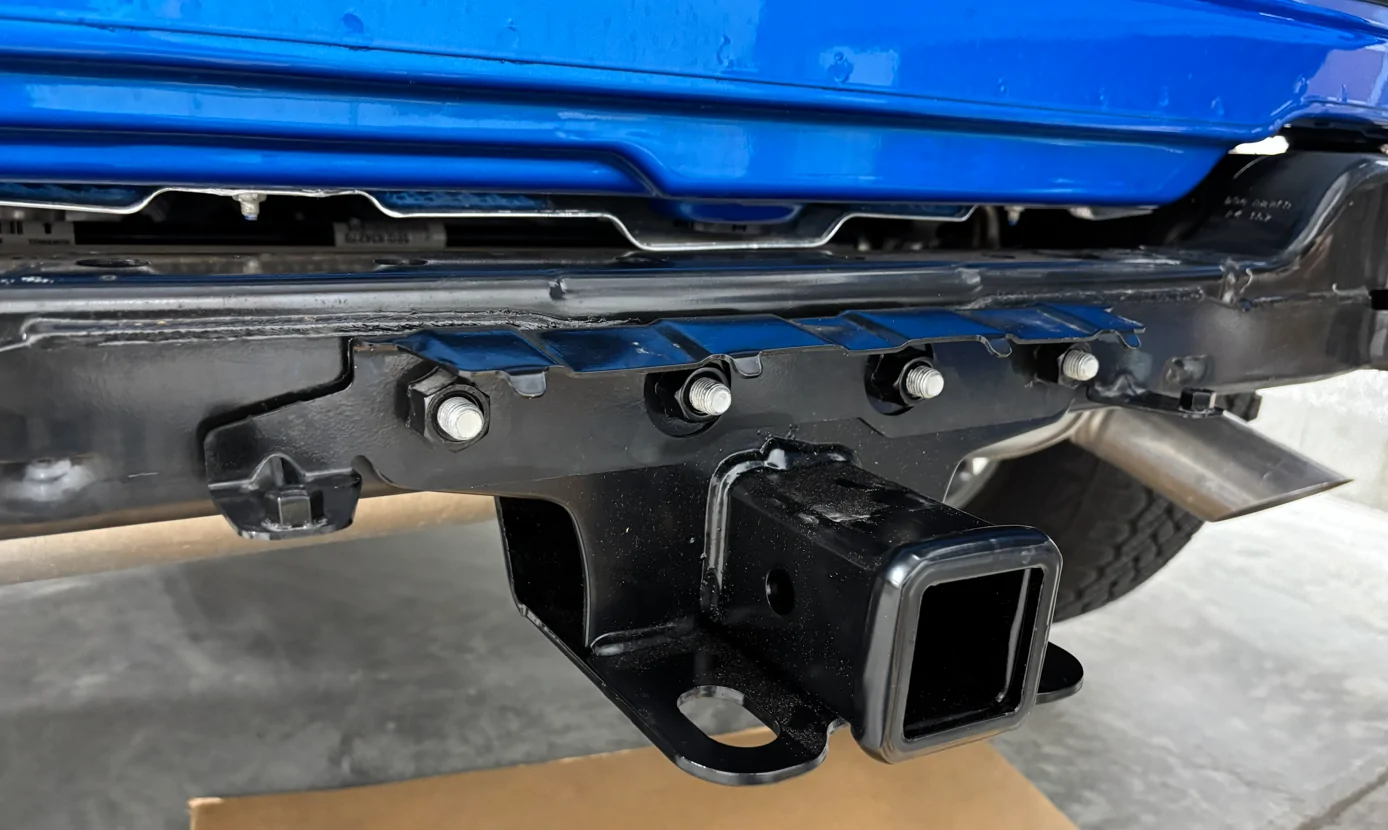
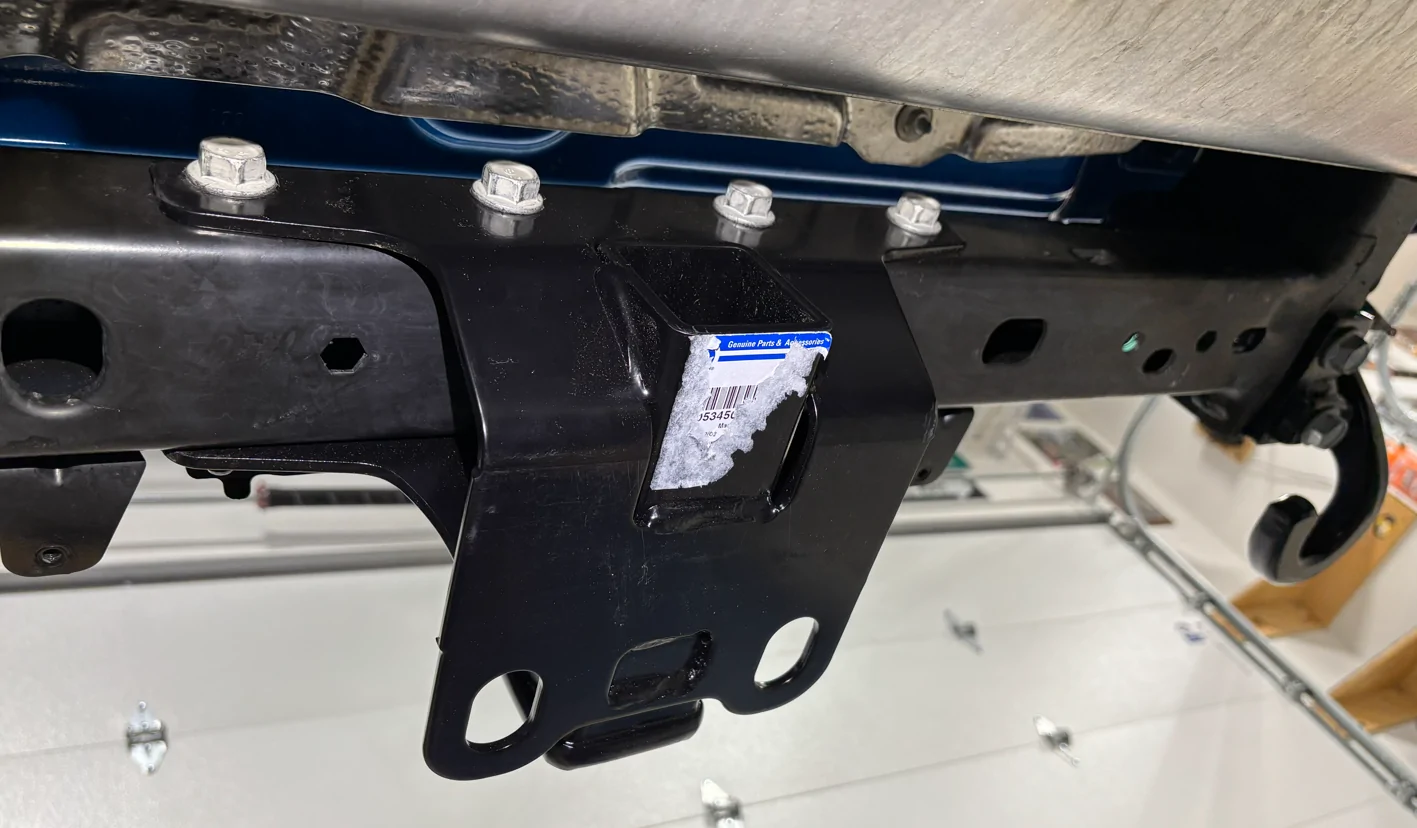
Install hitch with (4) bolts & the bracket toward the rear then tighten to 90 N-m (66 lb-ft). 66 lb-ft isn't much in the grand scheme of things, but seemed like forever with an incredible Hulk arm before the torque wrench clicked for some reason. My hitch tube was welded in crooked so I had to reposition it so it looked straighter.


3 different stock bumpers
Sport style
Sahara / Rubicon style
Steel
2 different Mopar hitches
With 2 nuts welded on 68251844AB
With 4 nuts welded on 68240905AA
Plus an "accessory" version that includes the bolts & receiver cap for almost 3x the money 82215209
2 different Mopar wiring kits
Thru the interior 82215398AB / 82215896 (Discontinued)
Along the exterior 82216359AA
I removed the entire rear bumper because it is easy enough to do & wanted to for wiring purposes anyway, although not necessary for the hitch only. Remove the small plastic guards at the rear of each rear wheel well that cover the bumper ends (3 bolts each with 8mm heads). Unplug the wiring to the bumper in rear driver wheel well; slide the gray tab on the connector up then press down on the black tab to release the connector.
Remove the (2) hex head bolts & (2) nuts on each end of the bumper circled below with 16mm tools. This is another difference / change. Several videos show the inner fasteners as bolts while my style bumper, in 2024, had studs & nuts. The studs make it more difficult as the only way I found to get at the nuts was a ratcheting, flex head wrench.
On the Sahara / Rubicon style plastic bumper remove the two bolts with 10mm heads that hold the bumper to the center bracket. The bolts with 8mm heads do not need to be removed.
Then pull the bumper (easier if you open the tail gate first to get the spare out of the way) & you will see the center bracket still attached to the Jeep with (2) huge M12 bolts. Remove it last.
I used the hitch 68251844AB that has two nuts welded on intended for the Sahara / Rubicon style plastic bumper. The Sport style would technically call for the 4 weld nut version but no reason this one could not be used with some loose nuts. Same with the steel bumper. If you are unsure what style to get select this style; it will work on all with extra loose nuts while the 4 weld nut version won't fit Sahara / Rubicon style plastic bumpers without tossing the stock center bracket.
The Sahara / Rubicon style plastic bumper uses a center bracket held on with two huge M12 bolts you can also reuse with the hitch. If you do not get the kit with included bolts you will need (2) Mopar 06104246AA bolts (M12x1.75x110) that they want nearly $30 each for. I found a set of (4) cheap on eBay to avoid the hardware store. Below is the (4) new 06104246AA I used along with the (2) stock bolts & the center bracket. Note there is a difference in that the (4) bolts the hitch calls for uses hex flange heads while the (2) stock bracket bolts have a loose retained washer at the head. I would think either is fine.
Install hitch with (4) bolts & the bracket toward the rear then tighten to 90 N-m (66 lb-ft). 66 lb-ft isn't much in the grand scheme of things, but seemed like forever with an incredible Hulk arm before the torque wrench clicked for some reason. My hitch tube was welded in crooked so I had to reposition it so it looked straighter.
Sponsored
Last edited: