Ryp11
Active Member
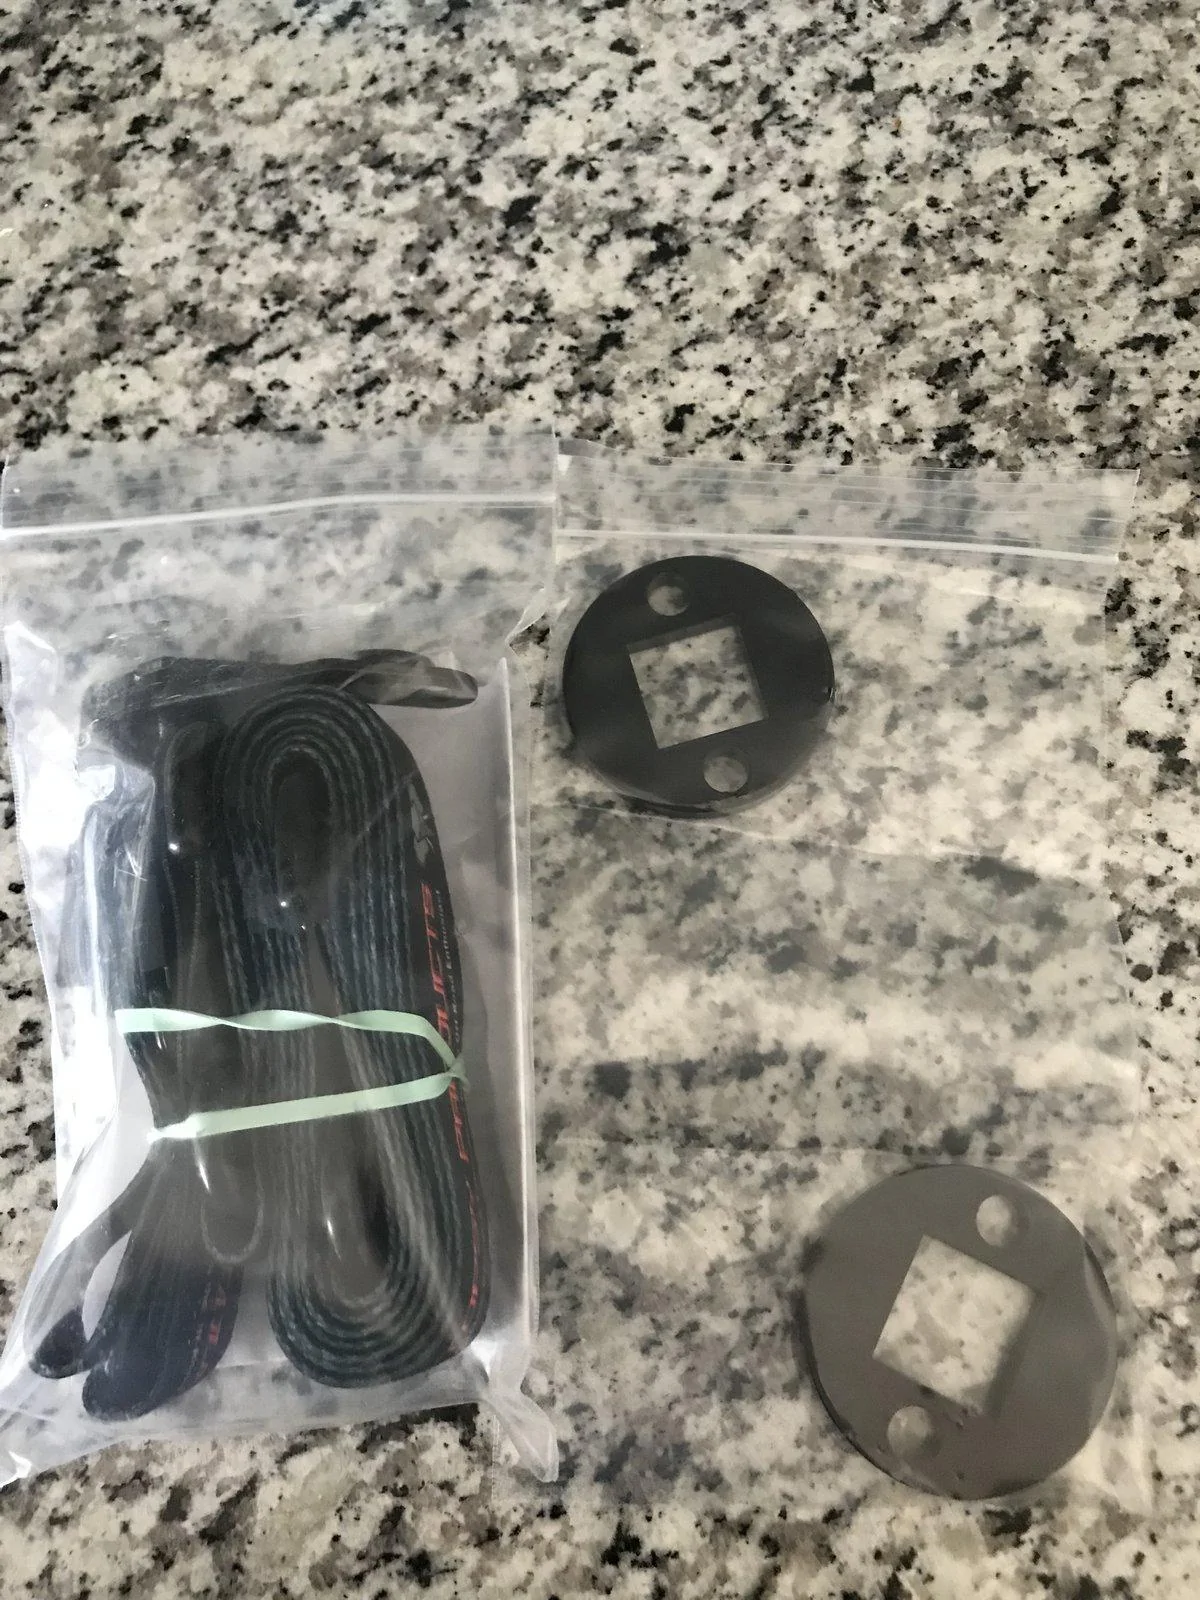
Just got mine in the mail but no free gift. The metal bushings to replace the plastic ones from racor were not included. Anyone else missing their gift?Just heard from them. They did faster that they thought. Should be doing out early next week. With a free gift!!
Sponsored