sundevil827
Well-Known Member
@clobato
Excellent feedback, thank you for taking the time to do it! (Even if it's not the feedback that I was hoping it would be.)
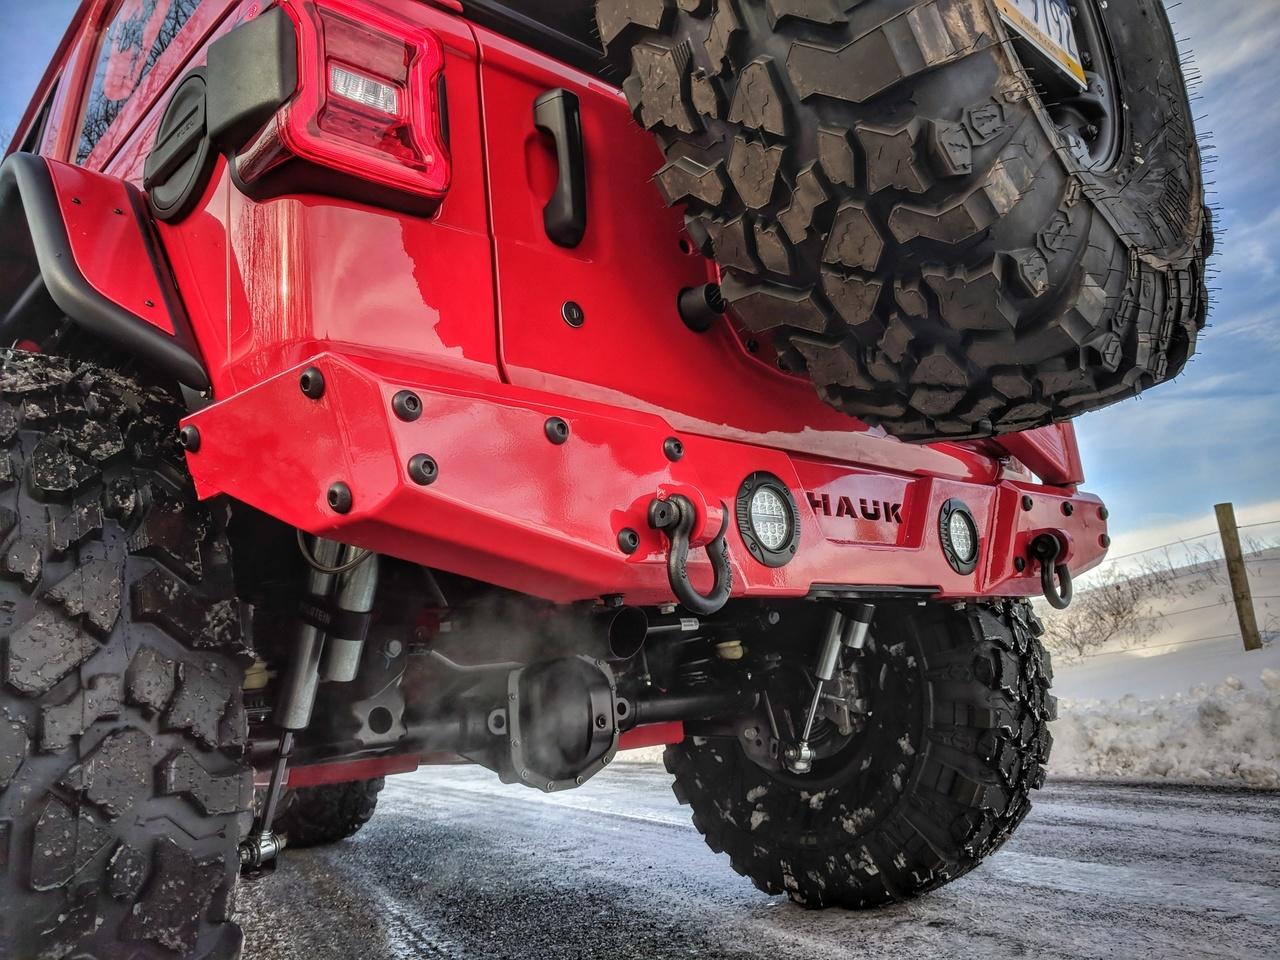
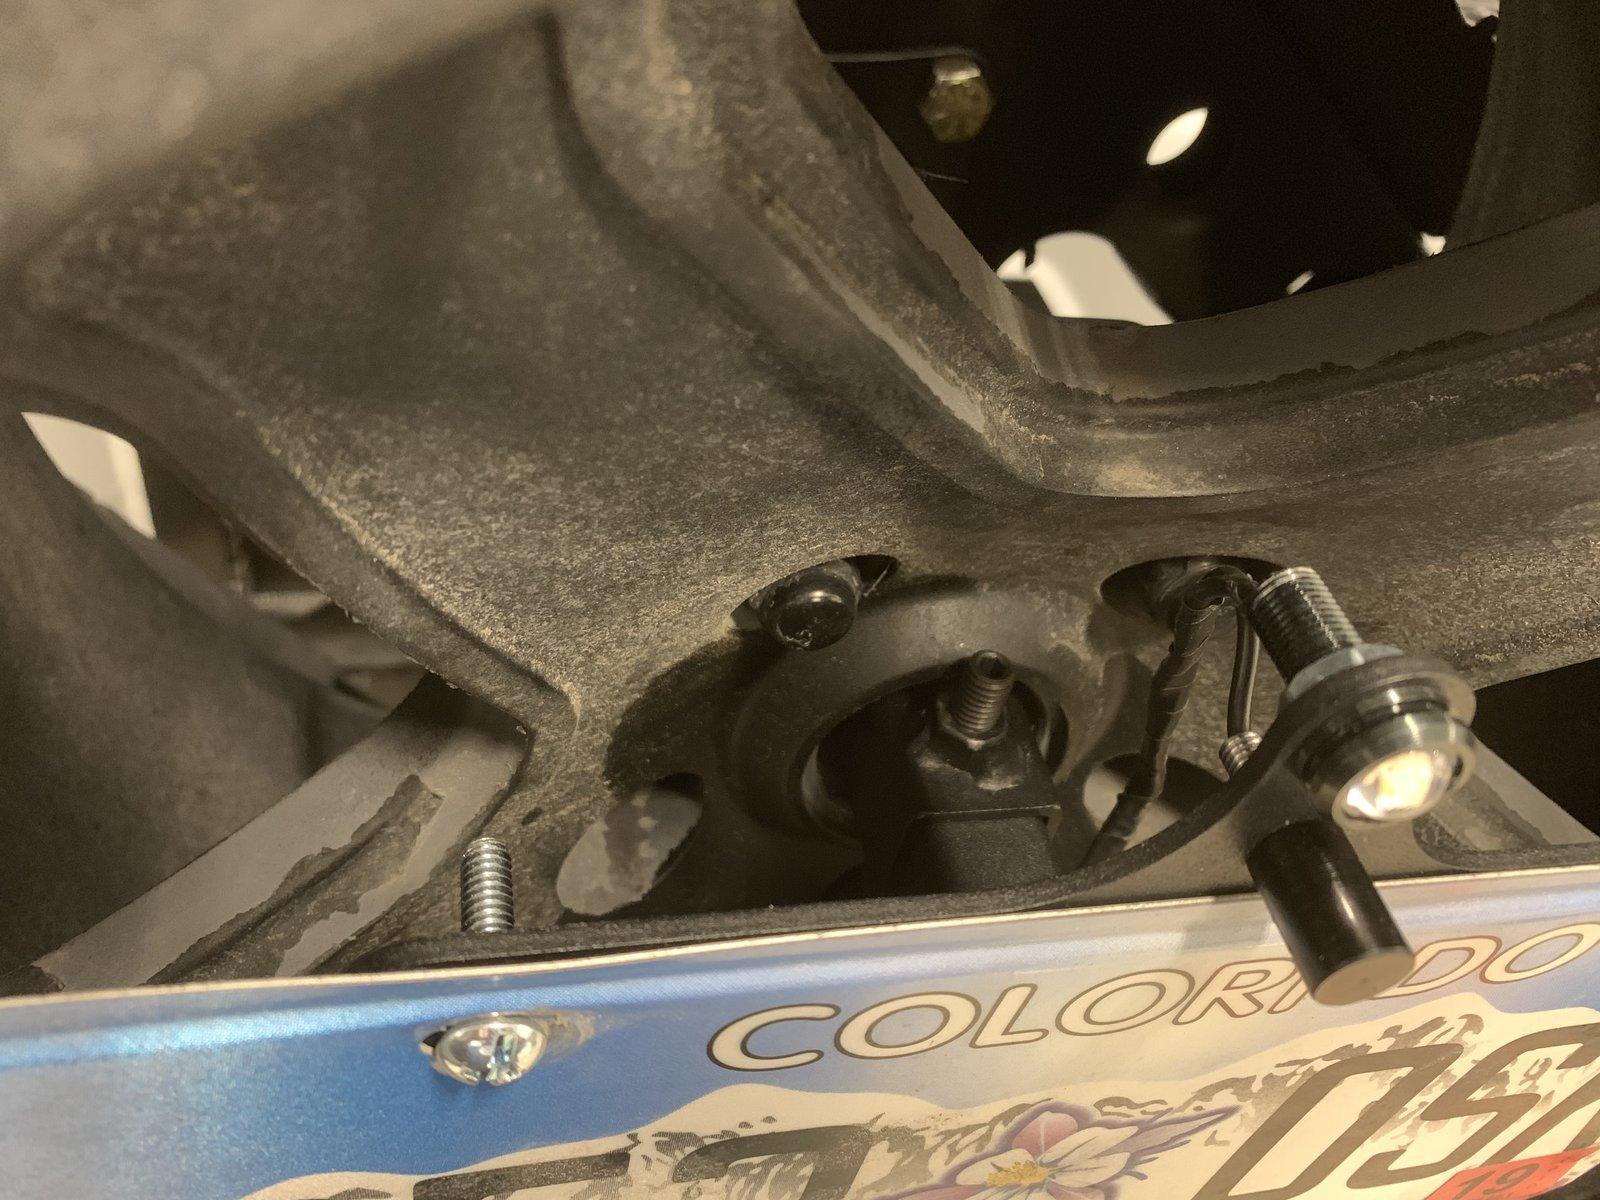
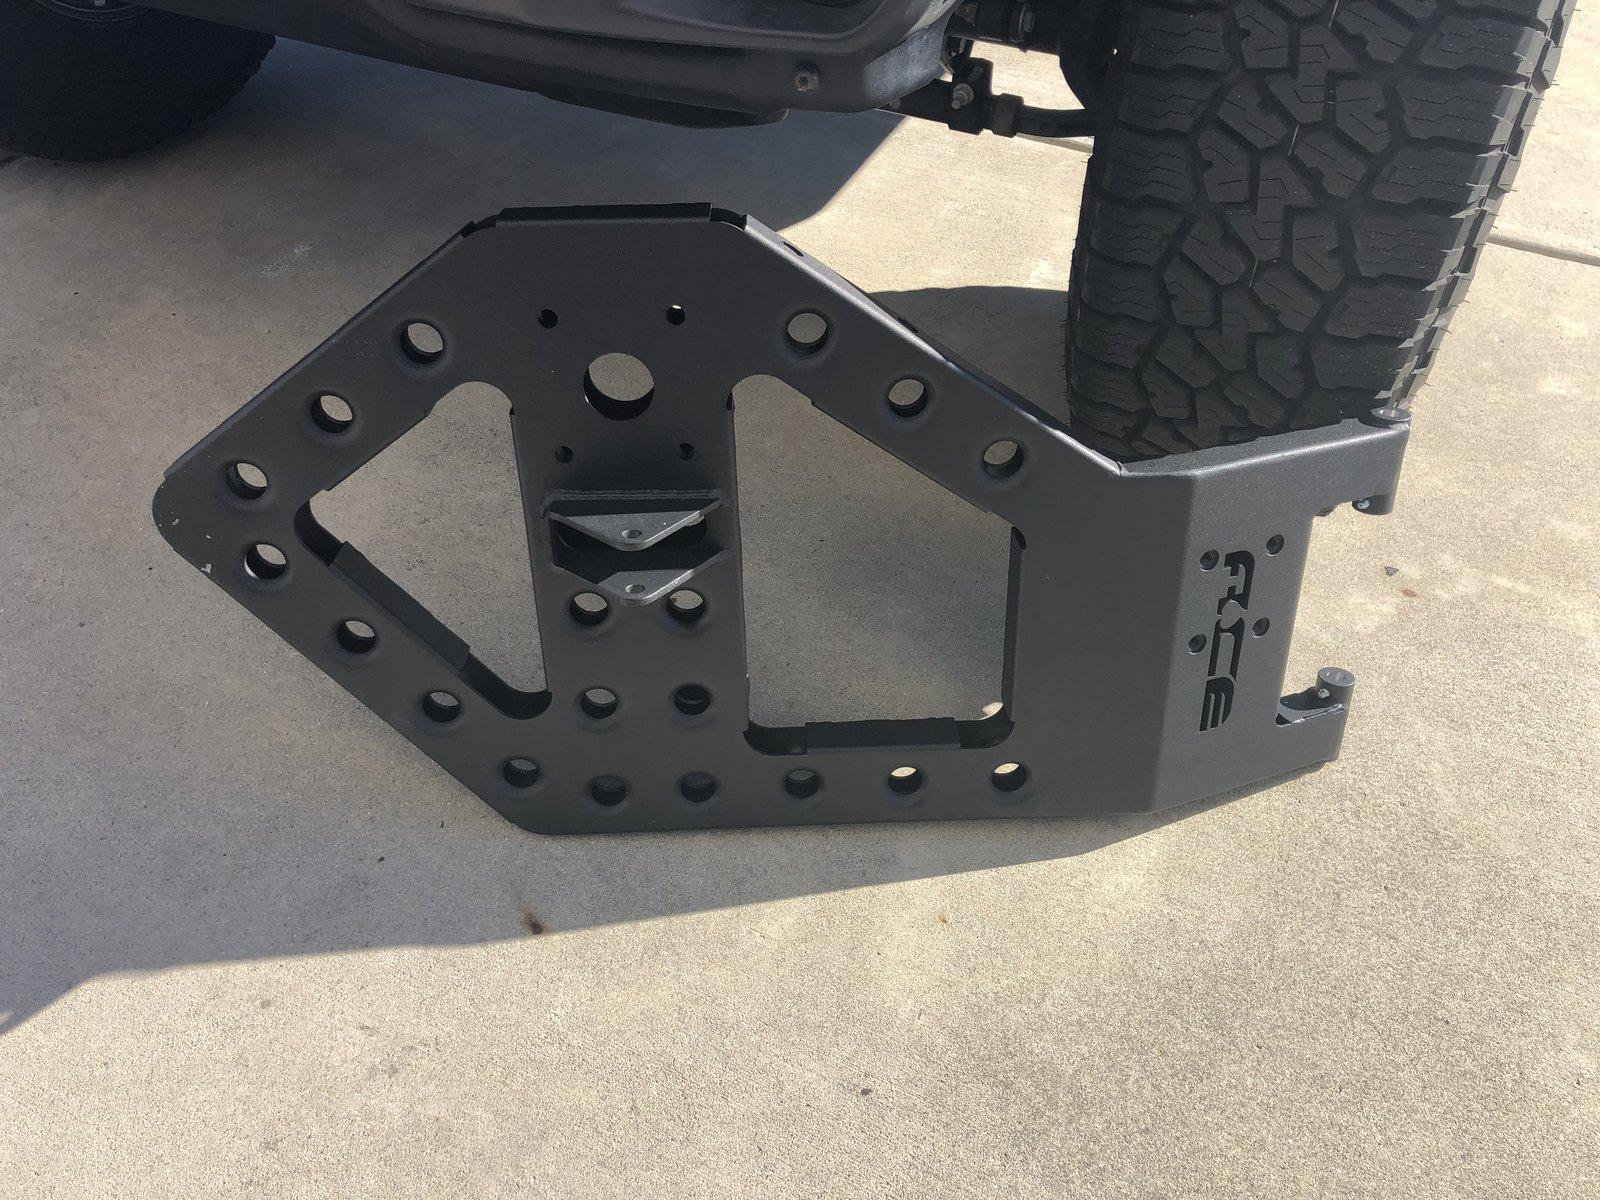
I'm going to be putting on 40's that come in at about 120 lbs, and that was one of my questions for them, especially since I added the Slant Back Tire carrier. Before I ordered, I did call, and they told me that the slant back (even though it says is rated to carry the 38" tire) was carrying 150 lbs easy, without issue, and they were running 40's themselves.
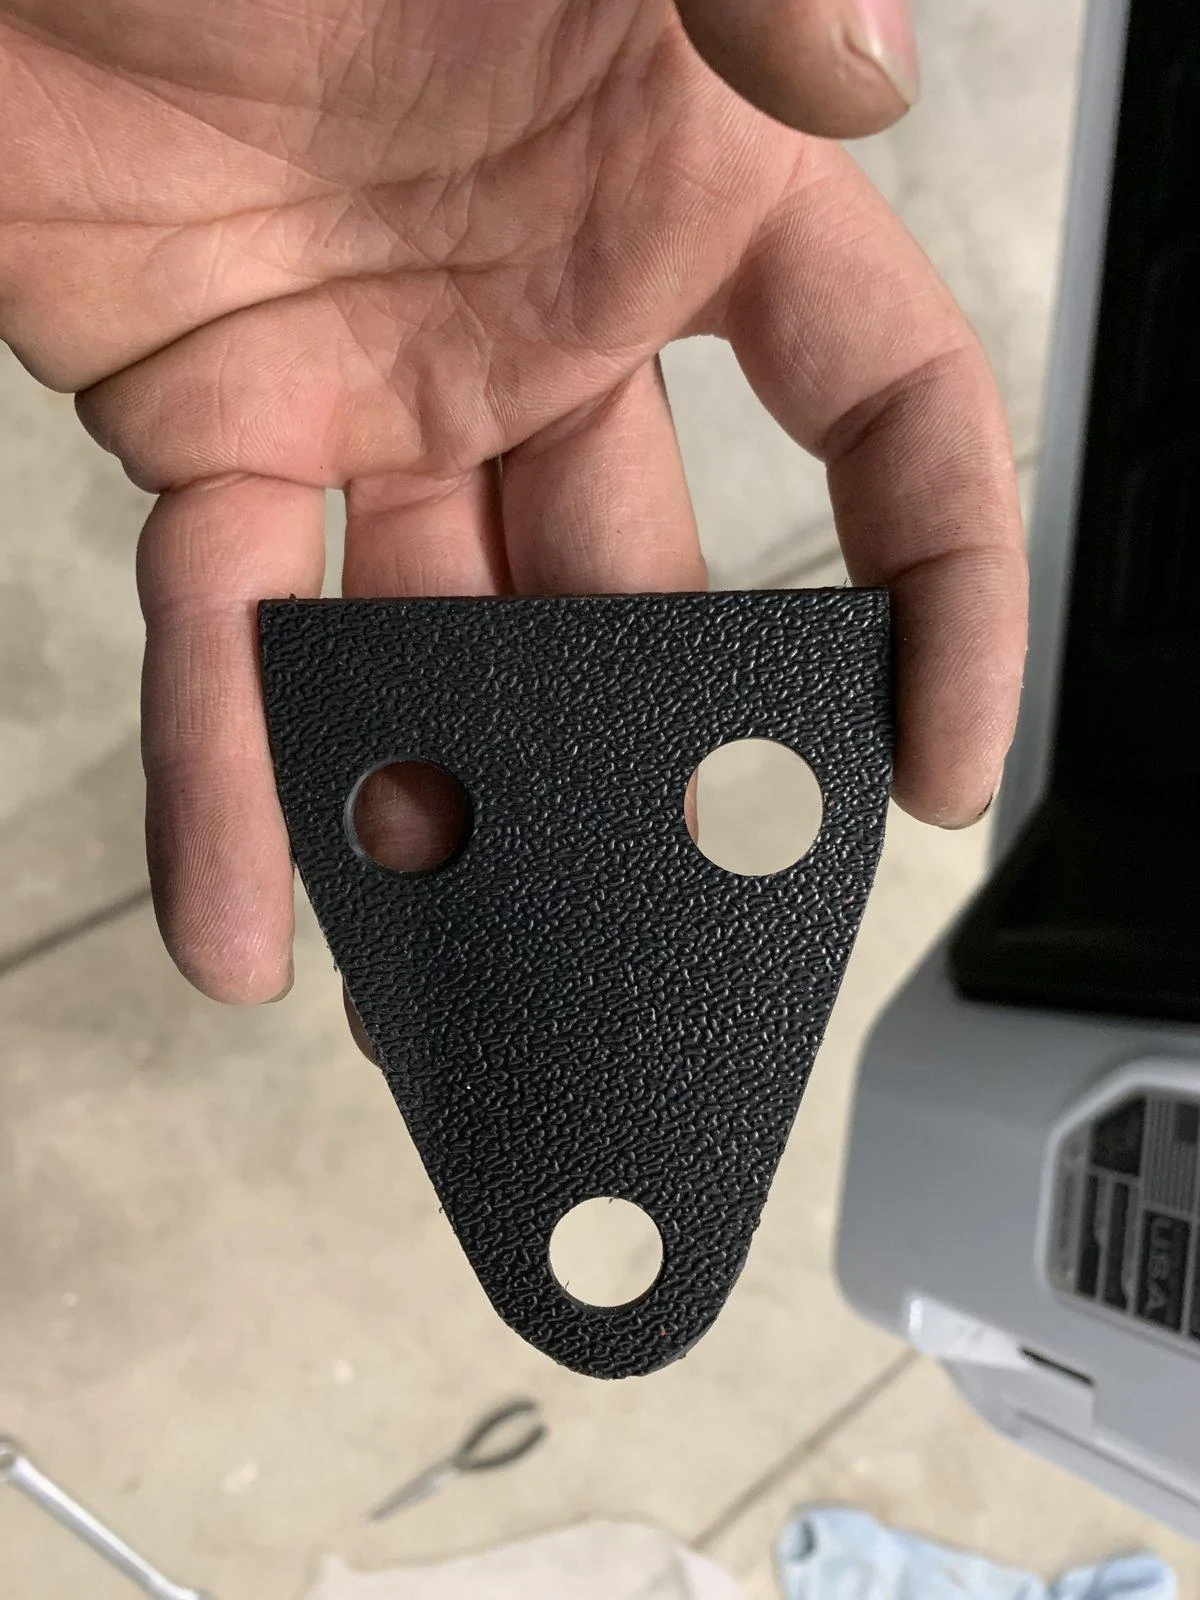
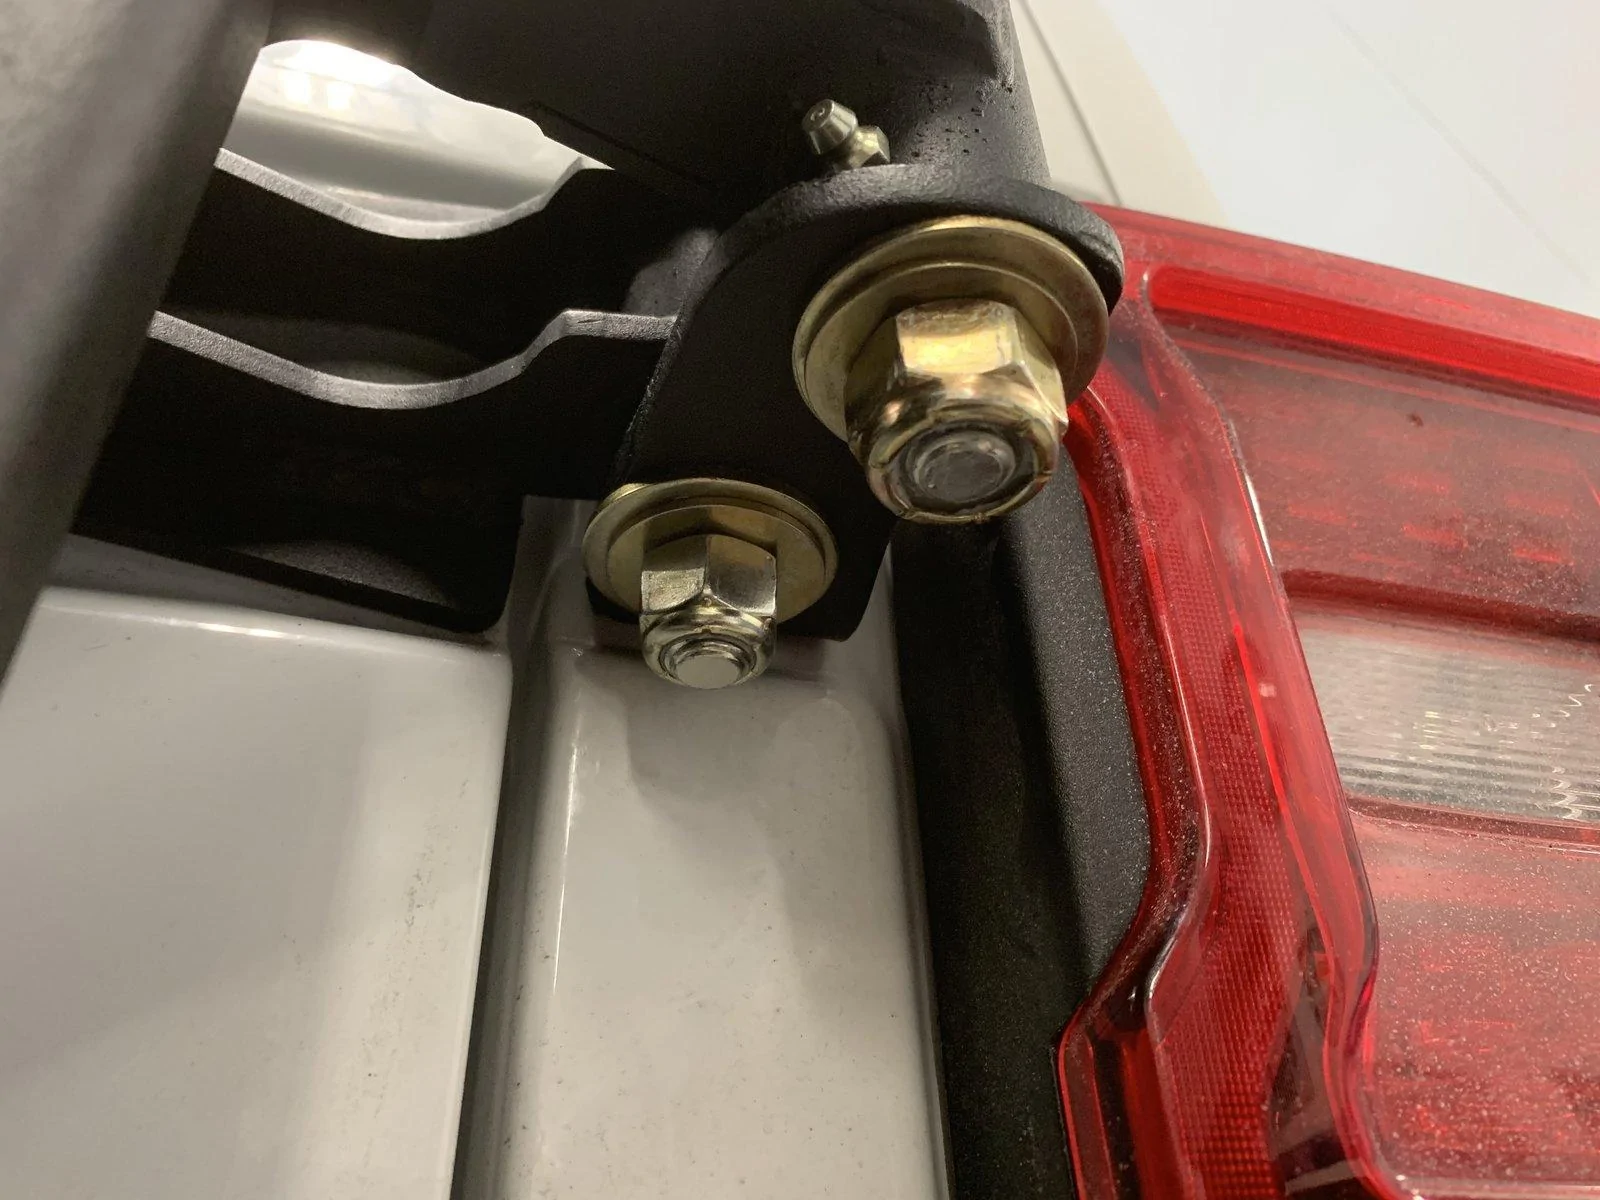
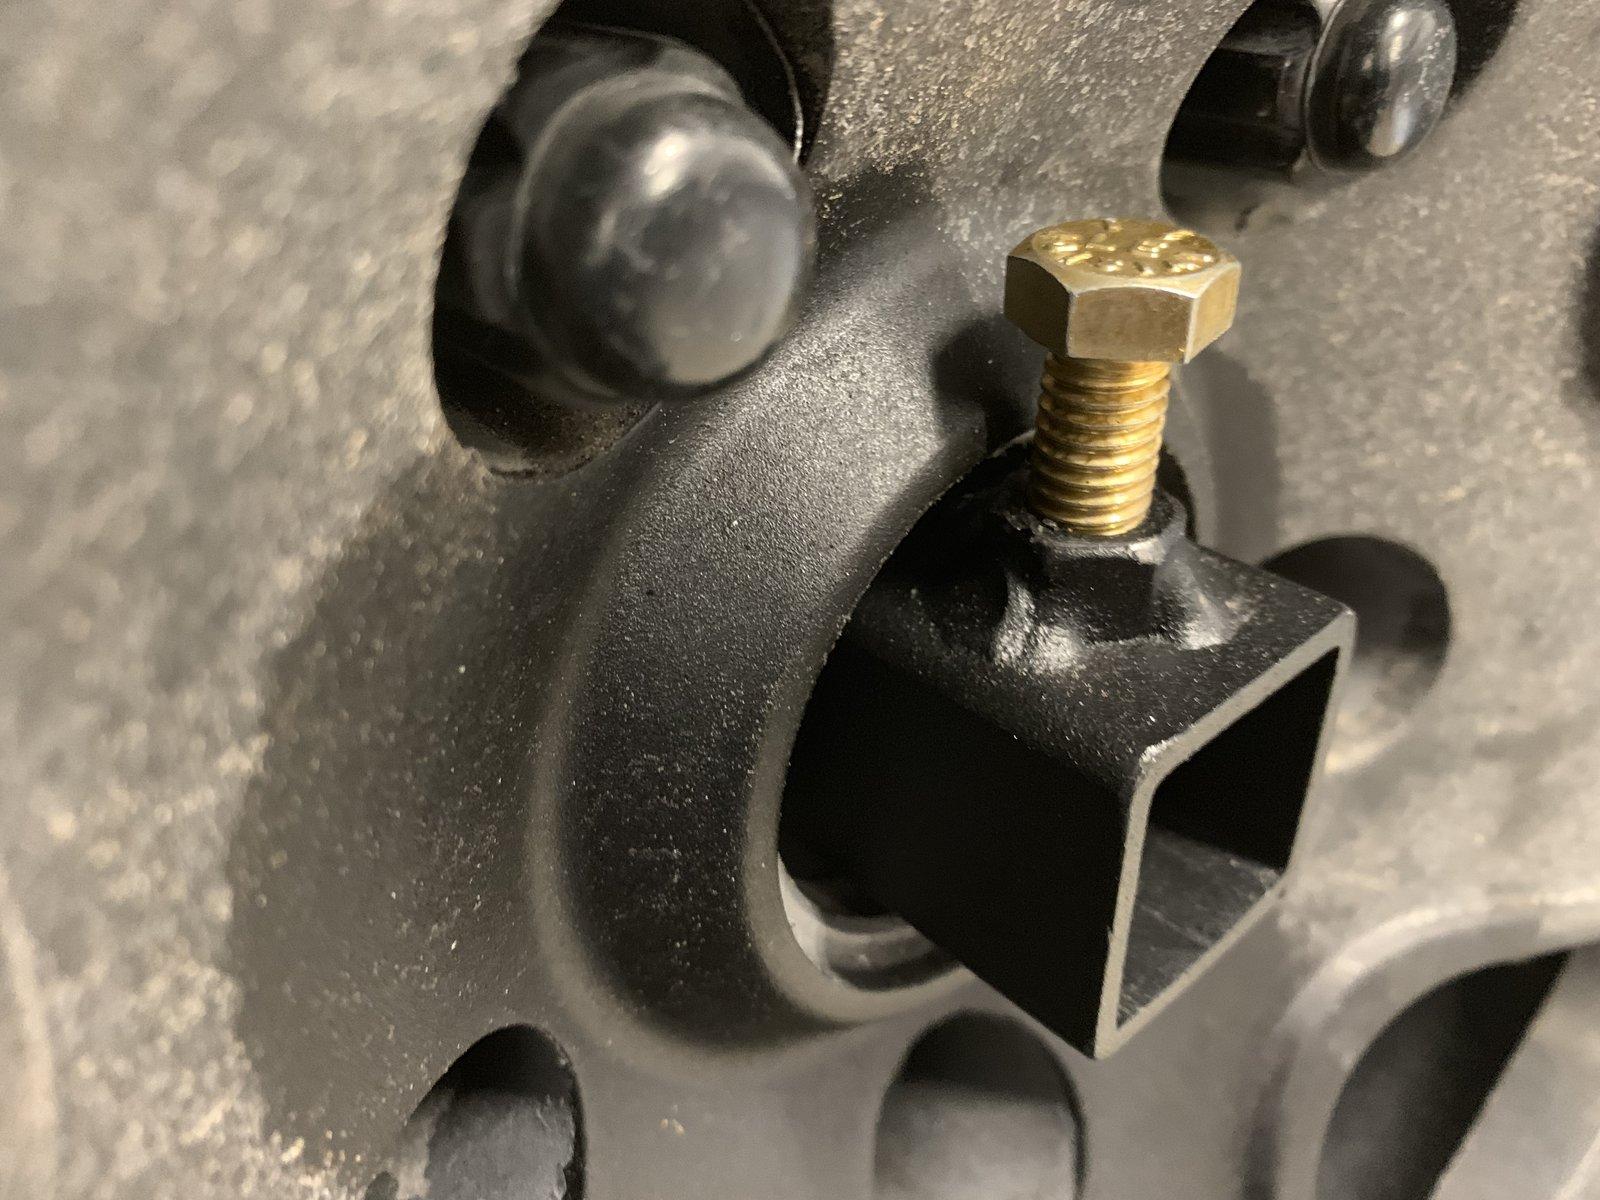
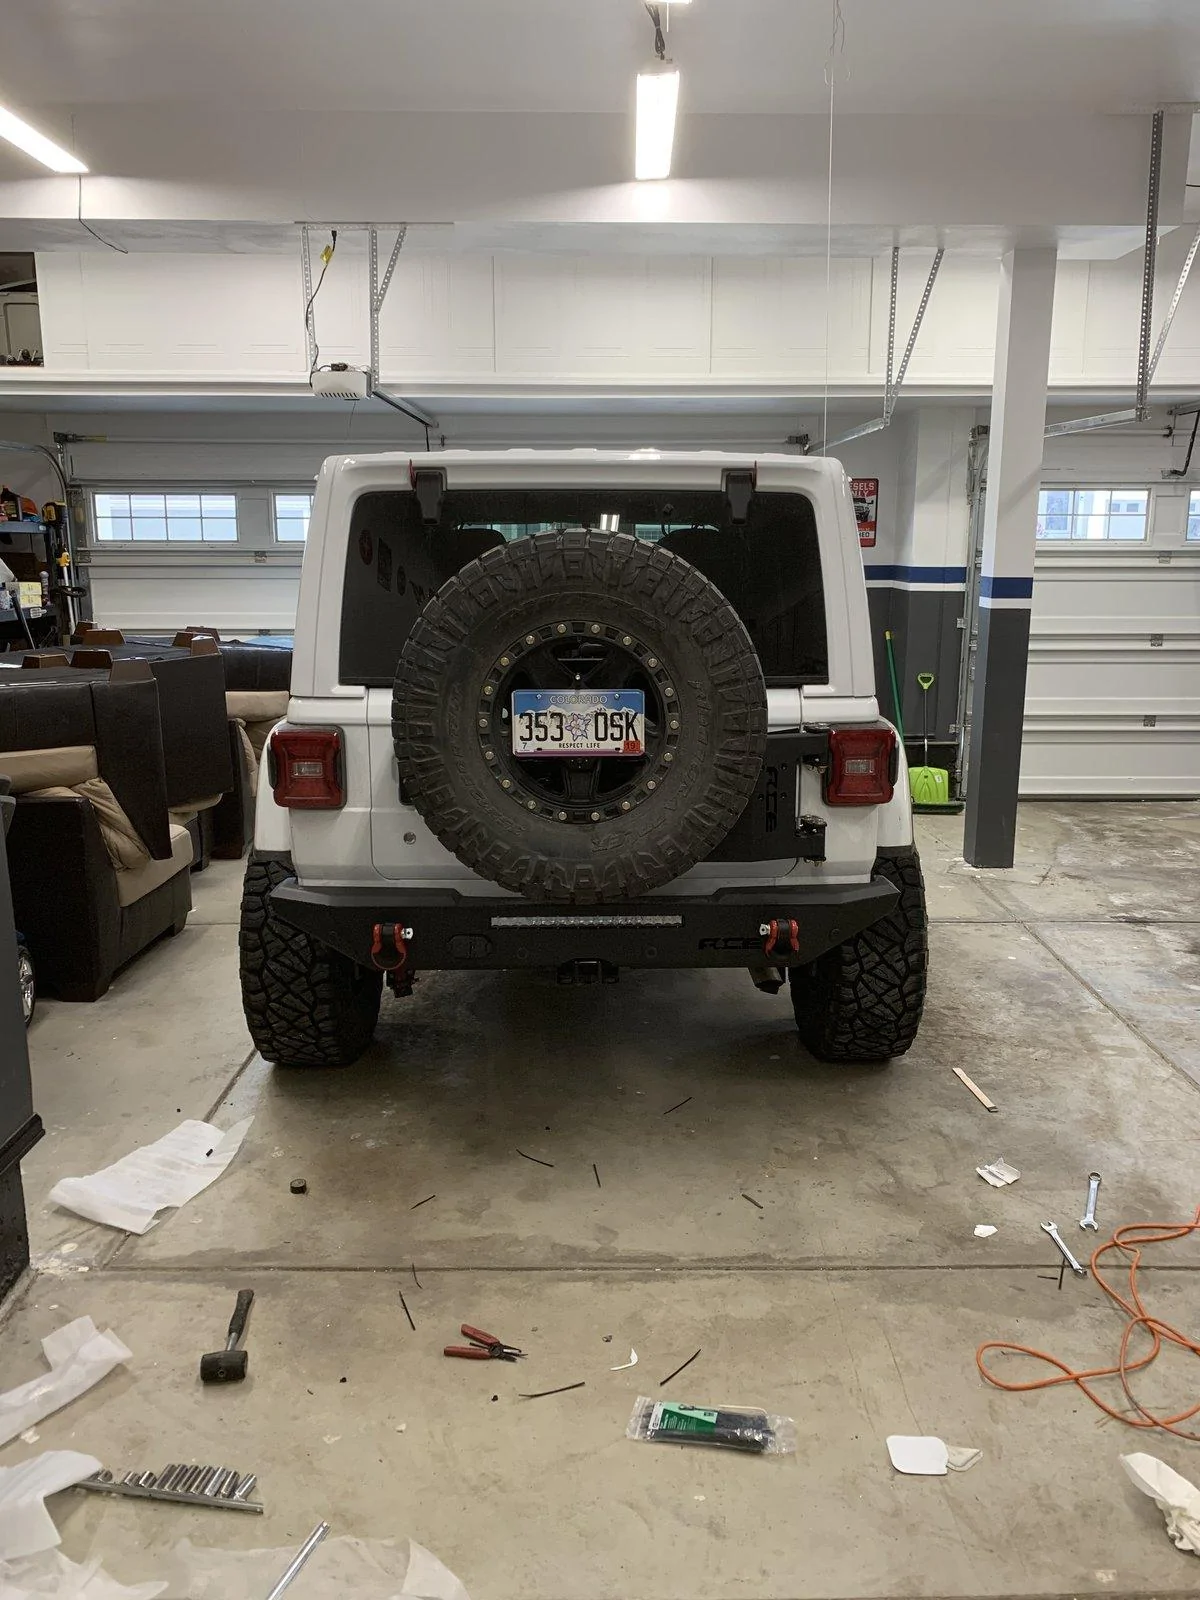
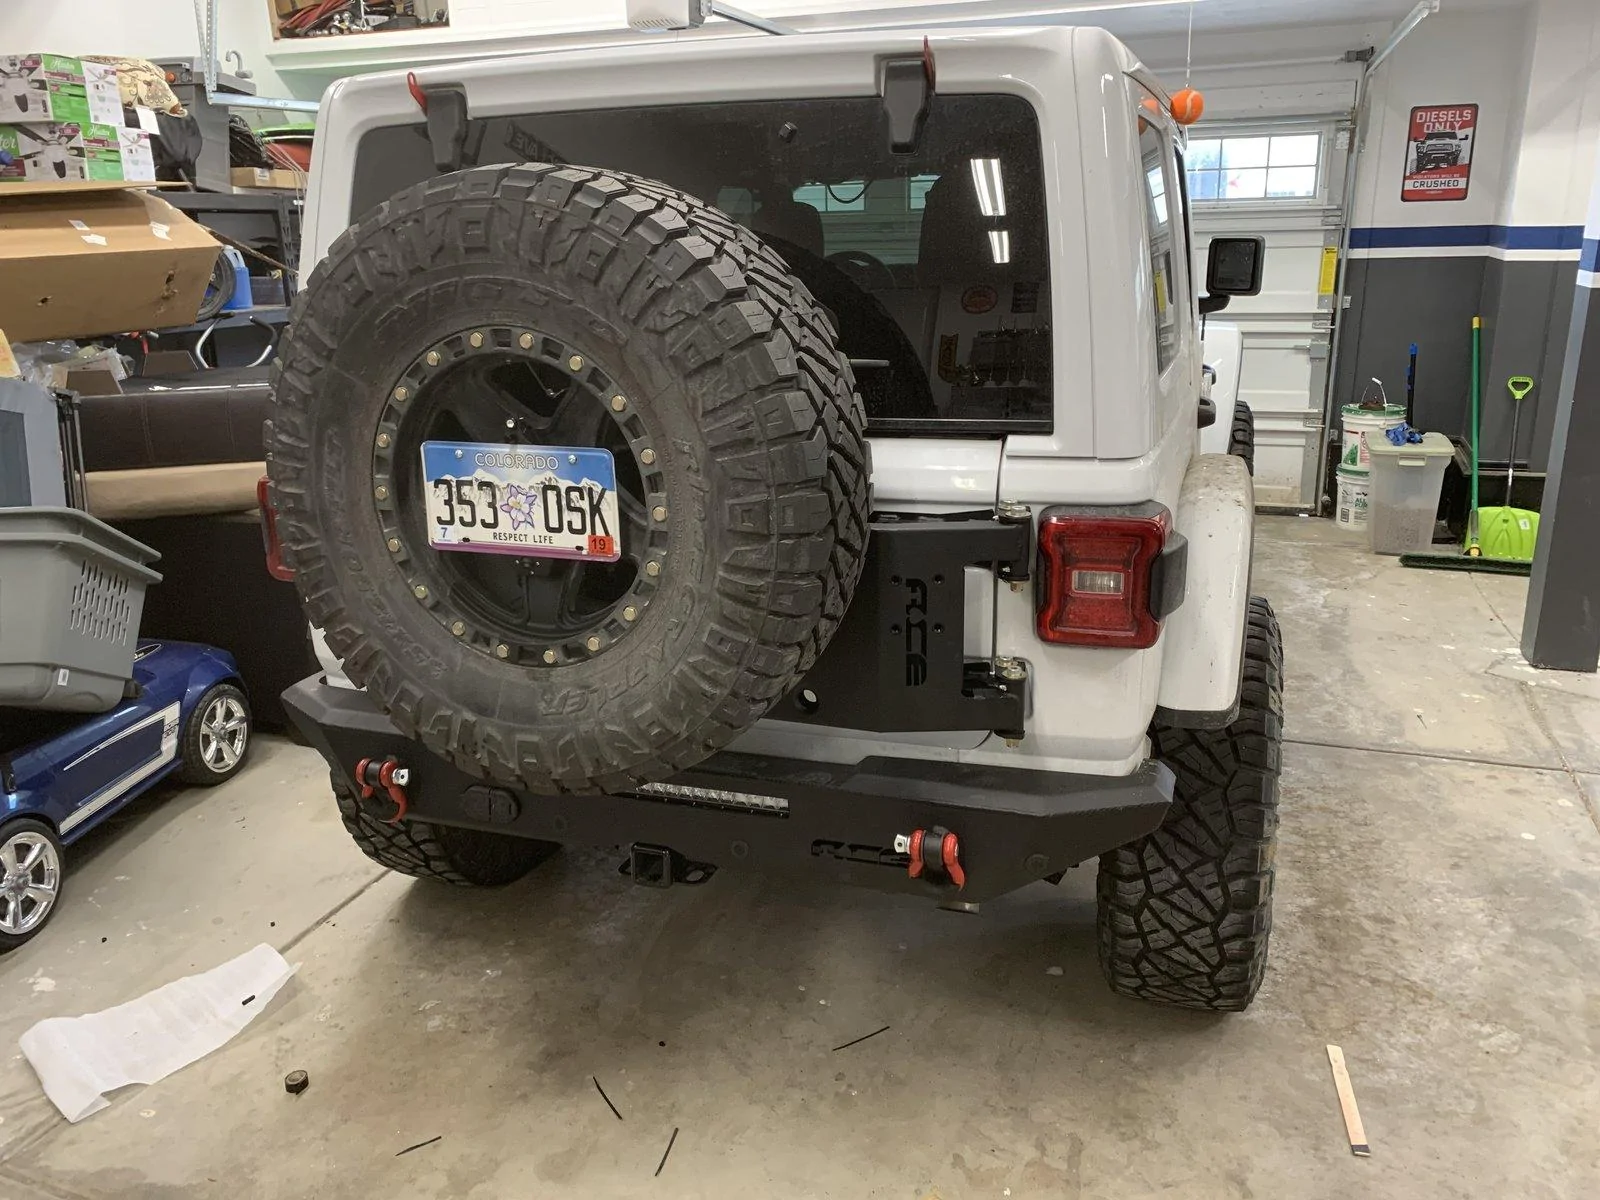
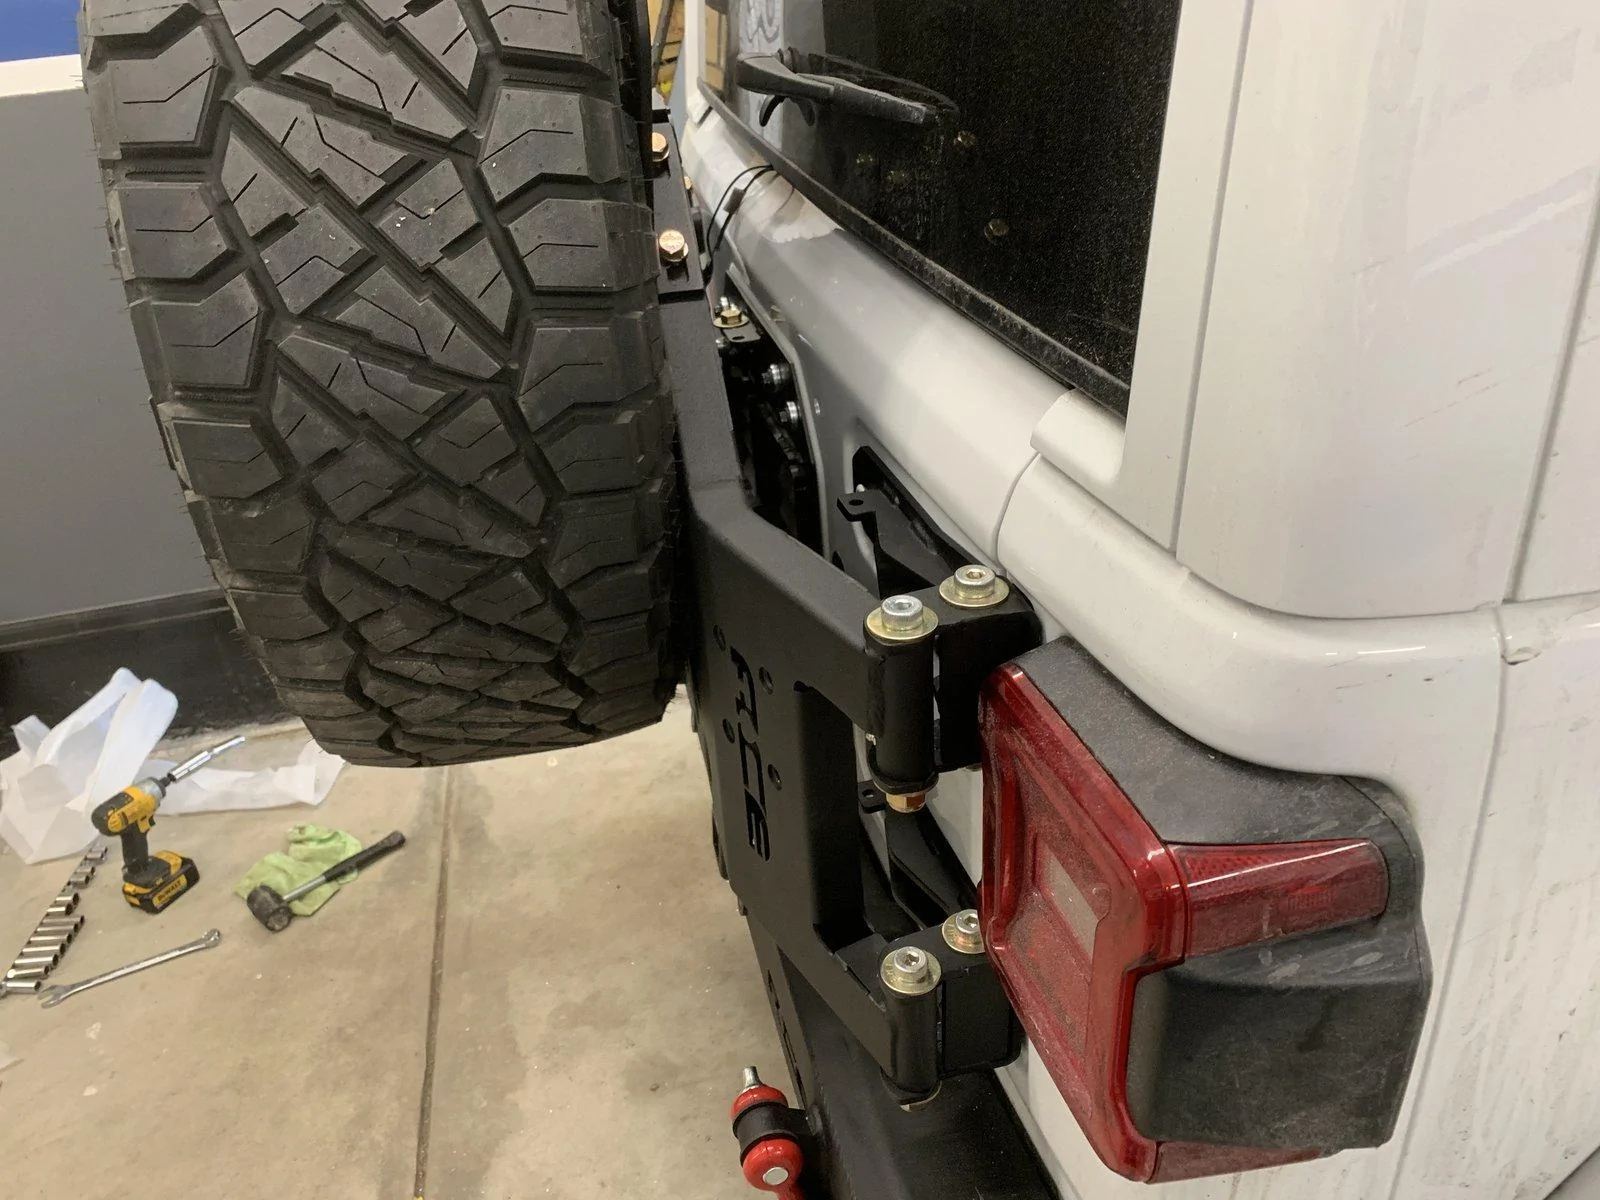
Details and pictures please when you are done! You've got me re-thinking the carrier and considering other directions, but I'd rather know sooner than later.
Excellent feedback, thank you for taking the time to do it! (Even if it's not the feedback that I was hoping it would be.)
I'm going to be putting on 40's that come in at about 120 lbs, and that was one of my questions for them, especially since I added the Slant Back Tire carrier. Before I ordered, I did call, and they told me that the slant back (even though it says is rated to carry the 38" tire) was carrying 150 lbs easy, without issue, and they were running 40's themselves.
Details and pictures please when you are done! You've got me re-thinking the carrier and considering other directions, but I'd rather know sooner than later.
Sponsored