Neutrino
Well-Known Member
- Thread starter
- #1
I finally received my Rubicon Unlimited EcoDiesel after a year of waiting. I ordered a 2021, but got a 2022(maybe I'll post that experience next). This is my first thread so be kind... Or not lol.
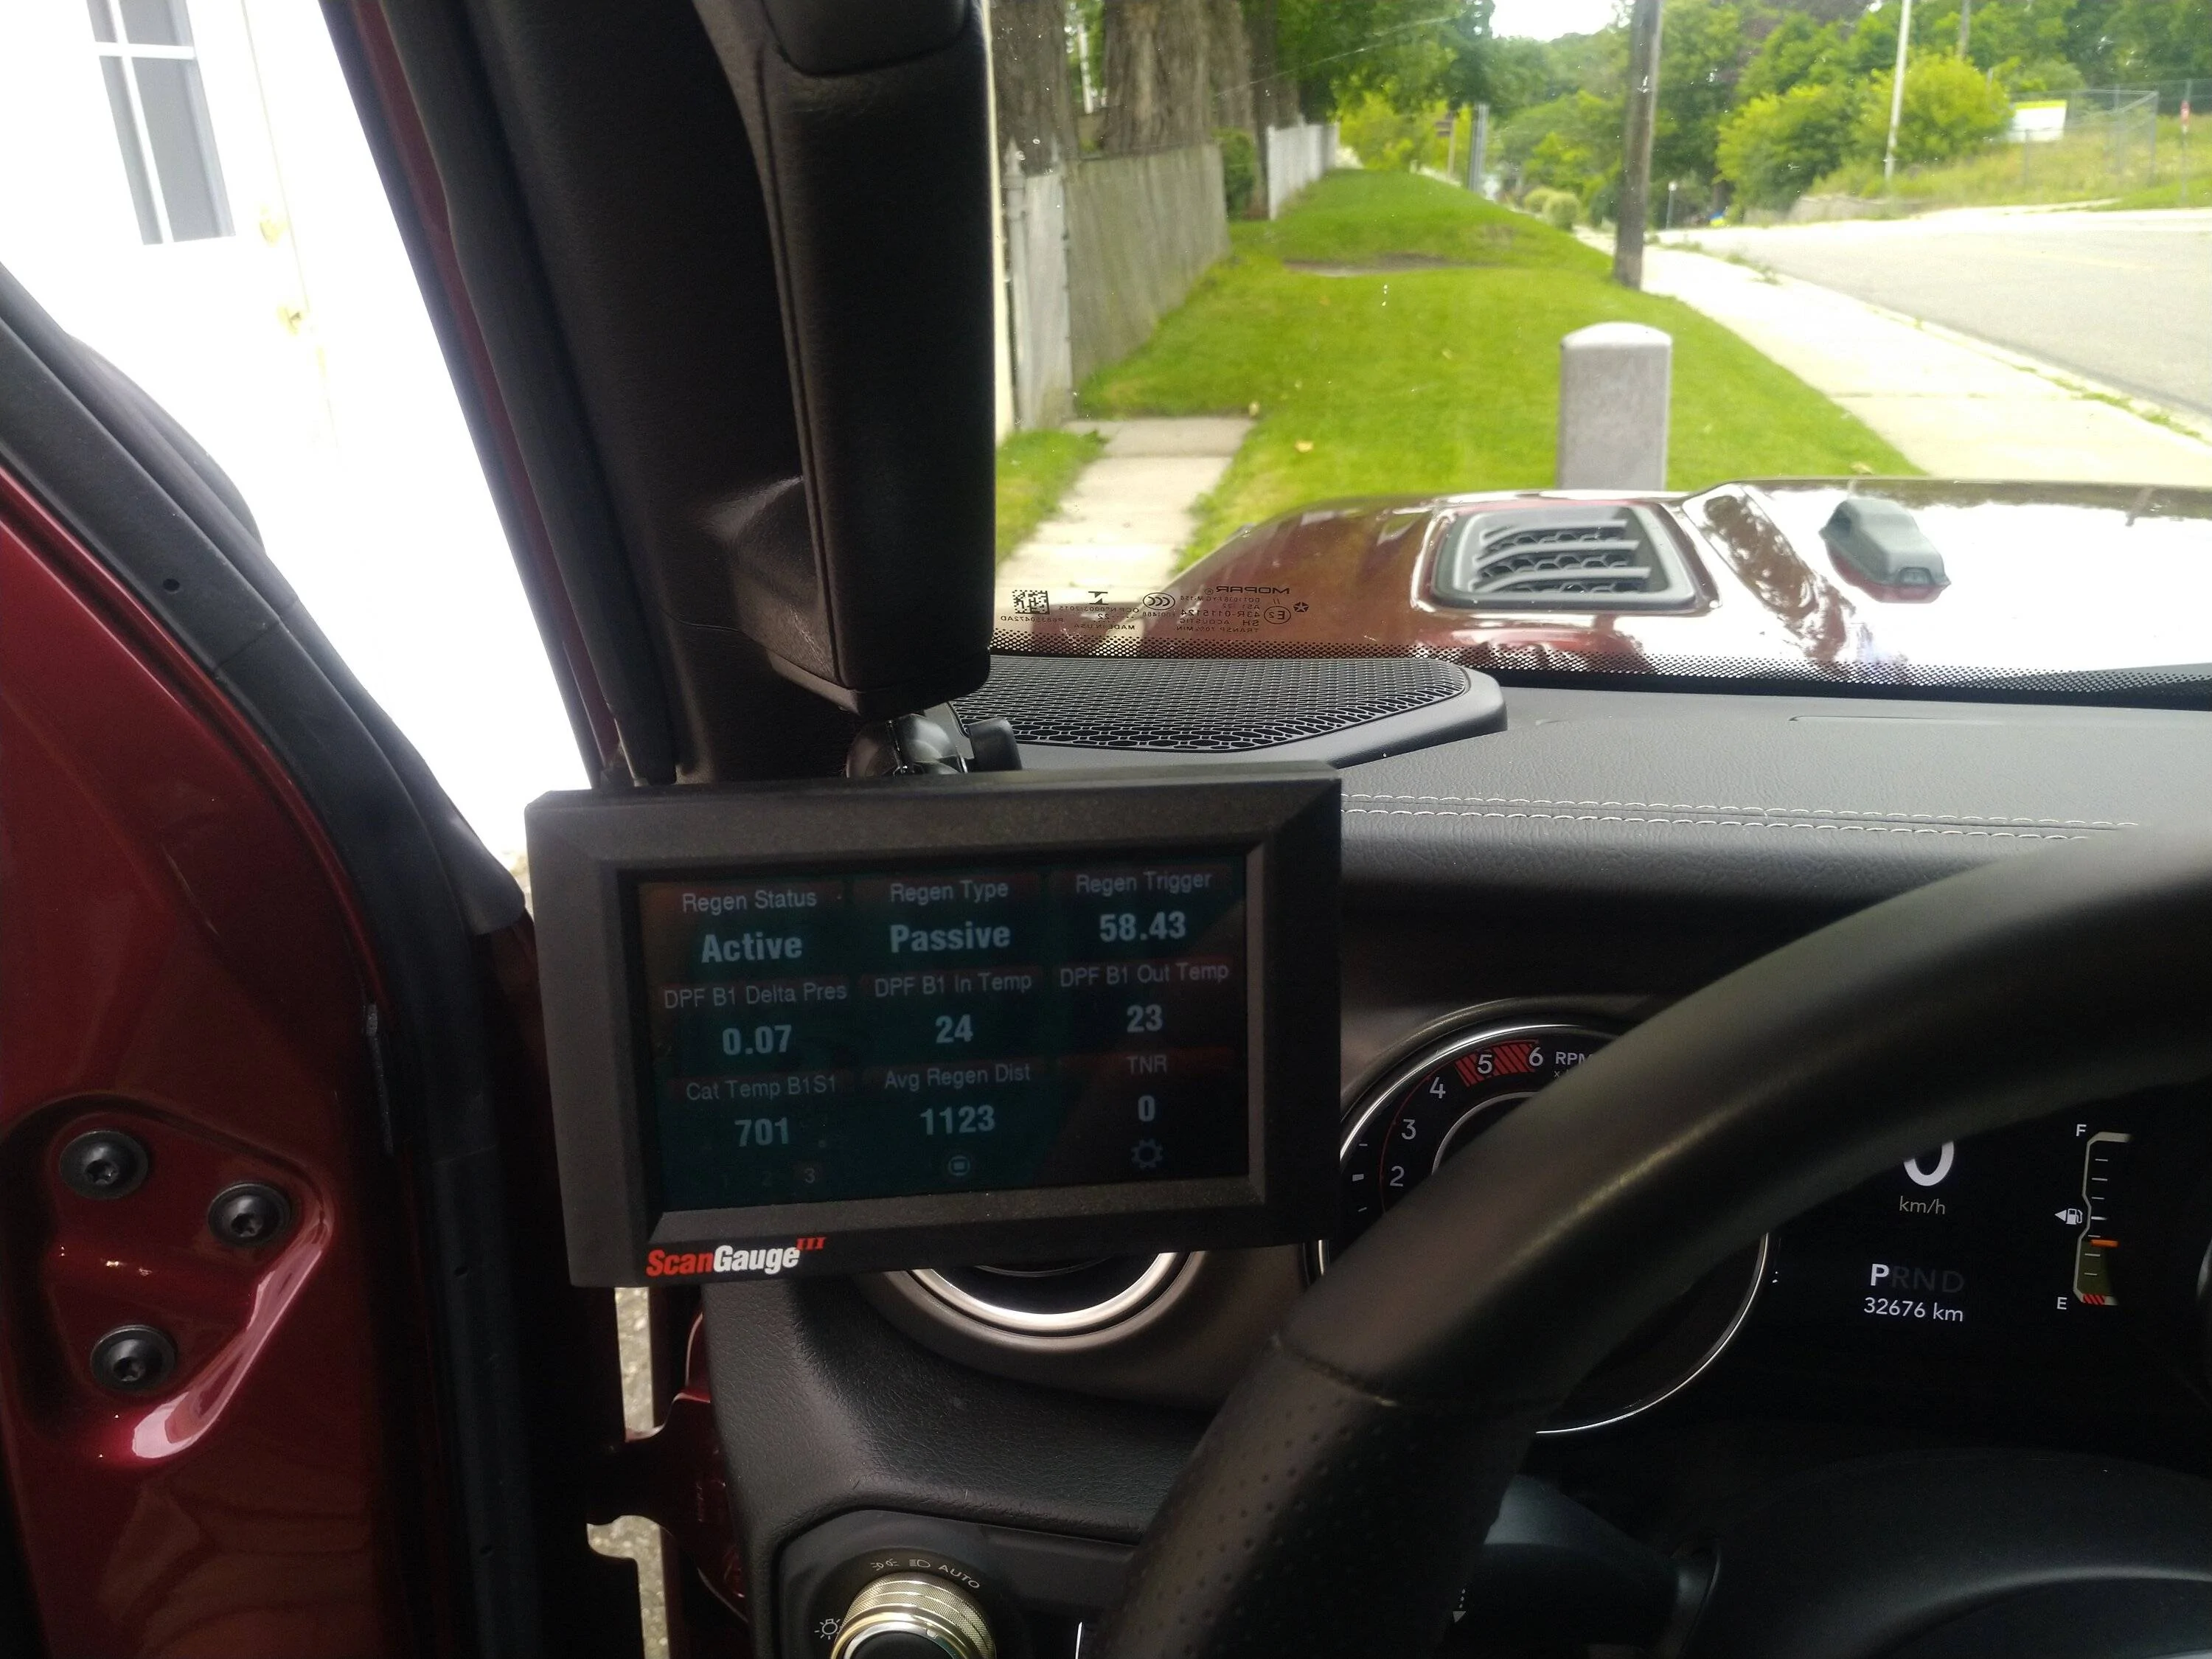
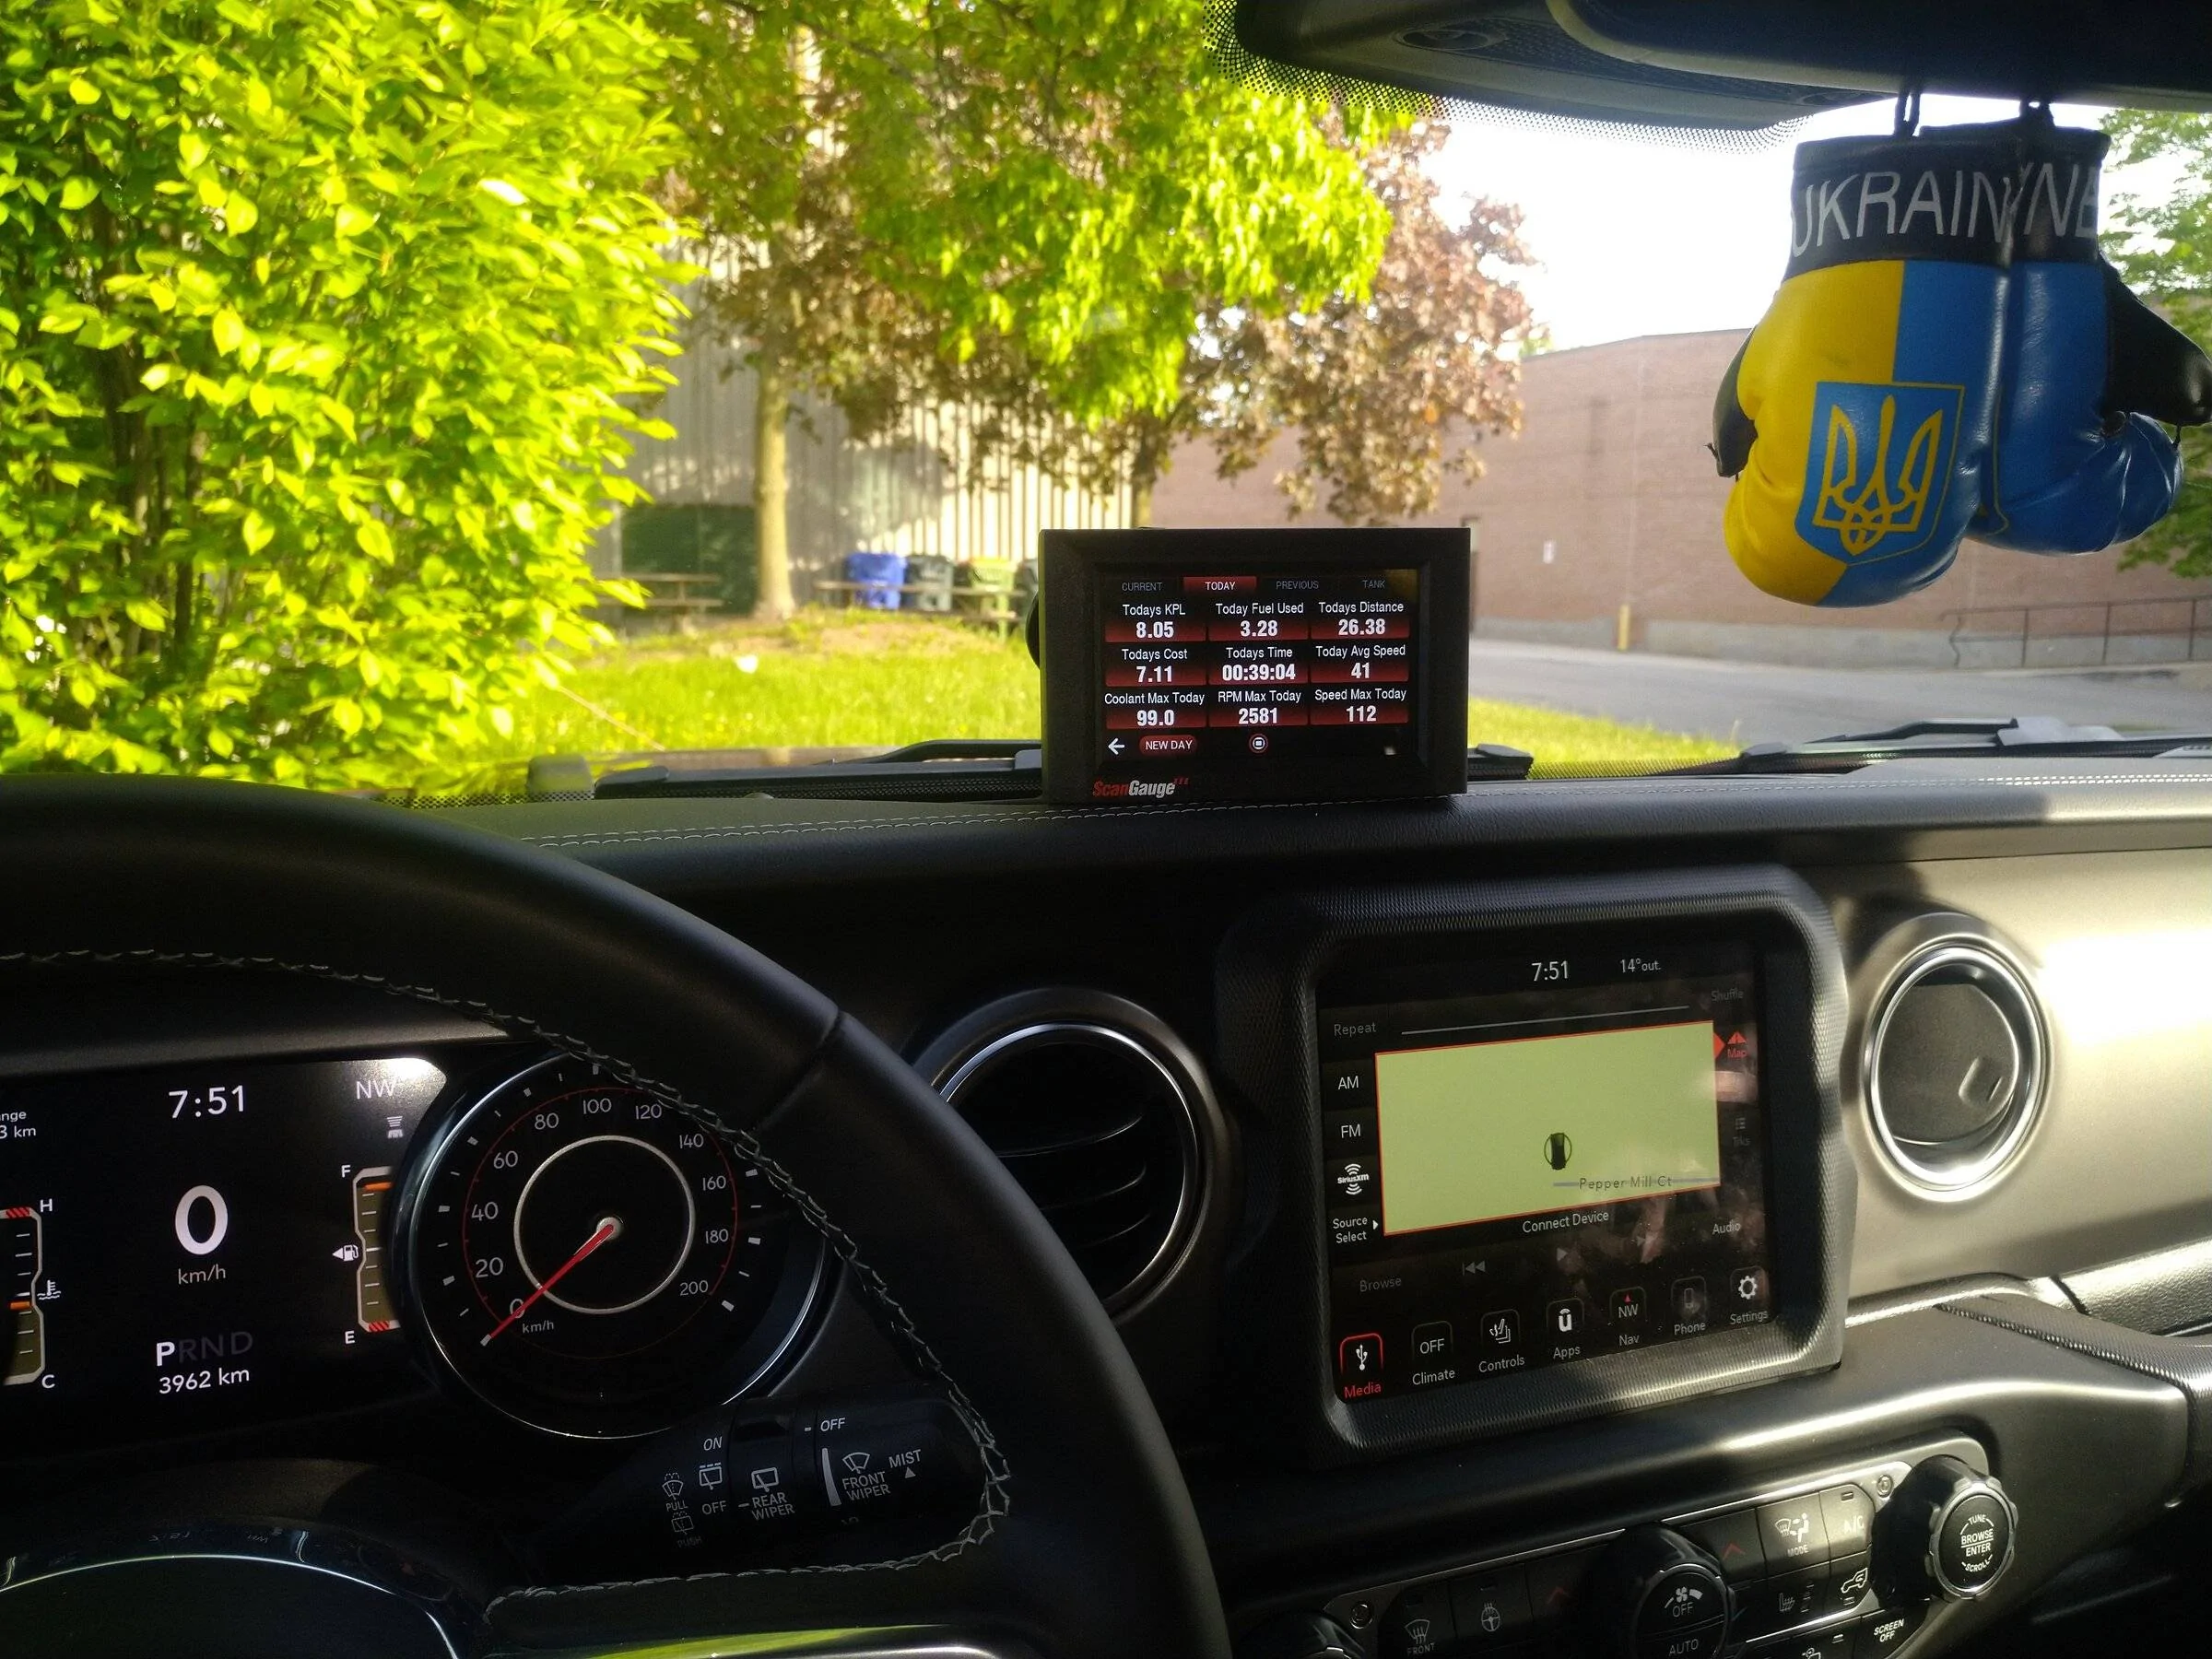
I did lots of reading on the EcoDiesel and on the list of things to have was a scan gauge II that would provide me with information about the regeneration cycles and soot levels in the exhaust system. I was going to get the scan gauge II, but found out that they just released the scan gauge III with a nice display and touchscreen. Yup... Had to have that fancy looking thing.
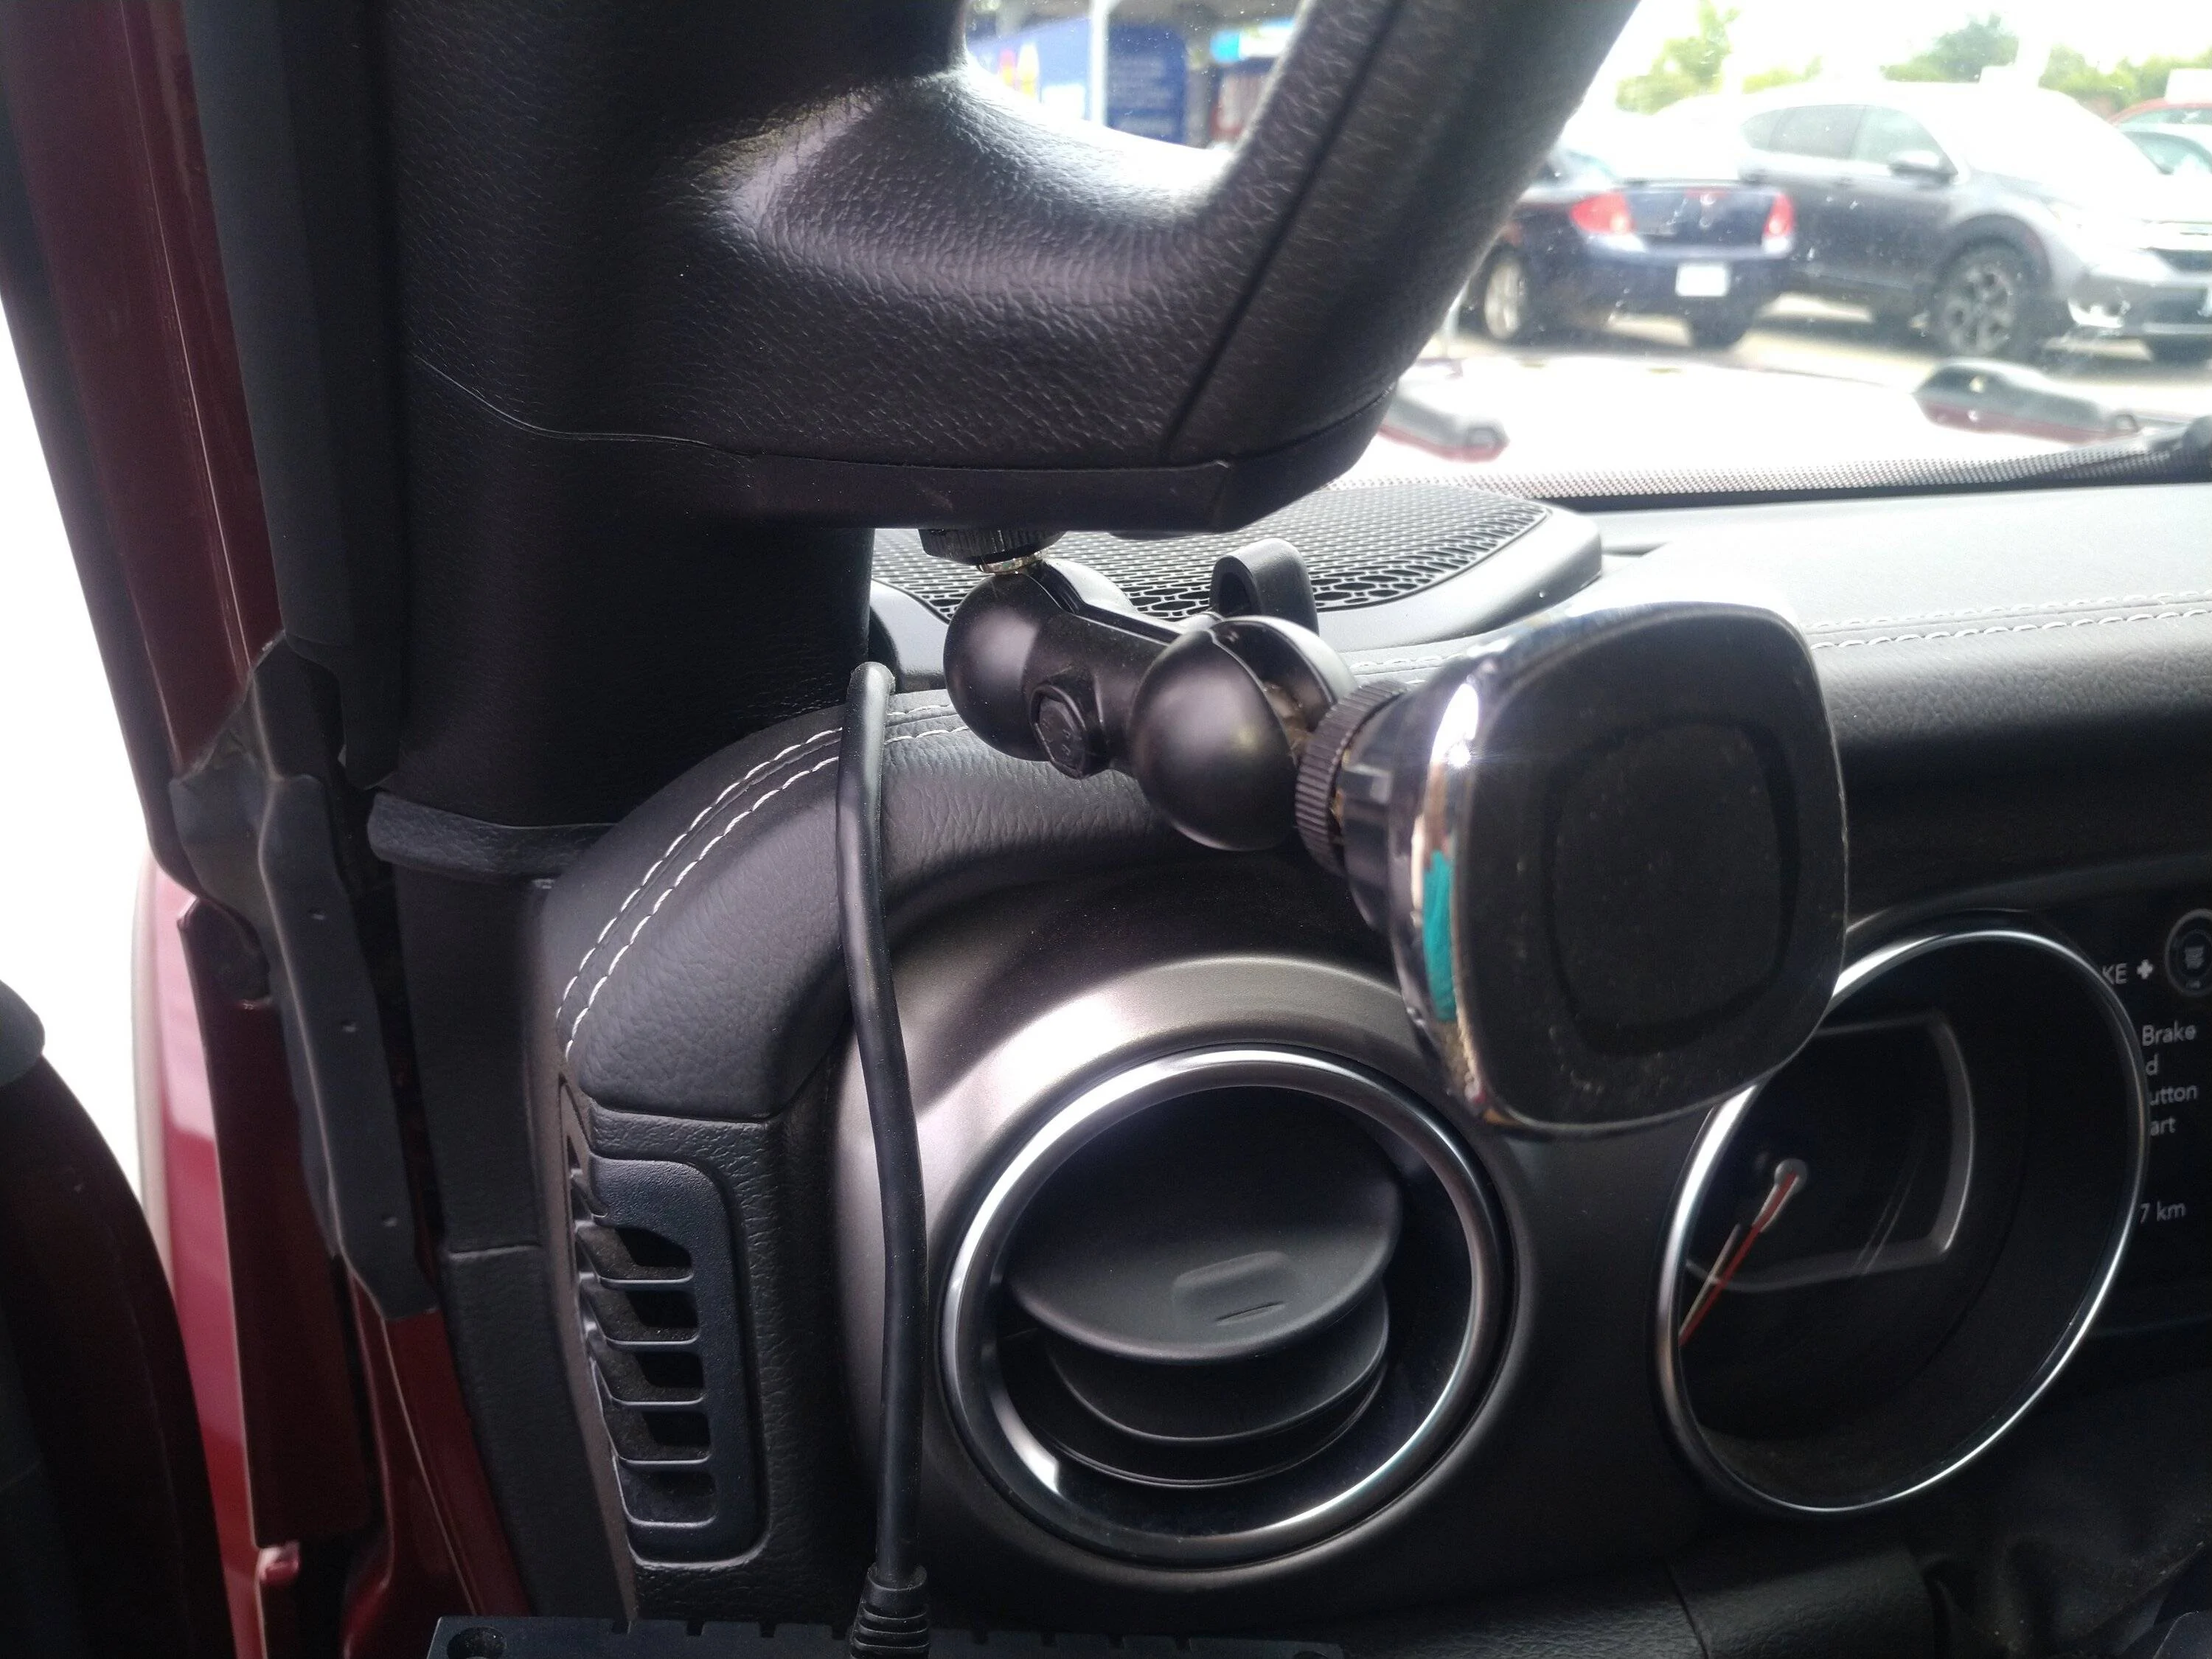
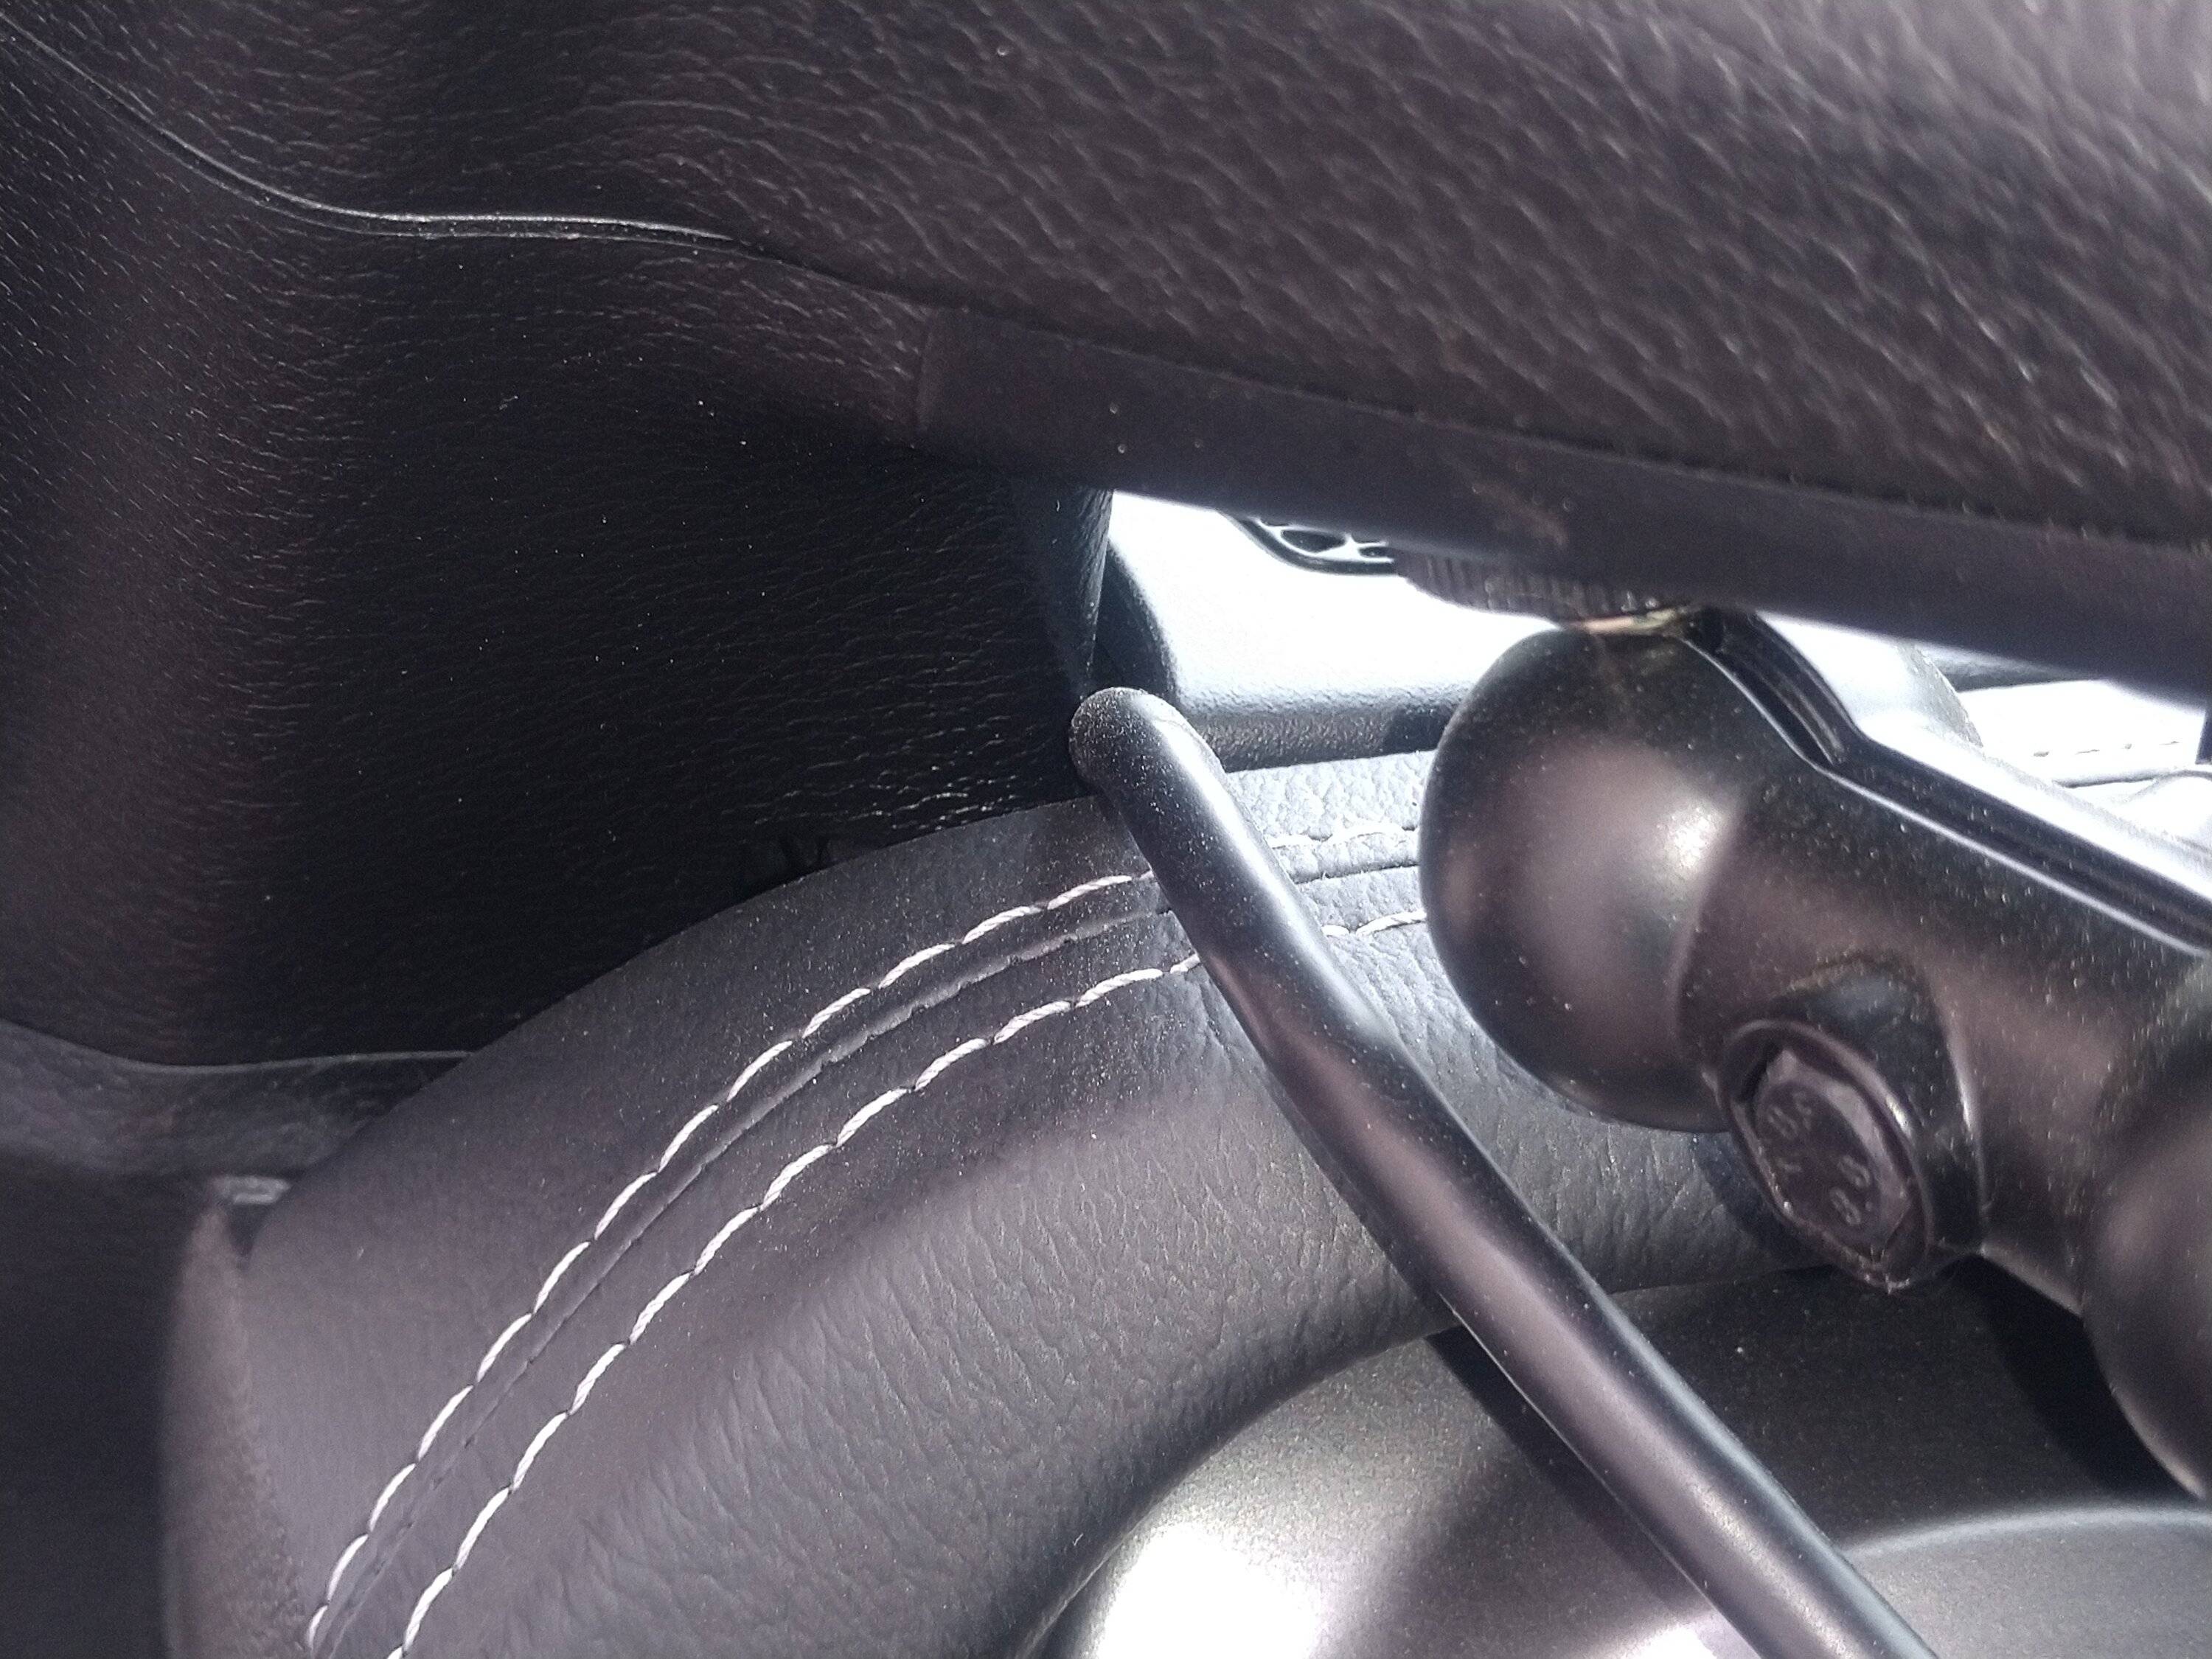
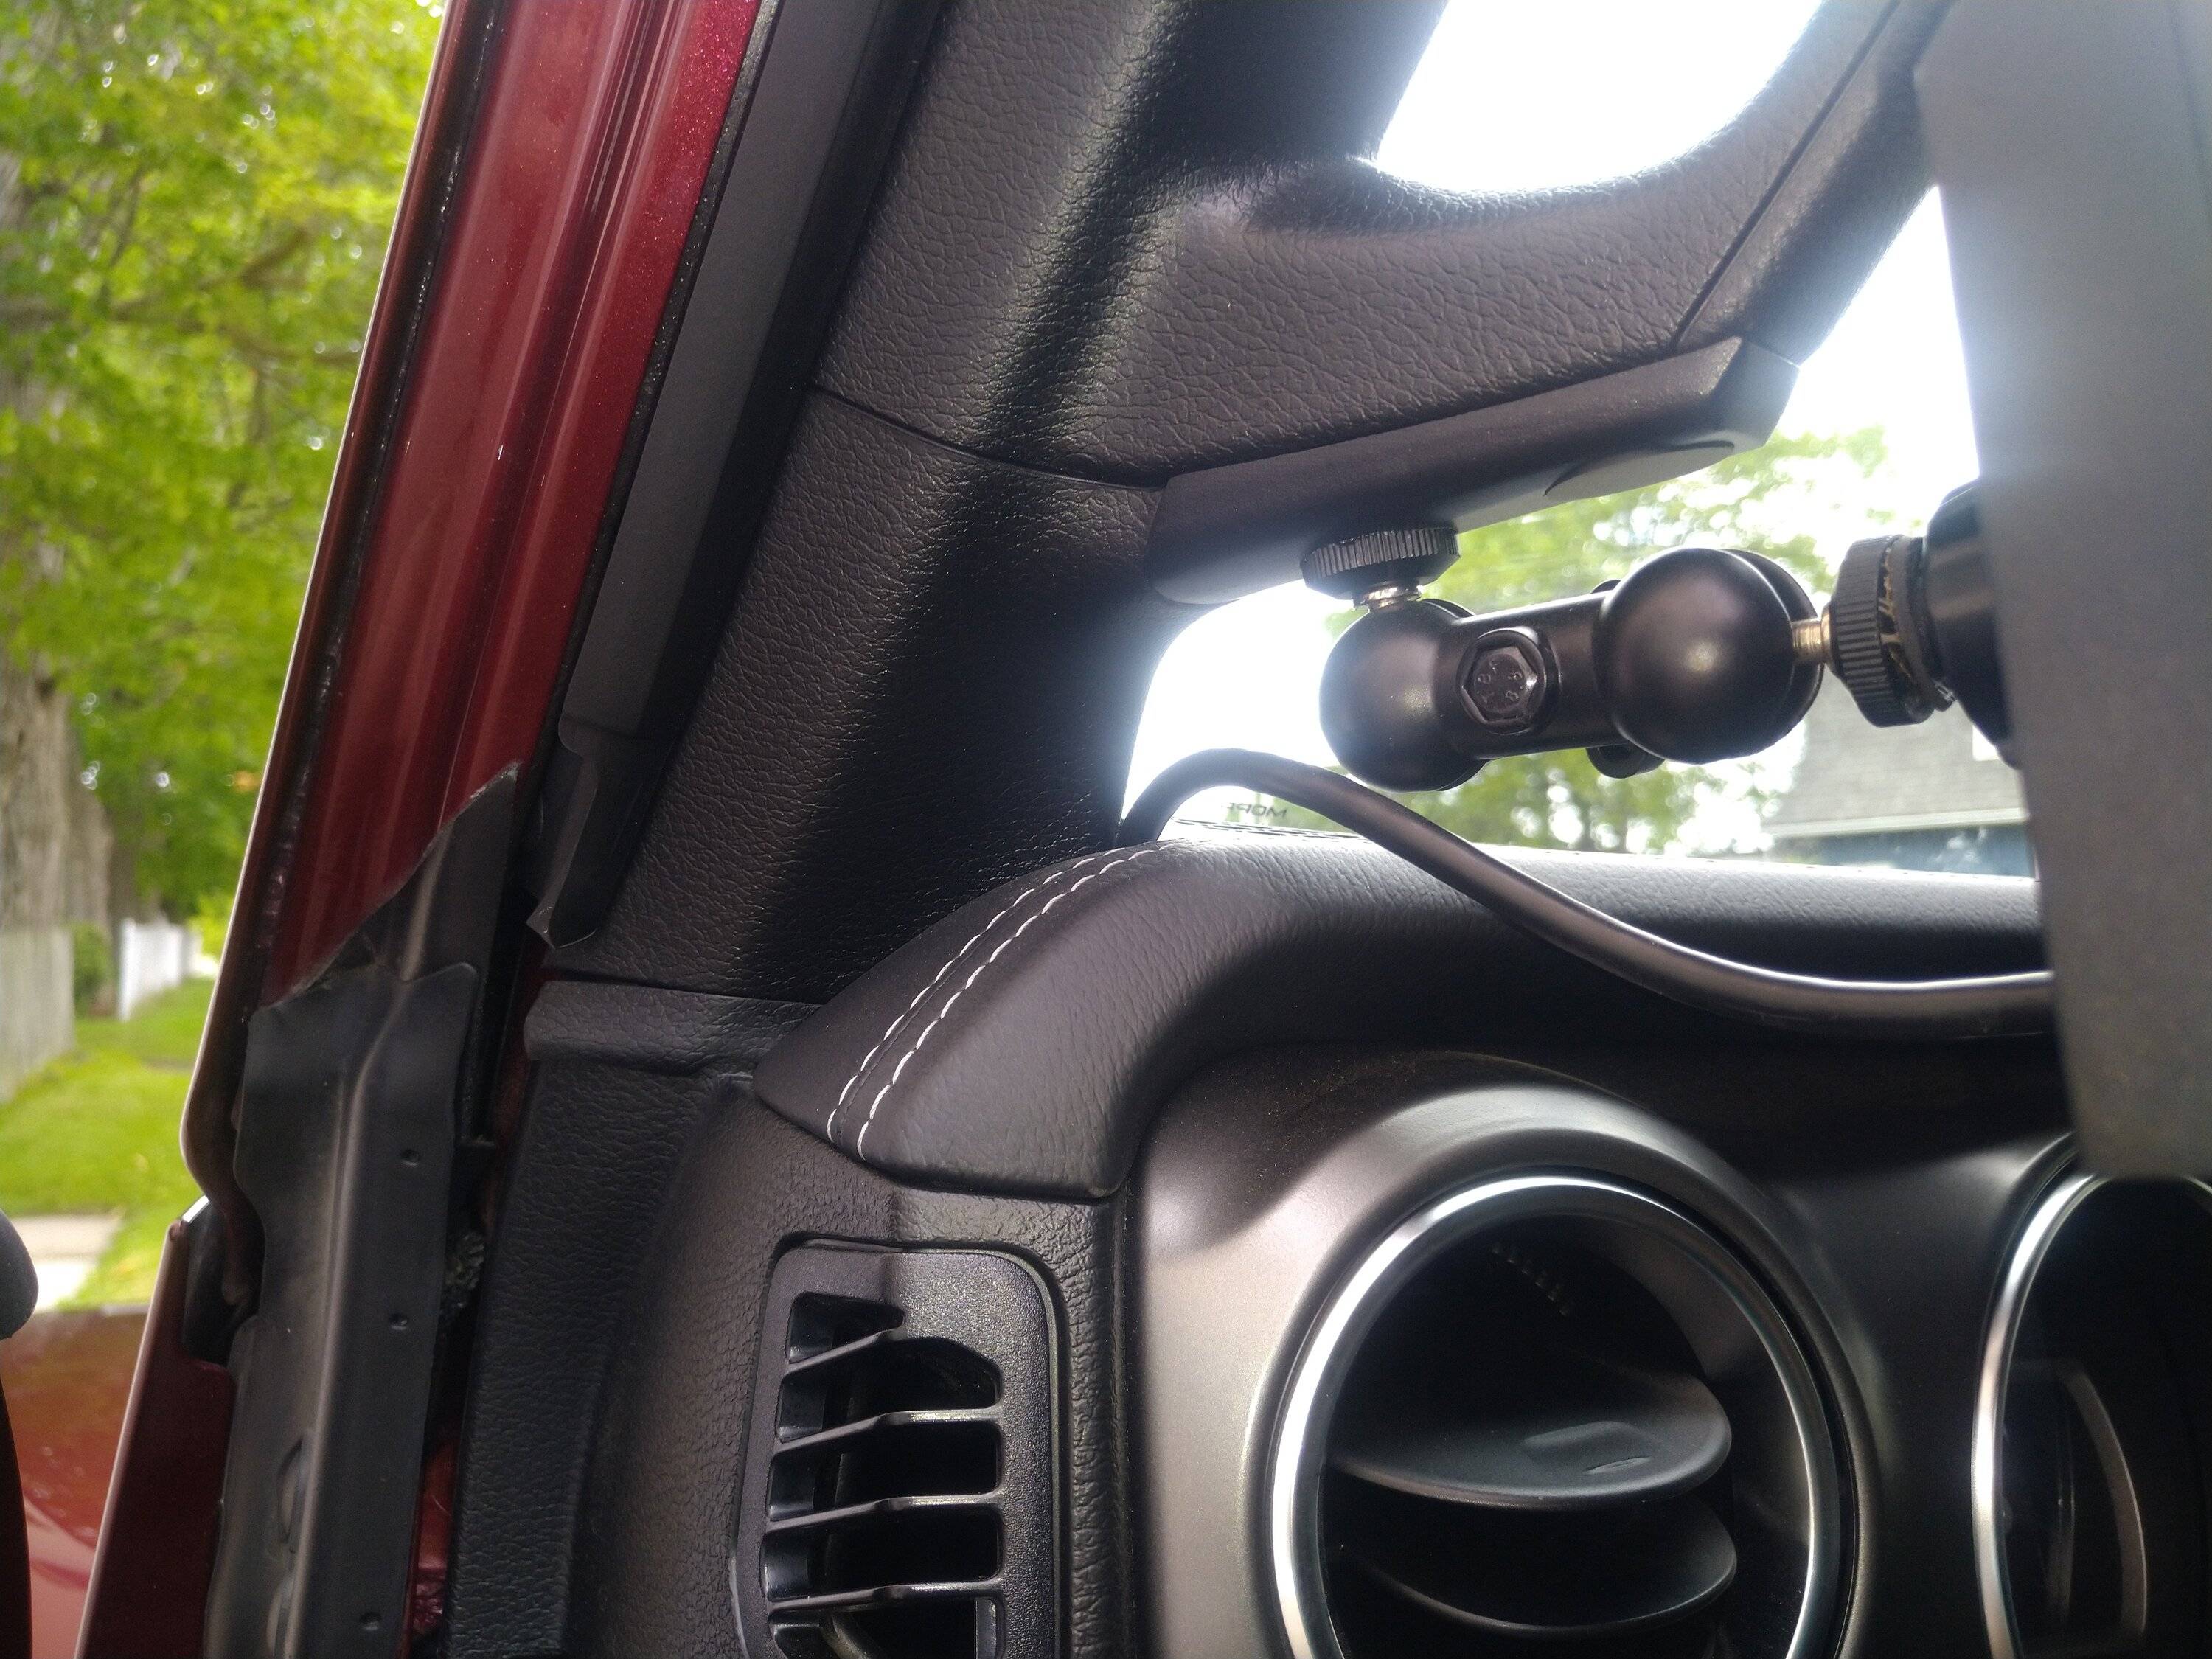
Installation was super easy with just the use of a trim tool to pop the driver side top dash speaker cover off and the driver side dash side panel cover. I ran the provided cable from the OBD2 connector in behind the dash to the left side panel of the dash and up to where the top left speaker is. Then I just ran it along the front of the dash between the dash and the windshield to about the center and used the provided windshield mount to hold the scan gauge III.
I do recommend using a bit of electrical tape around the RJ45 connector on the cable as it makes for easier pushing and pulling through the dash and it prevents breaking the small locking tab on the connector.
The installation took less than 20 minutes from start to finish.
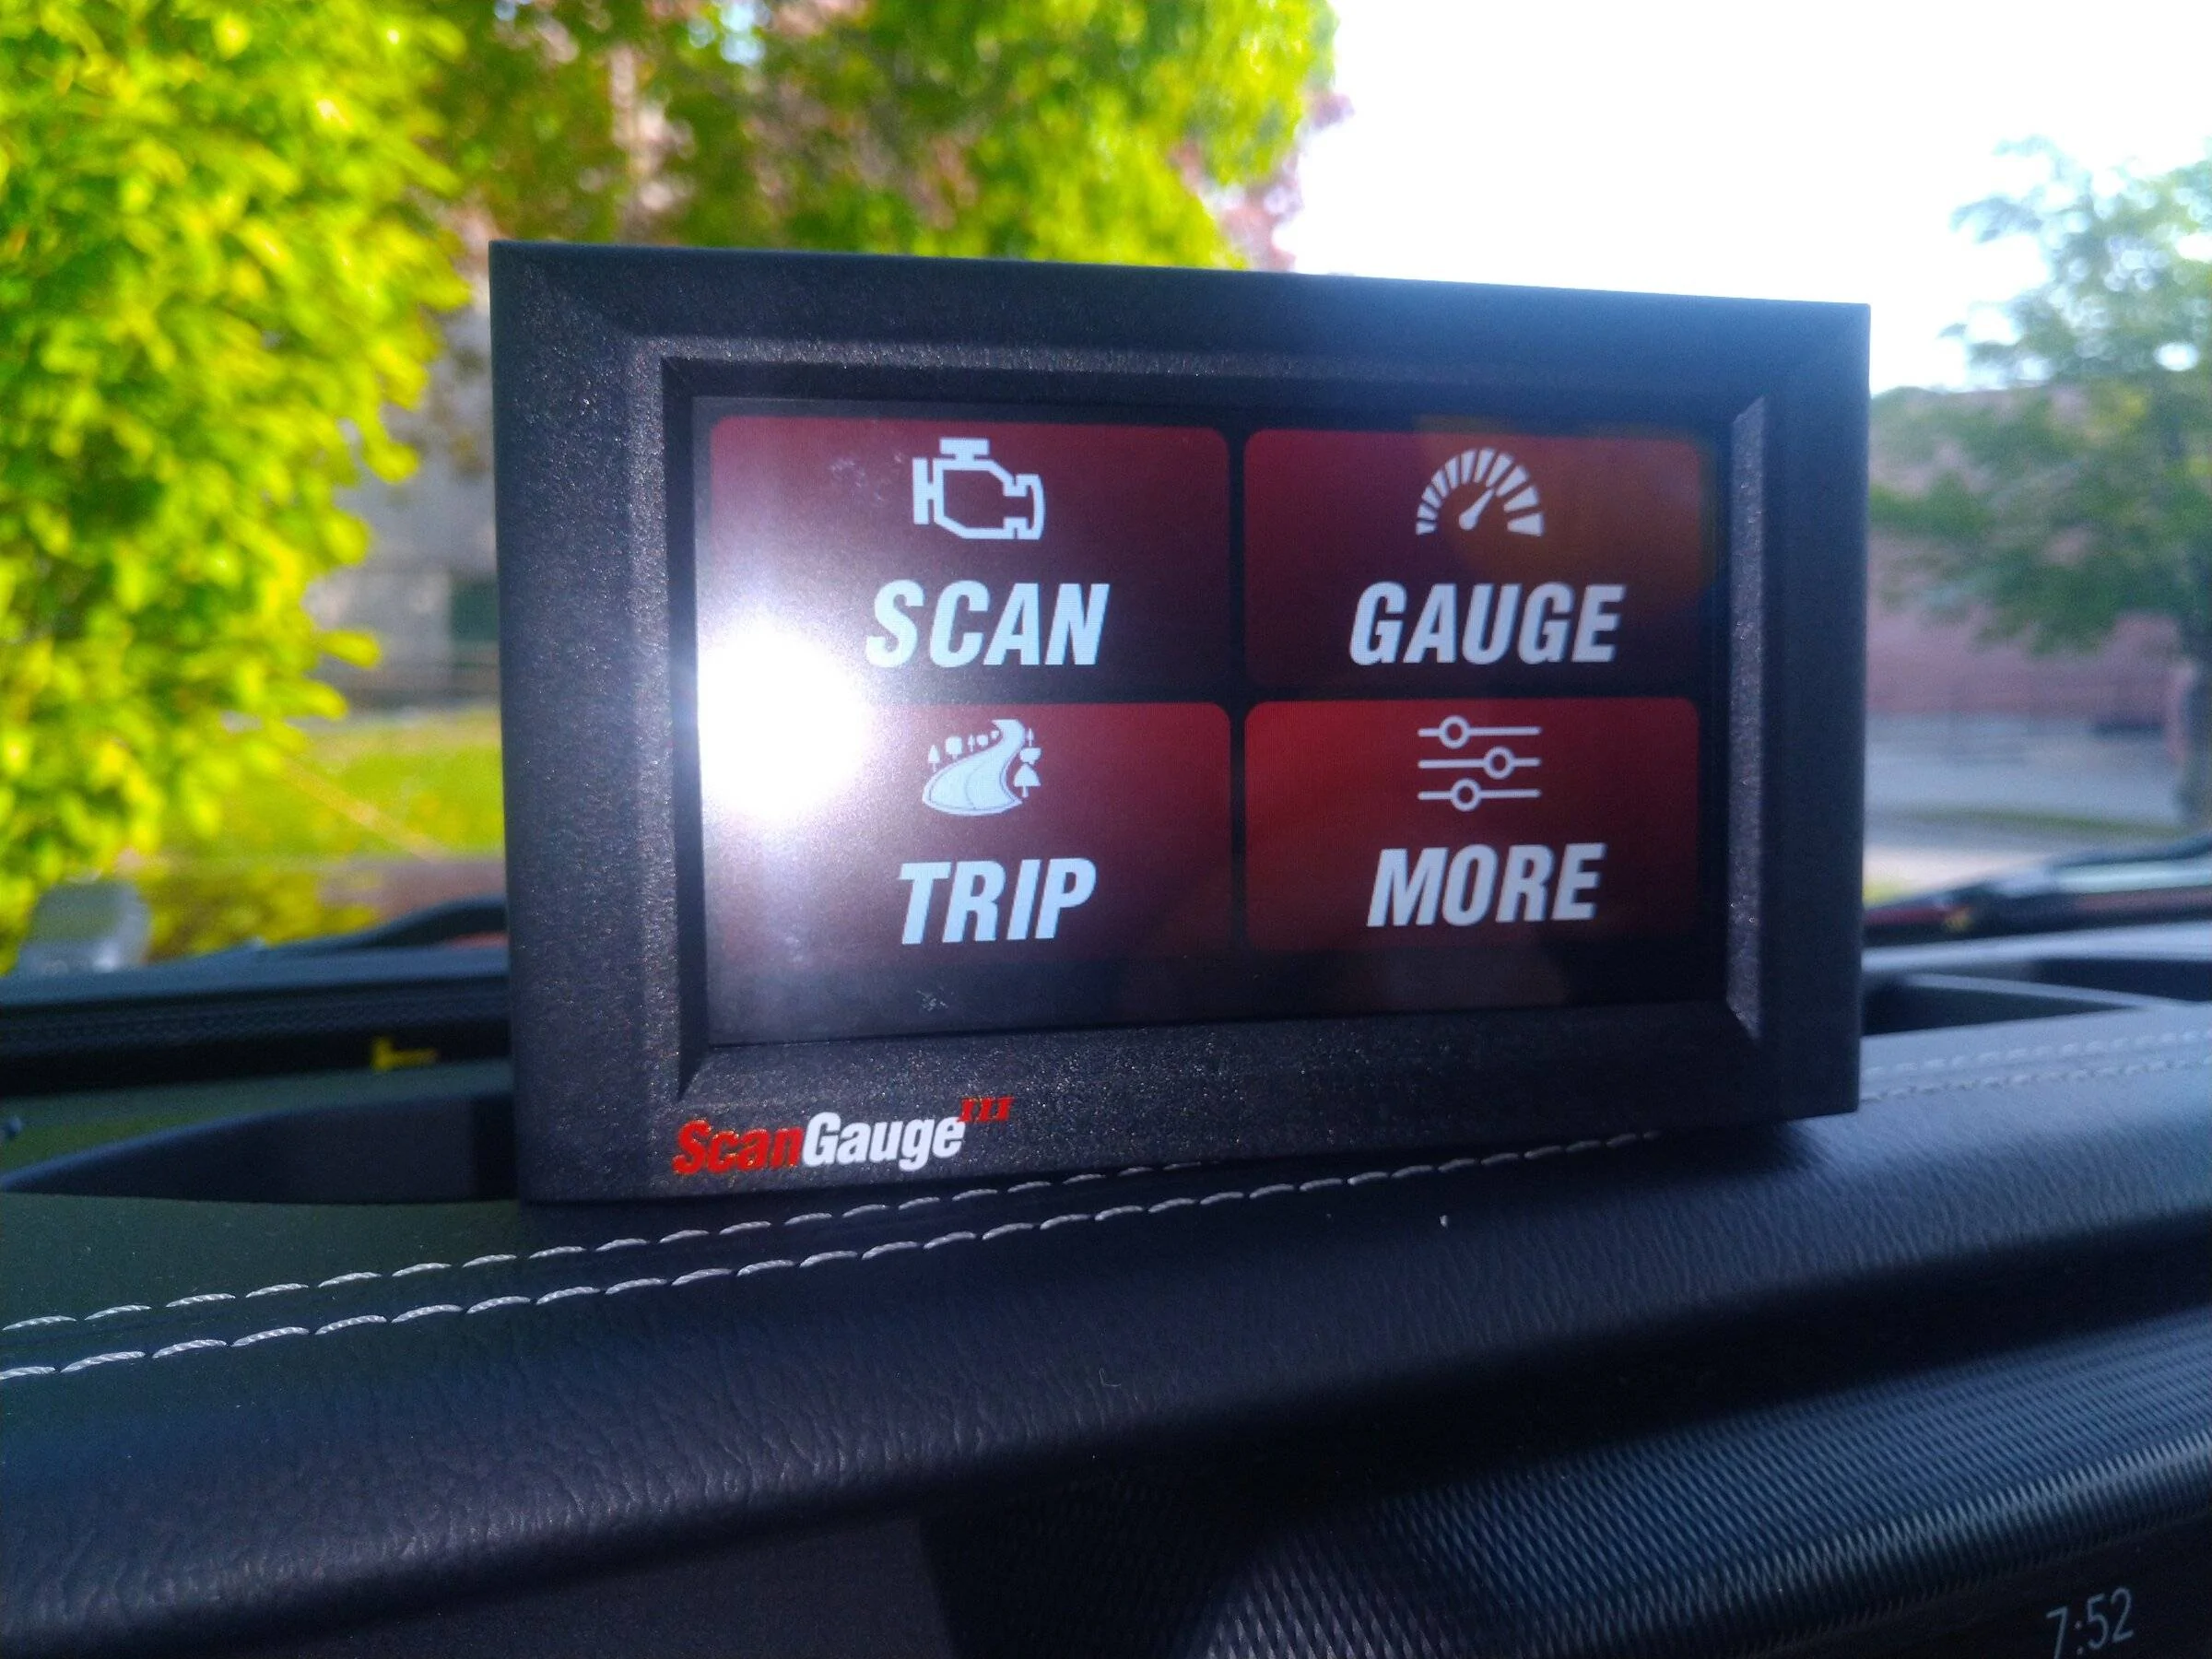
You can customize the color and how many different gauges to display and you have three pages of it that you can select from for a total of 27 customizable readings. It also gives you your fuel economy pages for current trips and previous trips. It also has the ability to add the xgauges and any other items we figure out in the future.
Setting it up for the gauges you want to display is extremely easy, you just touched the gauge that you want to change and select what you want it to show from a list.
Cheers!

I did lots of reading on the EcoDiesel and on the list of things to have was a scan gauge II that would provide me with information about the regeneration cycles and soot levels in the exhaust system. I was going to get the scan gauge II, but found out that they just released the scan gauge III with a nice display and touchscreen. Yup... Had to have that fancy looking thing.
Installation was super easy with just the use of a trim tool to pop the driver side top dash speaker cover off and the driver side dash side panel cover. I ran the provided cable from the OBD2 connector in behind the dash to the left side panel of the dash and up to where the top left speaker is. Then I just ran it along the front of the dash between the dash and the windshield to about the center and used the provided windshield mount to hold the scan gauge III.
I do recommend using a bit of electrical tape around the RJ45 connector on the cable as it makes for easier pushing and pulling through the dash and it prevents breaking the small locking tab on the connector.
The installation took less than 20 minutes from start to finish.
You can customize the color and how many different gauges to display and you have three pages of it that you can select from for a total of 27 customizable readings. It also gives you your fuel economy pages for current trips and previous trips. It also has the ability to add the xgauges and any other items we figure out in the future.
Setting it up for the gauges you want to display is extremely easy, you just touched the gauge that you want to change and select what you want it to show from a list.
Cheers!

Sponsored