maddscot
Well-Known Member
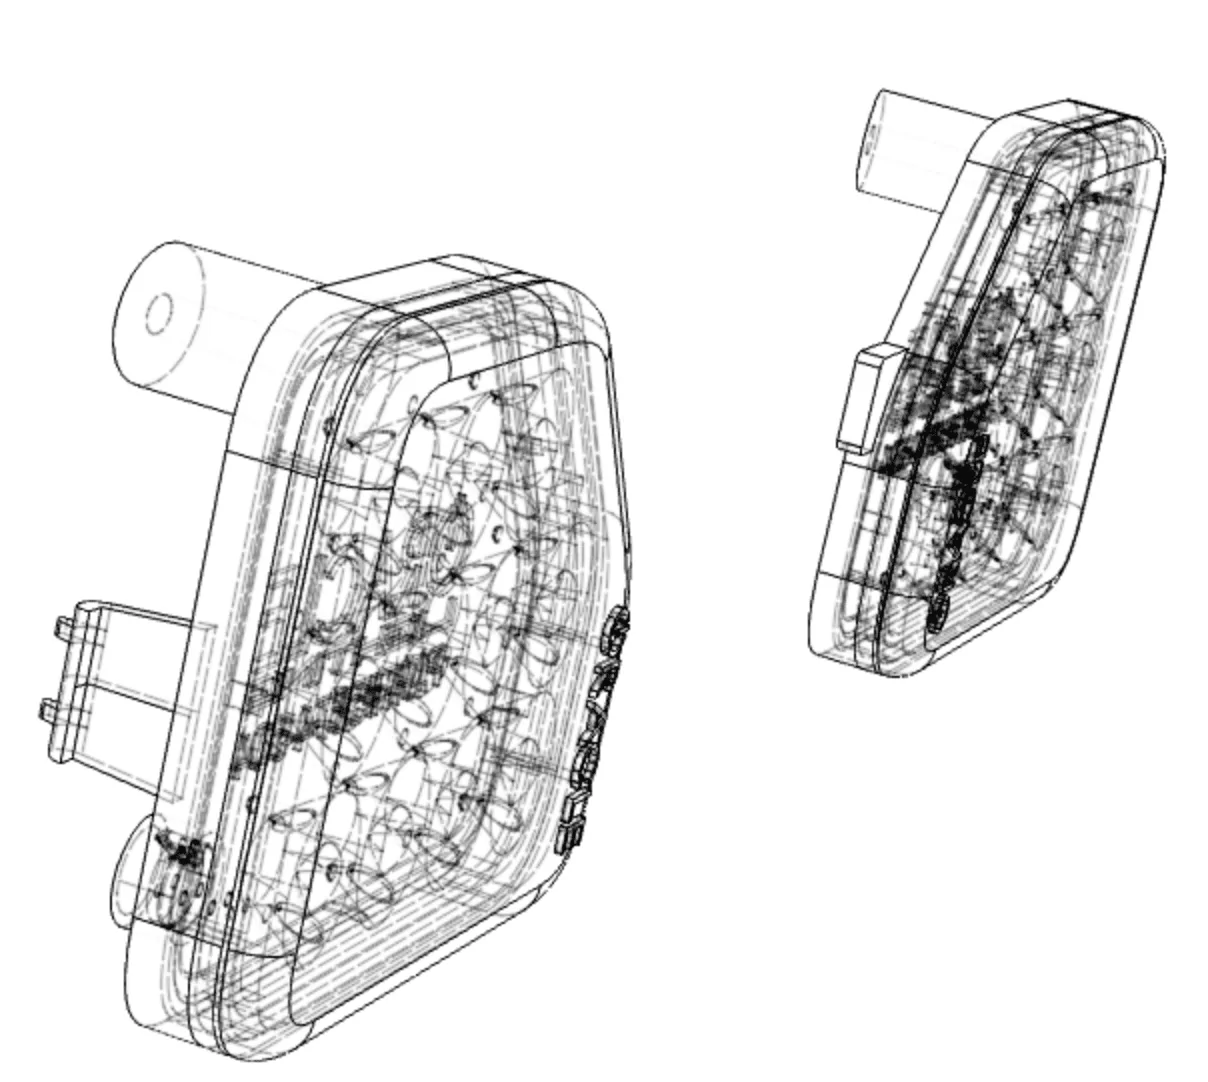
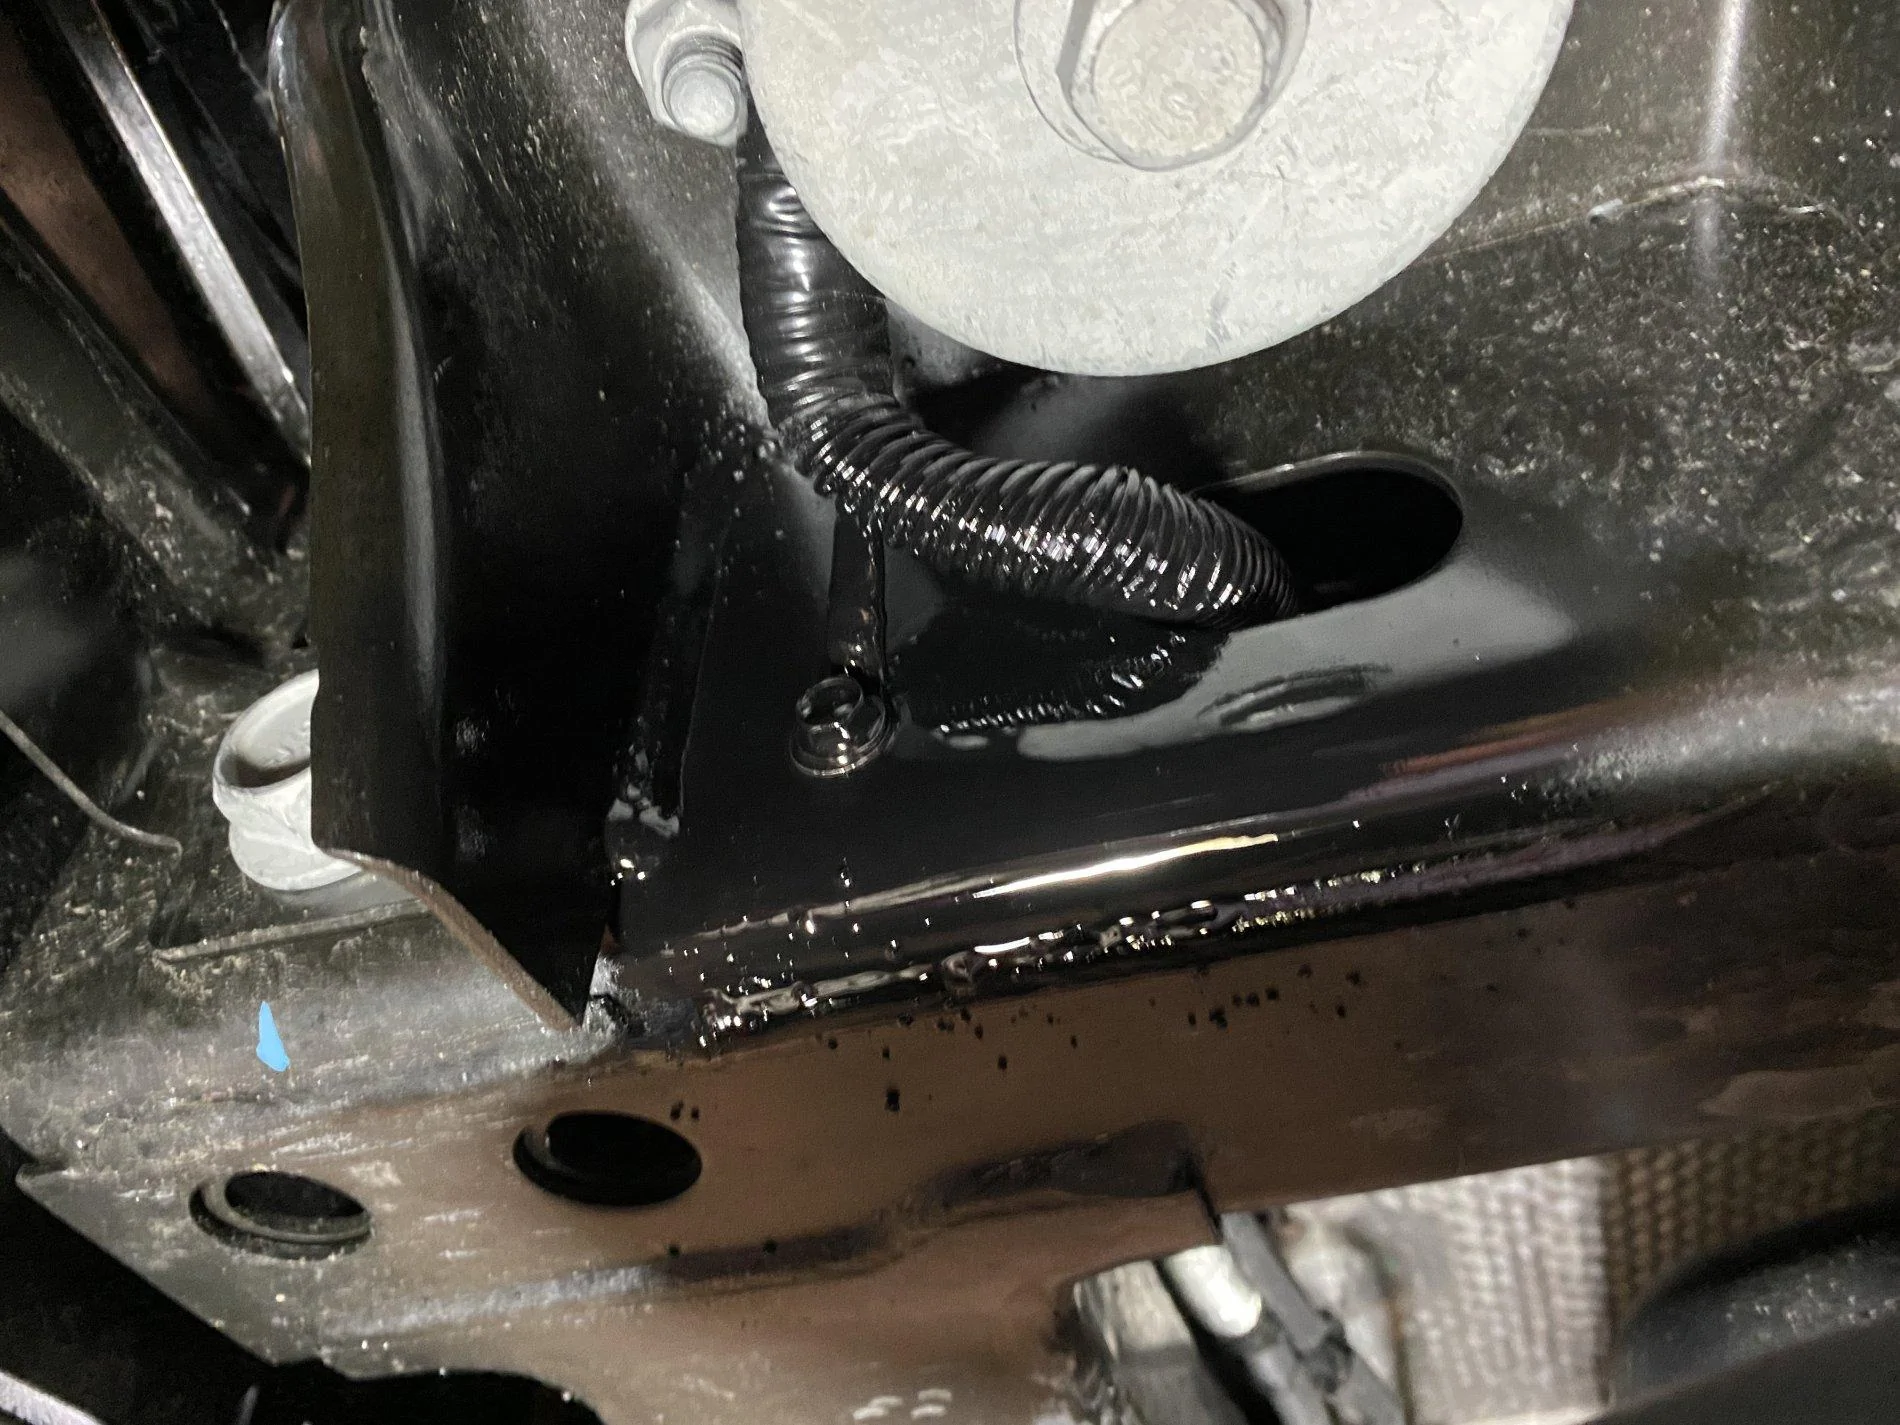
Interested in your install in how did you run the wires, the connection to the lights and what wires you used. Thanks!Finished them last night, took awhile to route the power wire to the auxiliary switches harness under hood, as I’m anal, and was very careful how I routed it using flexi tubing. Looks very nice, too bad it’s not visible...lol.
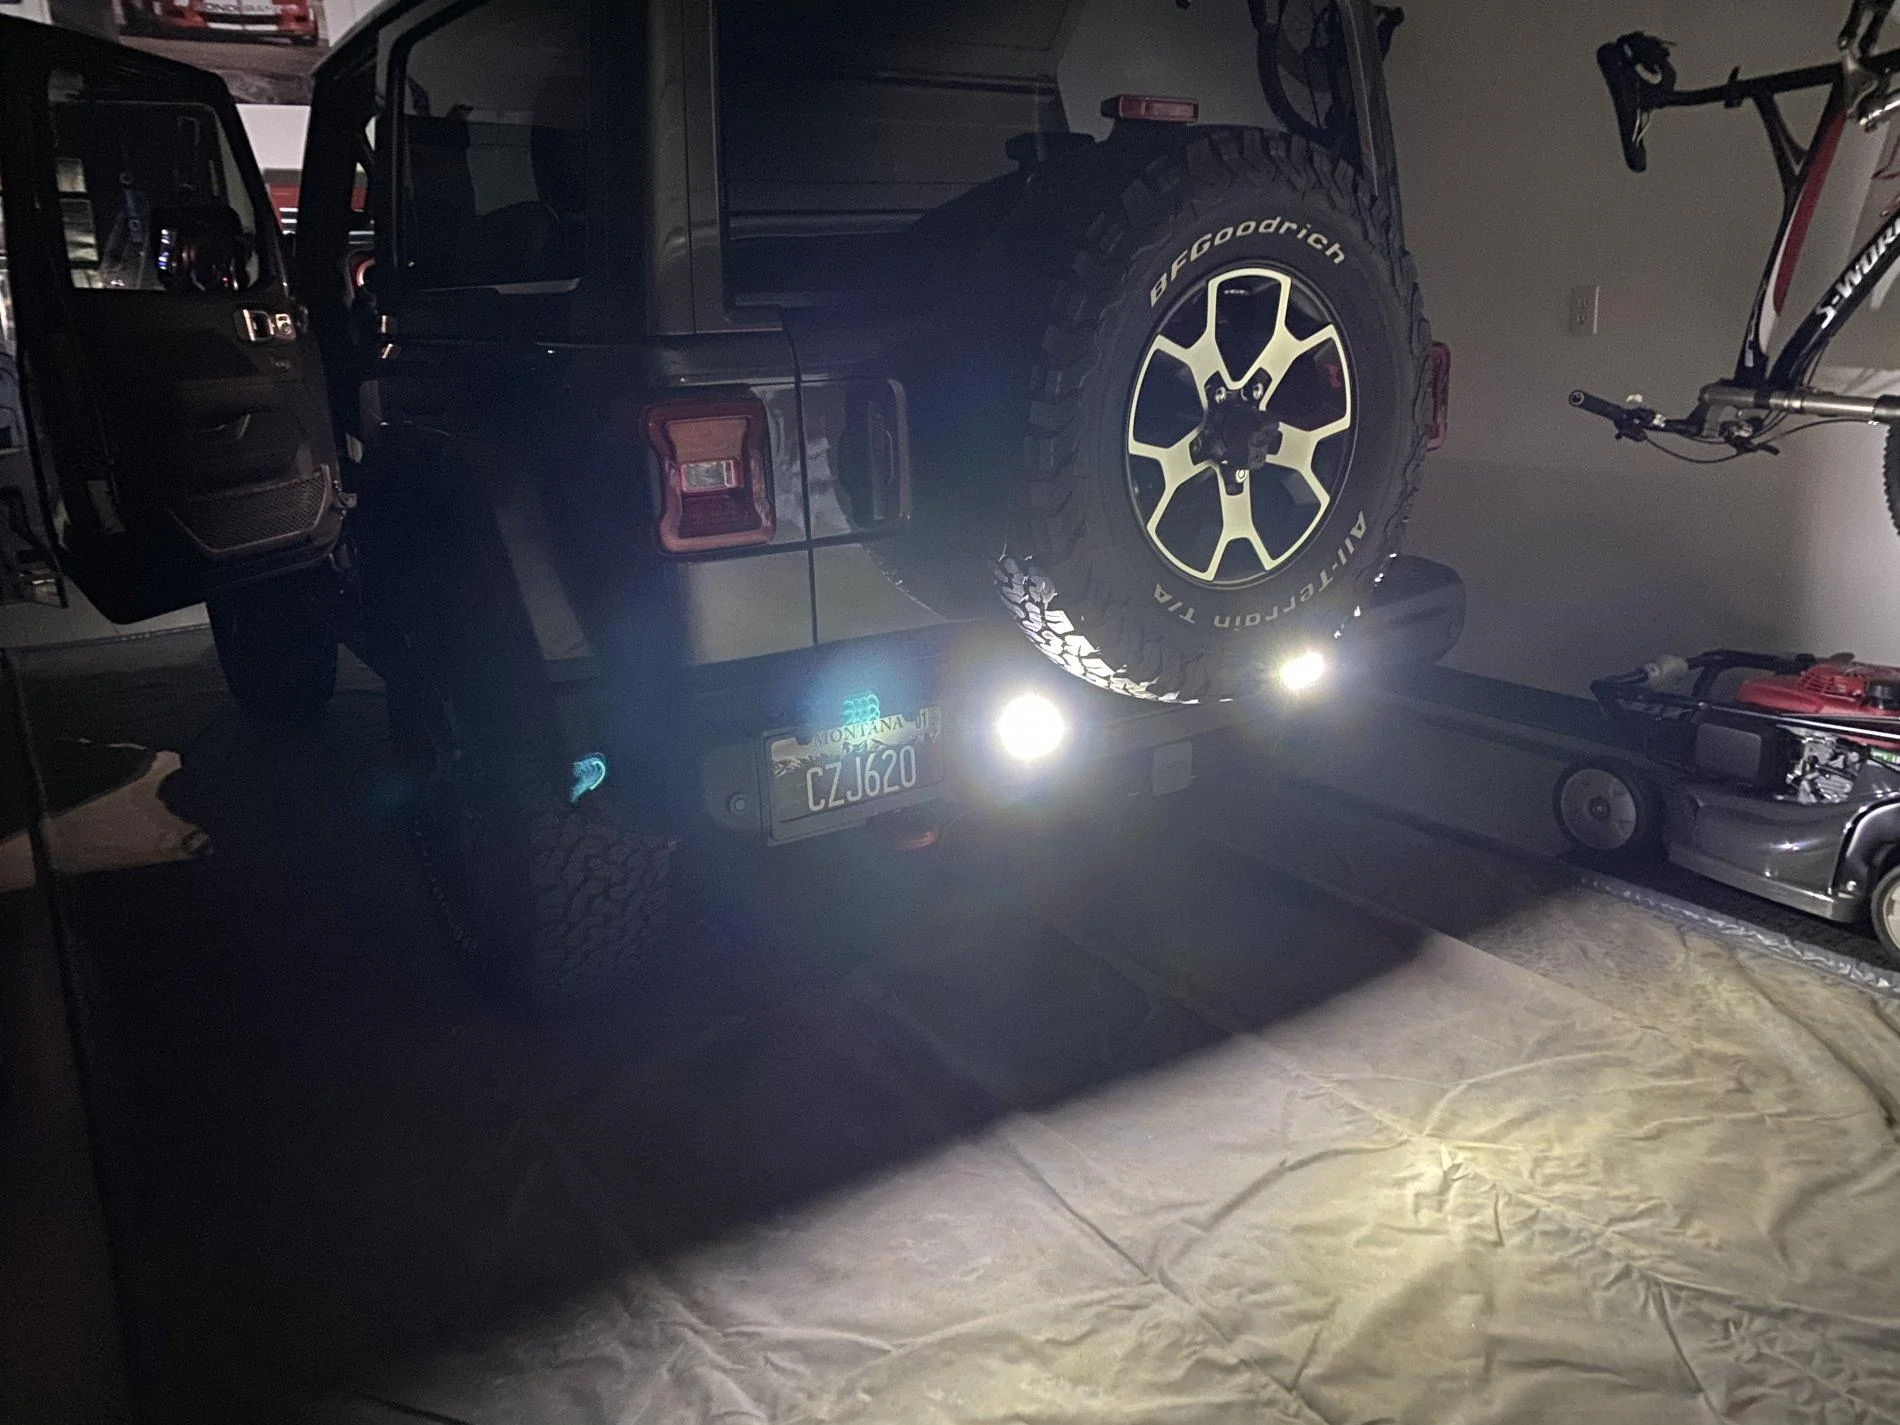
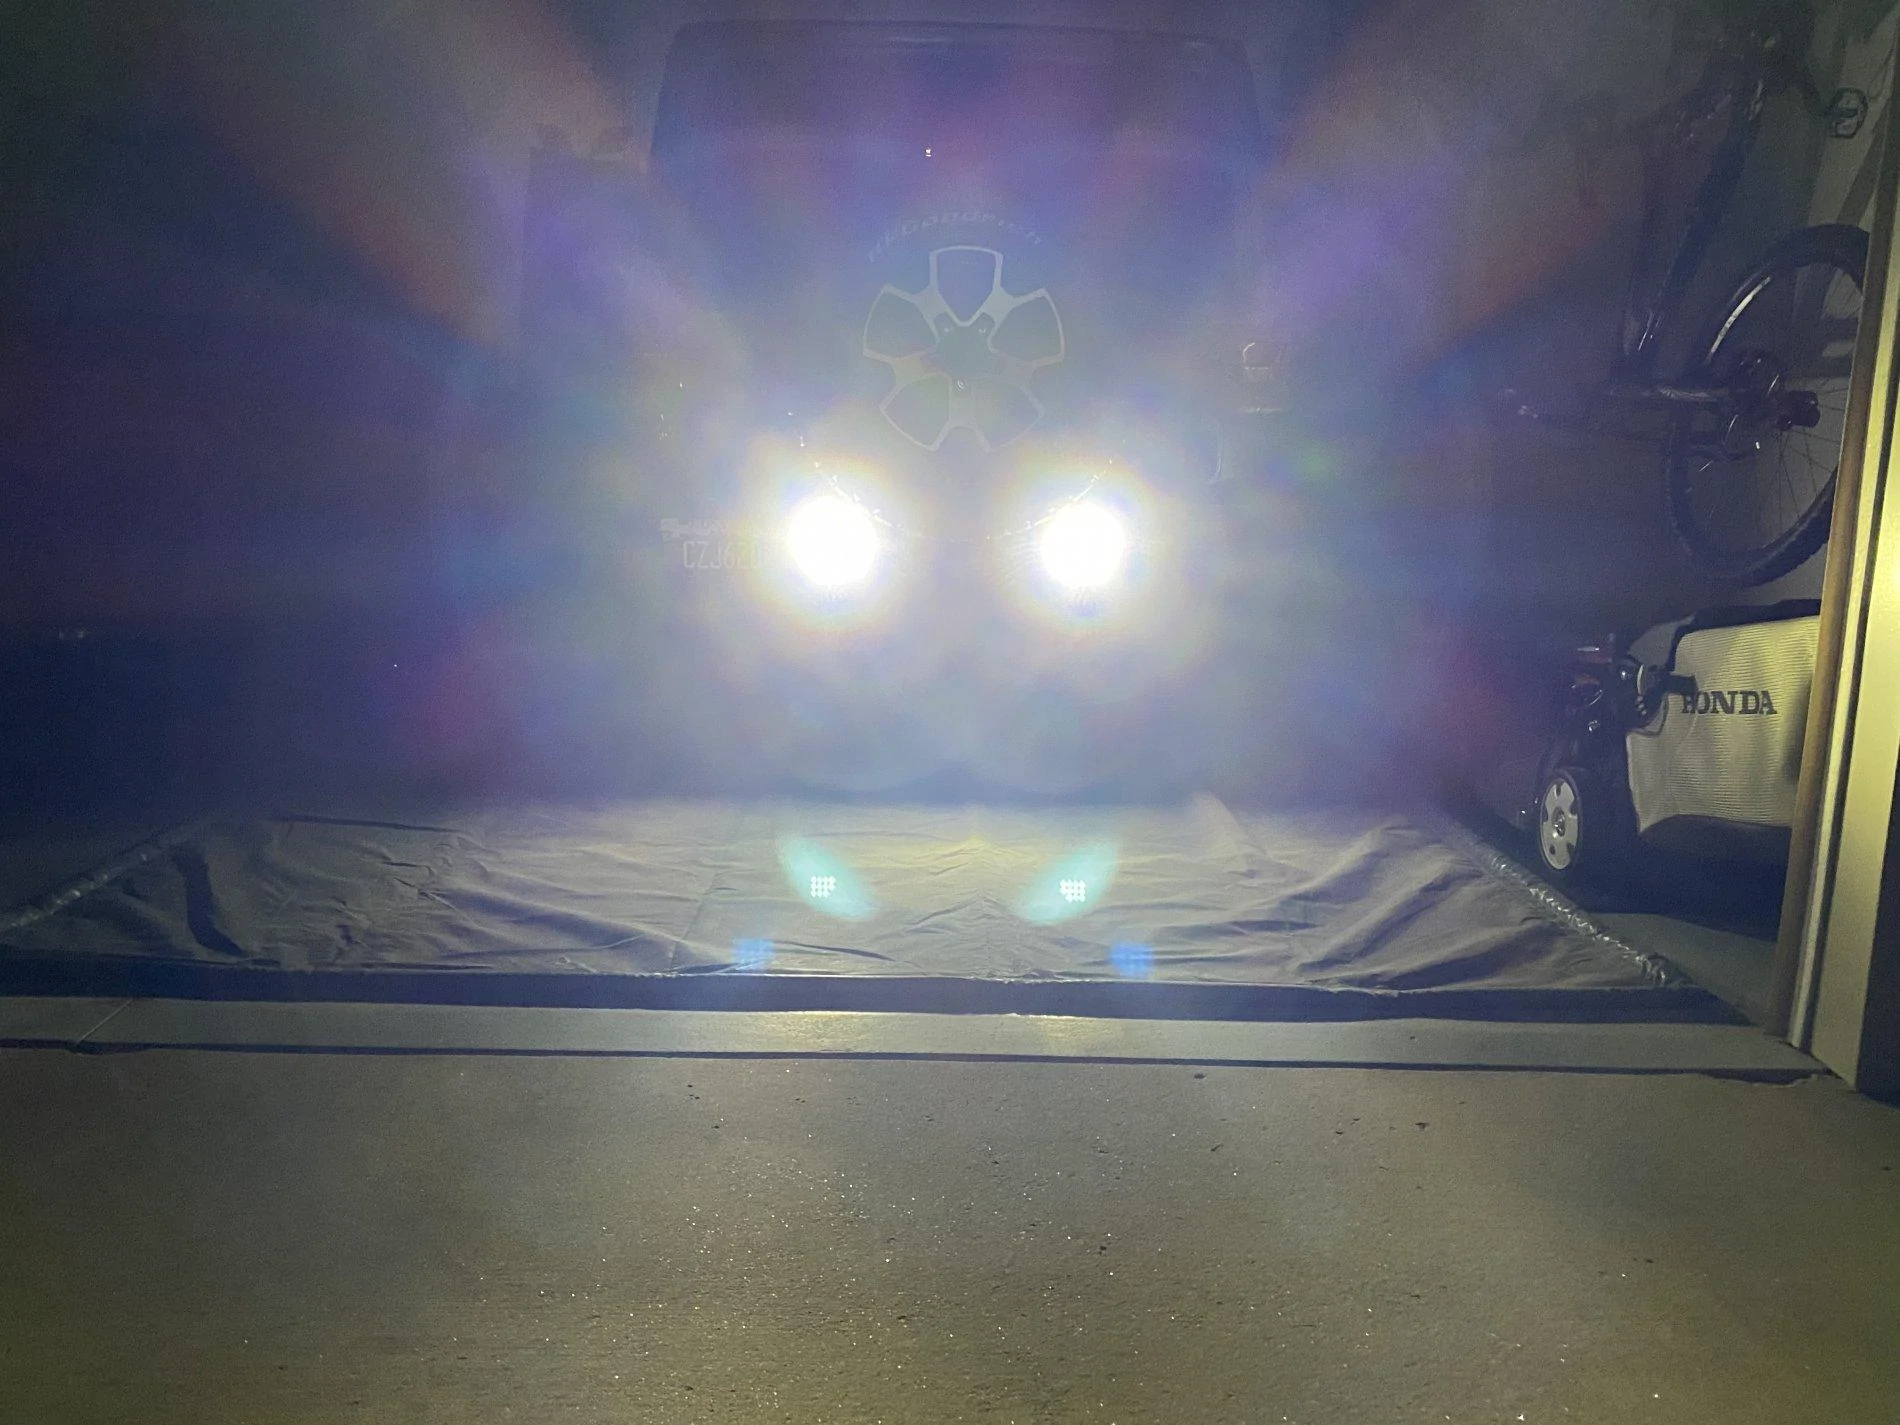
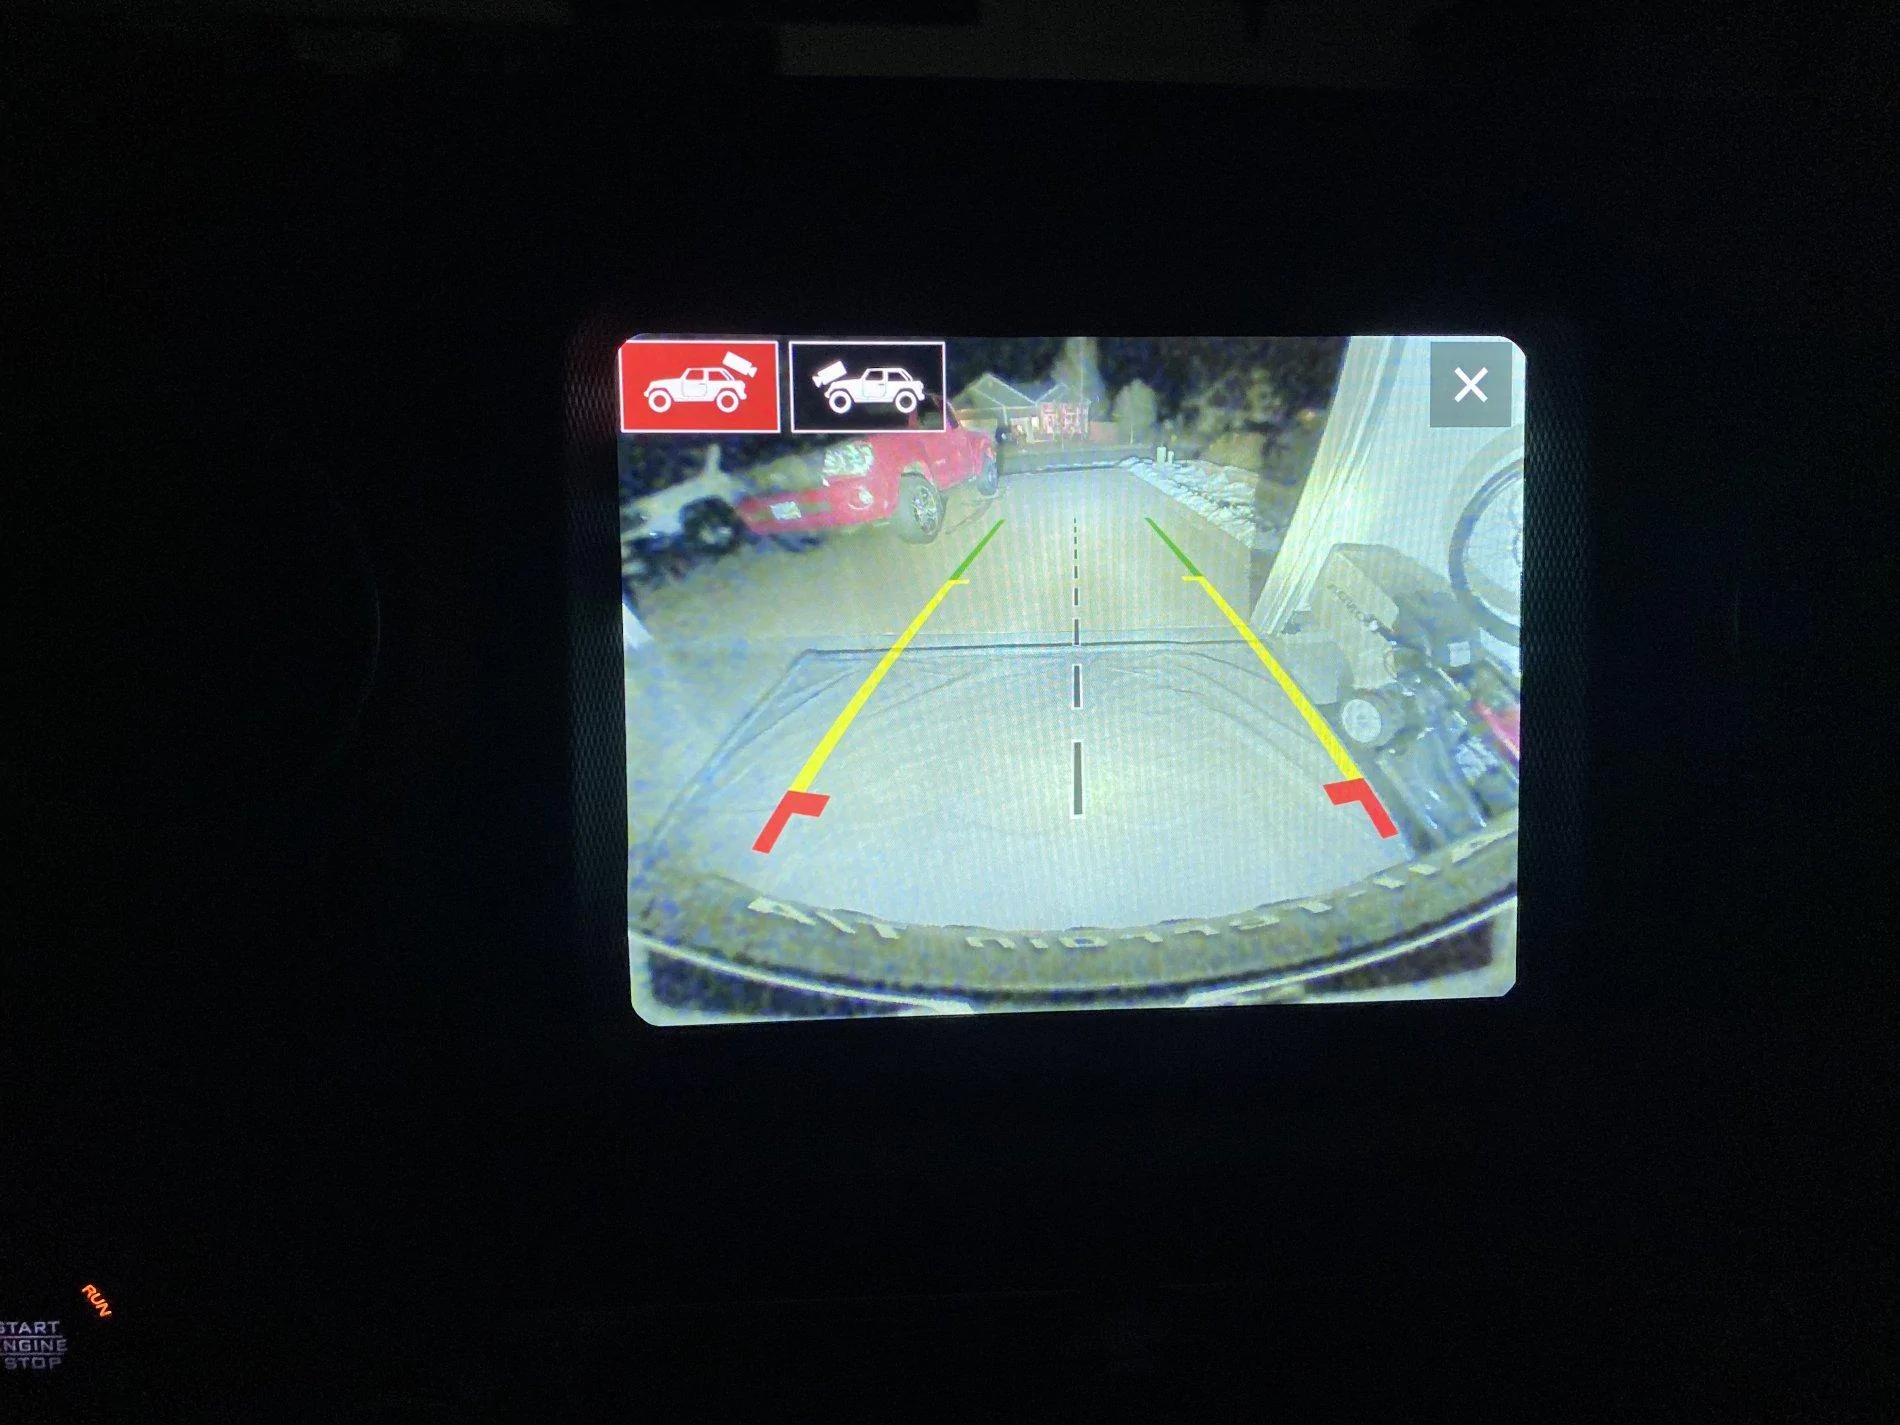
So, connected solely to Aux4, and they are bright! The backup camera photo is just the lights, a little blotchy as it’s parked in the garage, but illuminated the front of the neighbors house cross the street!
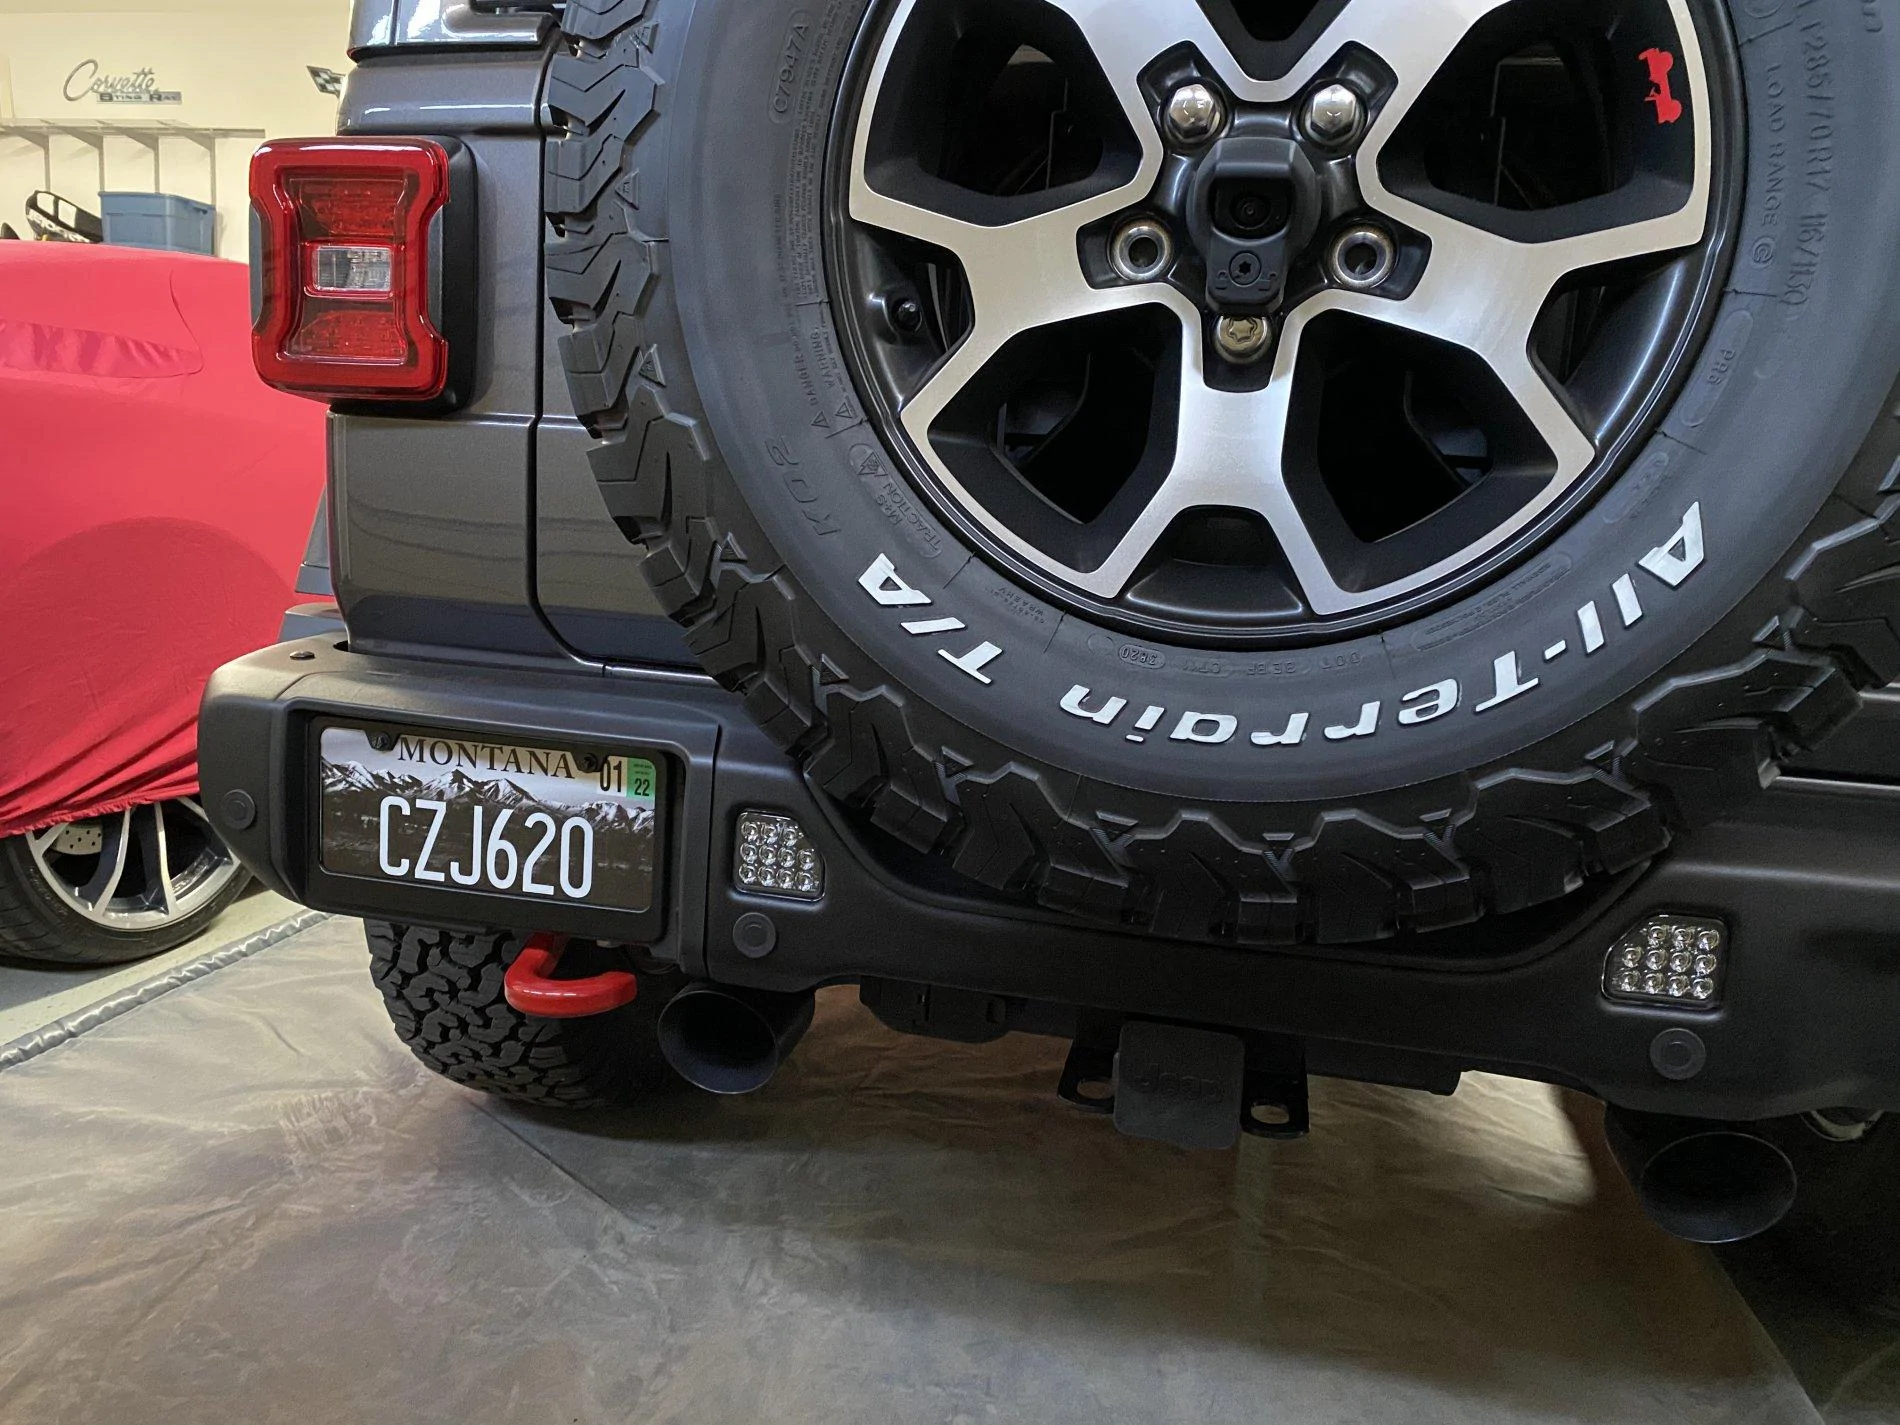
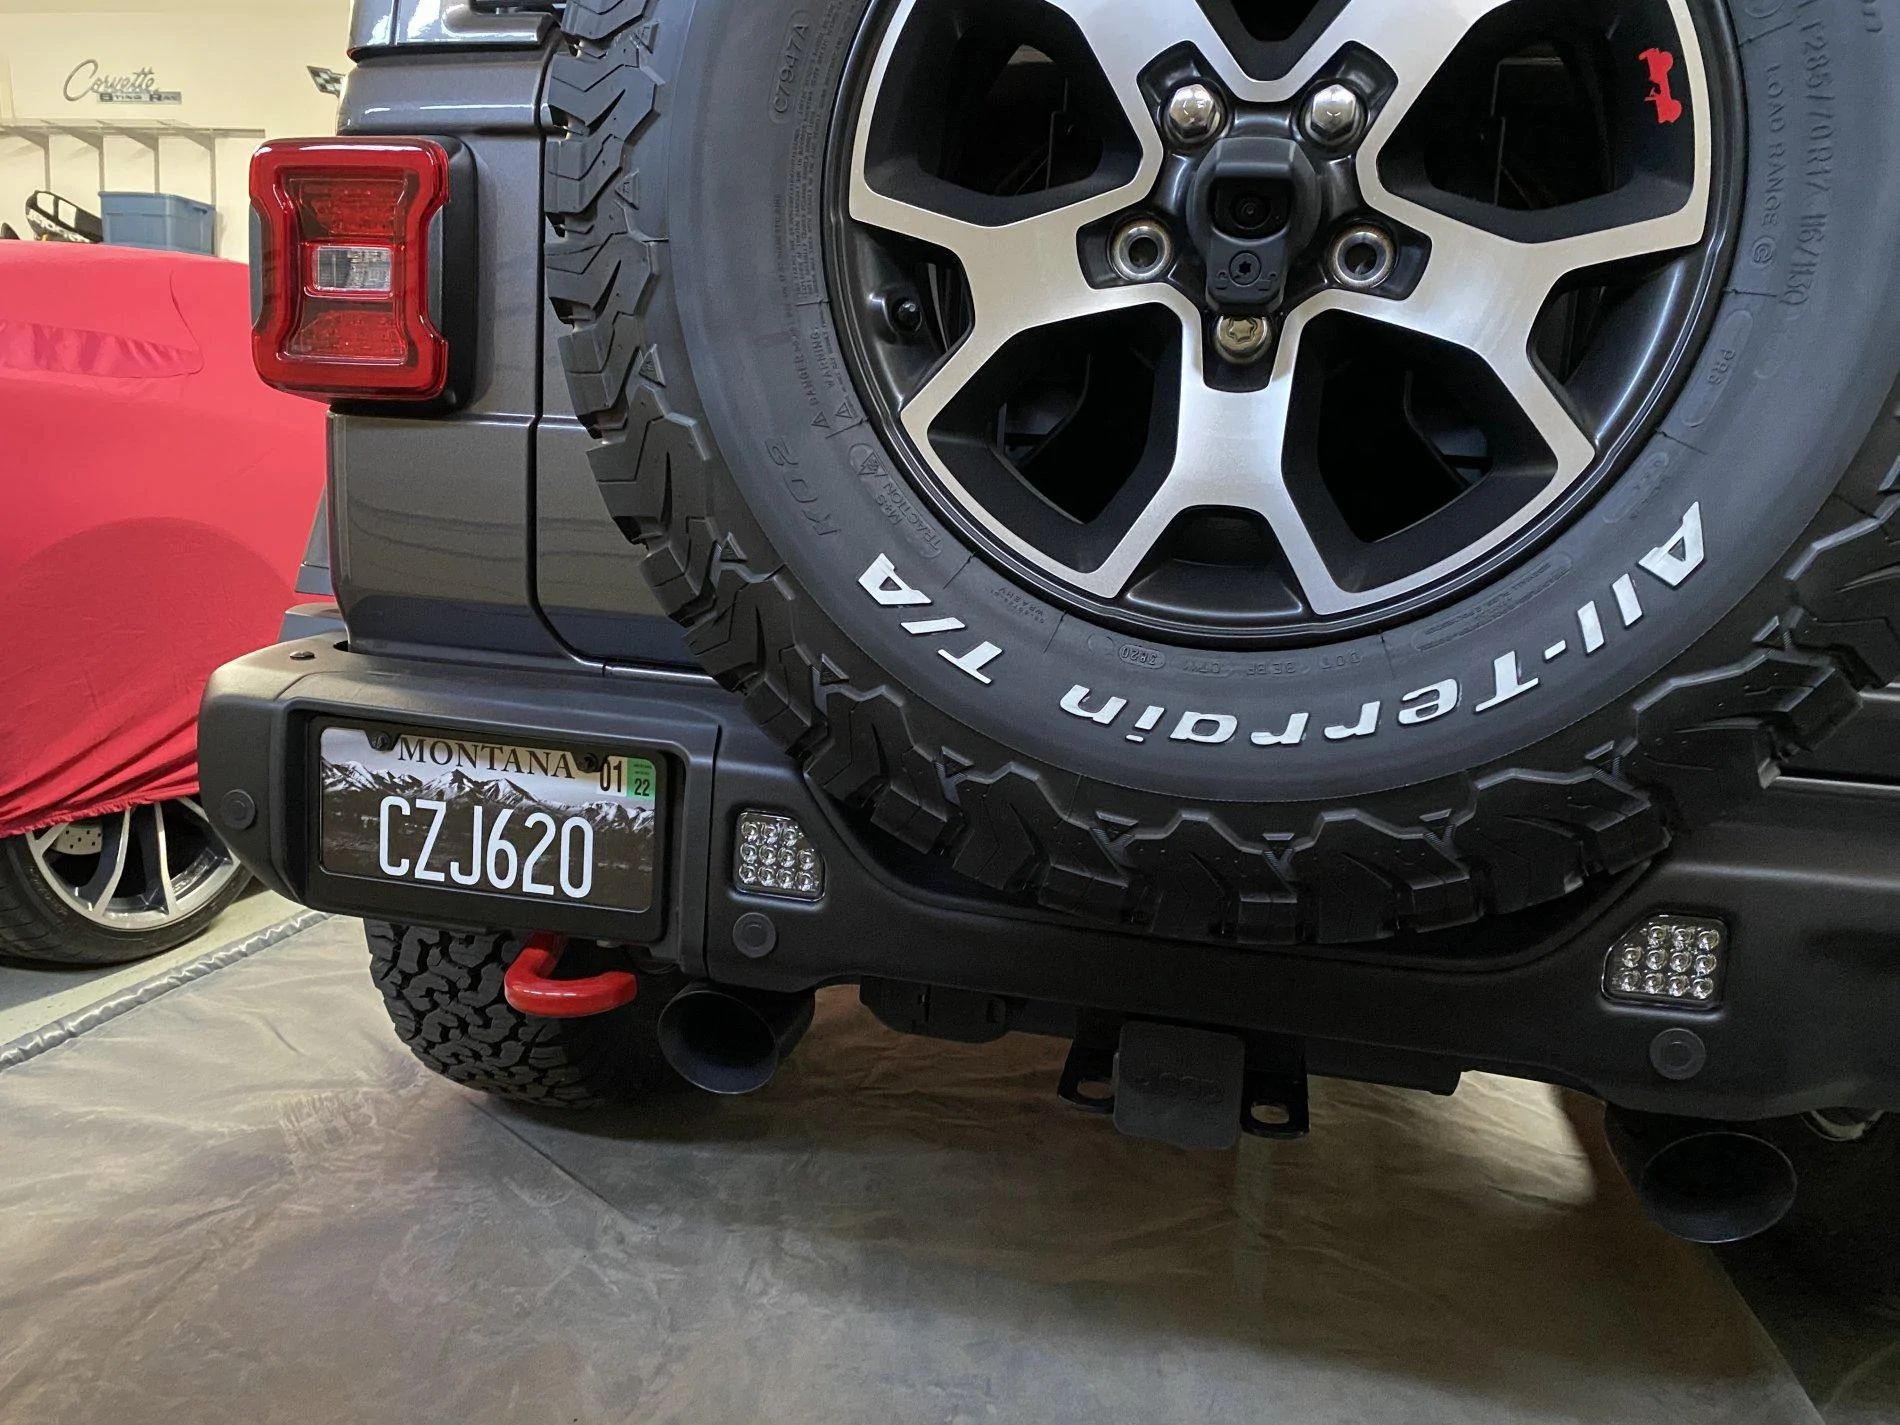
They look really nice, looks OEM to me, very pleased.
Sponsored
 Kudos to you
")