jlewissystem
Well-Known Member
- Thread starter
- #1
I had MOAR LYTES coming in my future and didnt want to keep adding on to the factory ground, so i added a grounding terminal. Here's how i did it....feel free to steal and/or modify ")

New ground cable extension - https://www.amazon.com/gp/product/B01K68YC2W/ref=ppx_yo_dt_b_asin_title_o03_s00?ie=UTF8&psc=1
Grounding terminal - https://www.amazon.com/gp/product/B07S2F26X3/ref=ppx_yo_dt_b_asin_title_o04_s00?ie=UTF8&psc=1
Double sided tape - https://www.amazon.com/Gorilla-Tough-Double-Mounting-Inches/dp/B00OXVG9FW
First - started by applying the double sided tape to the bottom side of the mounts. I did NOT use the screws provided. I have not used this tape before, but it seems BEEFY, but able to remove if needed. It holds WELL! I would not trim it too close, as you'll need a small portion of the corner to peel the clear tape cover from the 1 side:
EDIT - I noticed that the ground wire side was being lifted up, due to the cable bend applying pressure upward. I added 2 MOAR strips of double-sided and that seemed to fix!

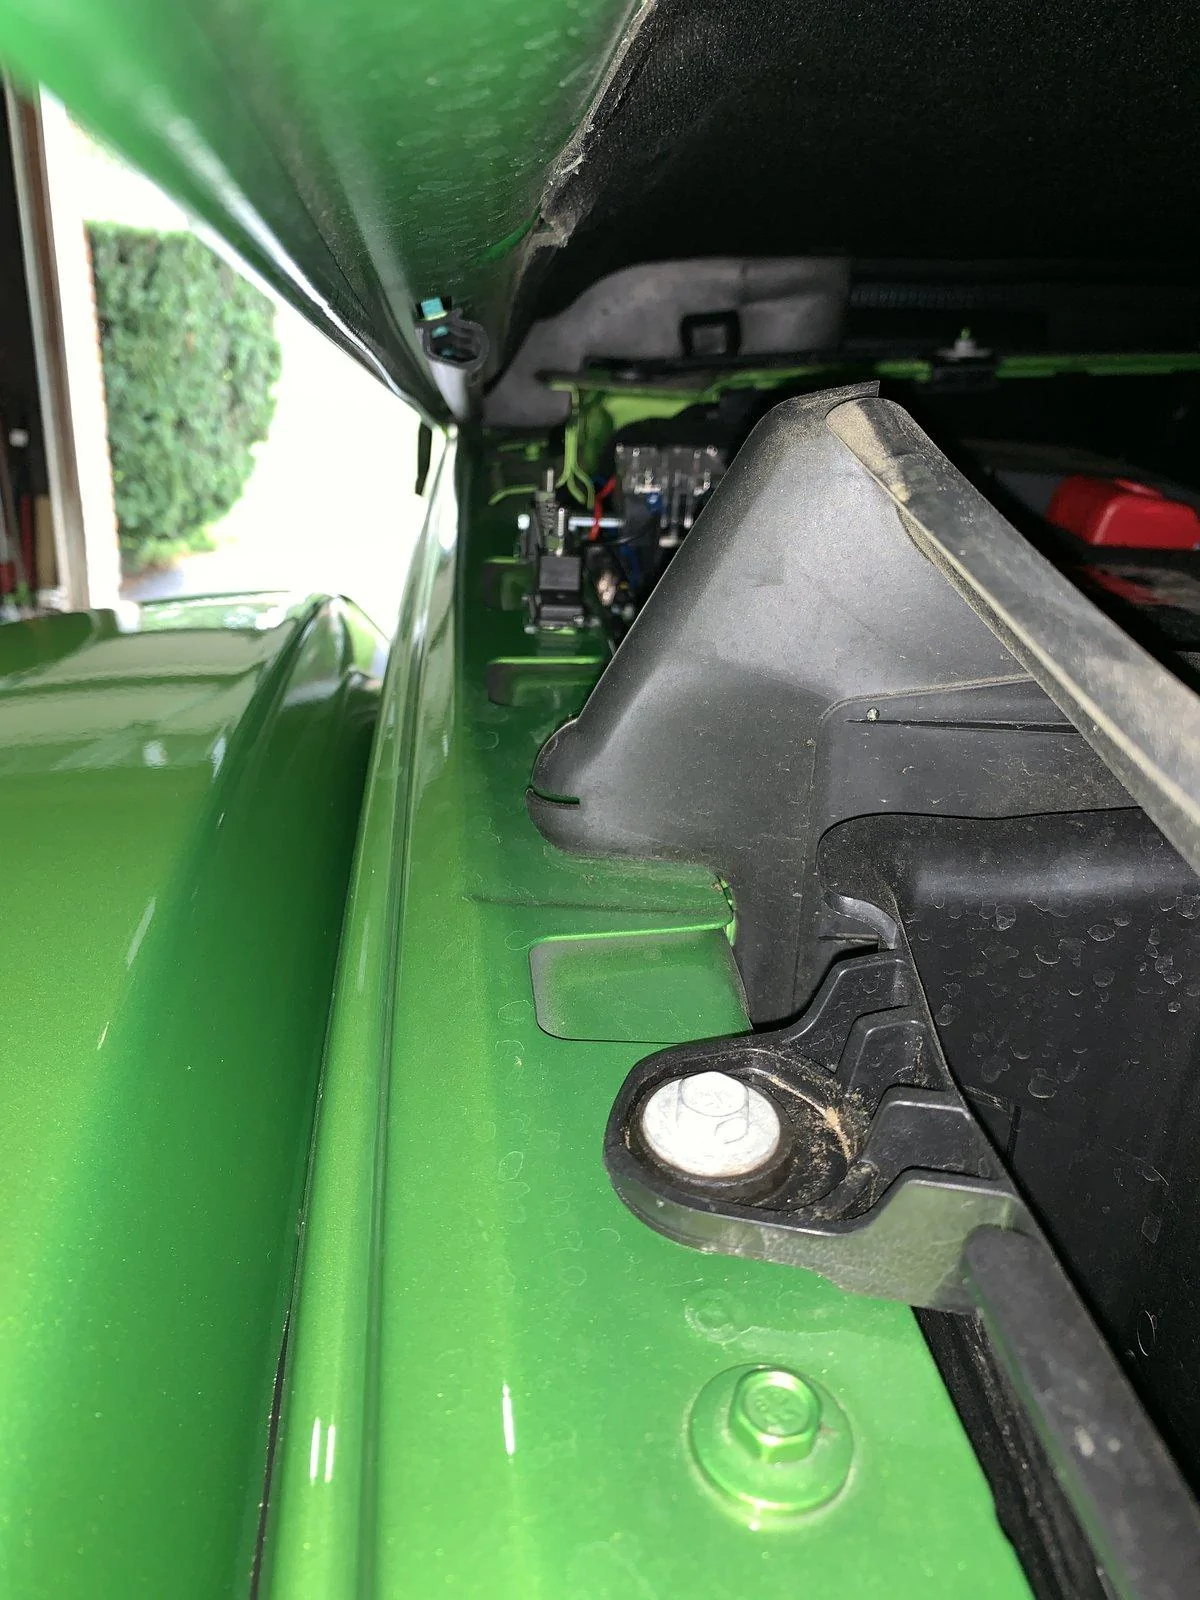
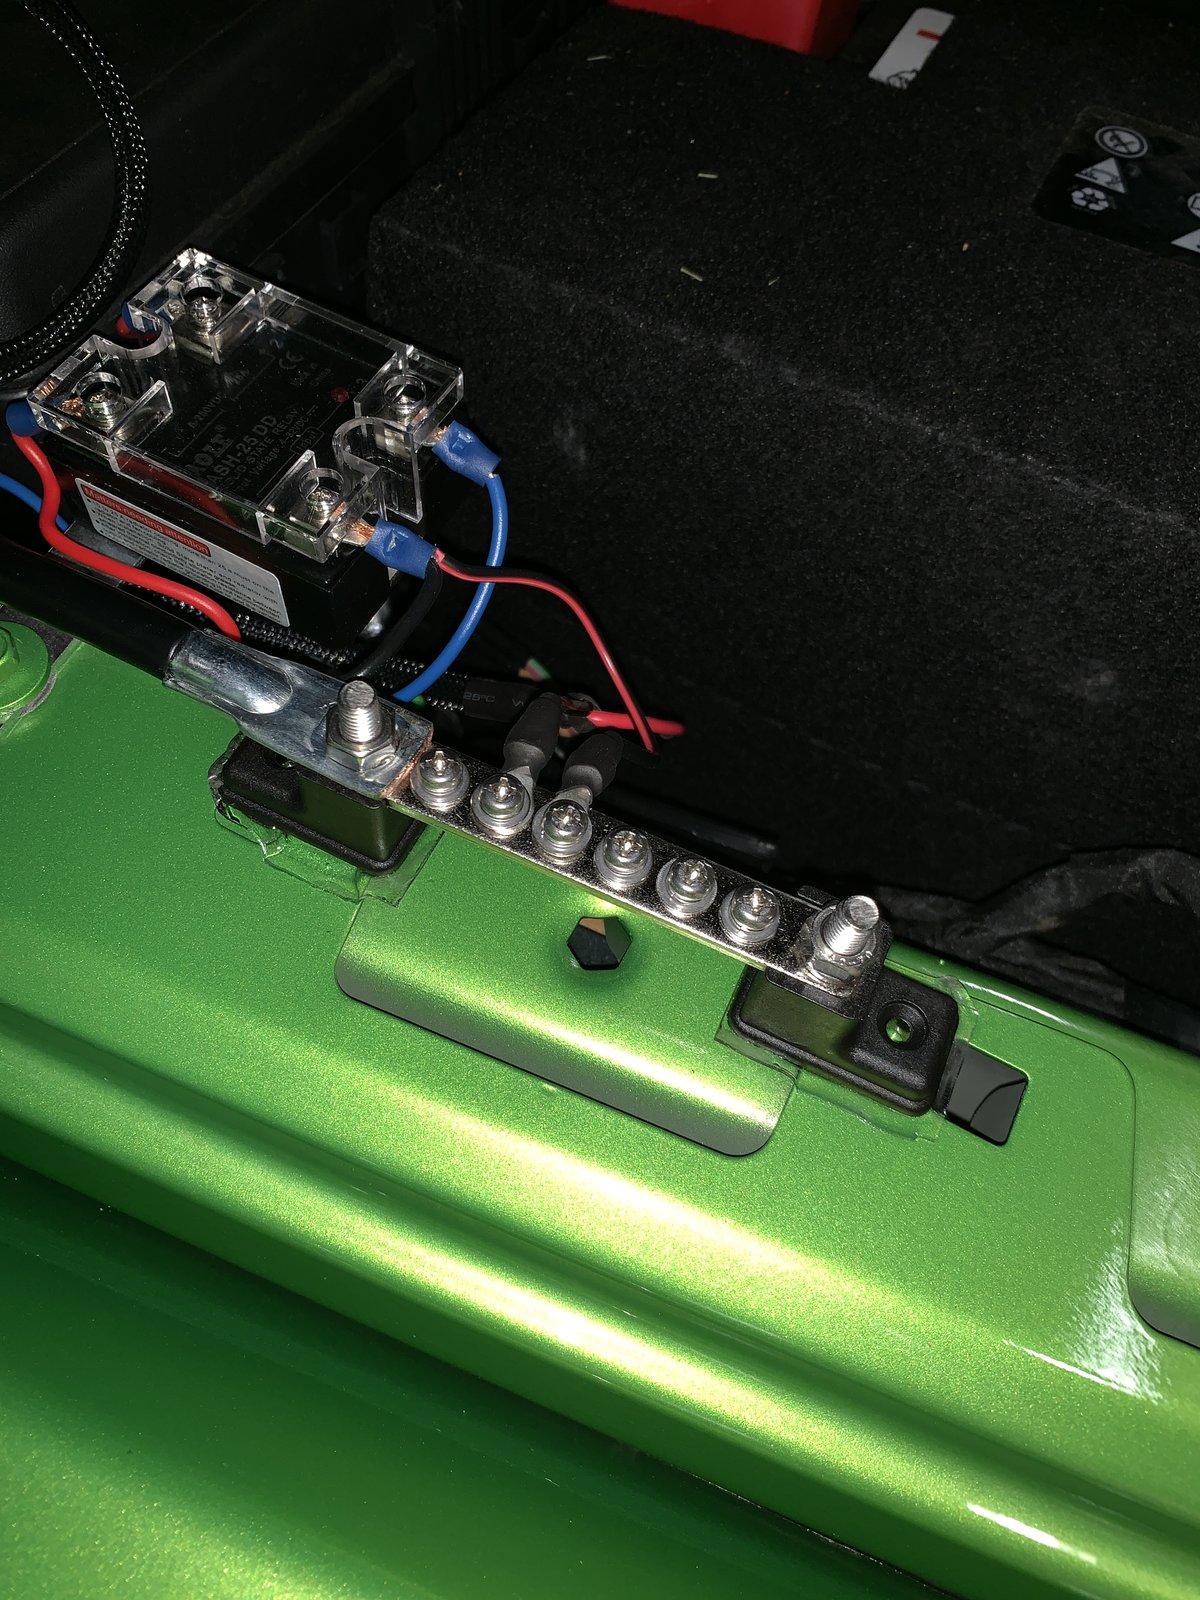
I chose the body area next to the battery, where i mounted the relay for the ROAM rails. I like this location, because i could terminate the positive wires to the factory AUX power leads AND it's right next to a piece of weather-stripping on the hood, so protected and all wires in the same spot - NOICE The hood does NOT hit it at all.
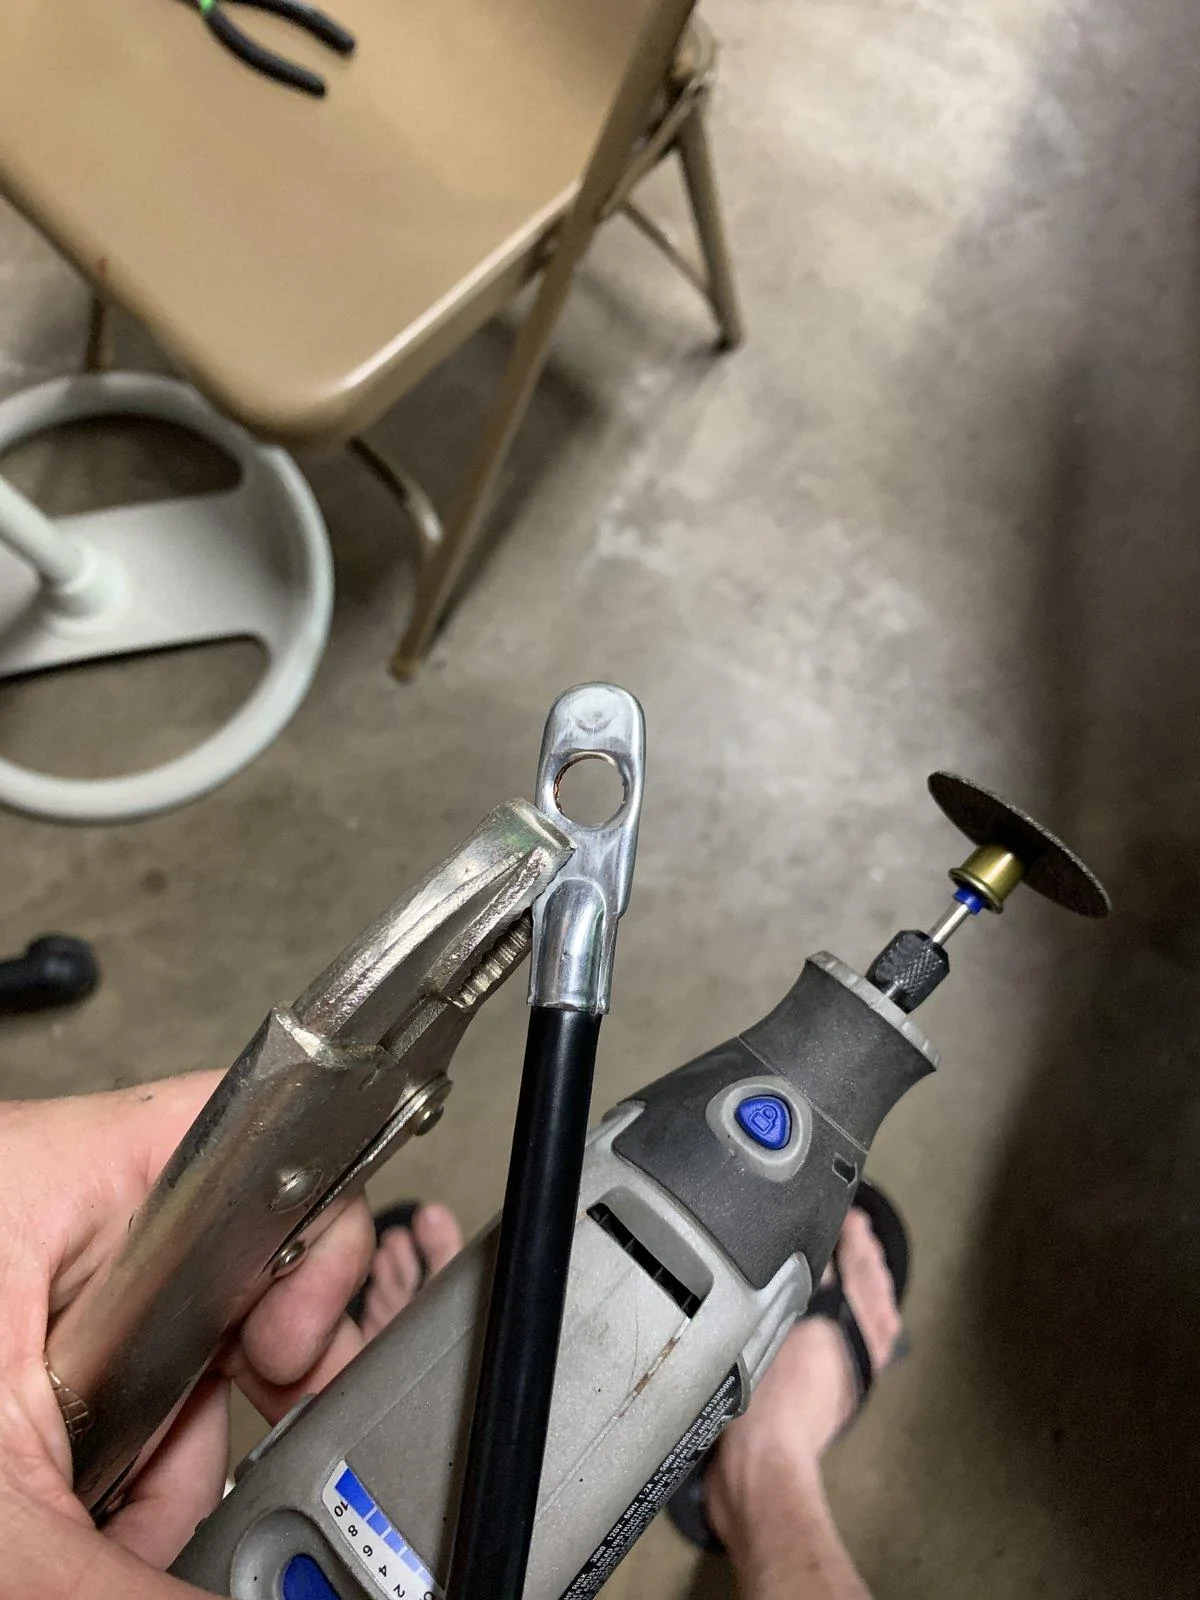
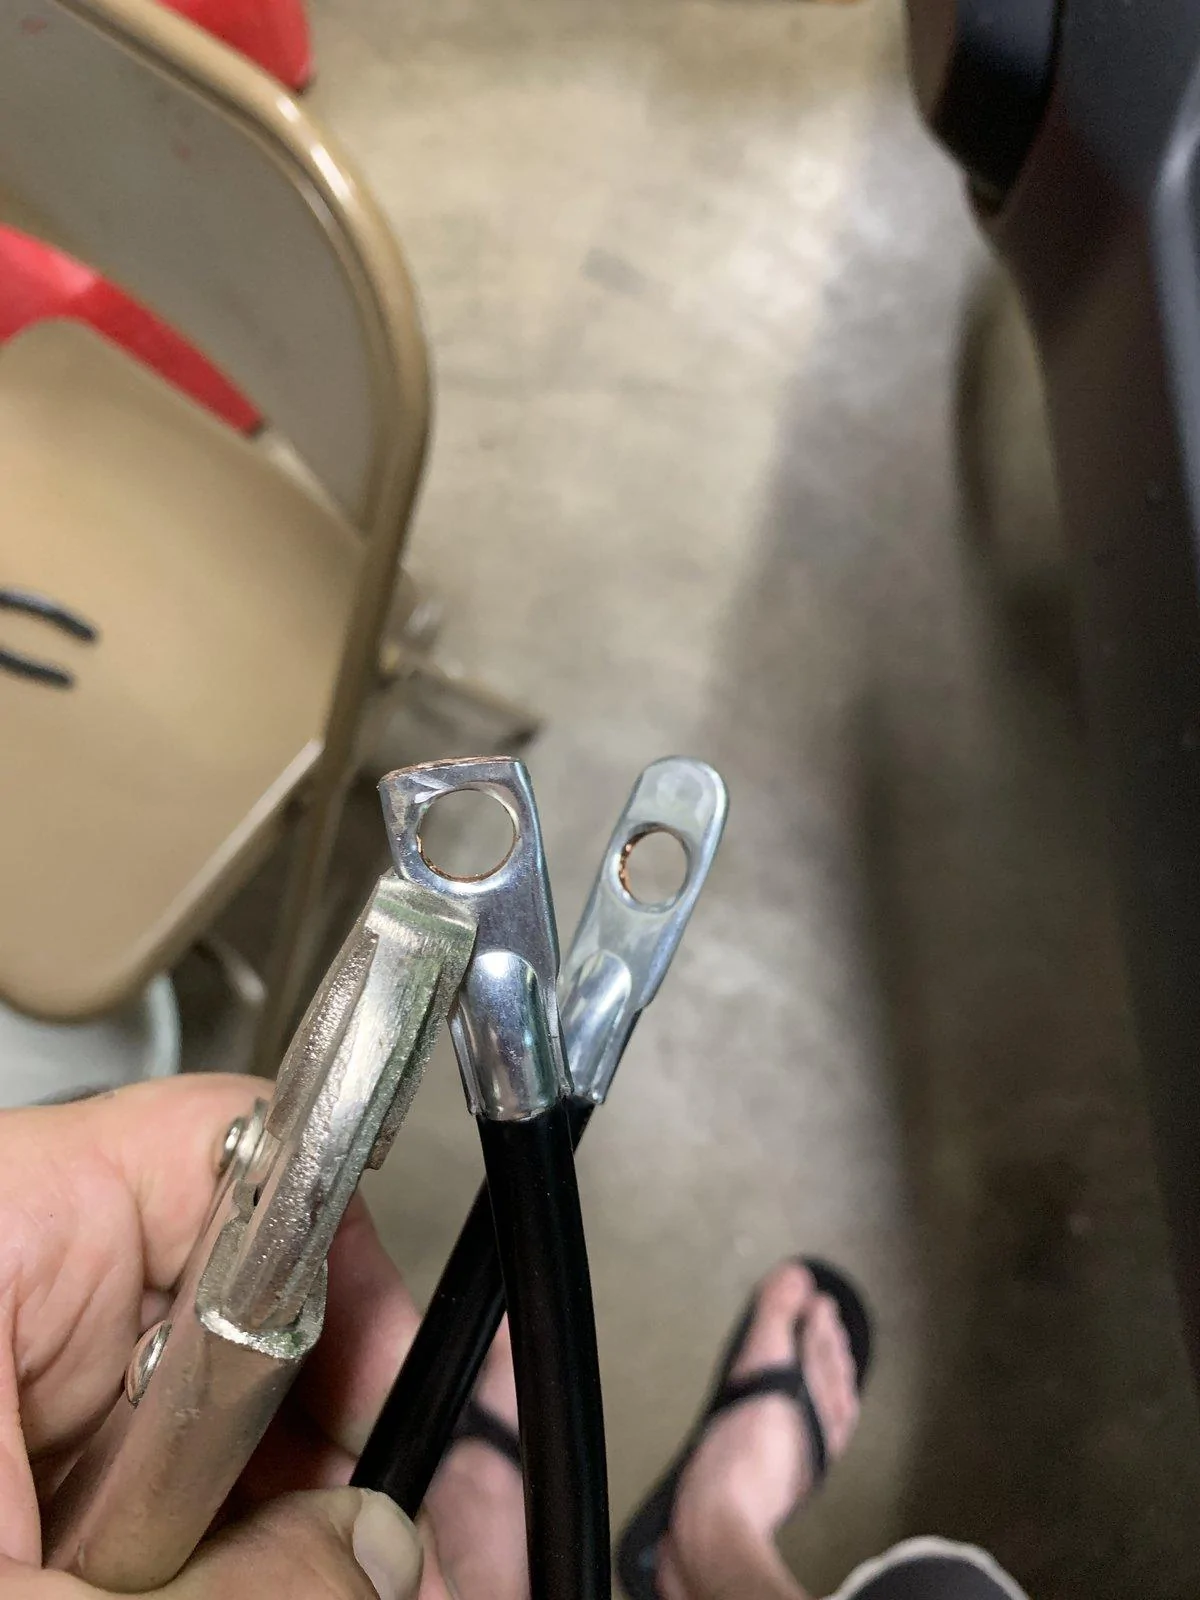
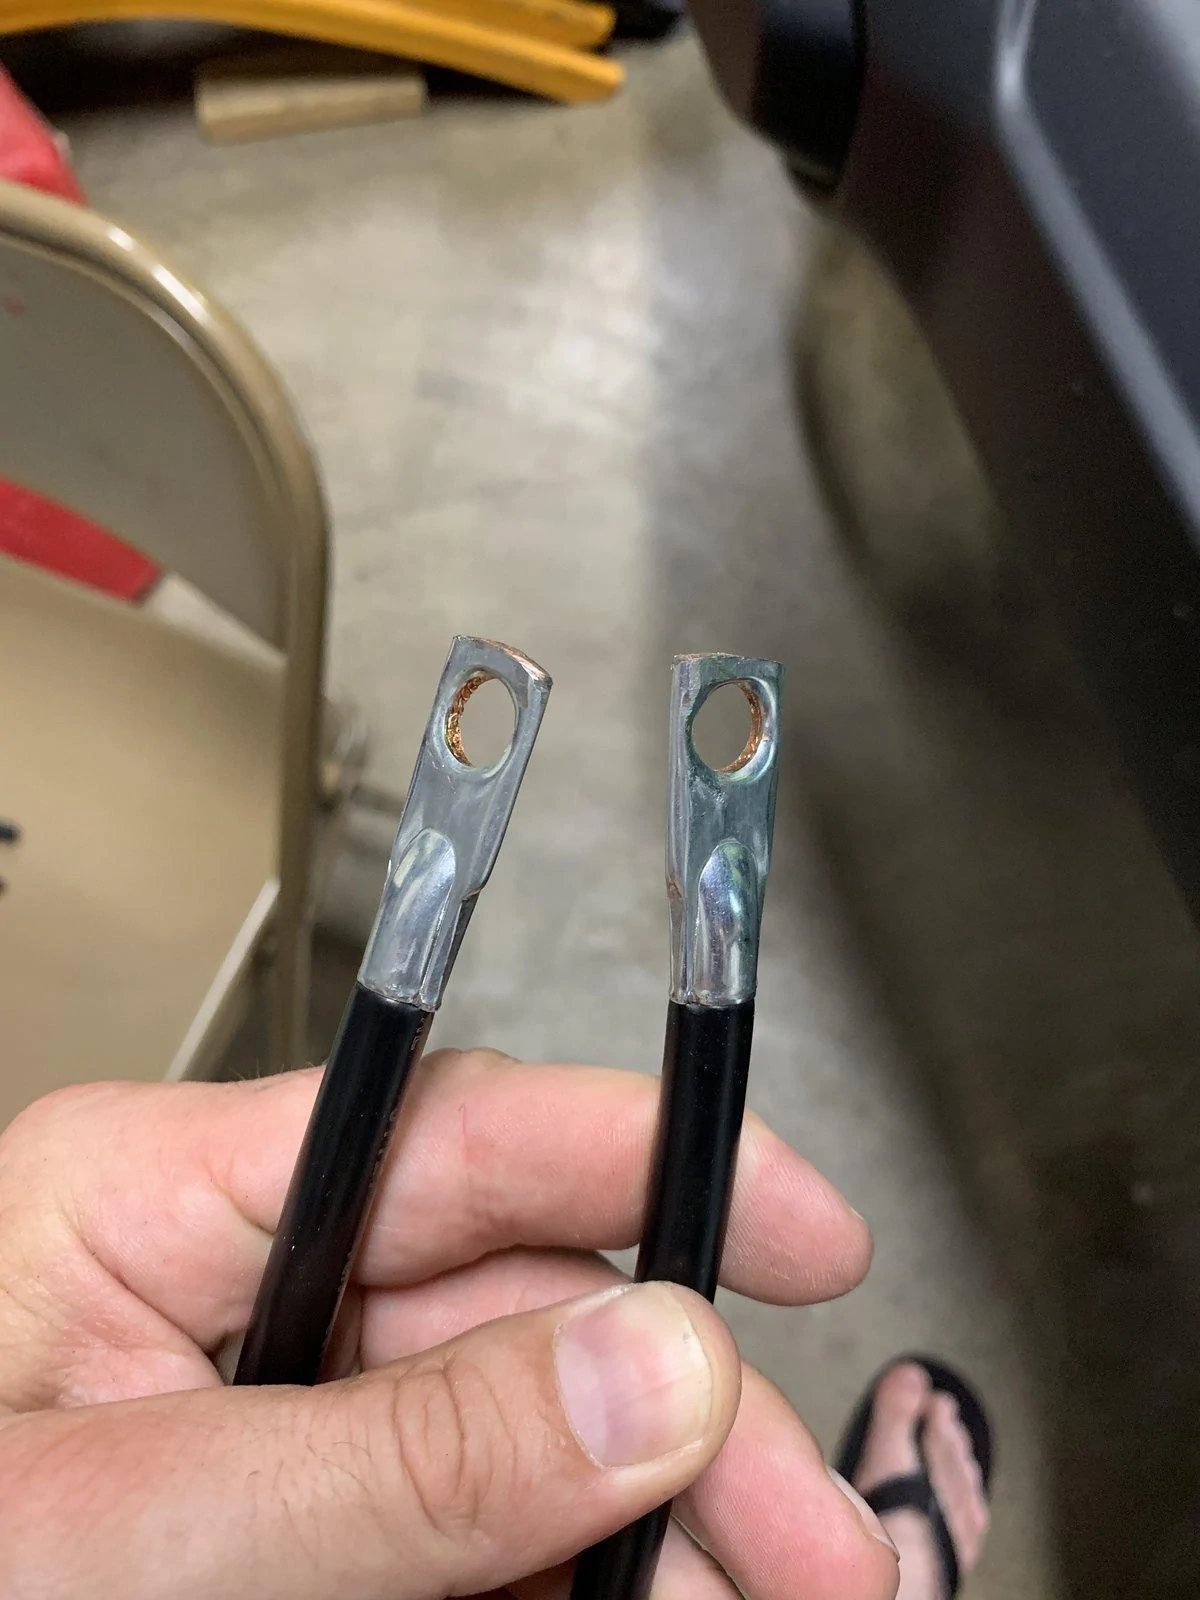
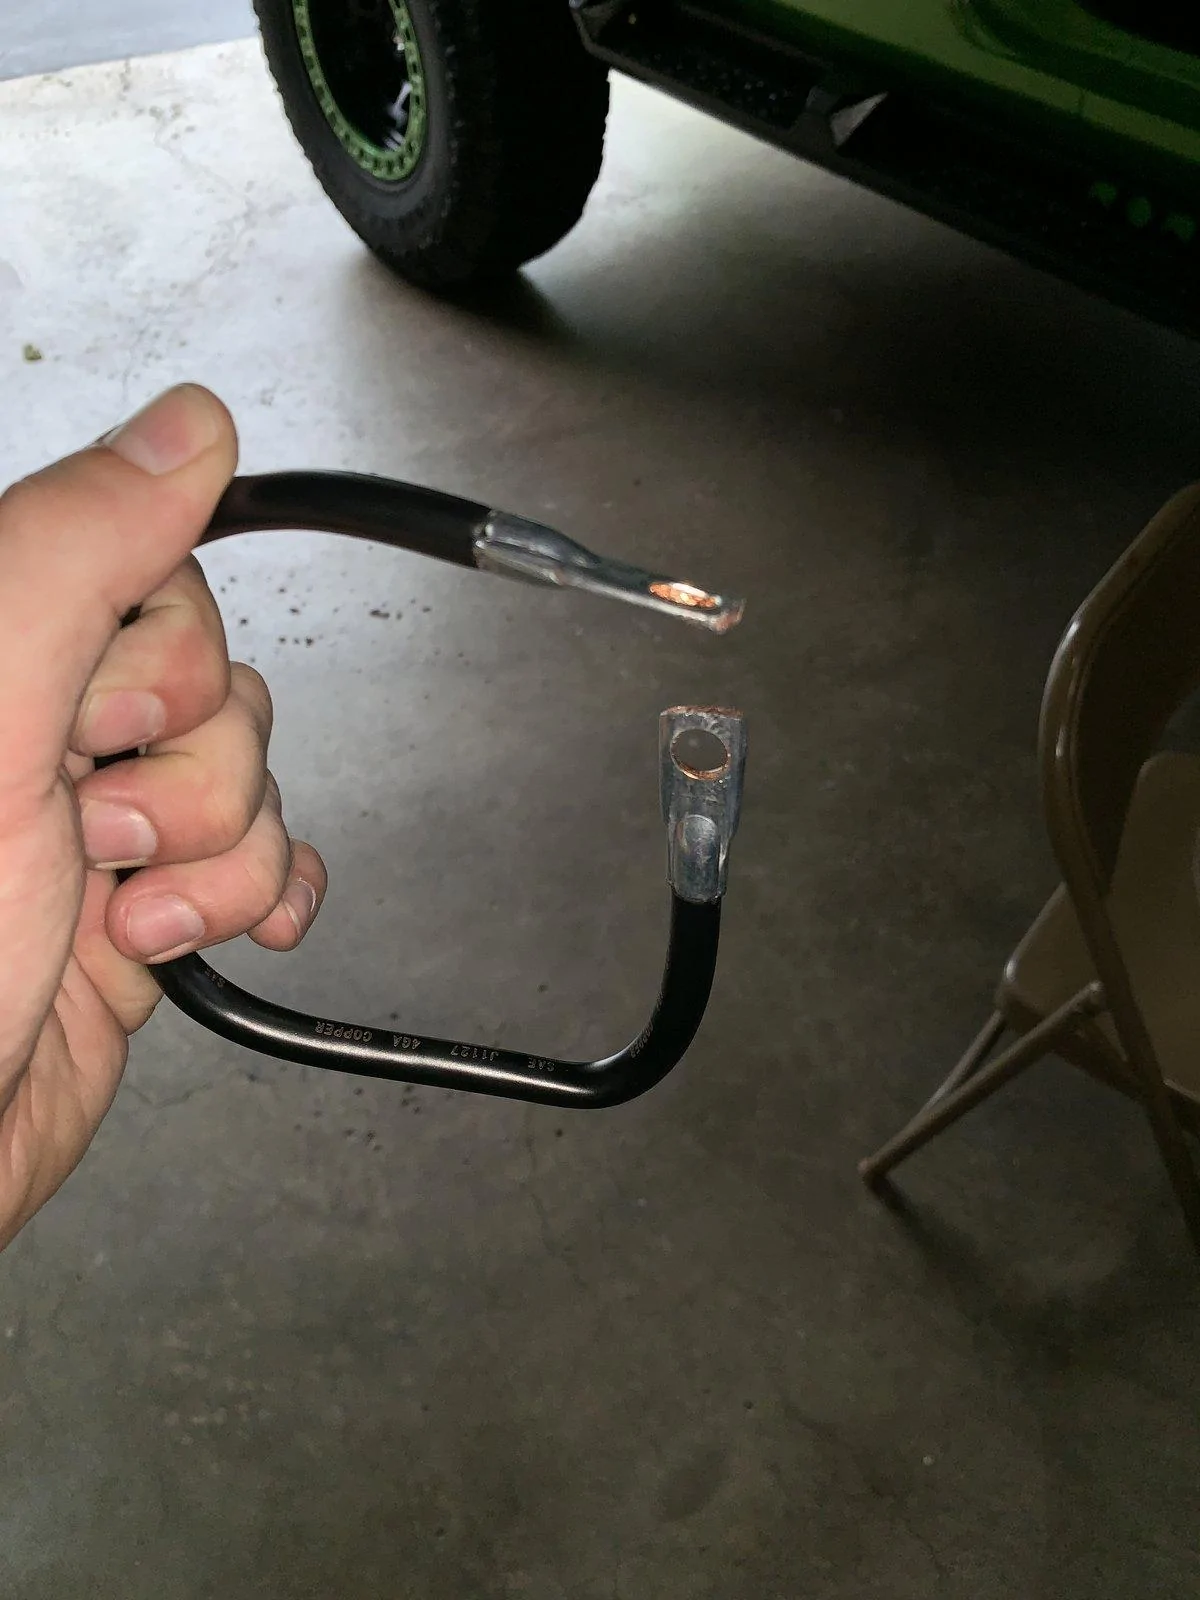
Next - i decided to trim the new ground cable so that it can fit the factory grounding location and the new terminal. Used a dremel:
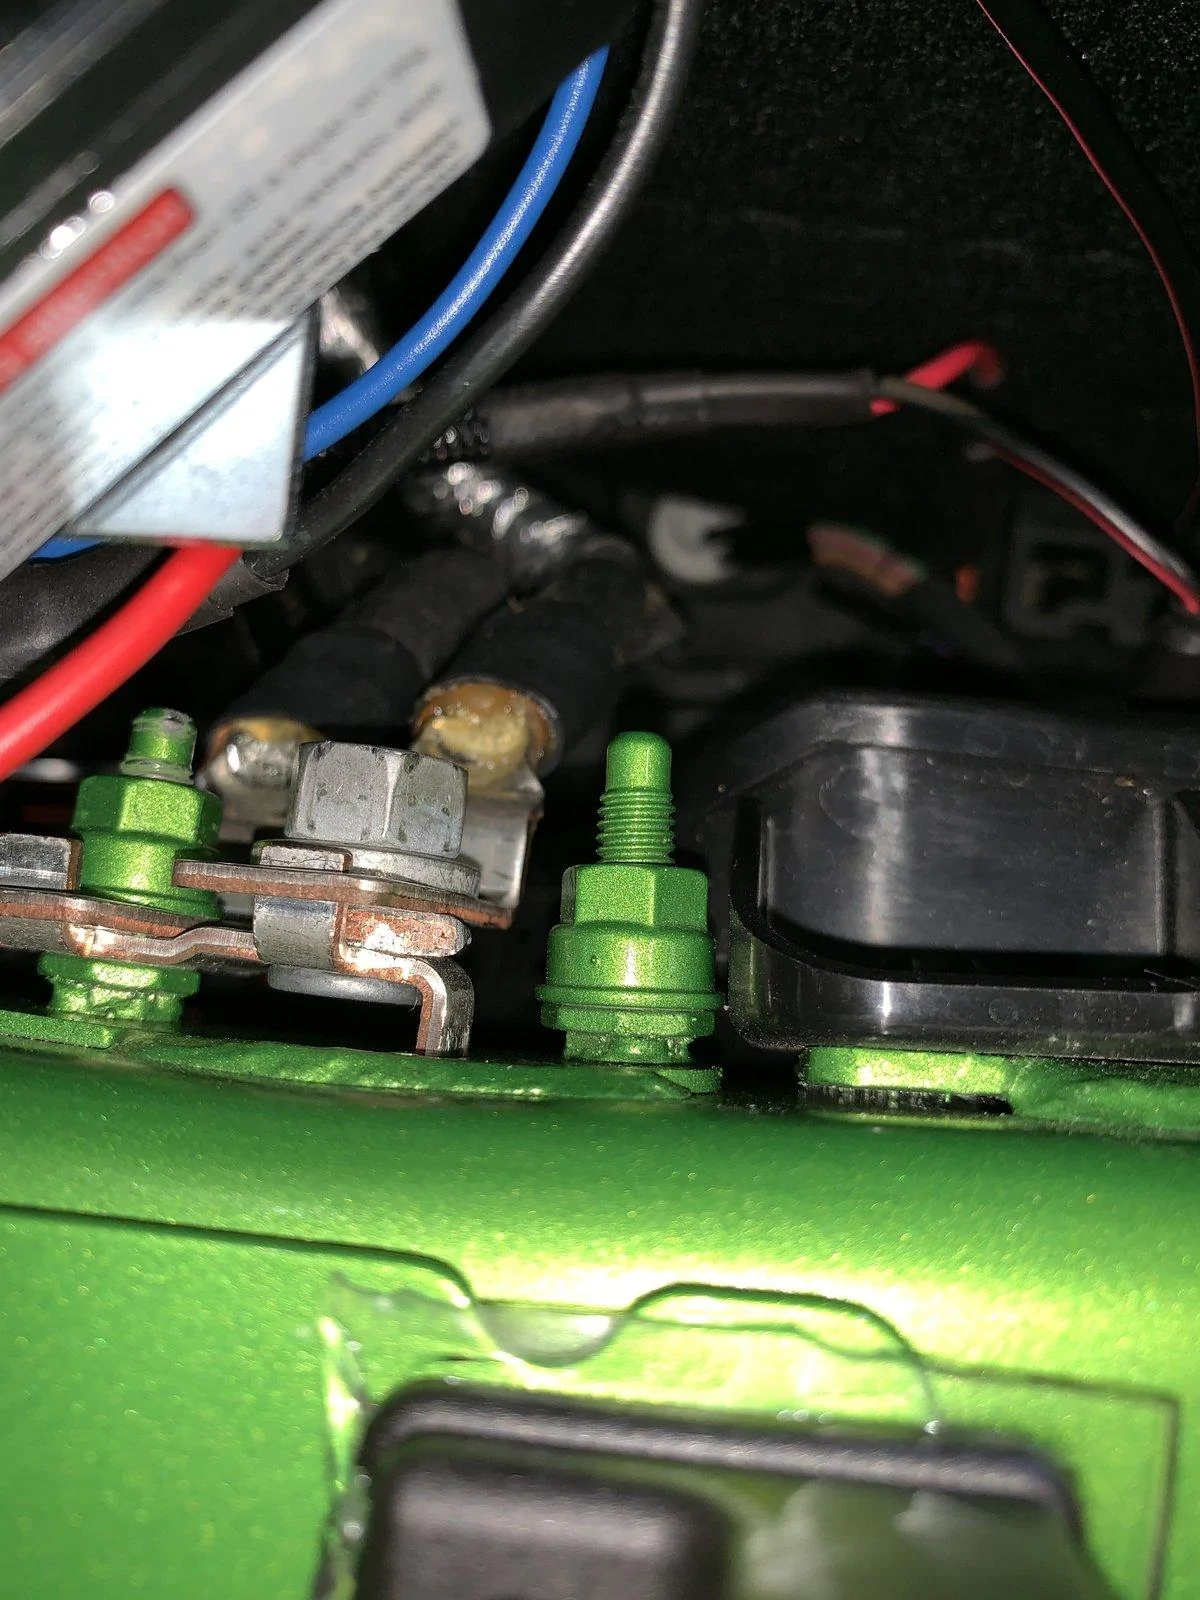
I decided to use the middle factory grounding as it's not painted. I came up from the bottom and went BEHIND the factory cable. All mounts flush.
The new ground wire mounts a little weird, but here's a pic of how i "wound" it. I slithered under the factory ground that closest to the firewall and up into the mount bolt.
Here are a few pics of the wire on the ground bolt:
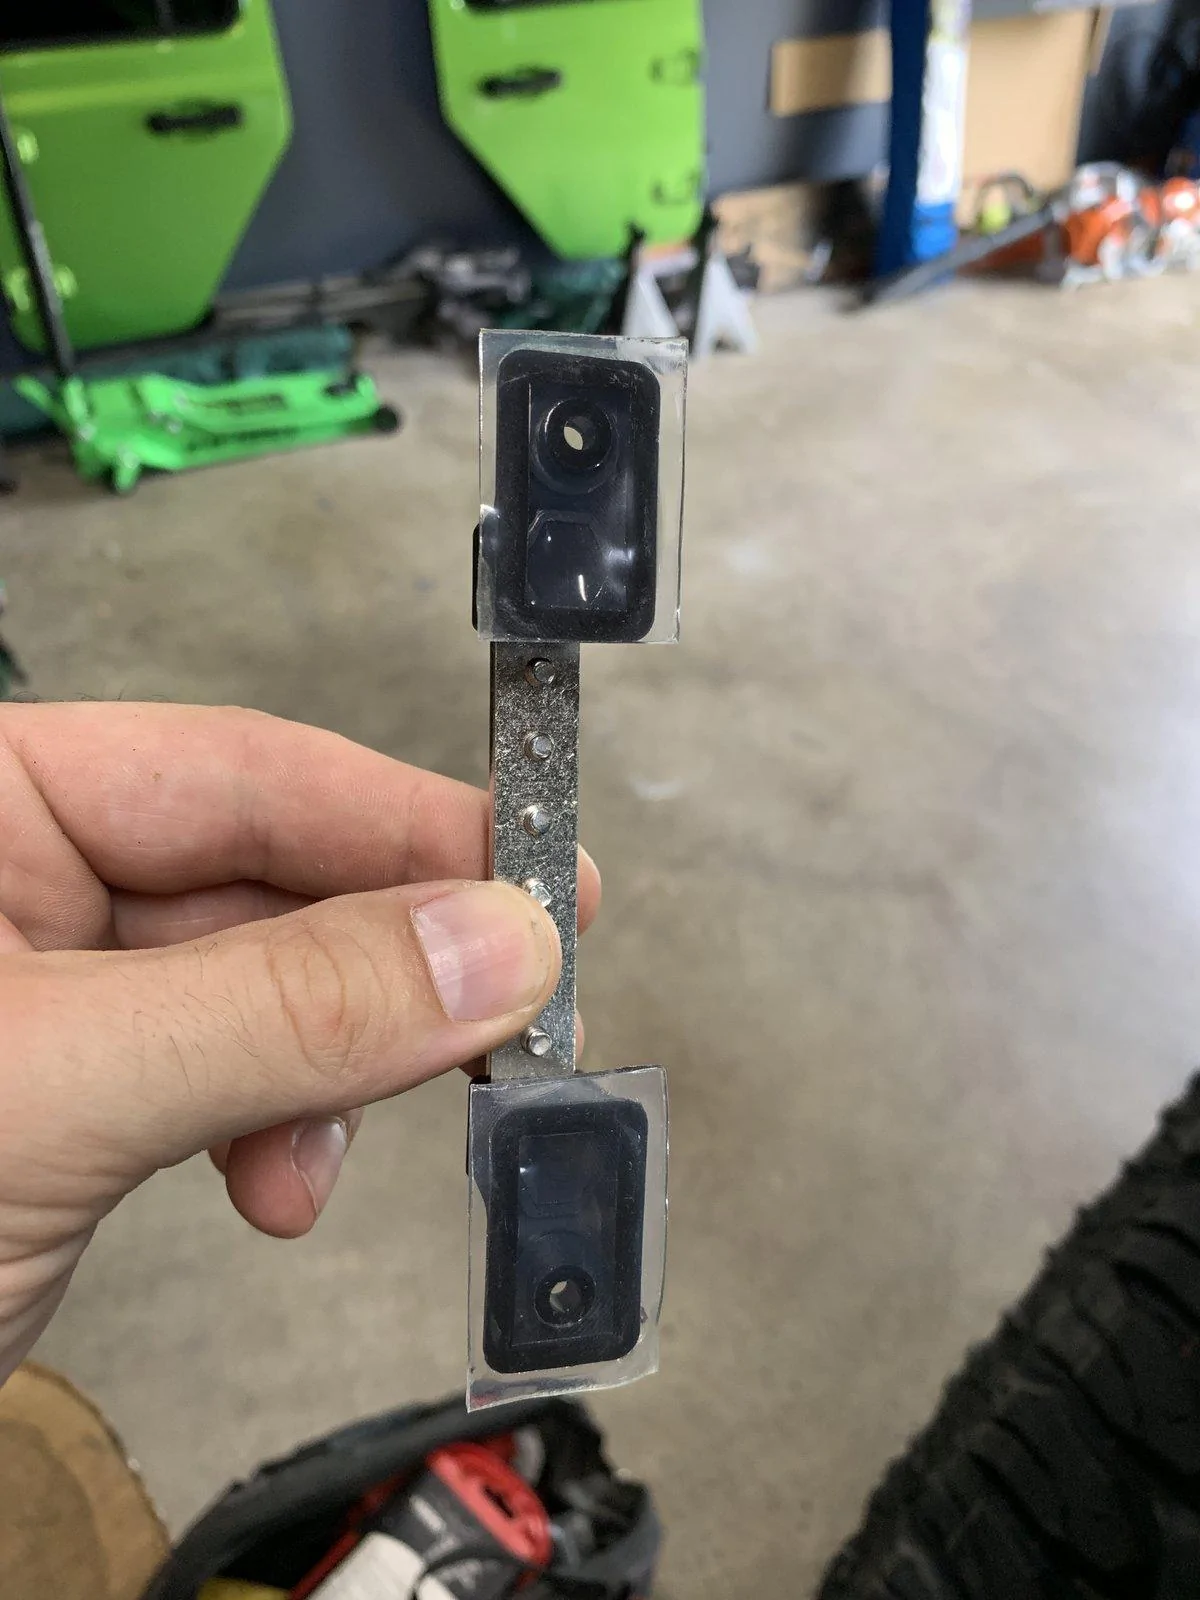
Using some circle connectors, i moved my grounds for my pod lights and ROAM rails:
Circle connectors - https://www.homedepot.com/p/Gardner...ng-Terminals-in-Blue-15-Pack-15-104/202522492
New ground cable extension - https://www.amazon.com/gp/product/B01K68YC2W/ref=ppx_yo_dt_b_asin_title_o03_s00?ie=UTF8&psc=1
Grounding terminal - https://www.amazon.com/gp/product/B07S2F26X3/ref=ppx_yo_dt_b_asin_title_o04_s00?ie=UTF8&psc=1
Double sided tape - https://www.amazon.com/Gorilla-Tough-Double-Mounting-Inches/dp/B00OXVG9FW
First - started by applying the double sided tape to the bottom side of the mounts. I did NOT use the screws provided. I have not used this tape before, but it seems BEEFY, but able to remove if needed. It holds WELL! I would not trim it too close, as you'll need a small portion of the corner to peel the clear tape cover from the 1 side:
EDIT - I noticed that the ground wire side was being lifted up, due to the cable bend applying pressure upward. I added 2 MOAR strips of double-sided and that seemed to fix!
I chose the body area next to the battery, where i mounted the relay for the ROAM rails. I like this location, because i could terminate the positive wires to the factory AUX power leads AND it's right next to a piece of weather-stripping on the hood, so protected and all wires in the same spot - NOICE
The hood does NOT hit it at all.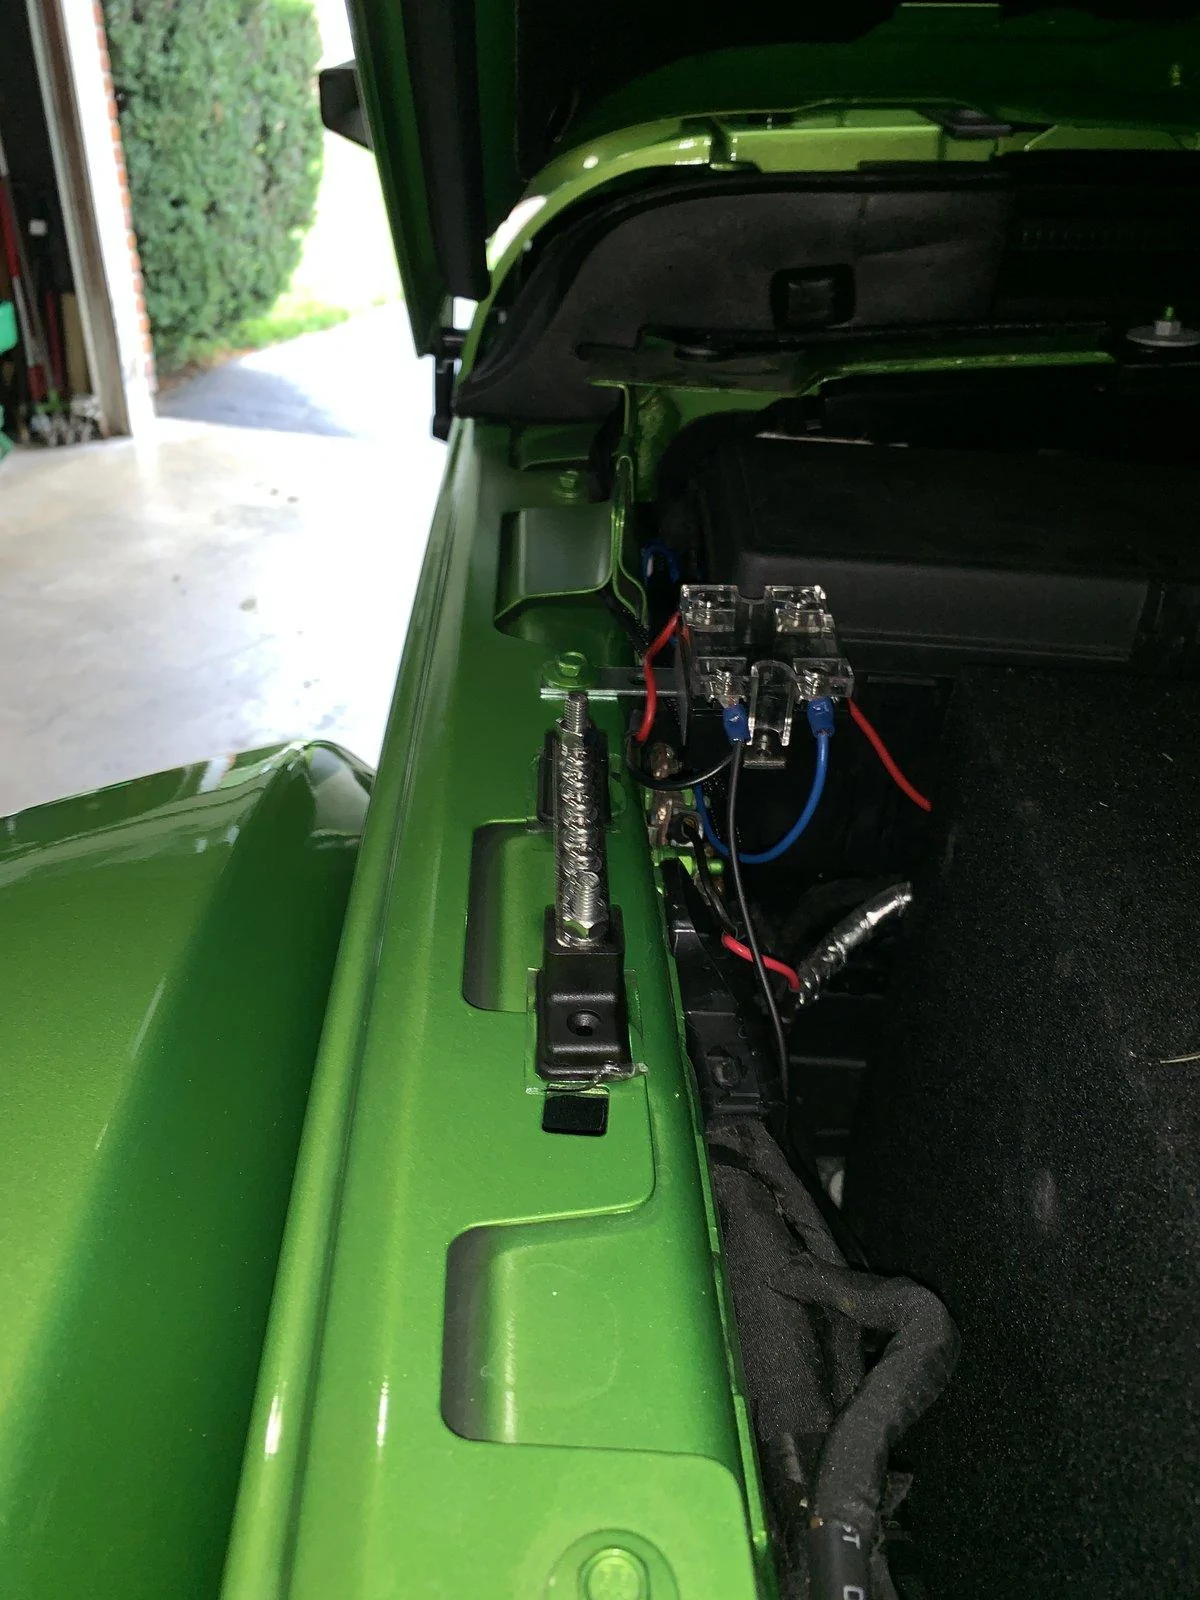

Next - i decided to trim the new ground cable so that it can fit the factory grounding location and the new terminal. Used a dremel:
I decided to use the middle factory grounding as it's not painted. I came up from the bottom and went BEHIND the factory cable. All mounts flush.

The new ground wire mounts a little weird, but here's a pic of how i "wound" it. I slithered under the factory ground that closest to the firewall and up into the mount bolt.
Here are a few pics of the wire on the ground bolt:


Using some circle connectors, i moved my grounds for my pod lights and ROAM rails:
Circle connectors - https://www.homedepot.com/p/Gardner...ng-Terminals-in-Blue-15-Pack-15-104/202522492


Sponsored
Last edited: