OP
OP
Remorseless
Well-Known Member
- Joined
- May 10, 2022
- Threads
- 4
- Messages
- 34,487
- Reaction score
- 193,240
- Location
- NC
- Vehicle(s)
- '22 JLR 2.0T, '24 JTR, '19 Charger R/T
- Build Thread
- Link
- Occupation
- Holier Than Thou Internet Bully, Part-Time Online Boy Scout, Full-Time Arson Enthusiast, Napalm Compatible, Guy Who Defines What A Jeep Guy Is
- Thread starter
- #76
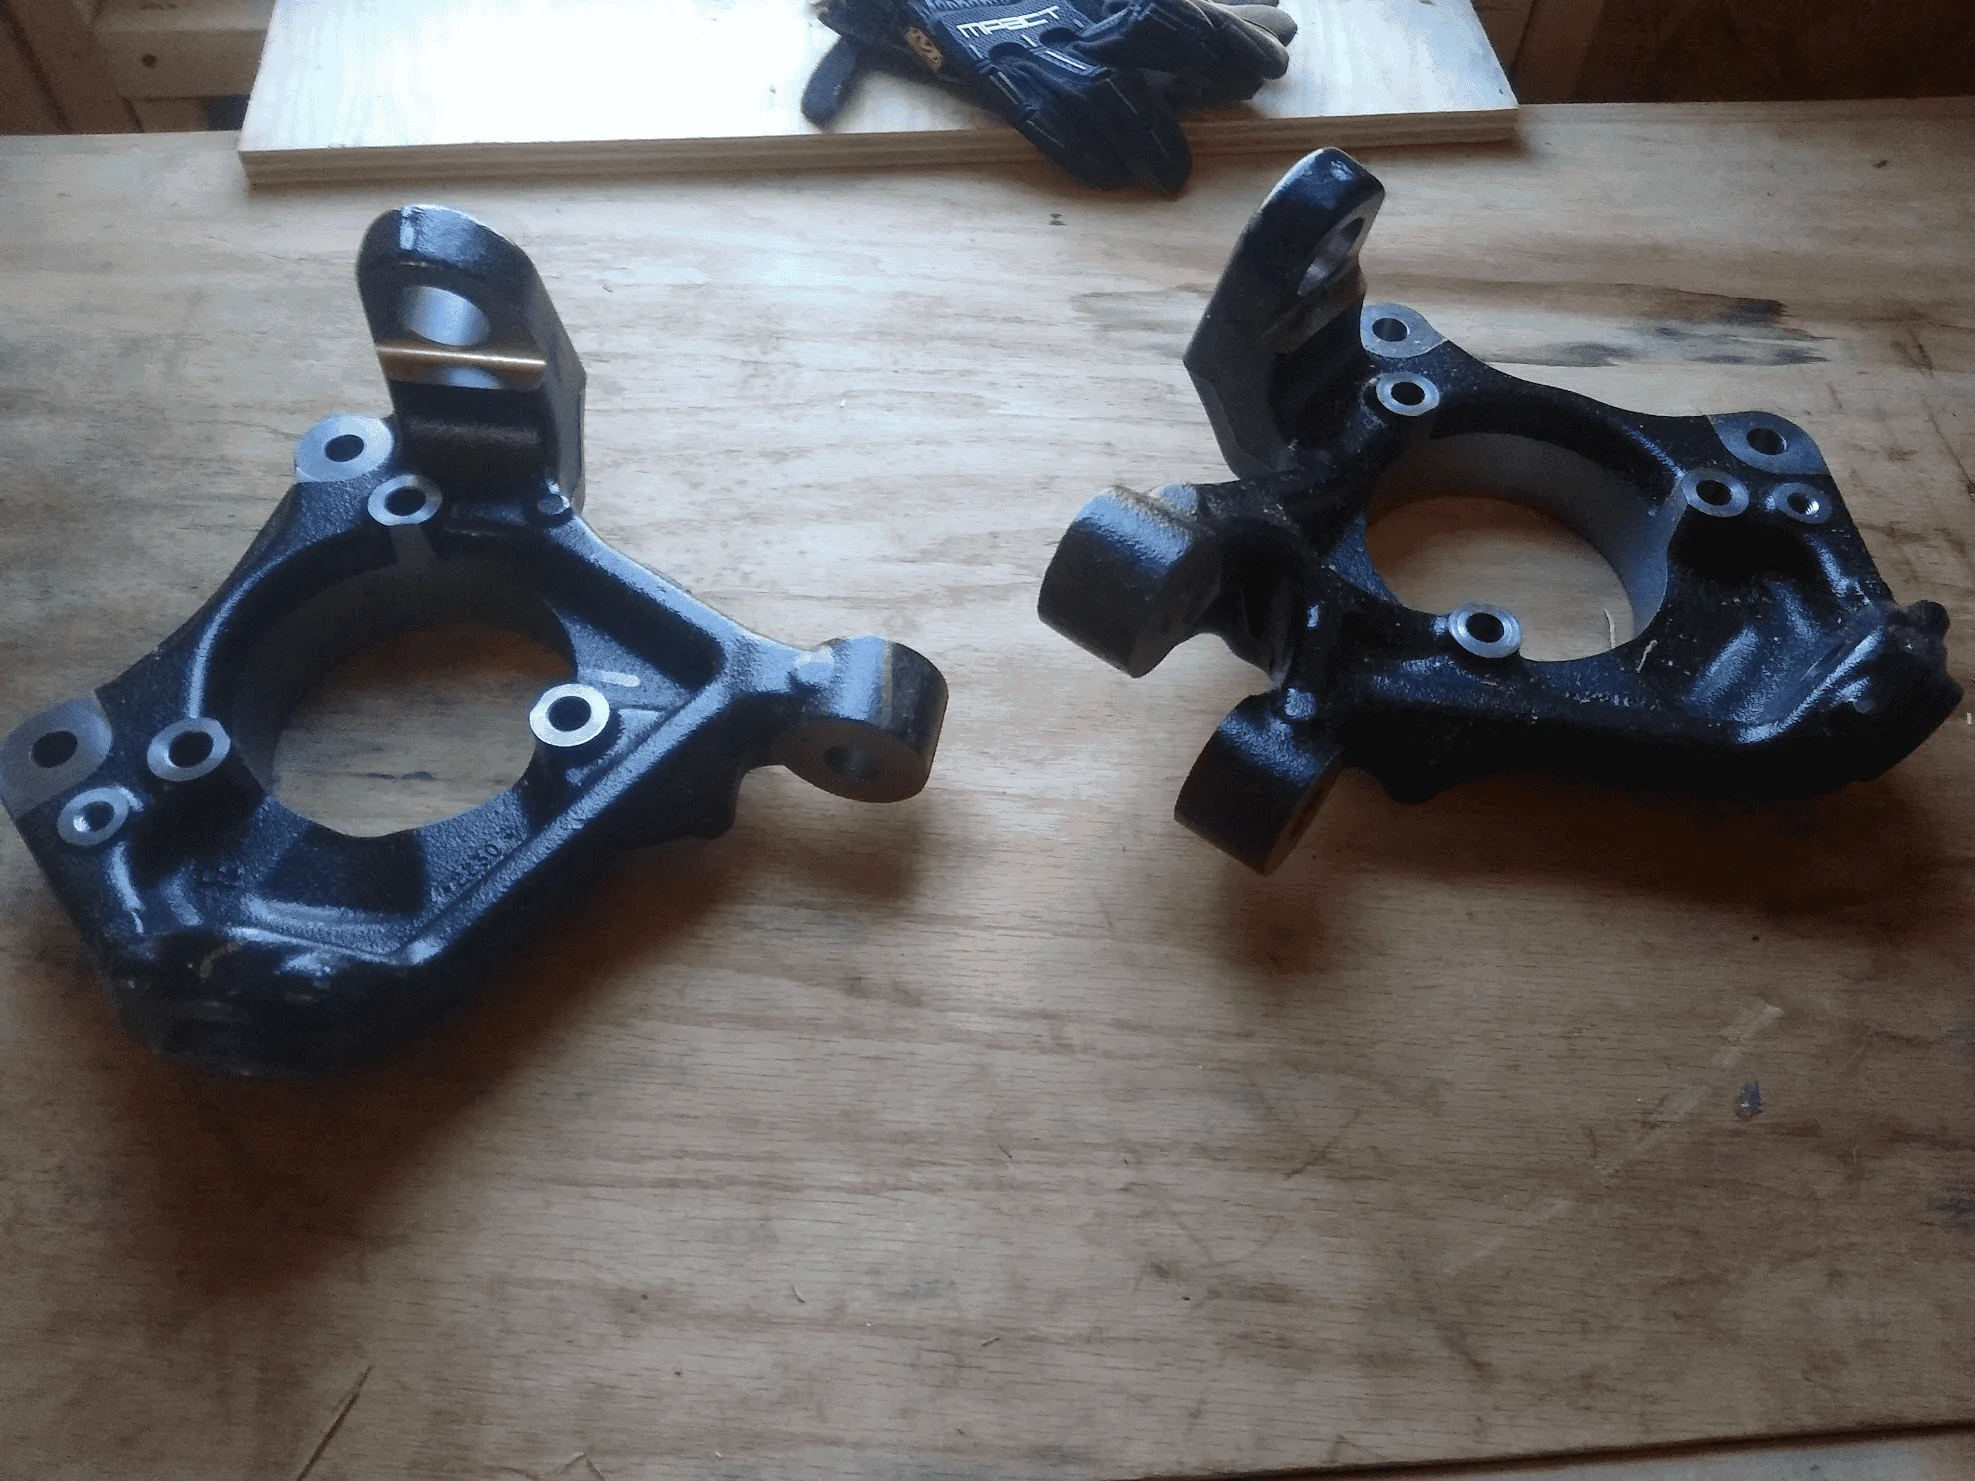
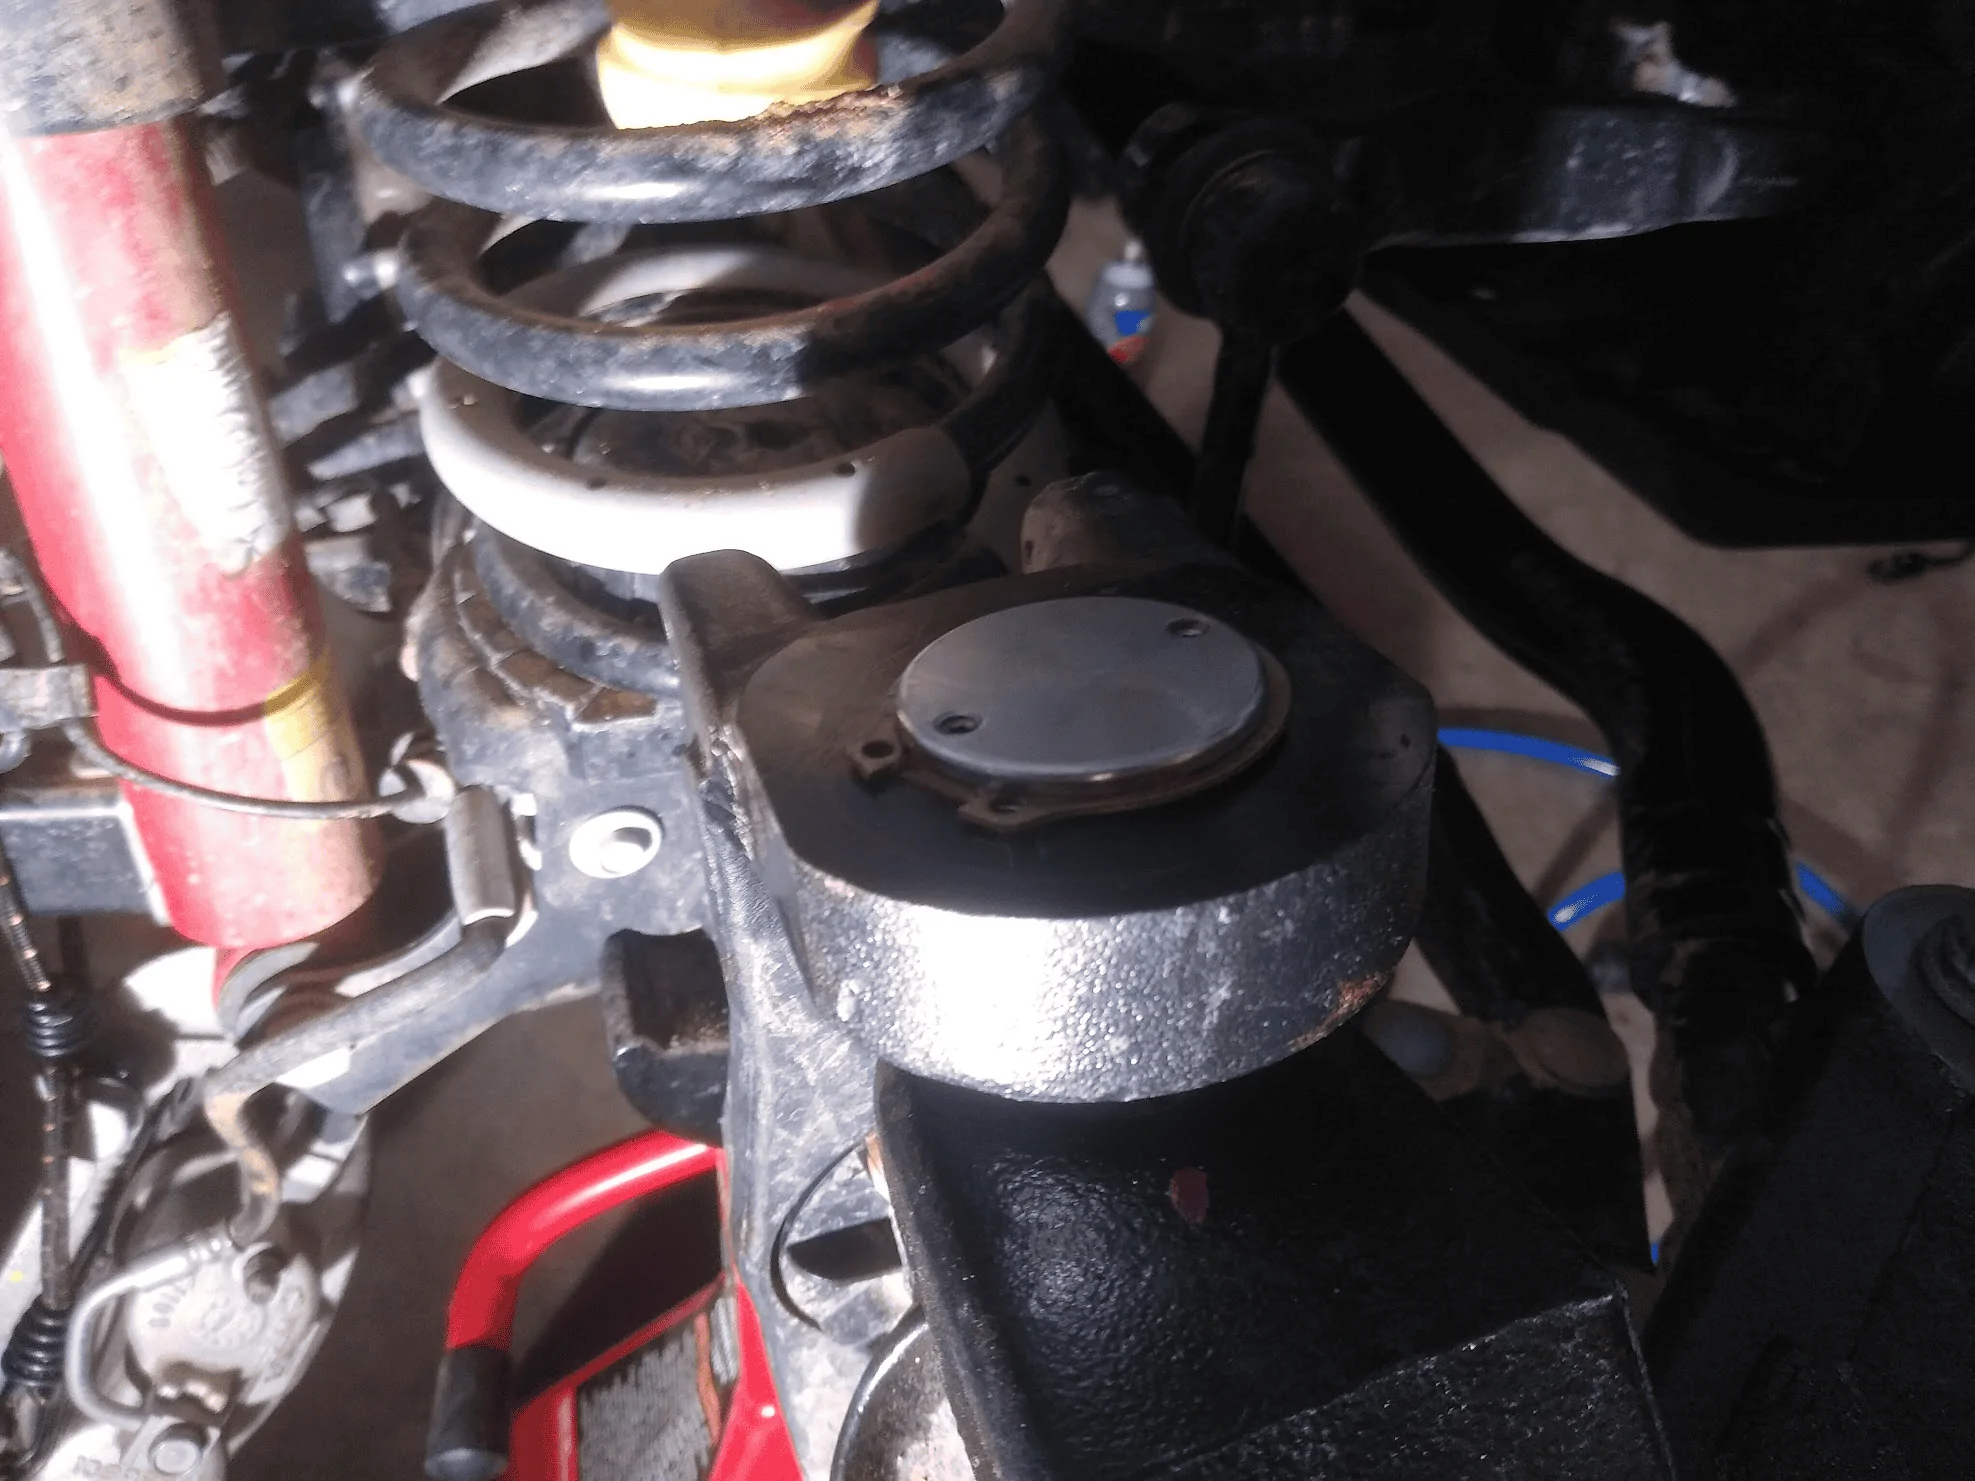
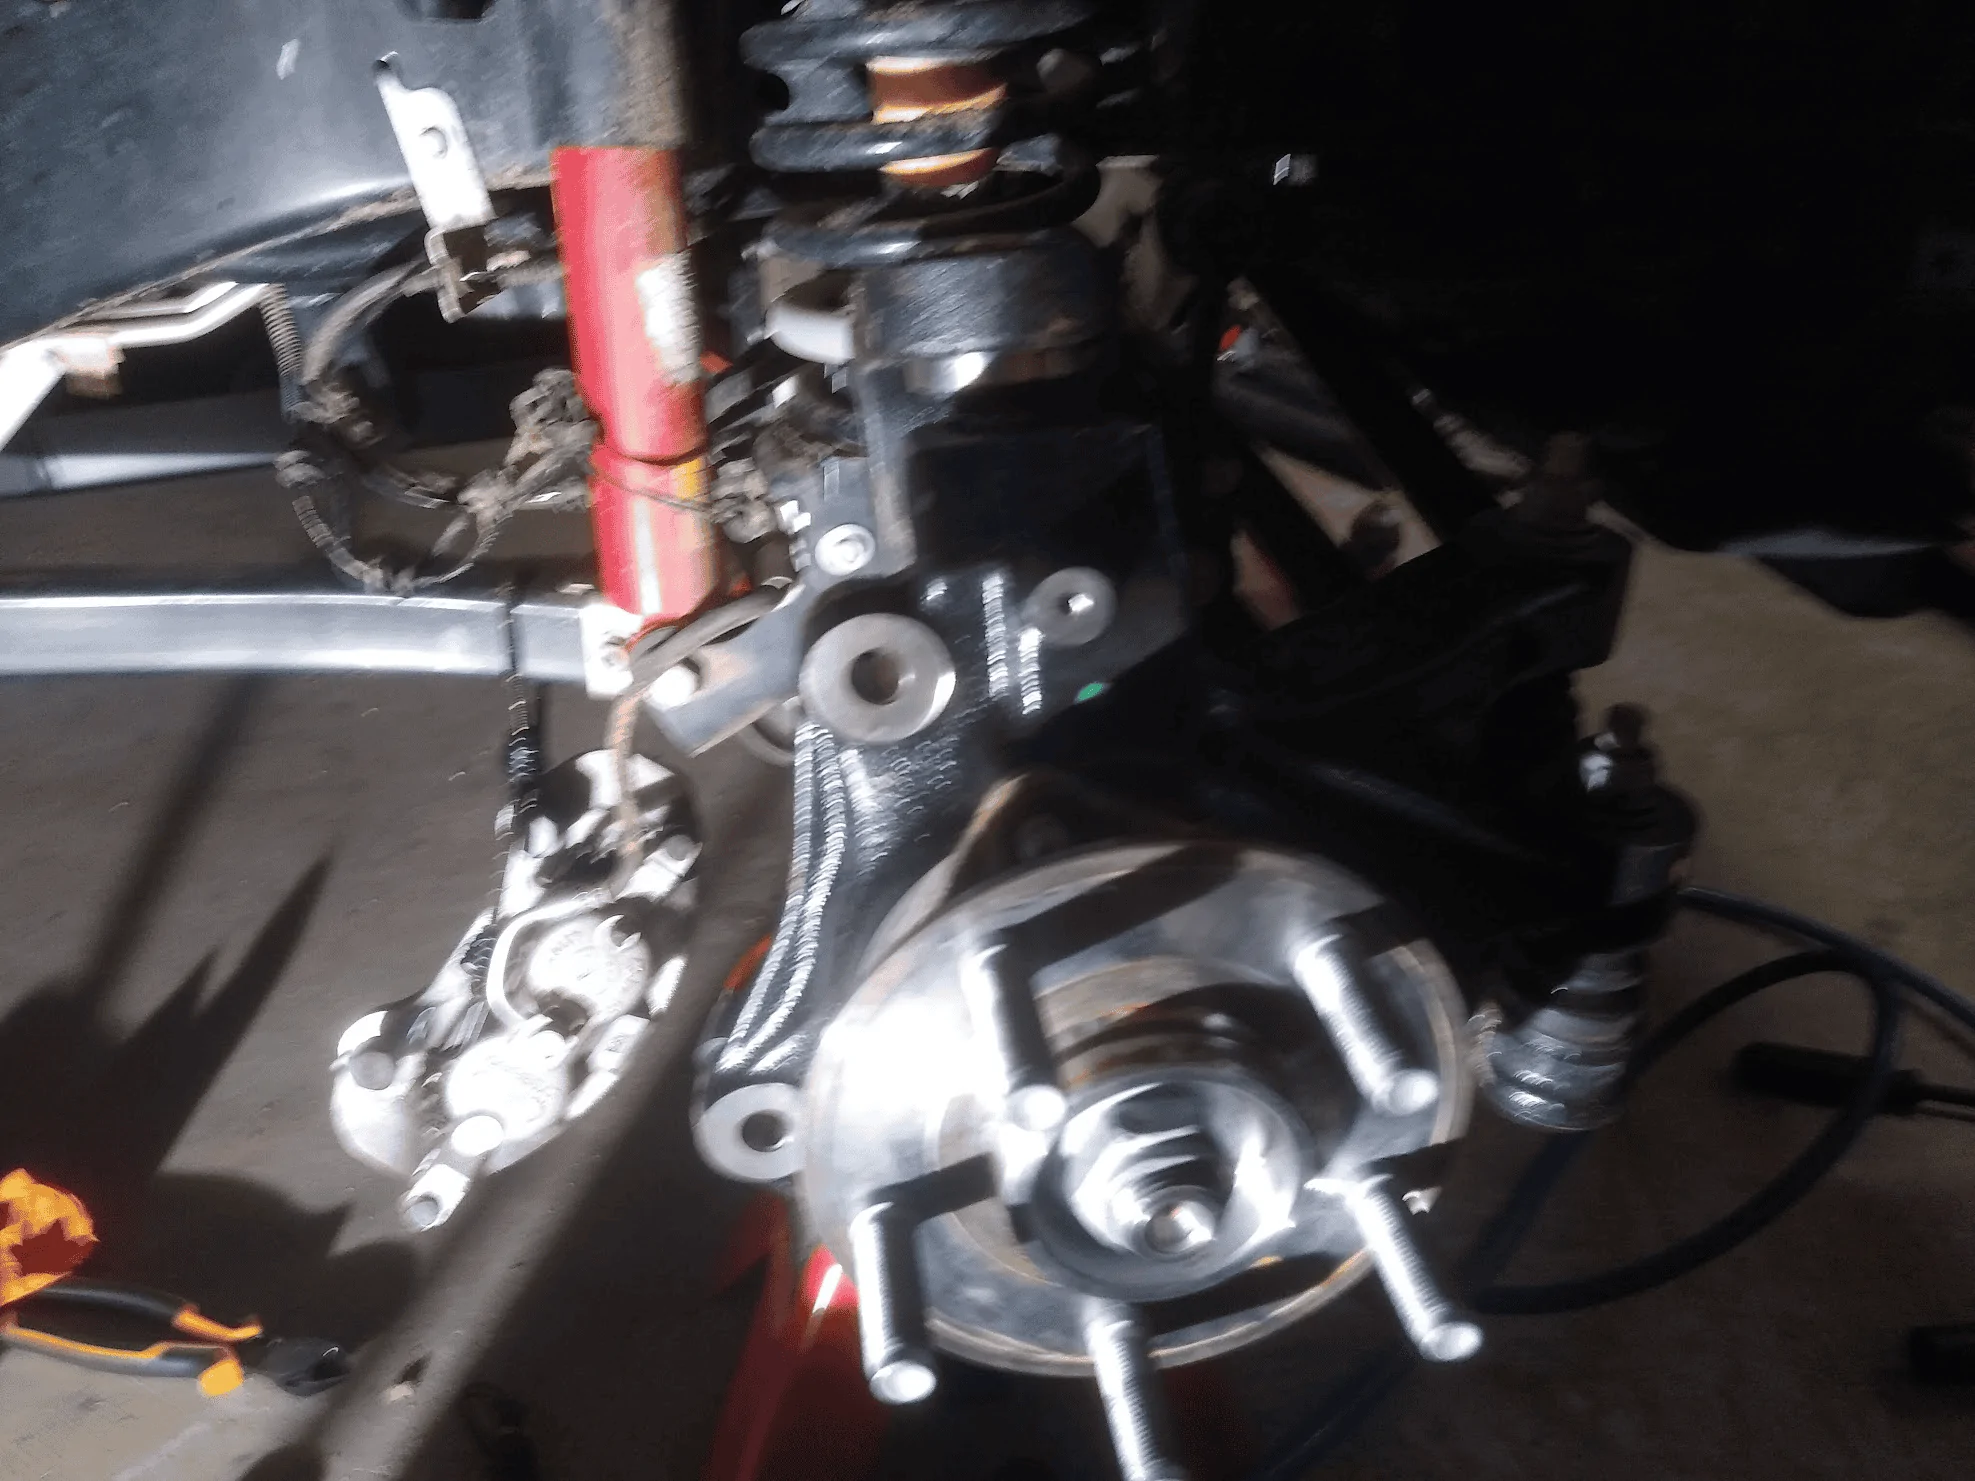
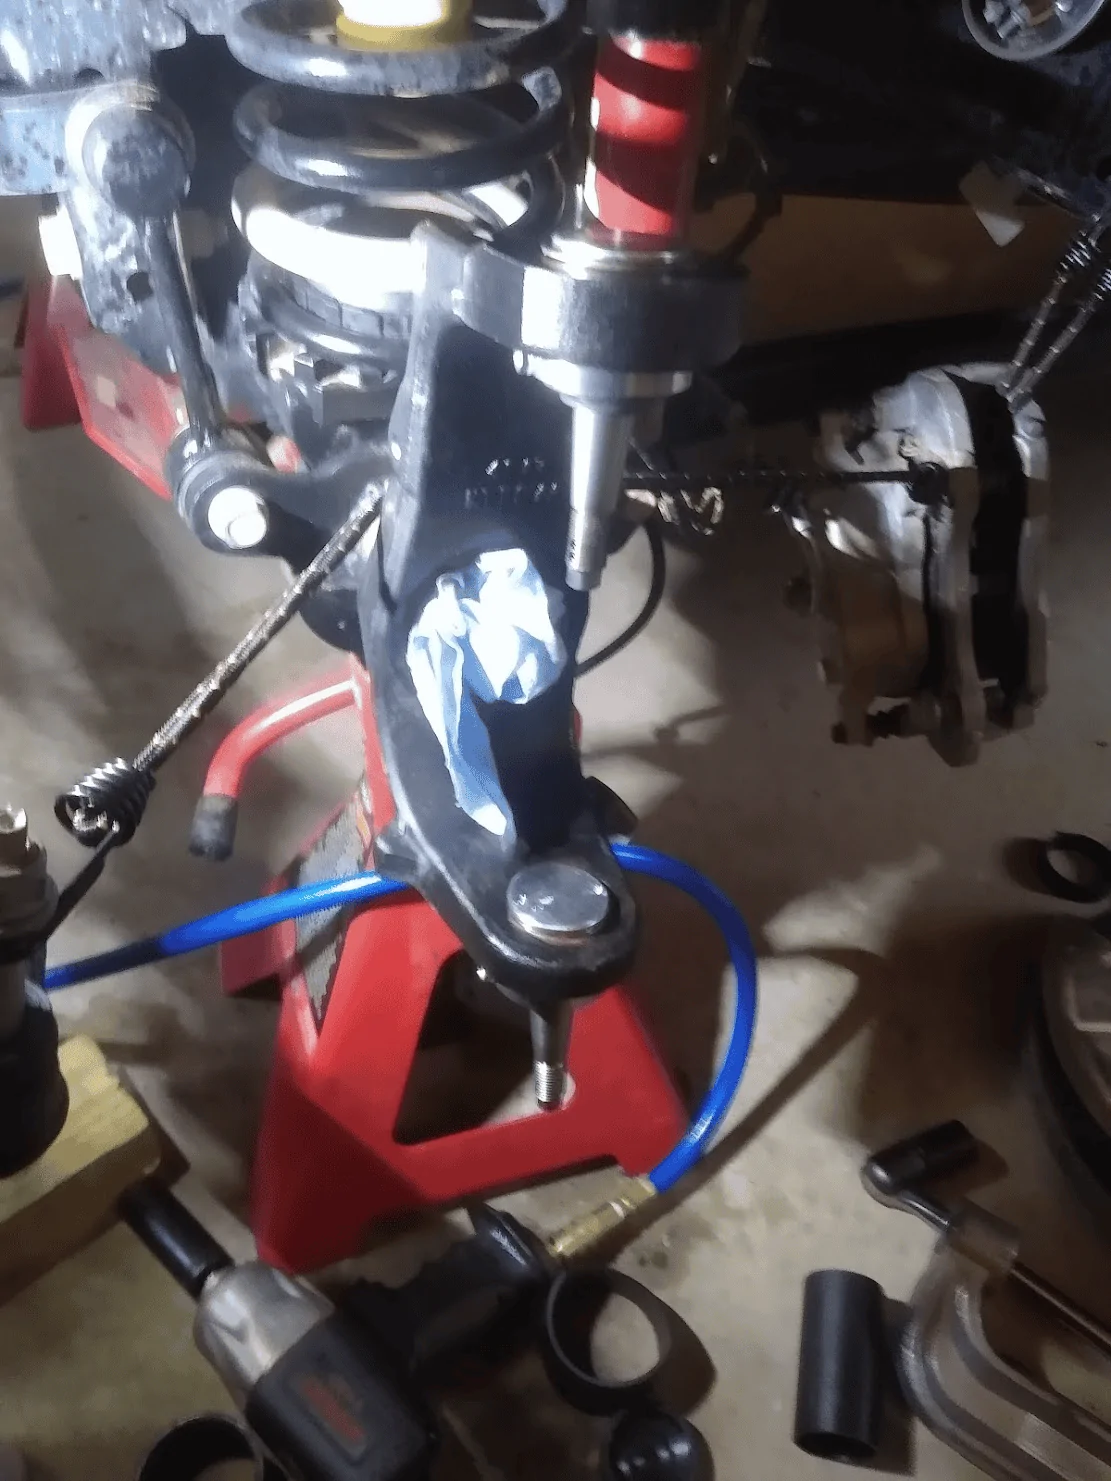
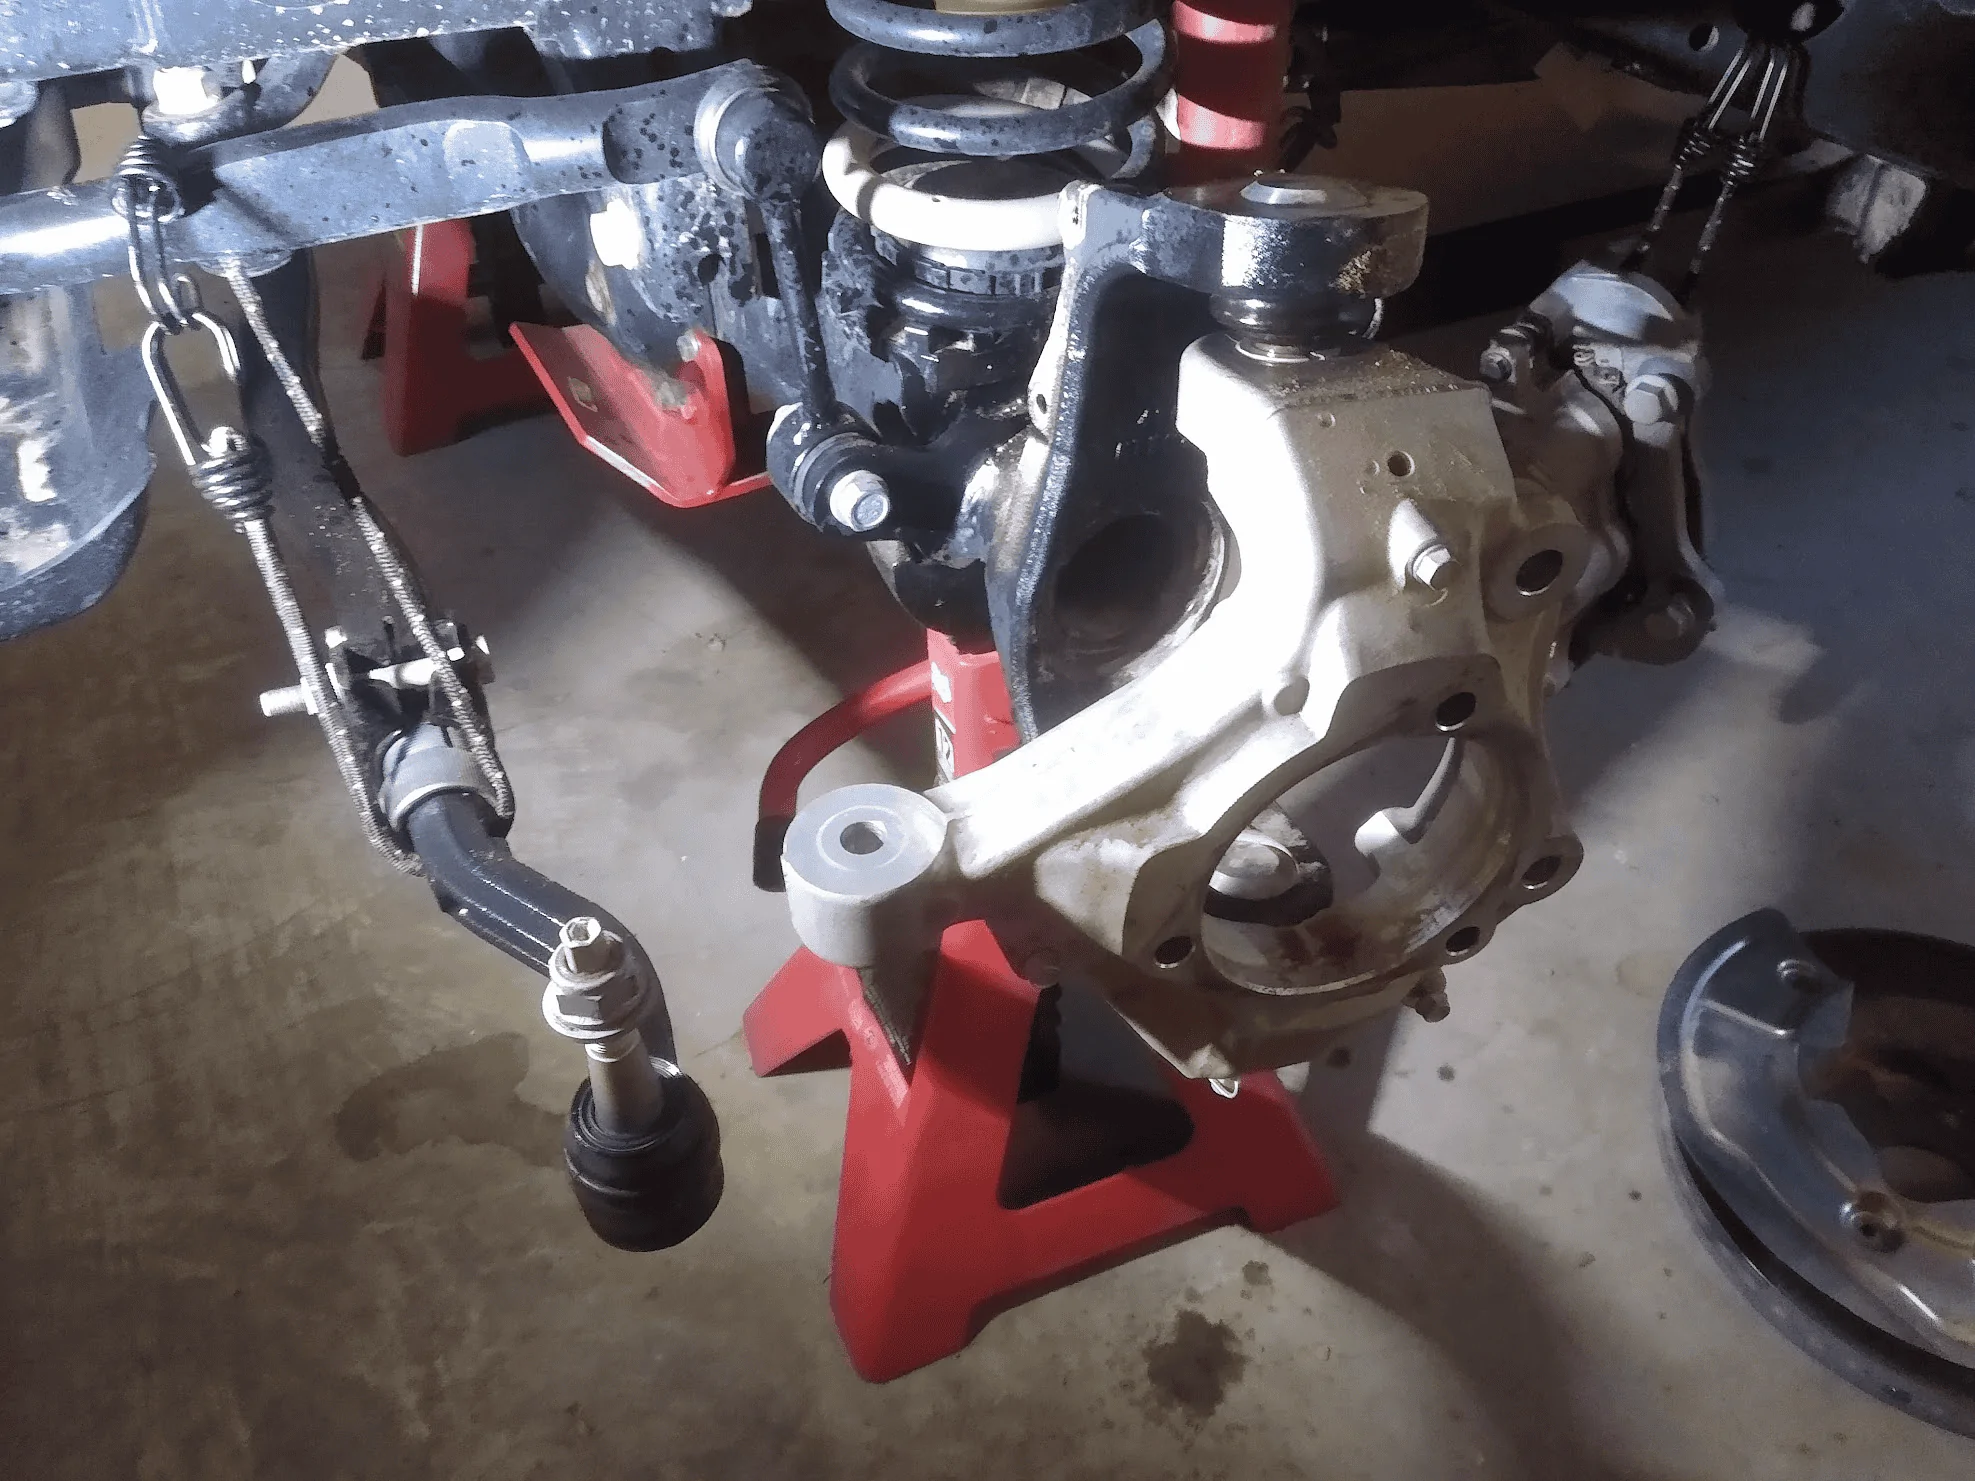
Steel knuckles showed up! Sometime after the holidays I think it'll be time for knuckles and ball joints.
Sponsored

")
